A few tips on assembly:
Mistakes I made during the assembly:
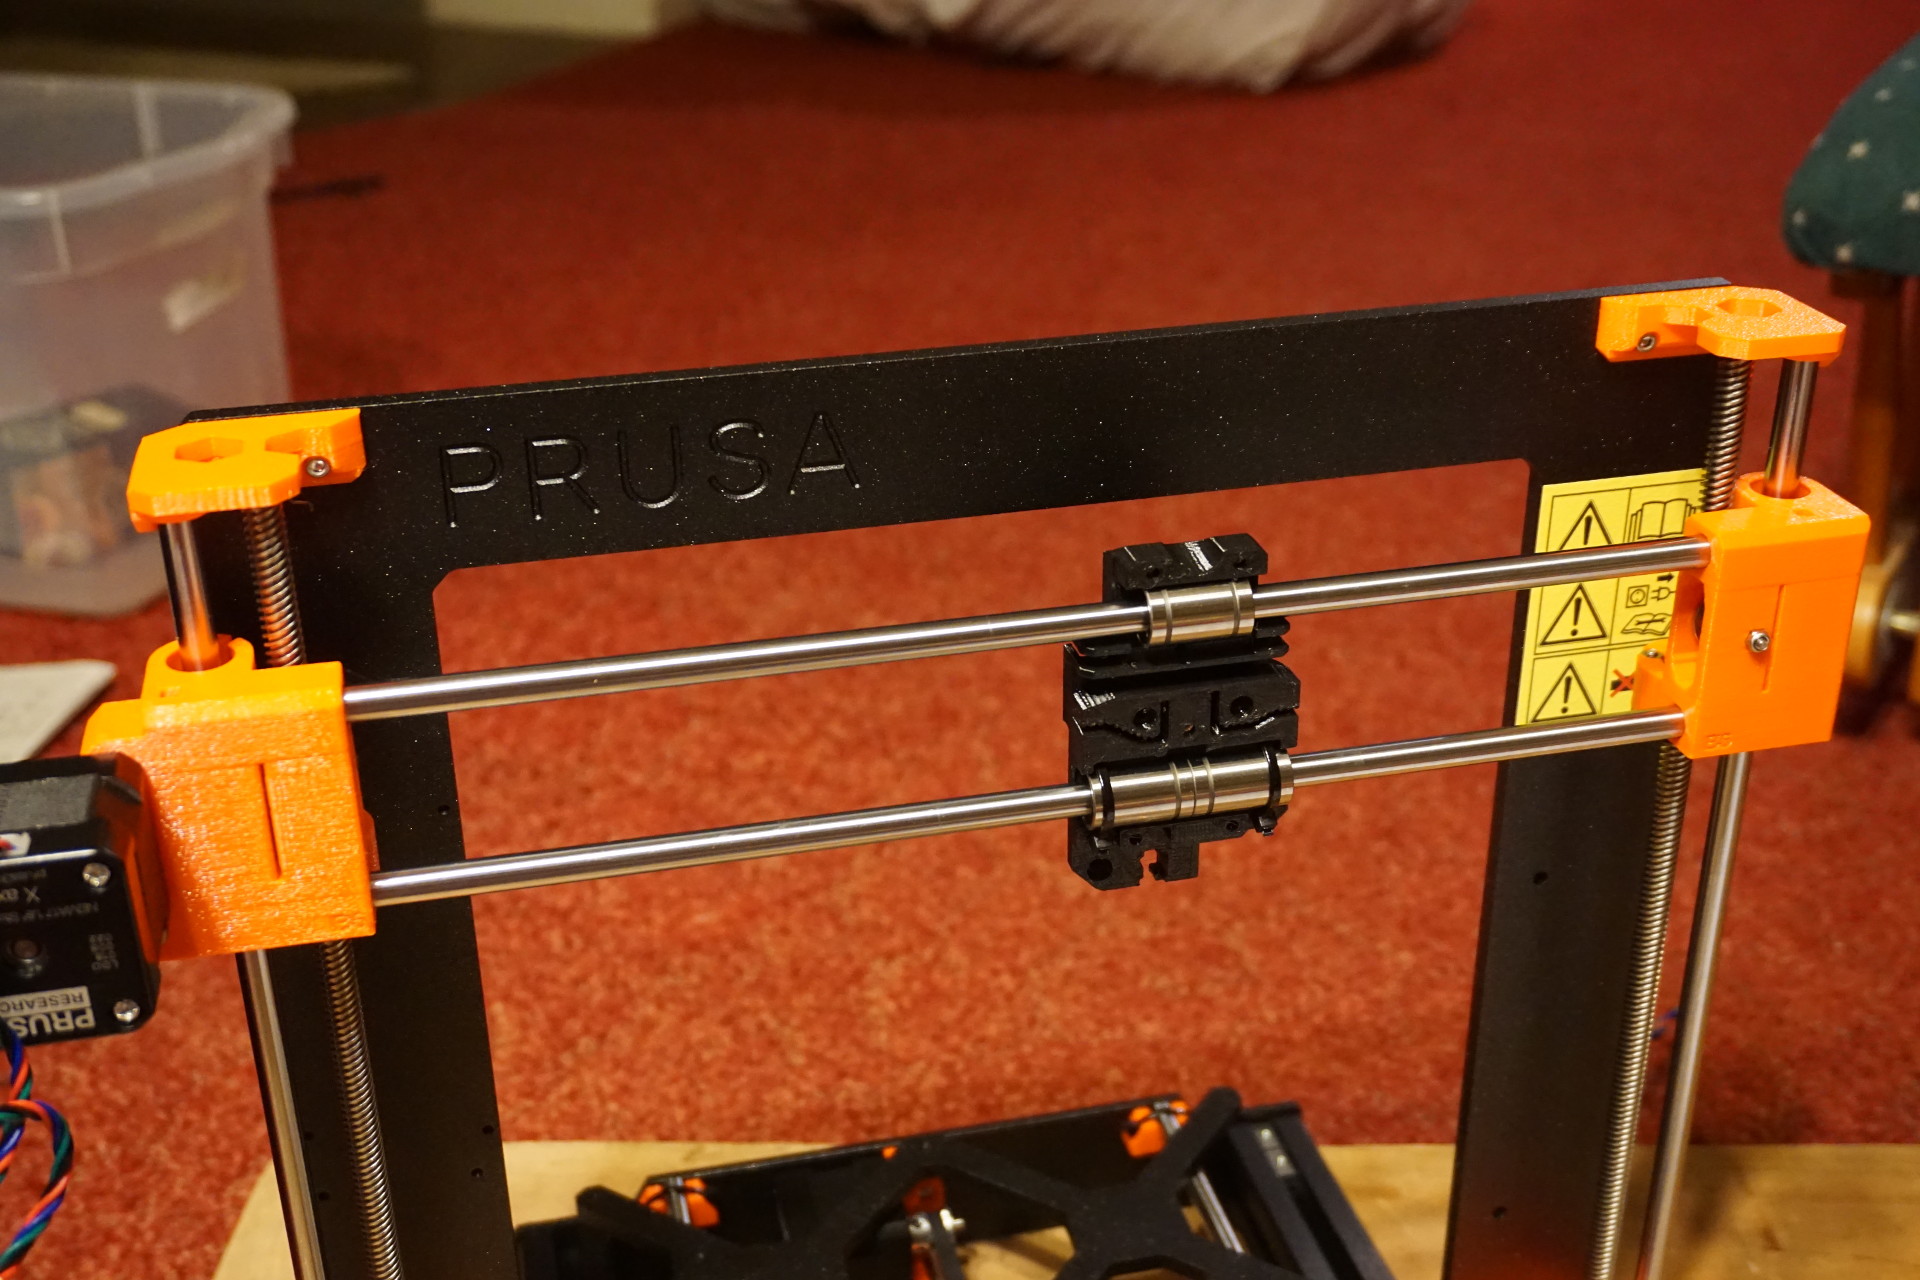
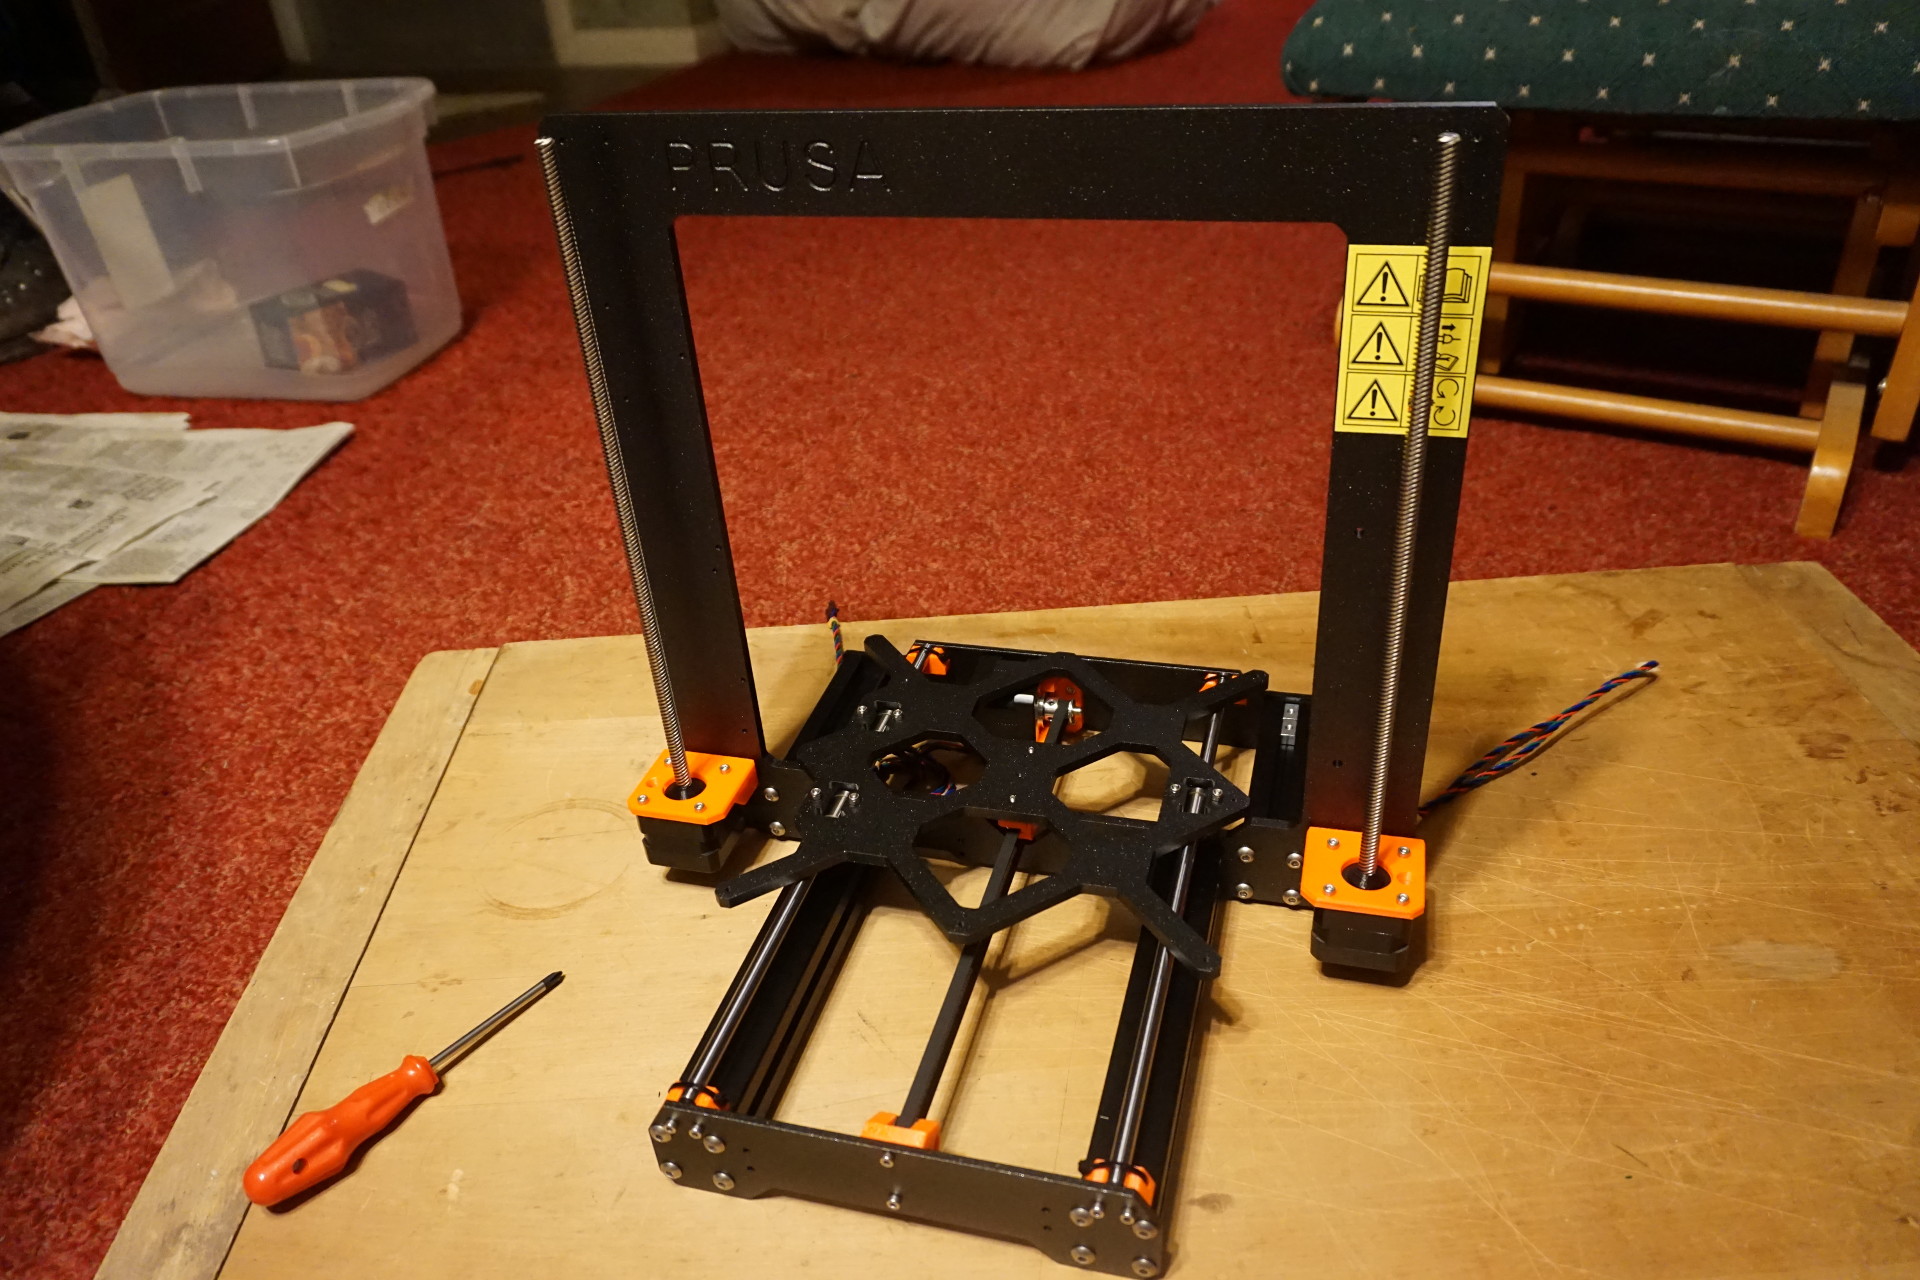
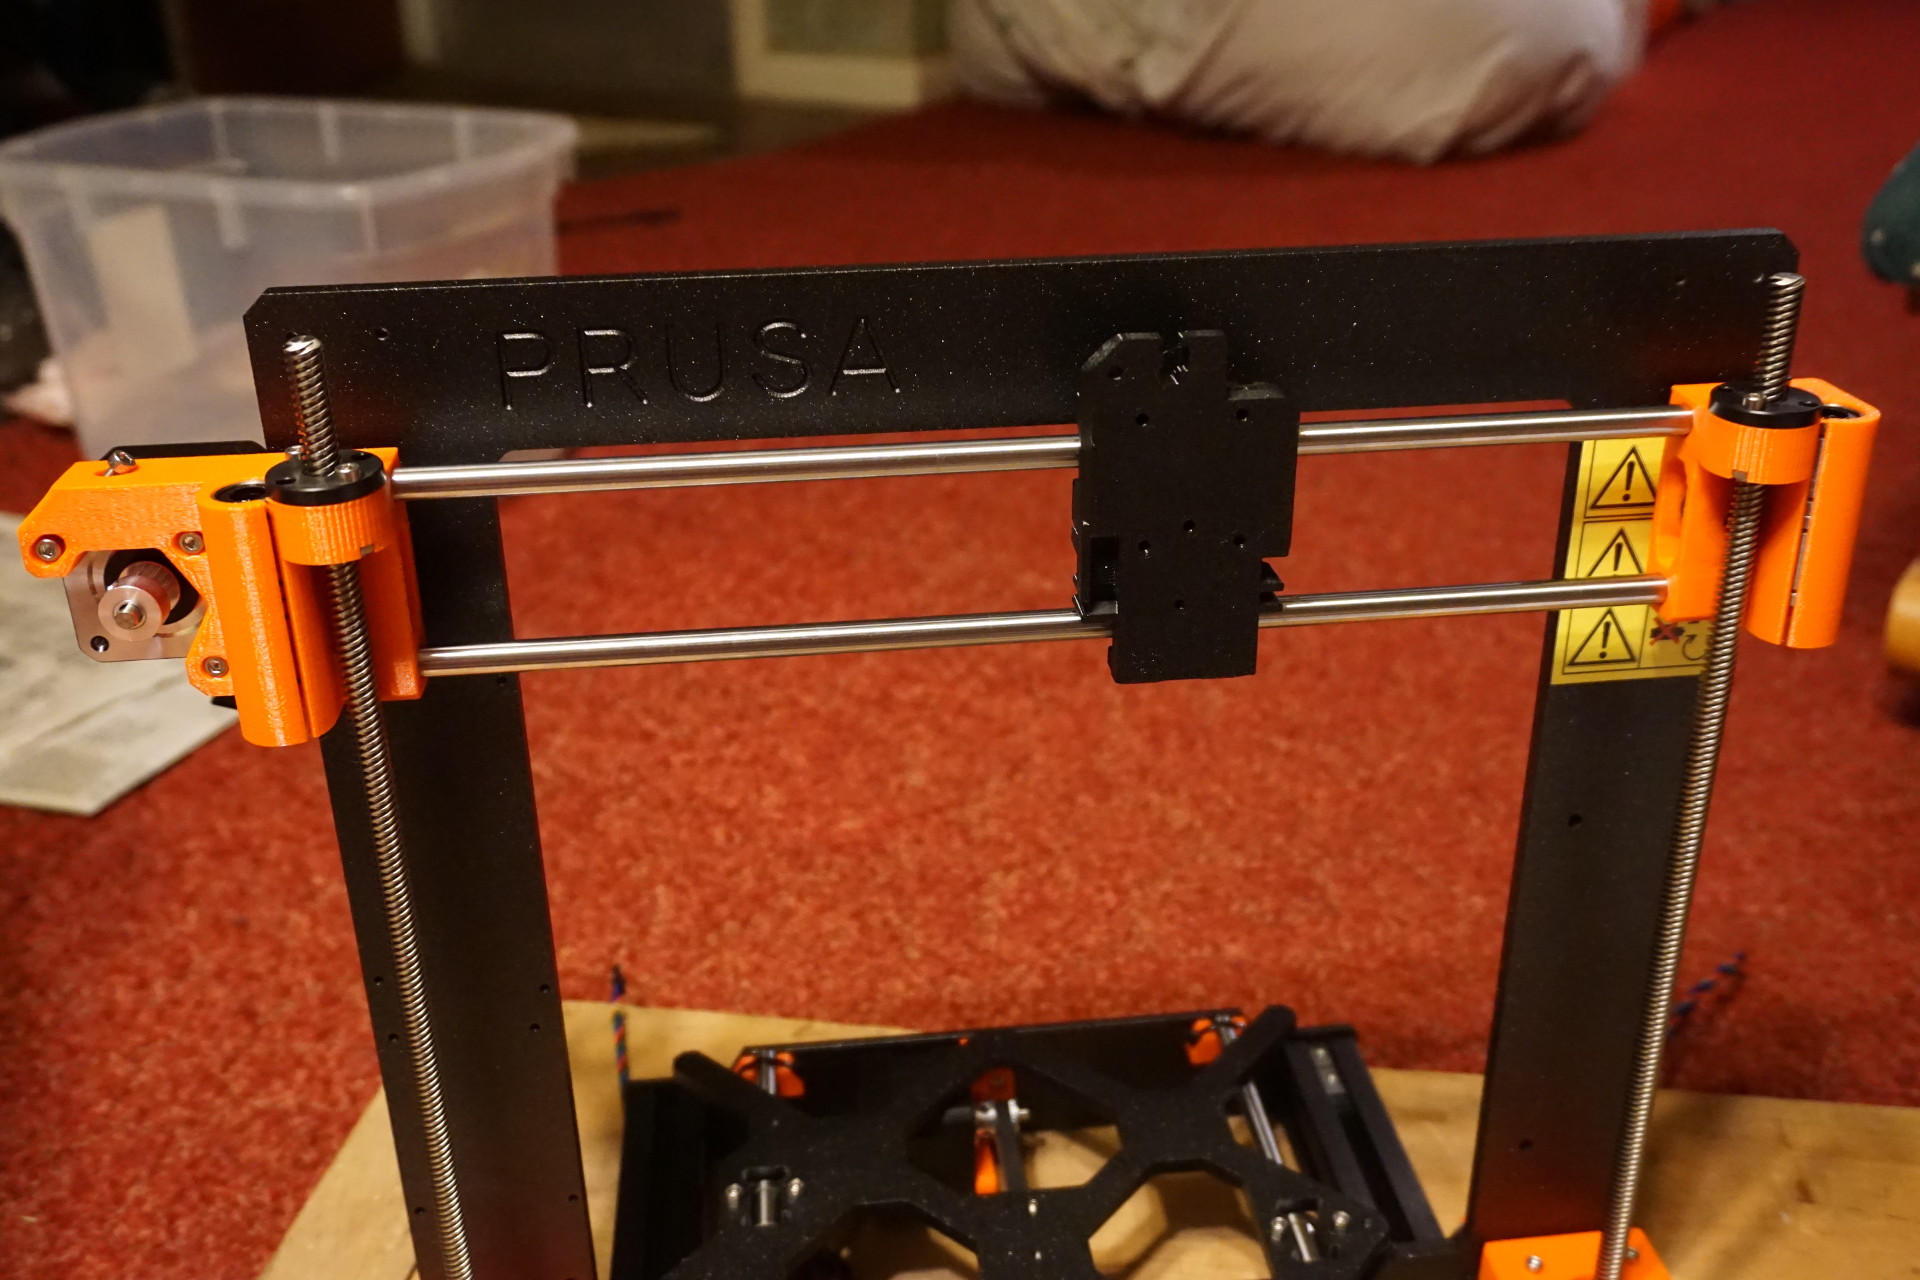
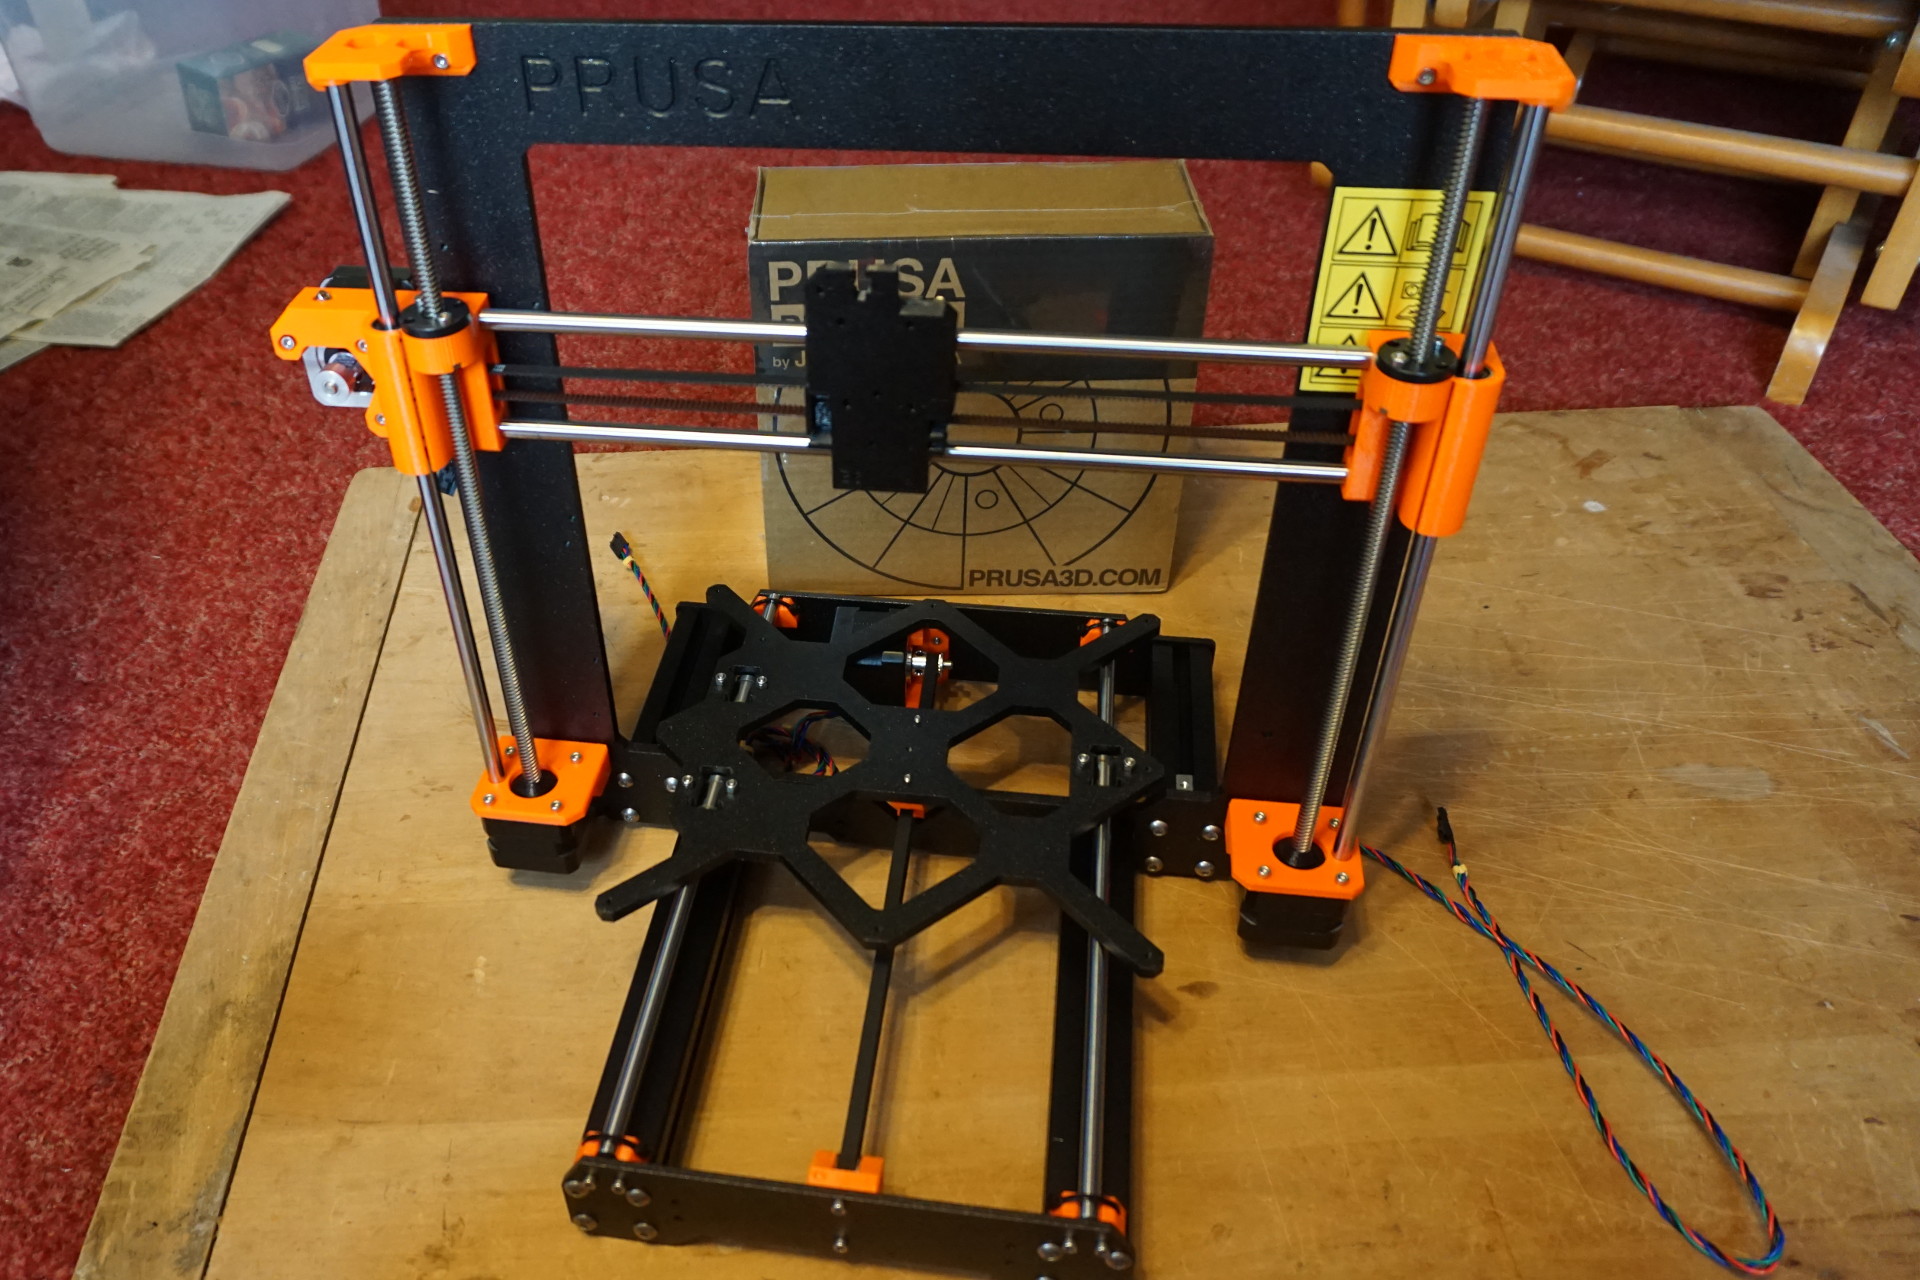
Put the x-axis assembly onto the z-axis screws upside-down. Didn't notice until after putting in the smooth z-axis rods and screwing on the z-axis top pieces. This picture is the wrong way. It was straight forward to correct.
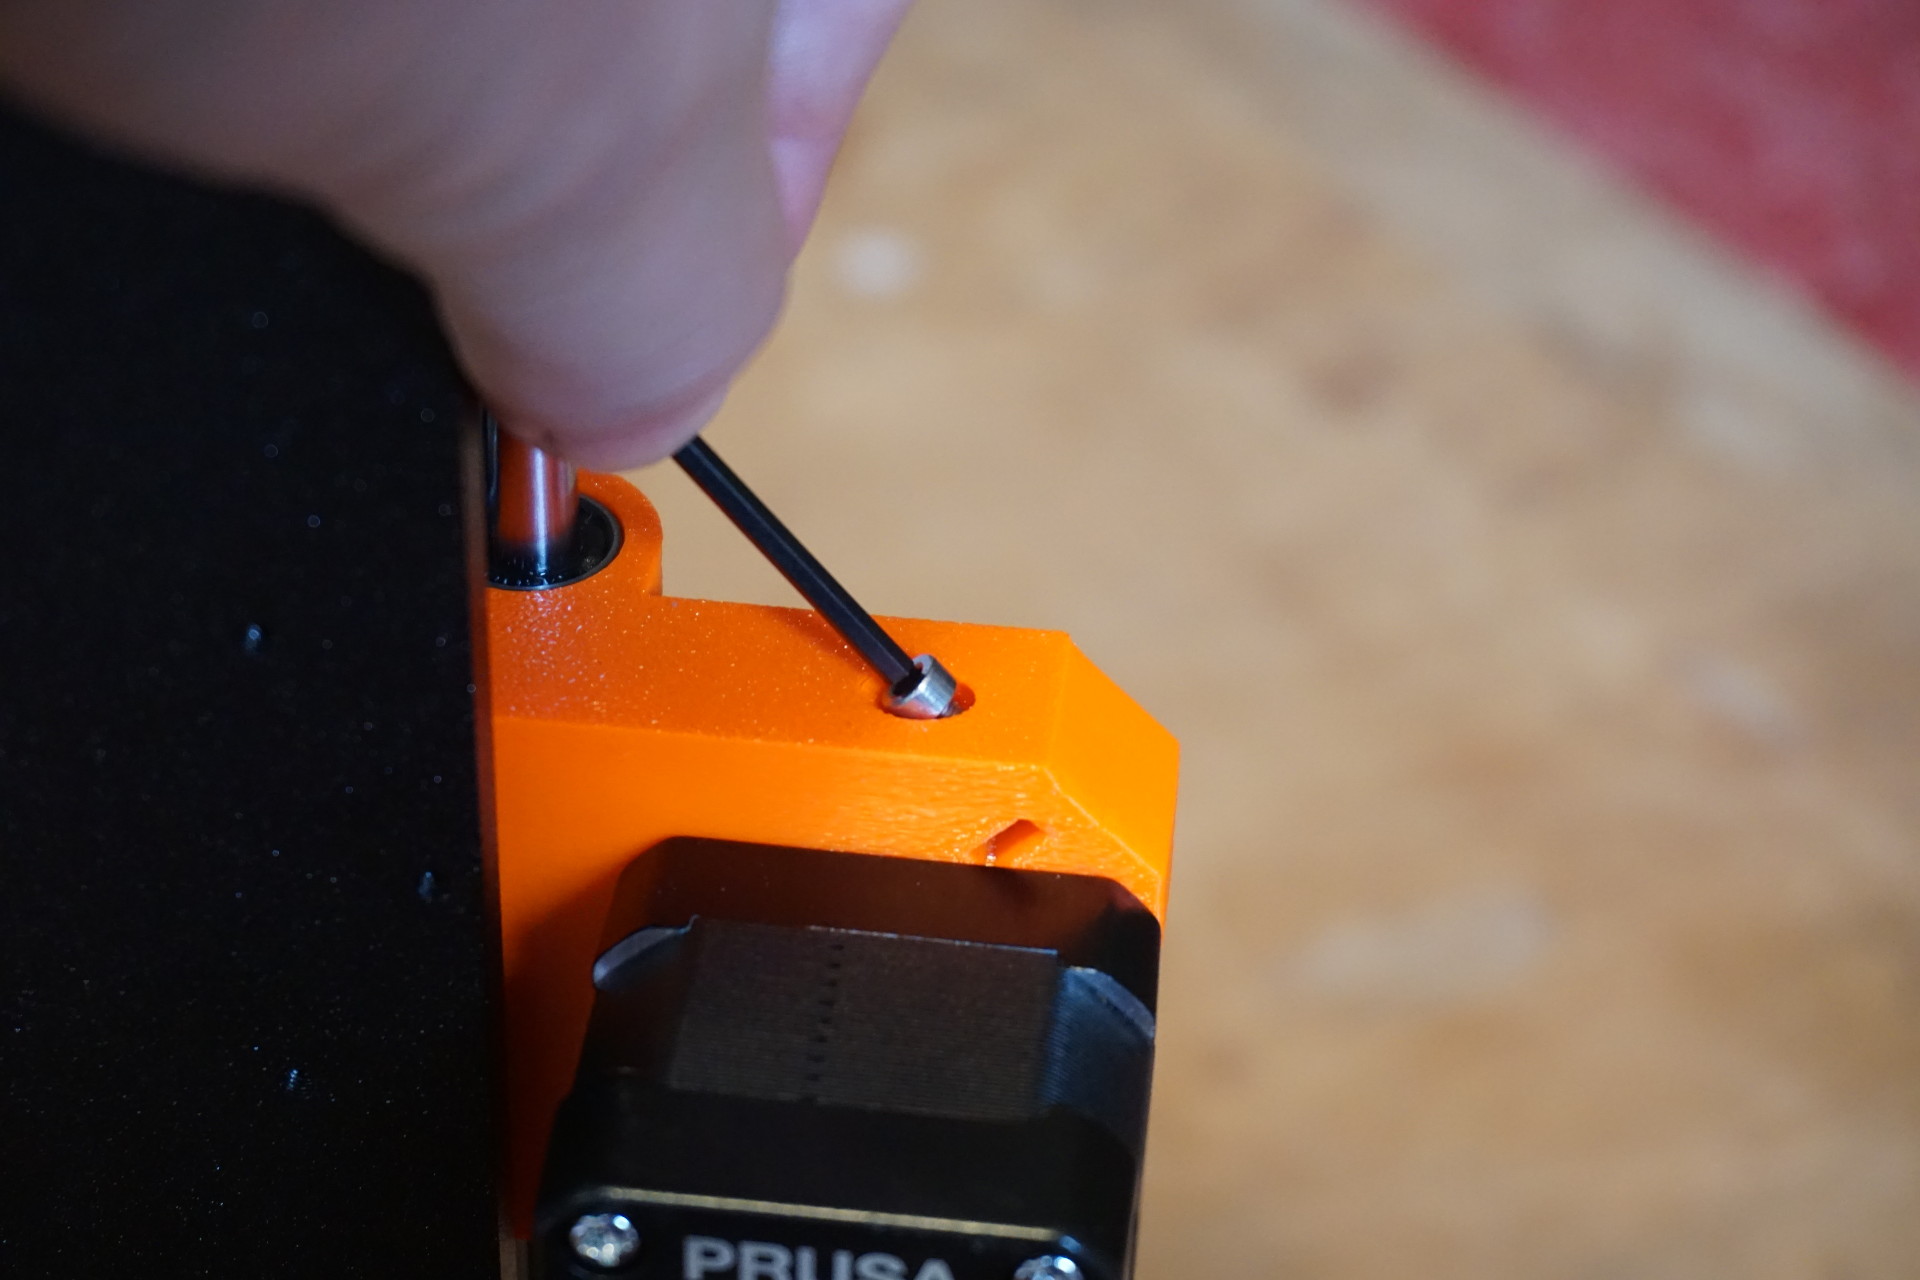
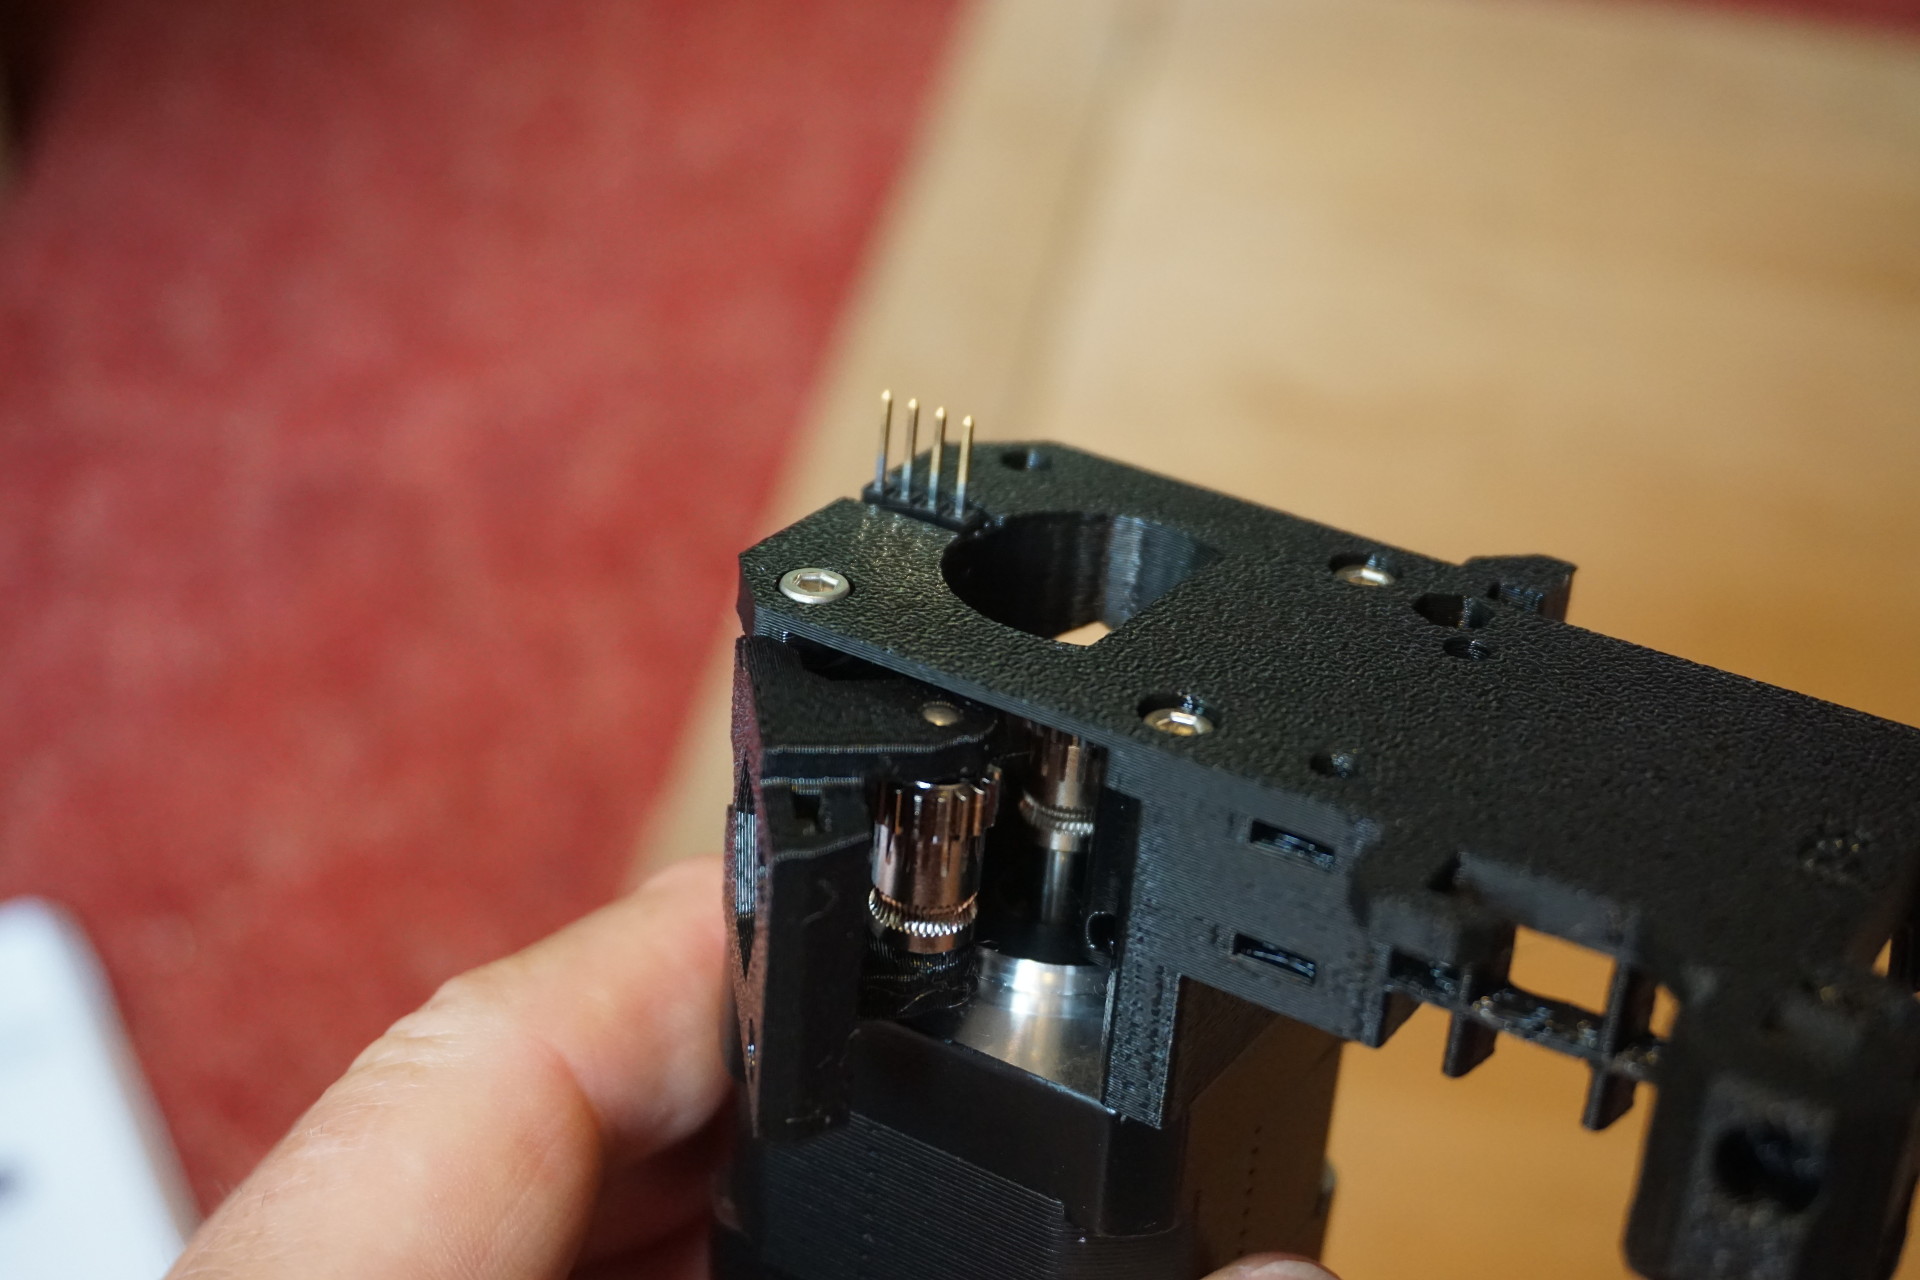
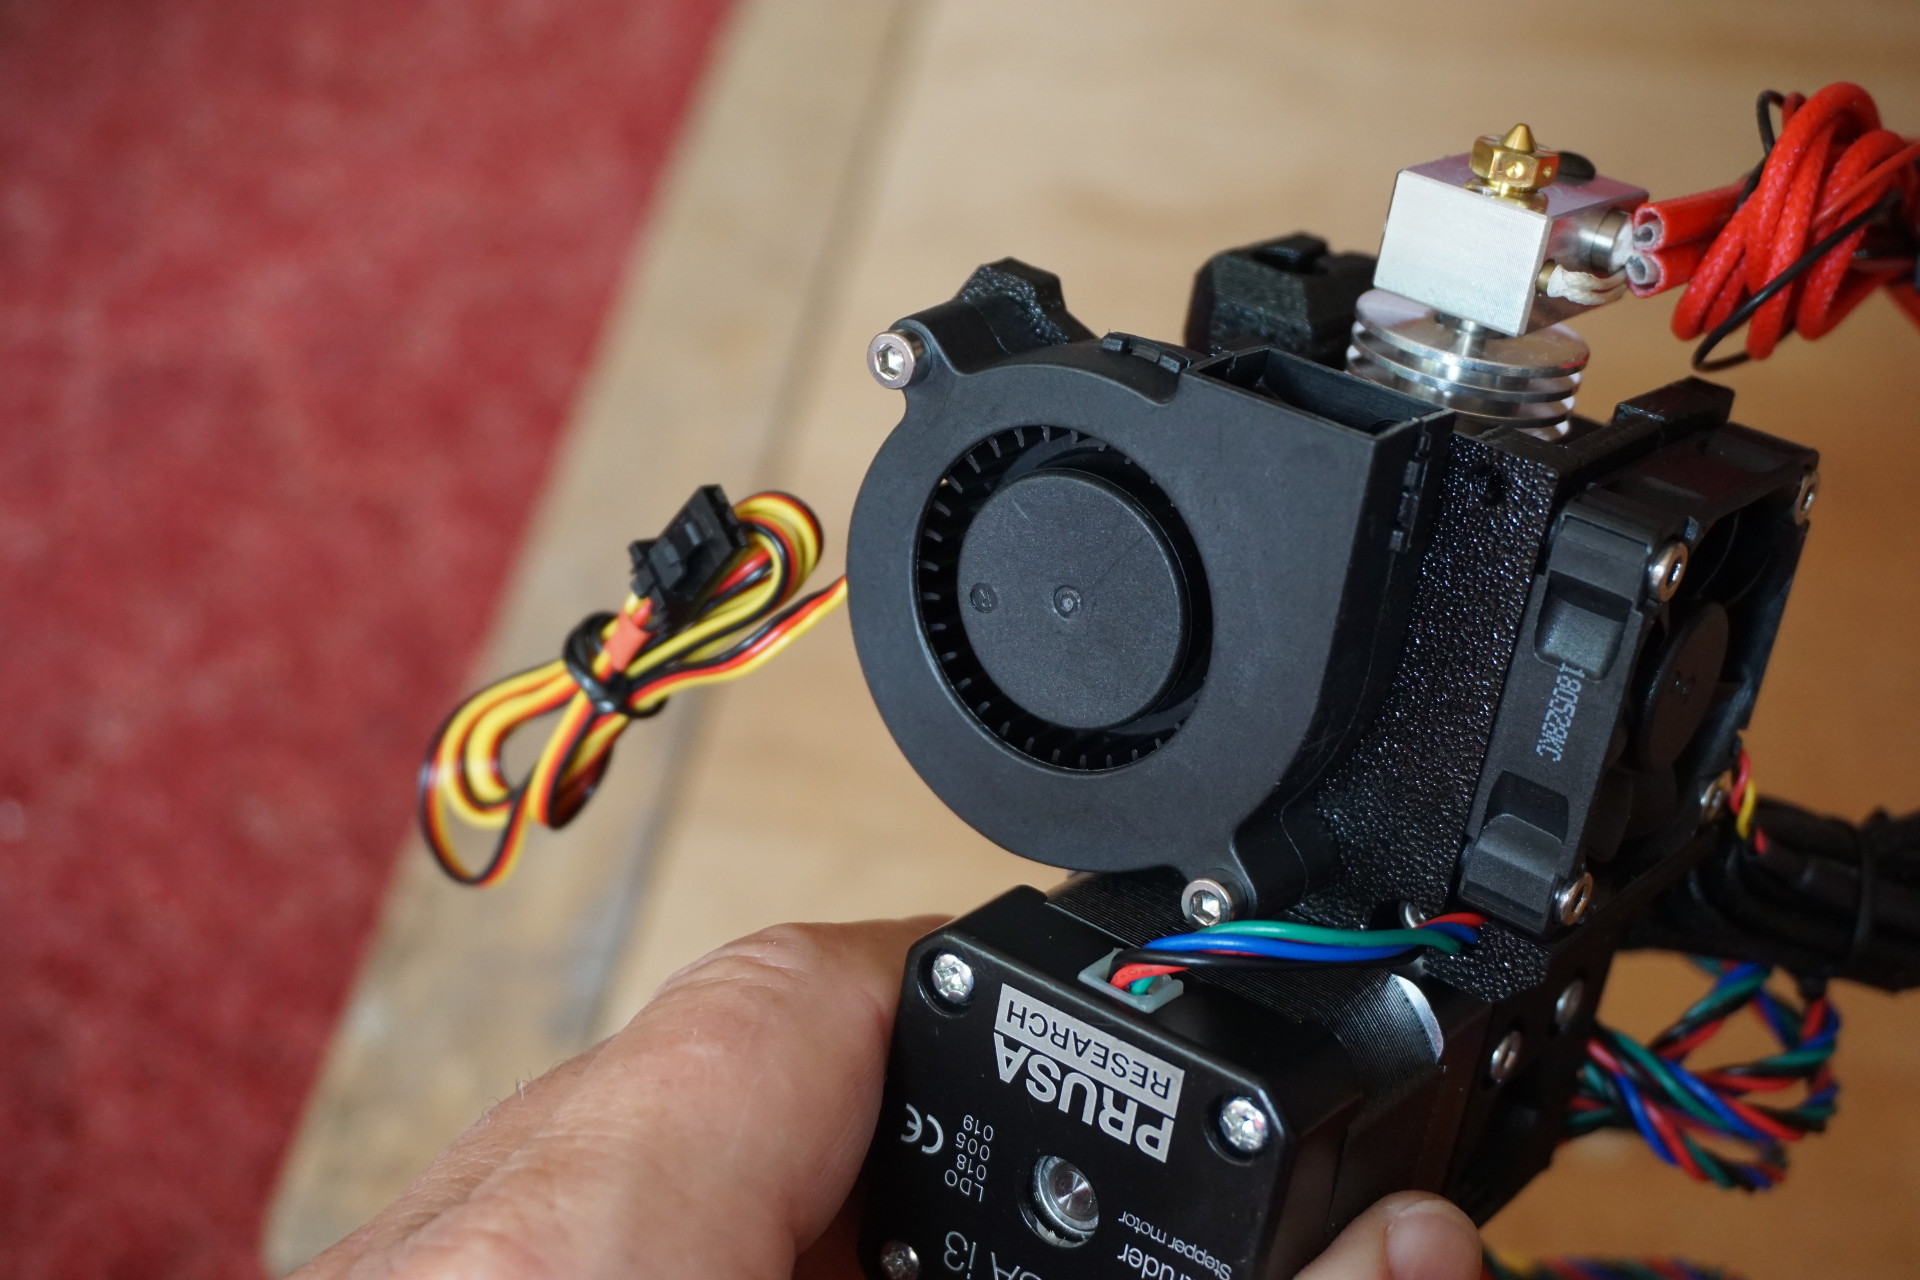
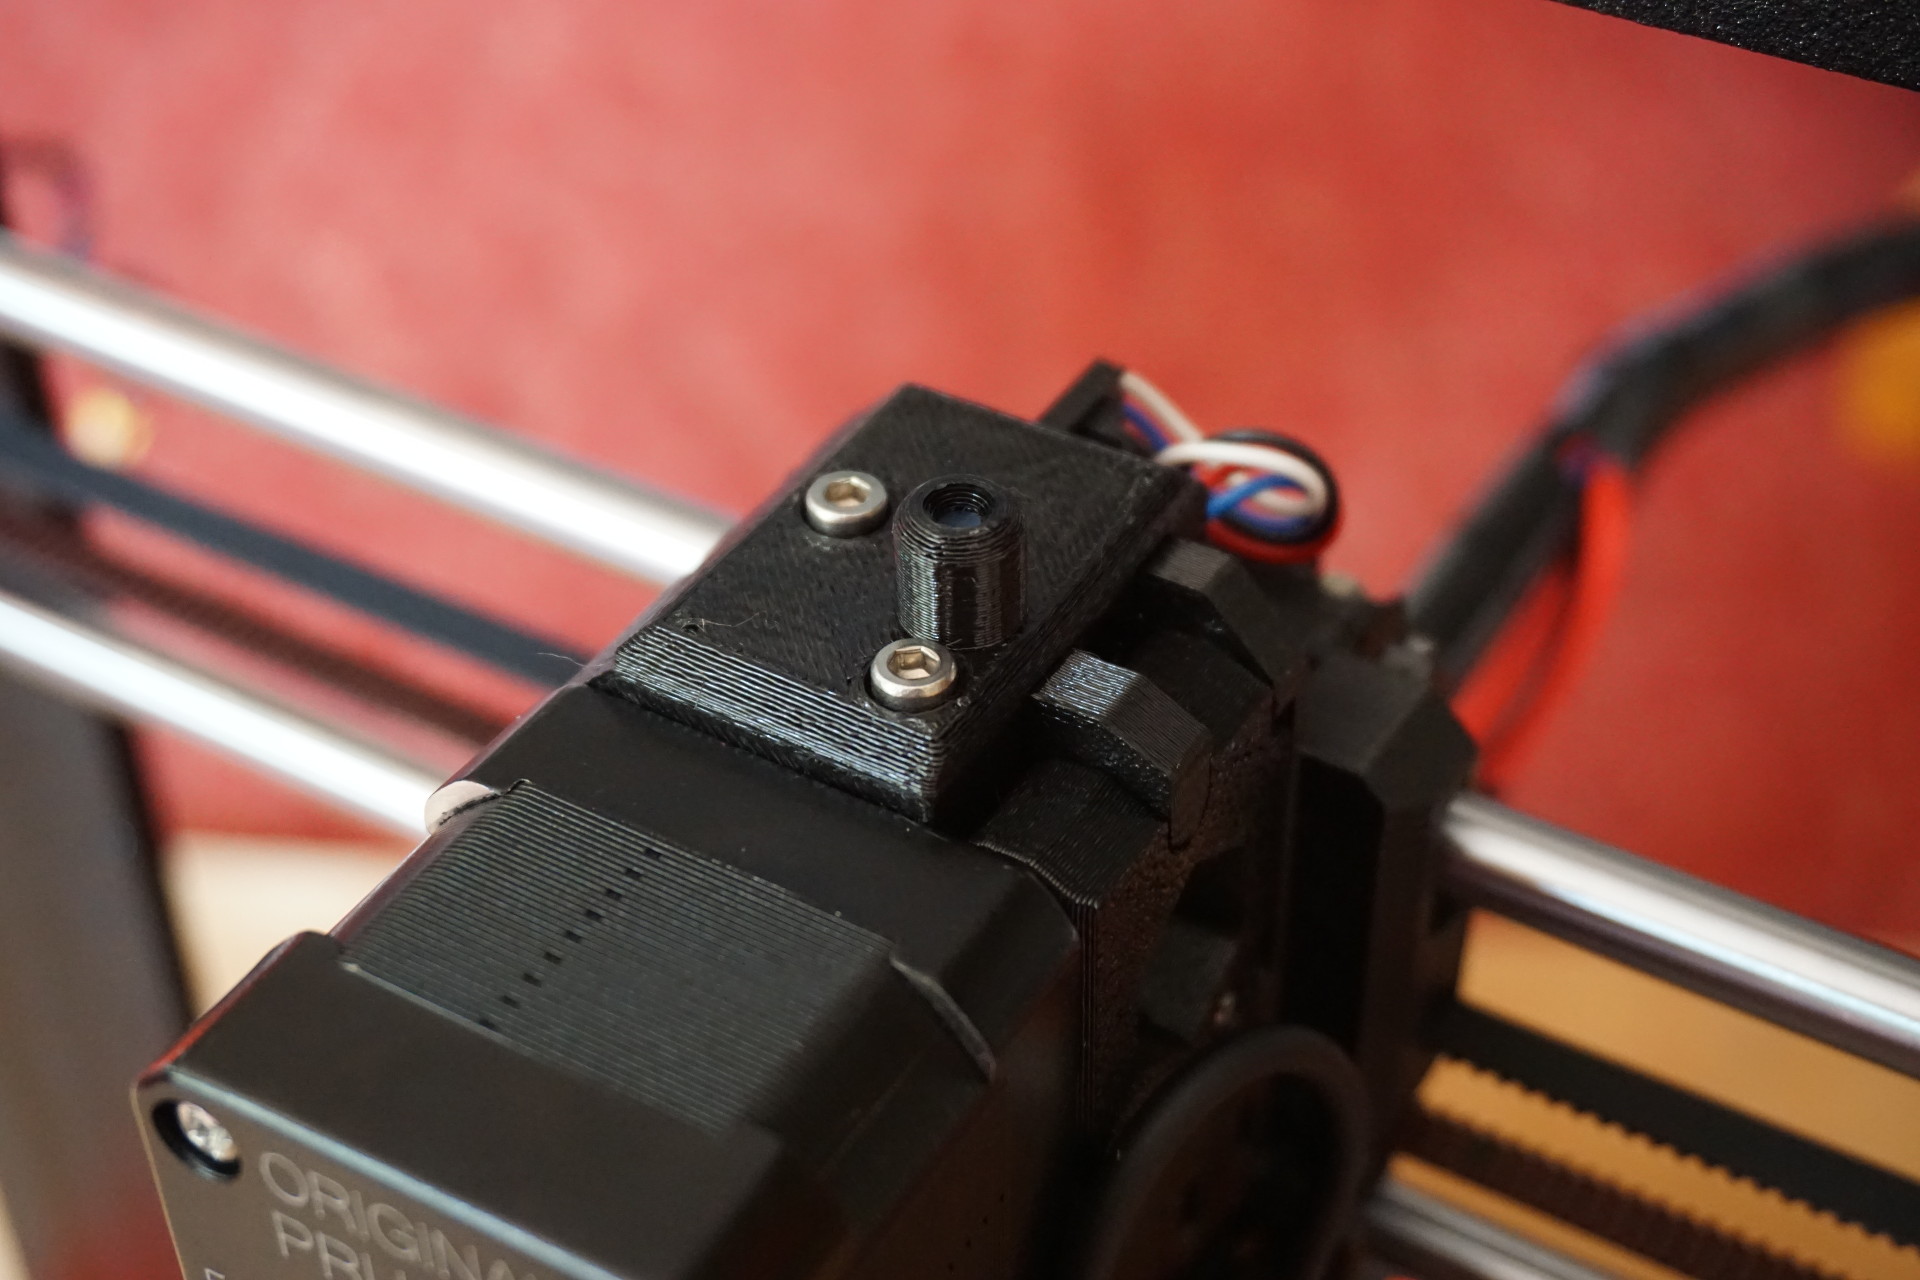
Got the extruder placed to low in its holder. Pictures below document this. I did not notice until I was adjusting the bed leveling (PINDA) probe and I saw that the probe needed to be extended down an unreasonable amount. Correction involved removing the PINDA probe, the fans, and the extruder cover.
When putting the part cooling fan back on I overtightened on of the screws, slightly damaging the fan housing. To fix, I used a plastic washer from the spare hardware bag to spread the load a bit.
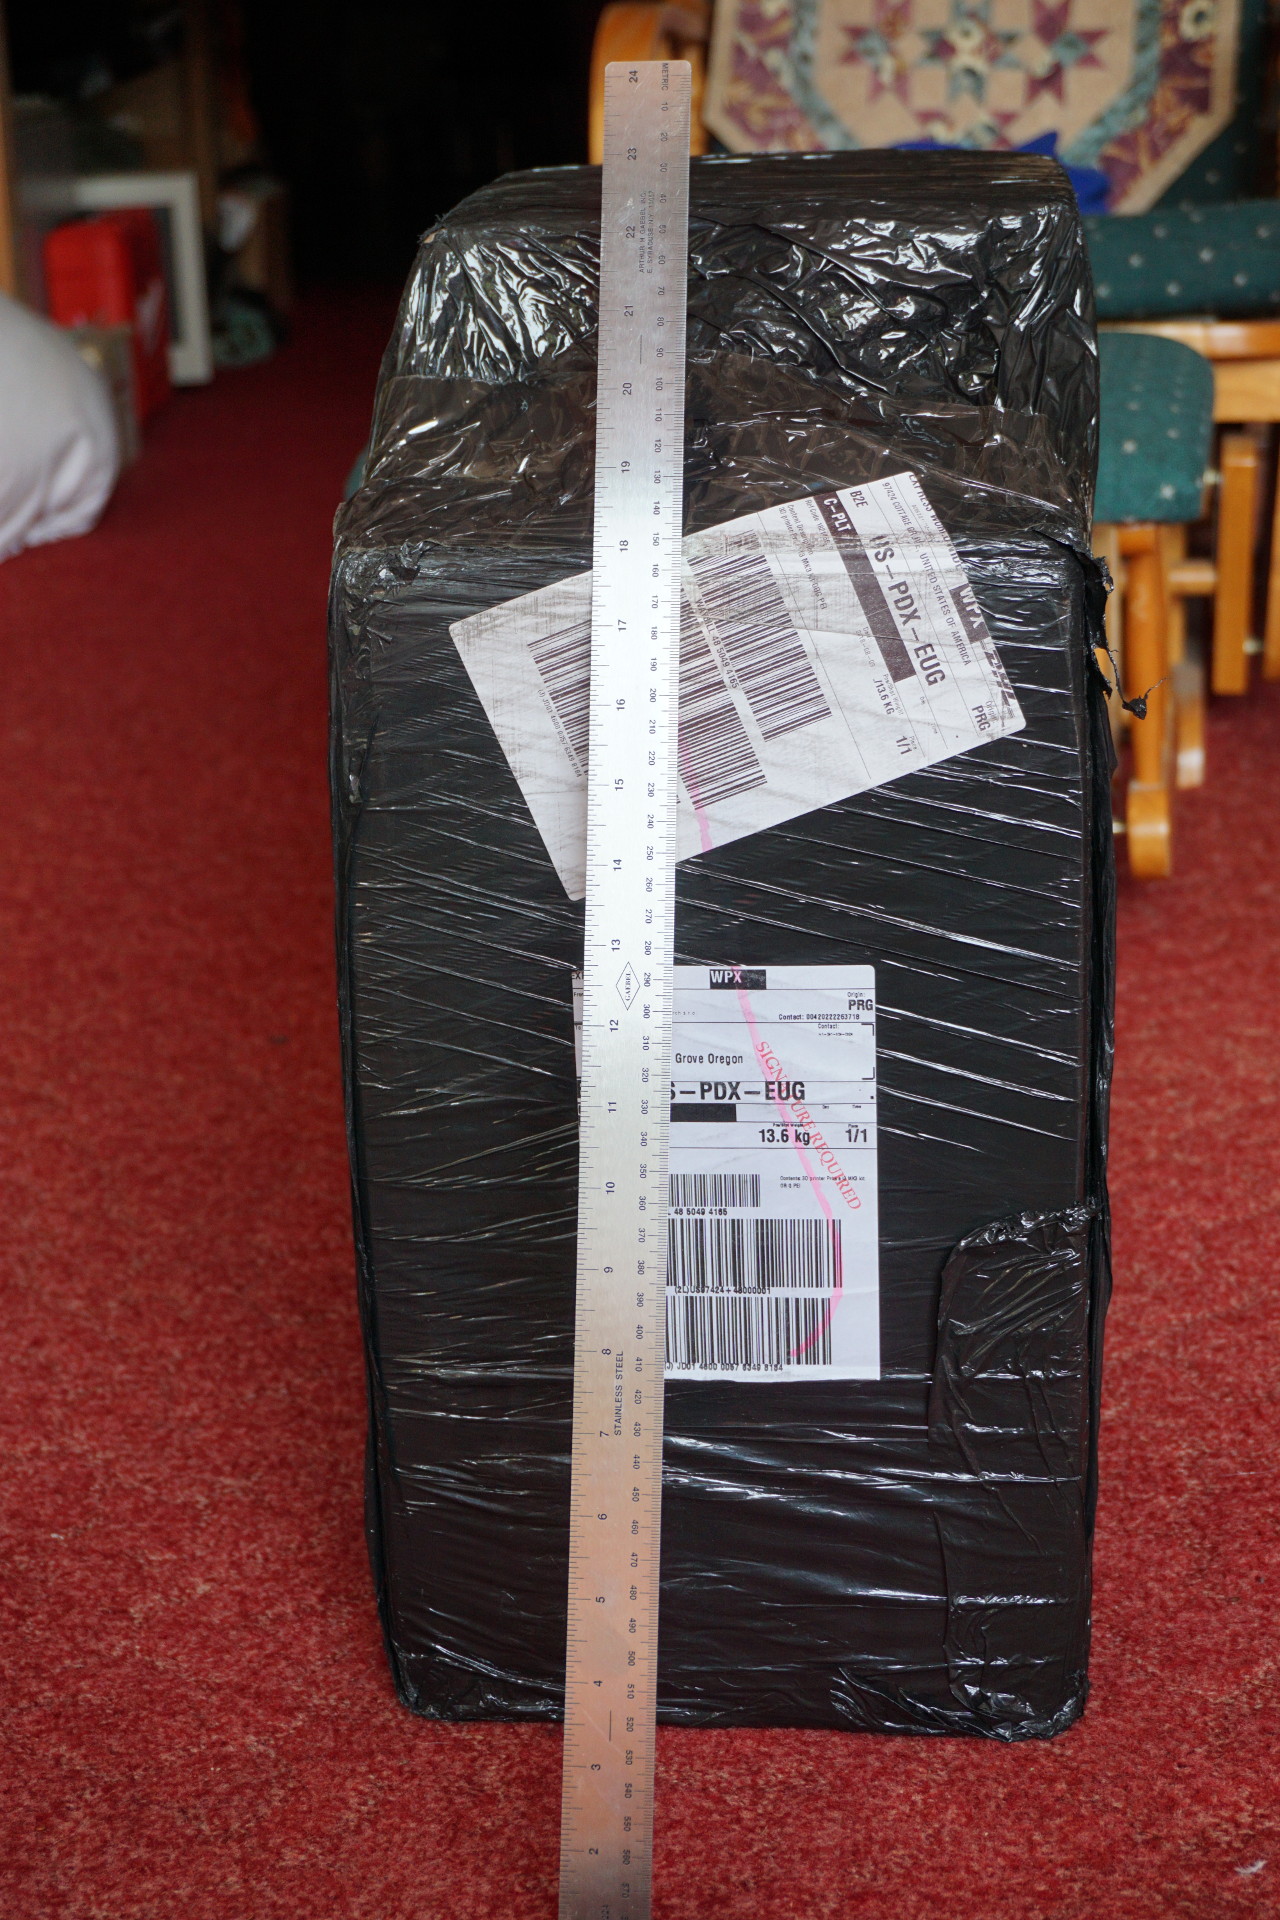
As it arrived on the front porch:
Box on top is second filament spool, ABS for a specific project I had planned, and not
part of the kit proper.
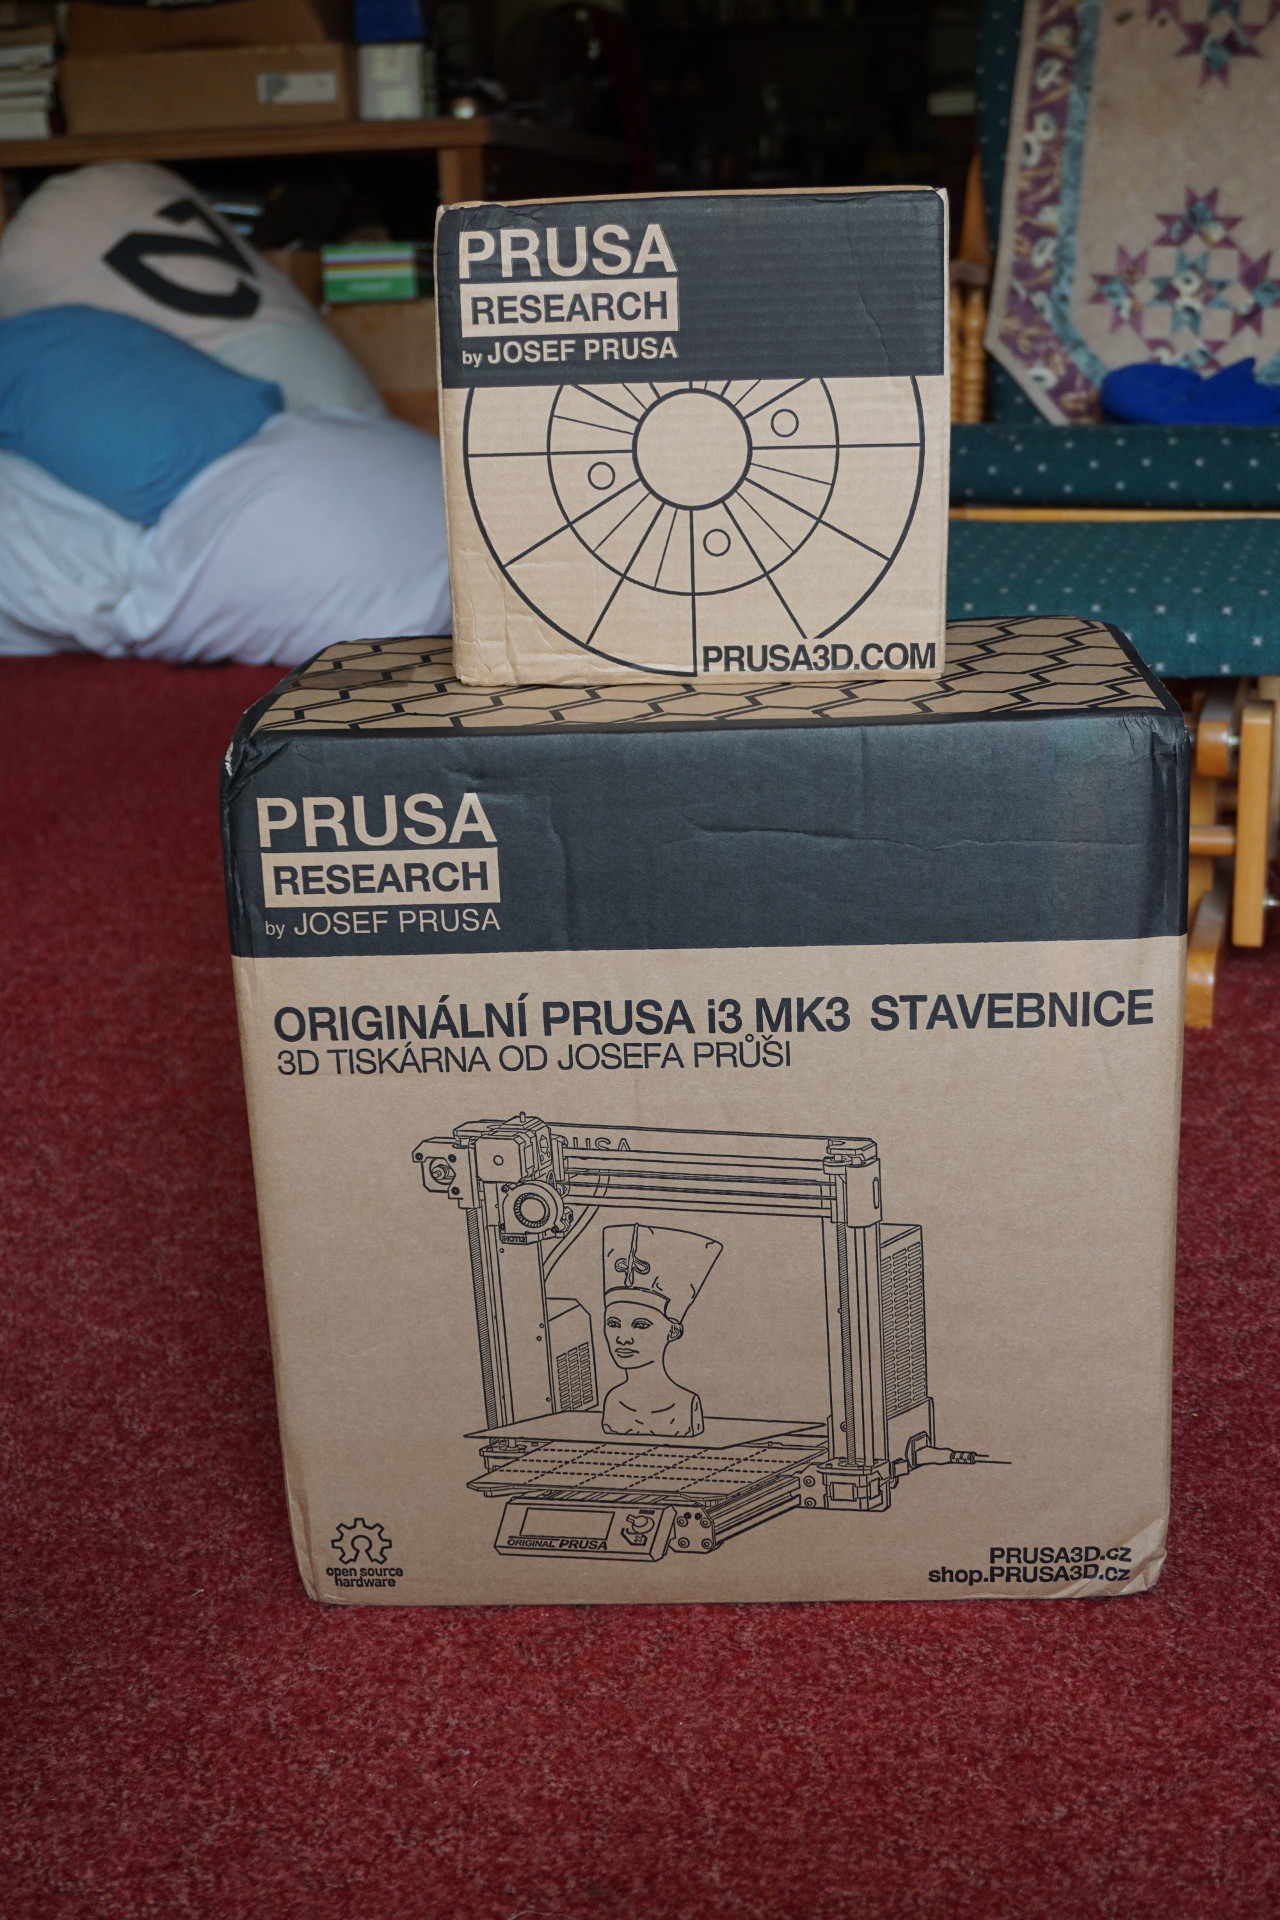
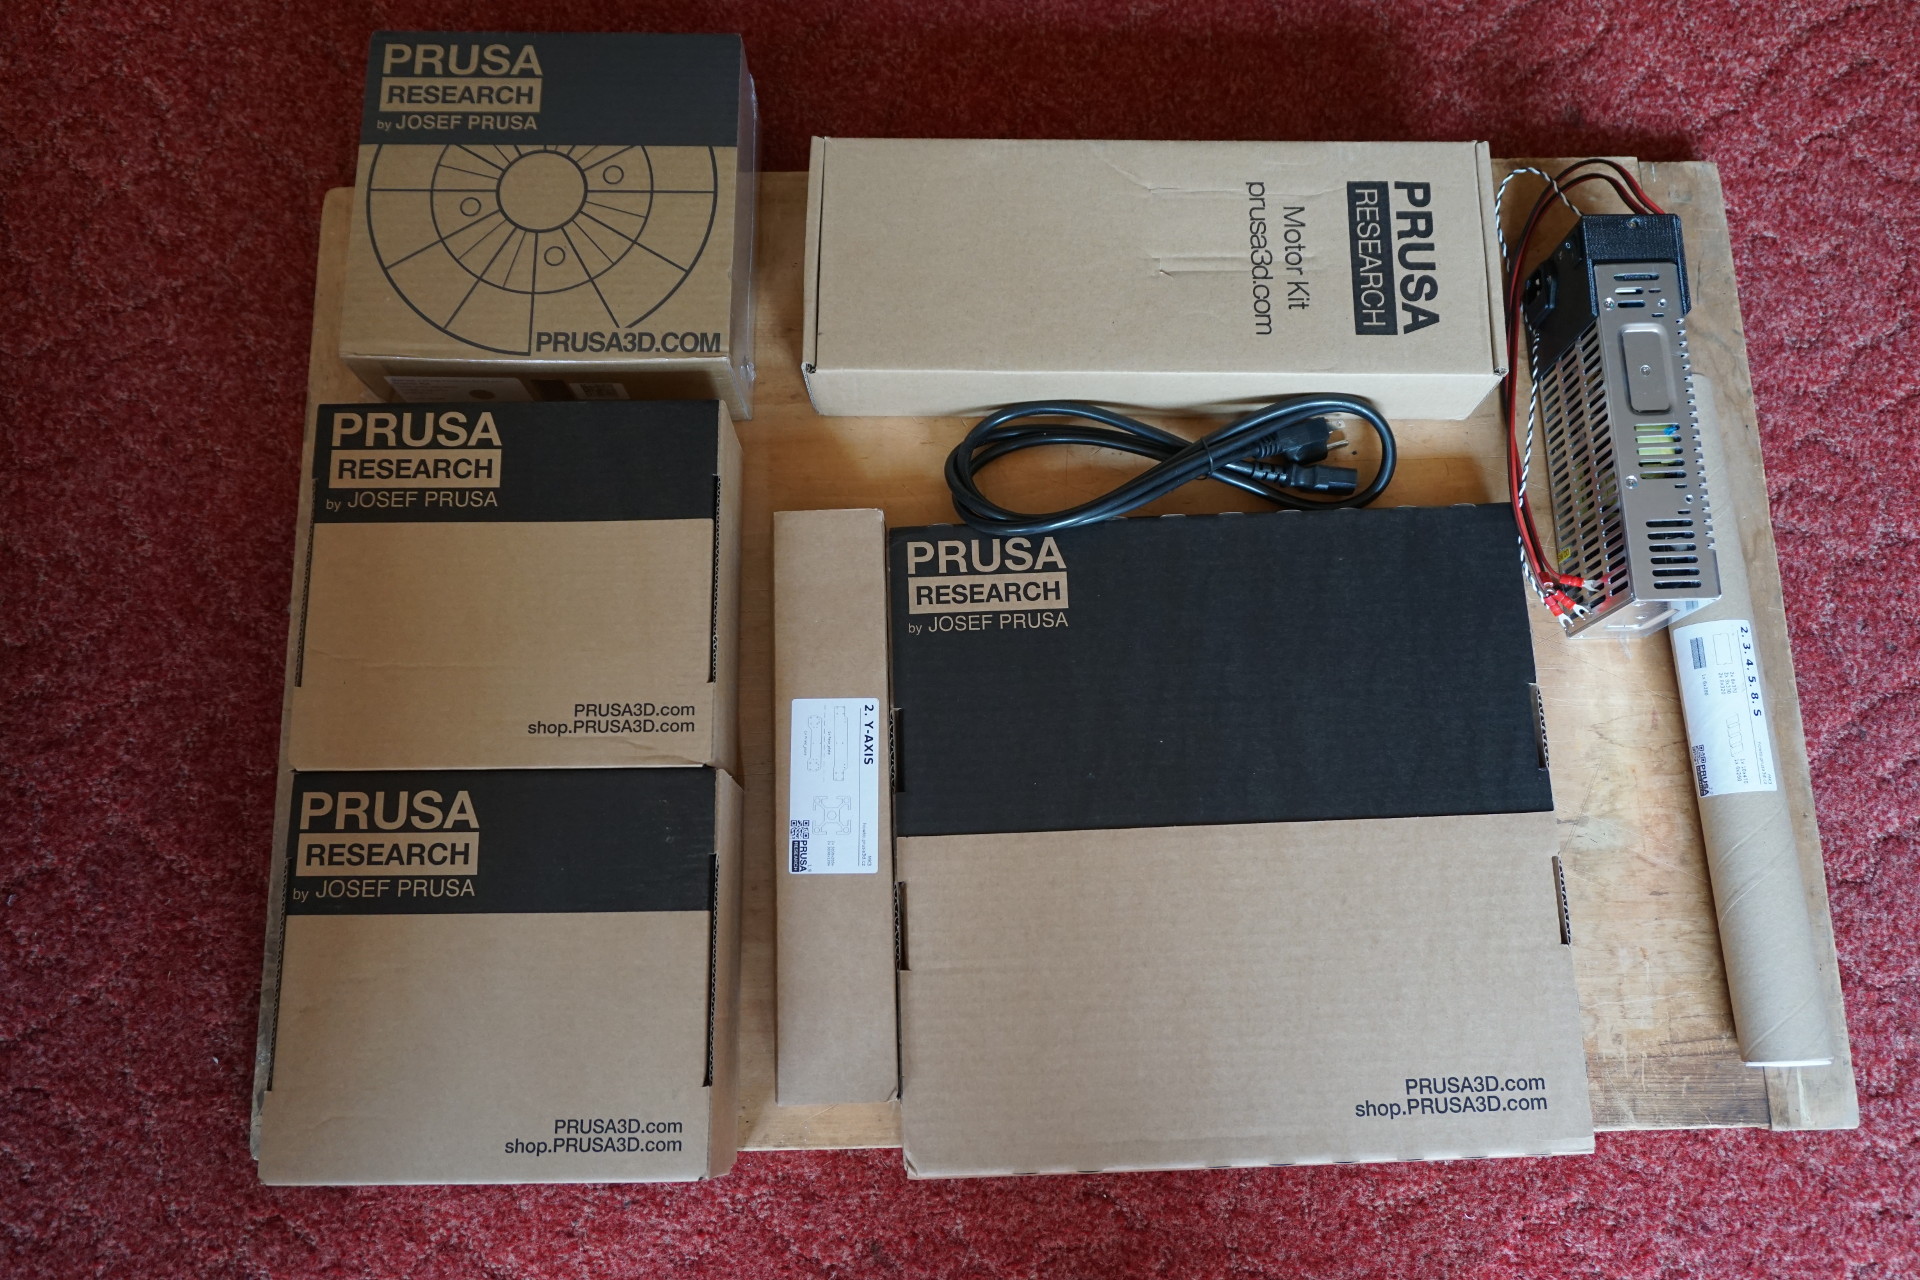
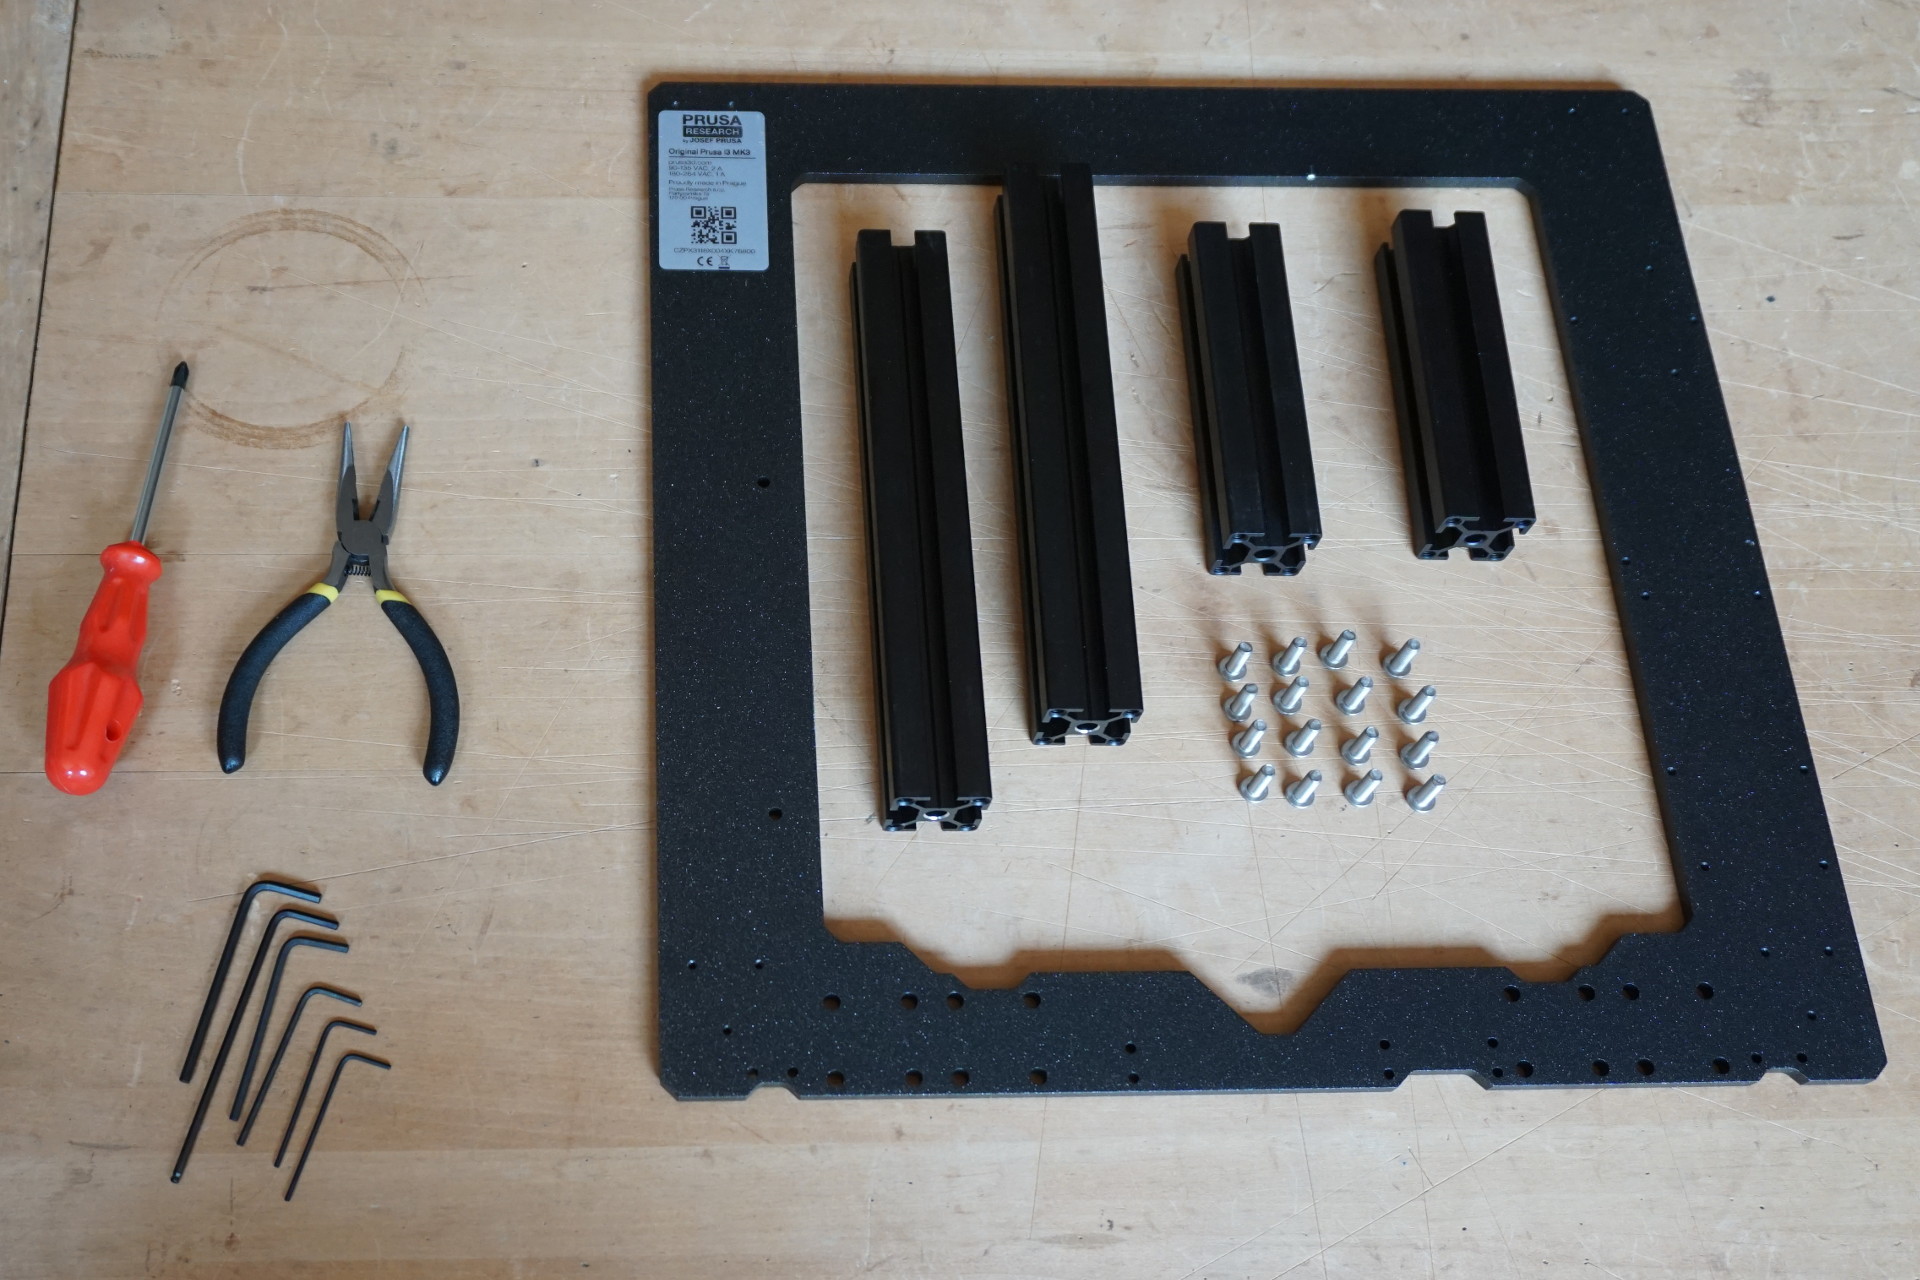
Contents of the kit box:
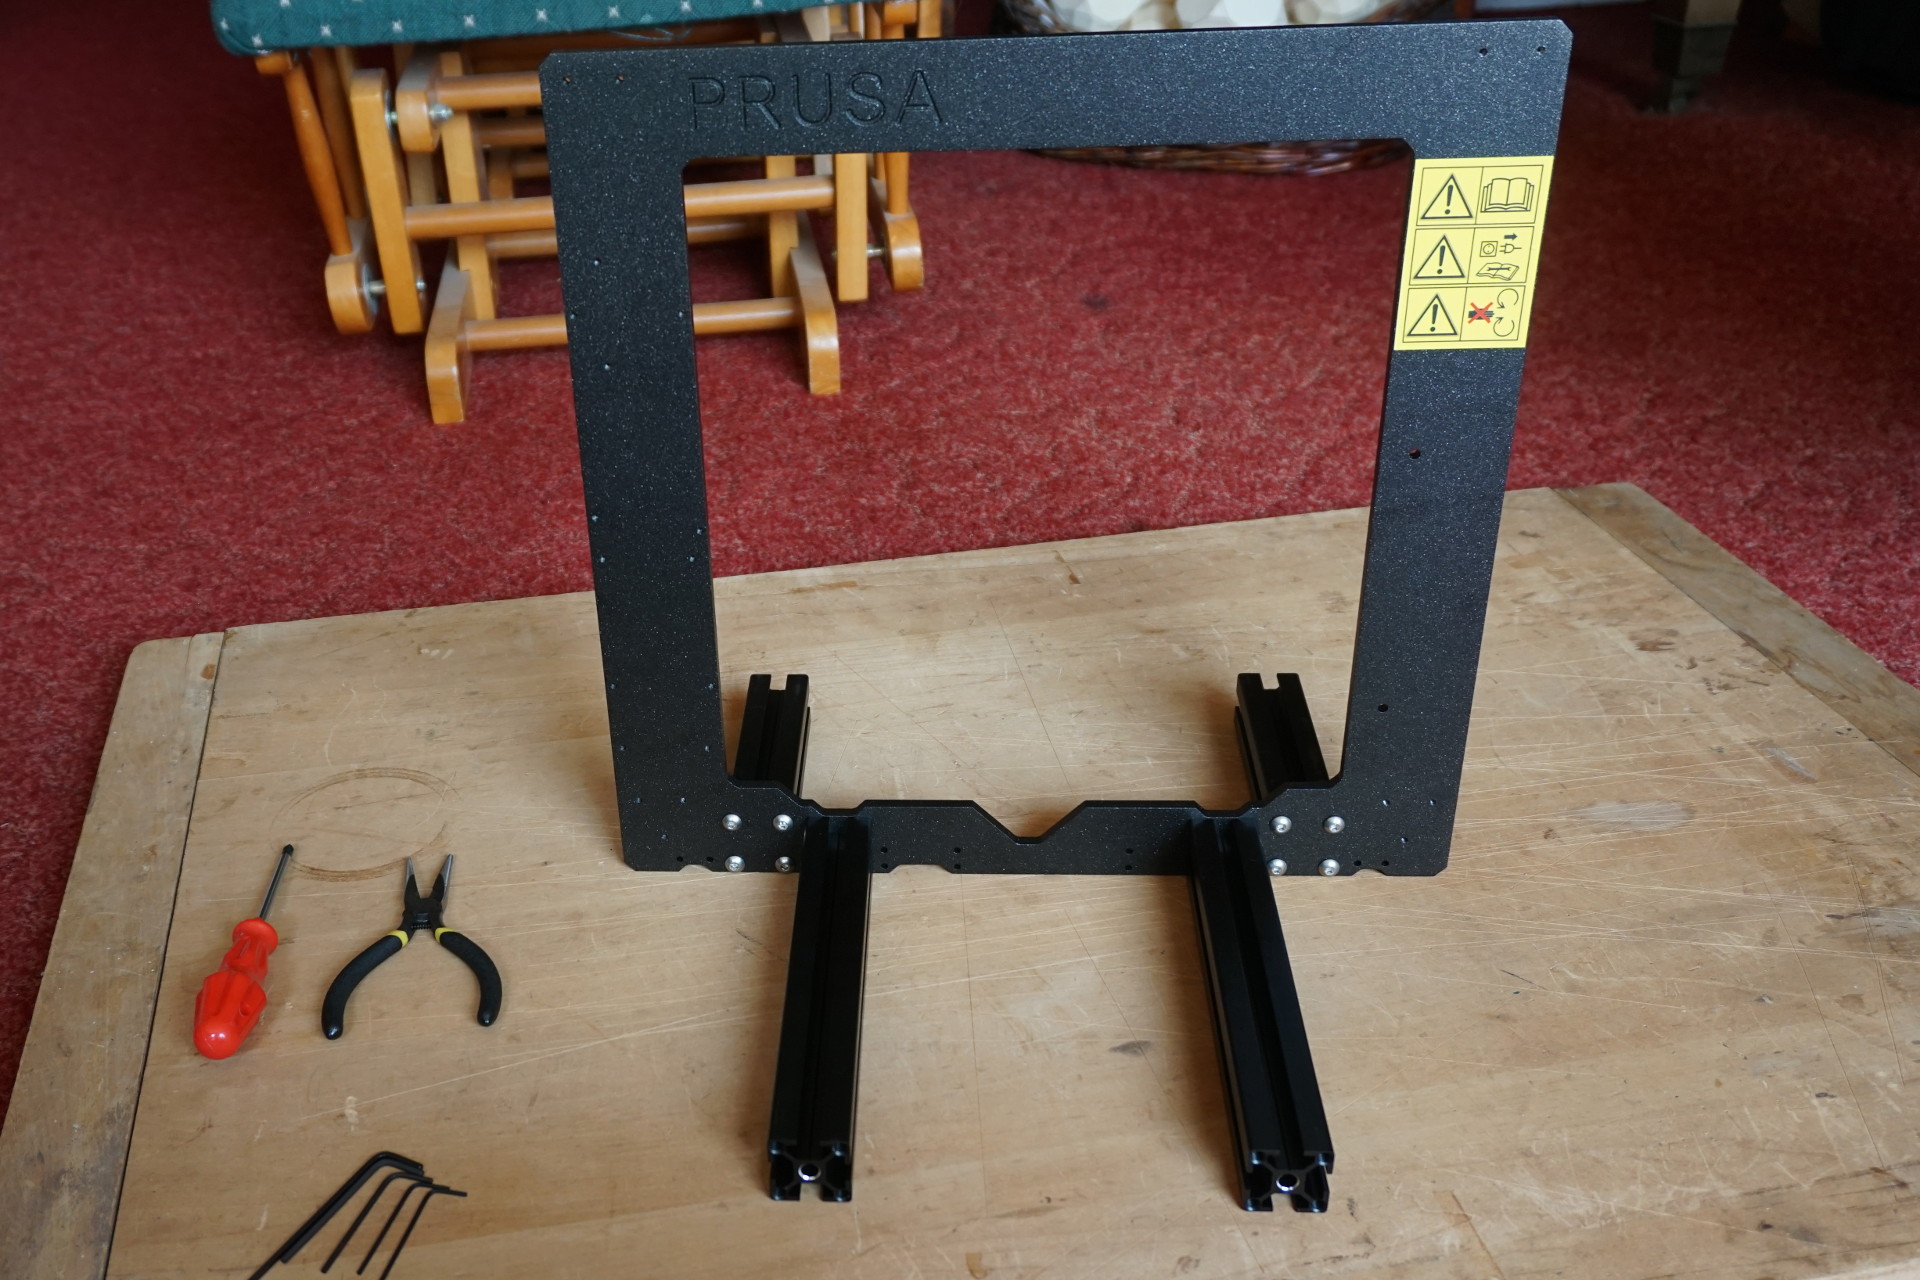
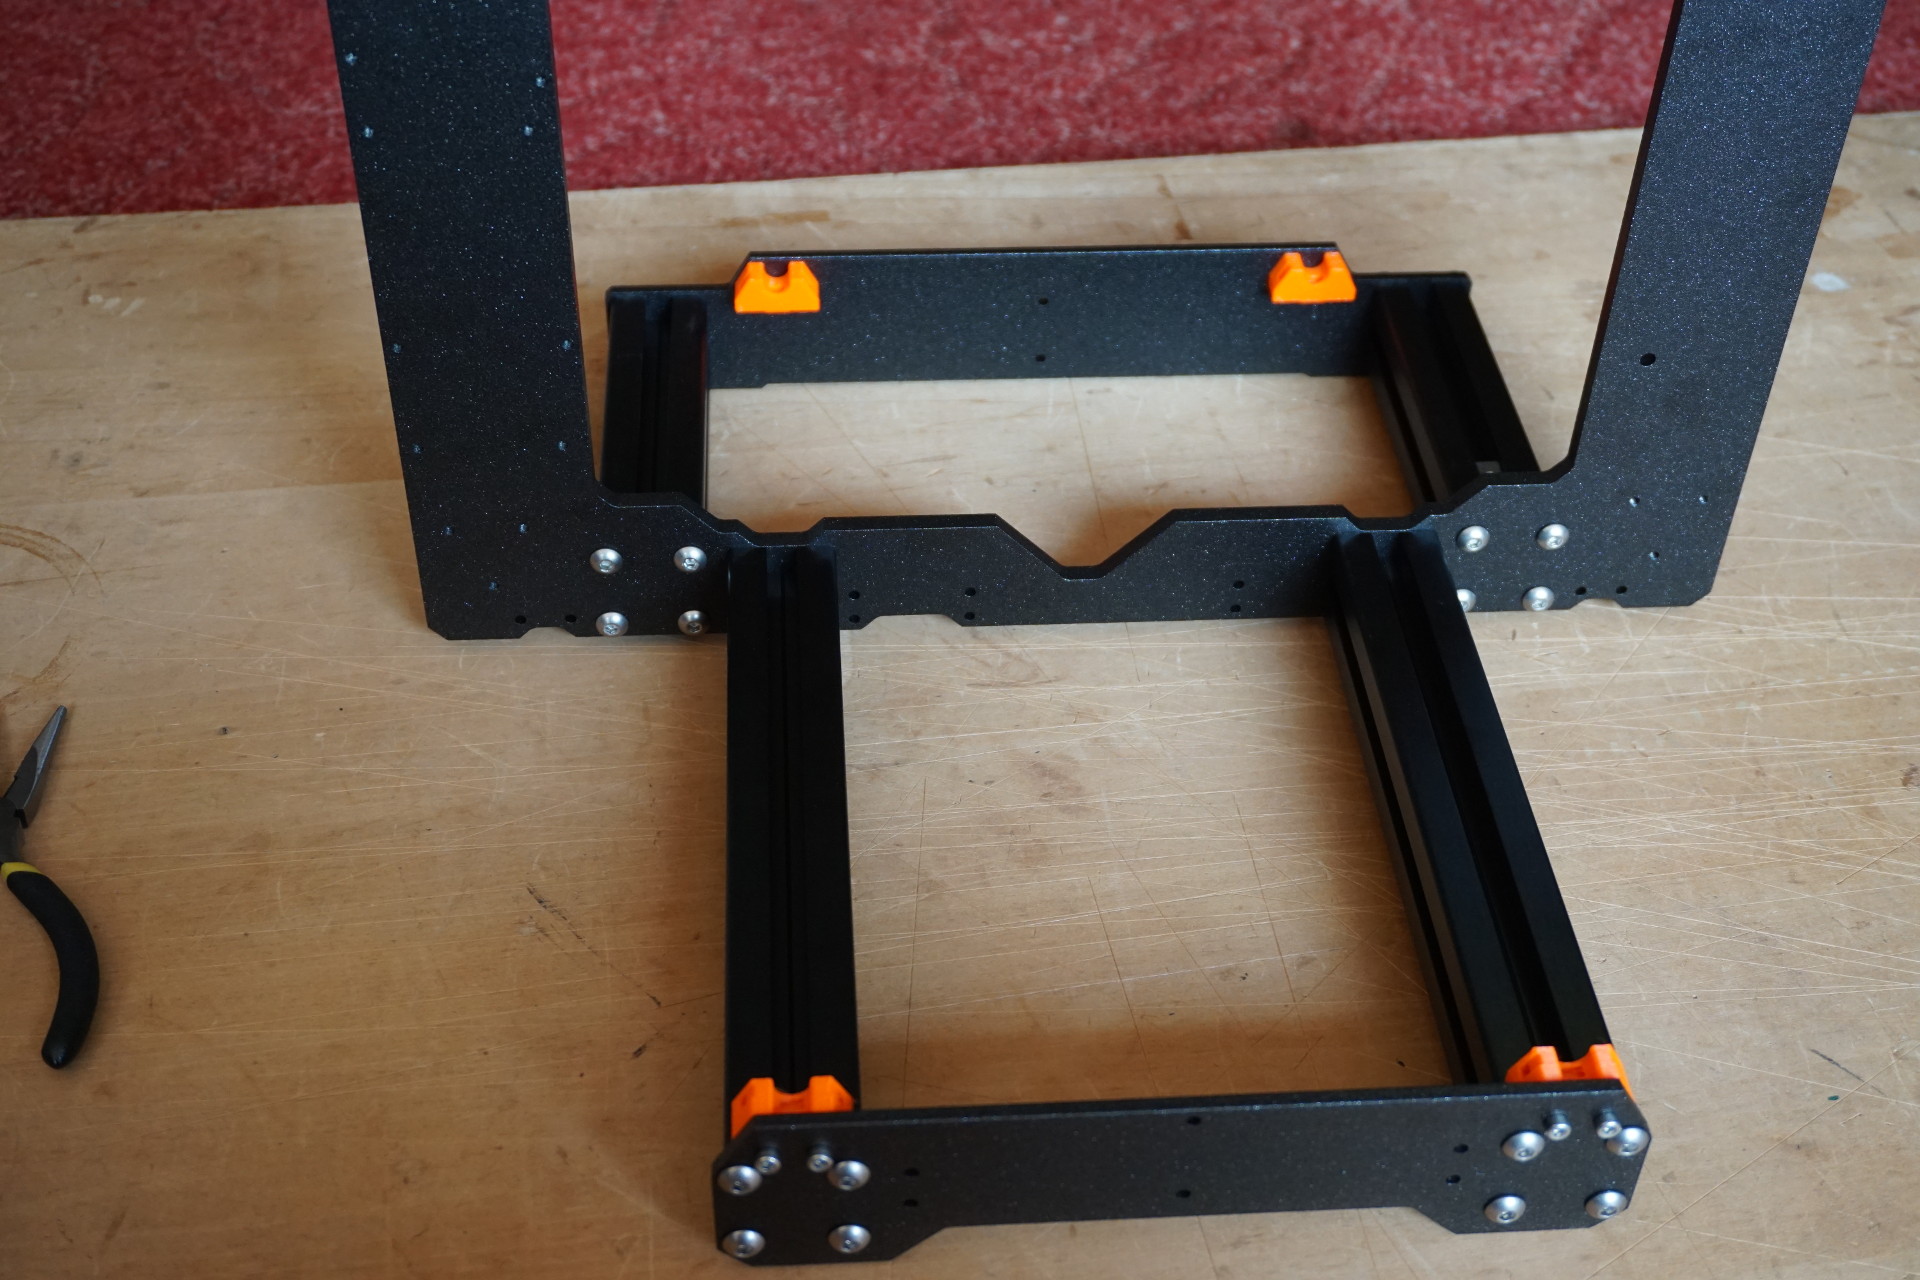
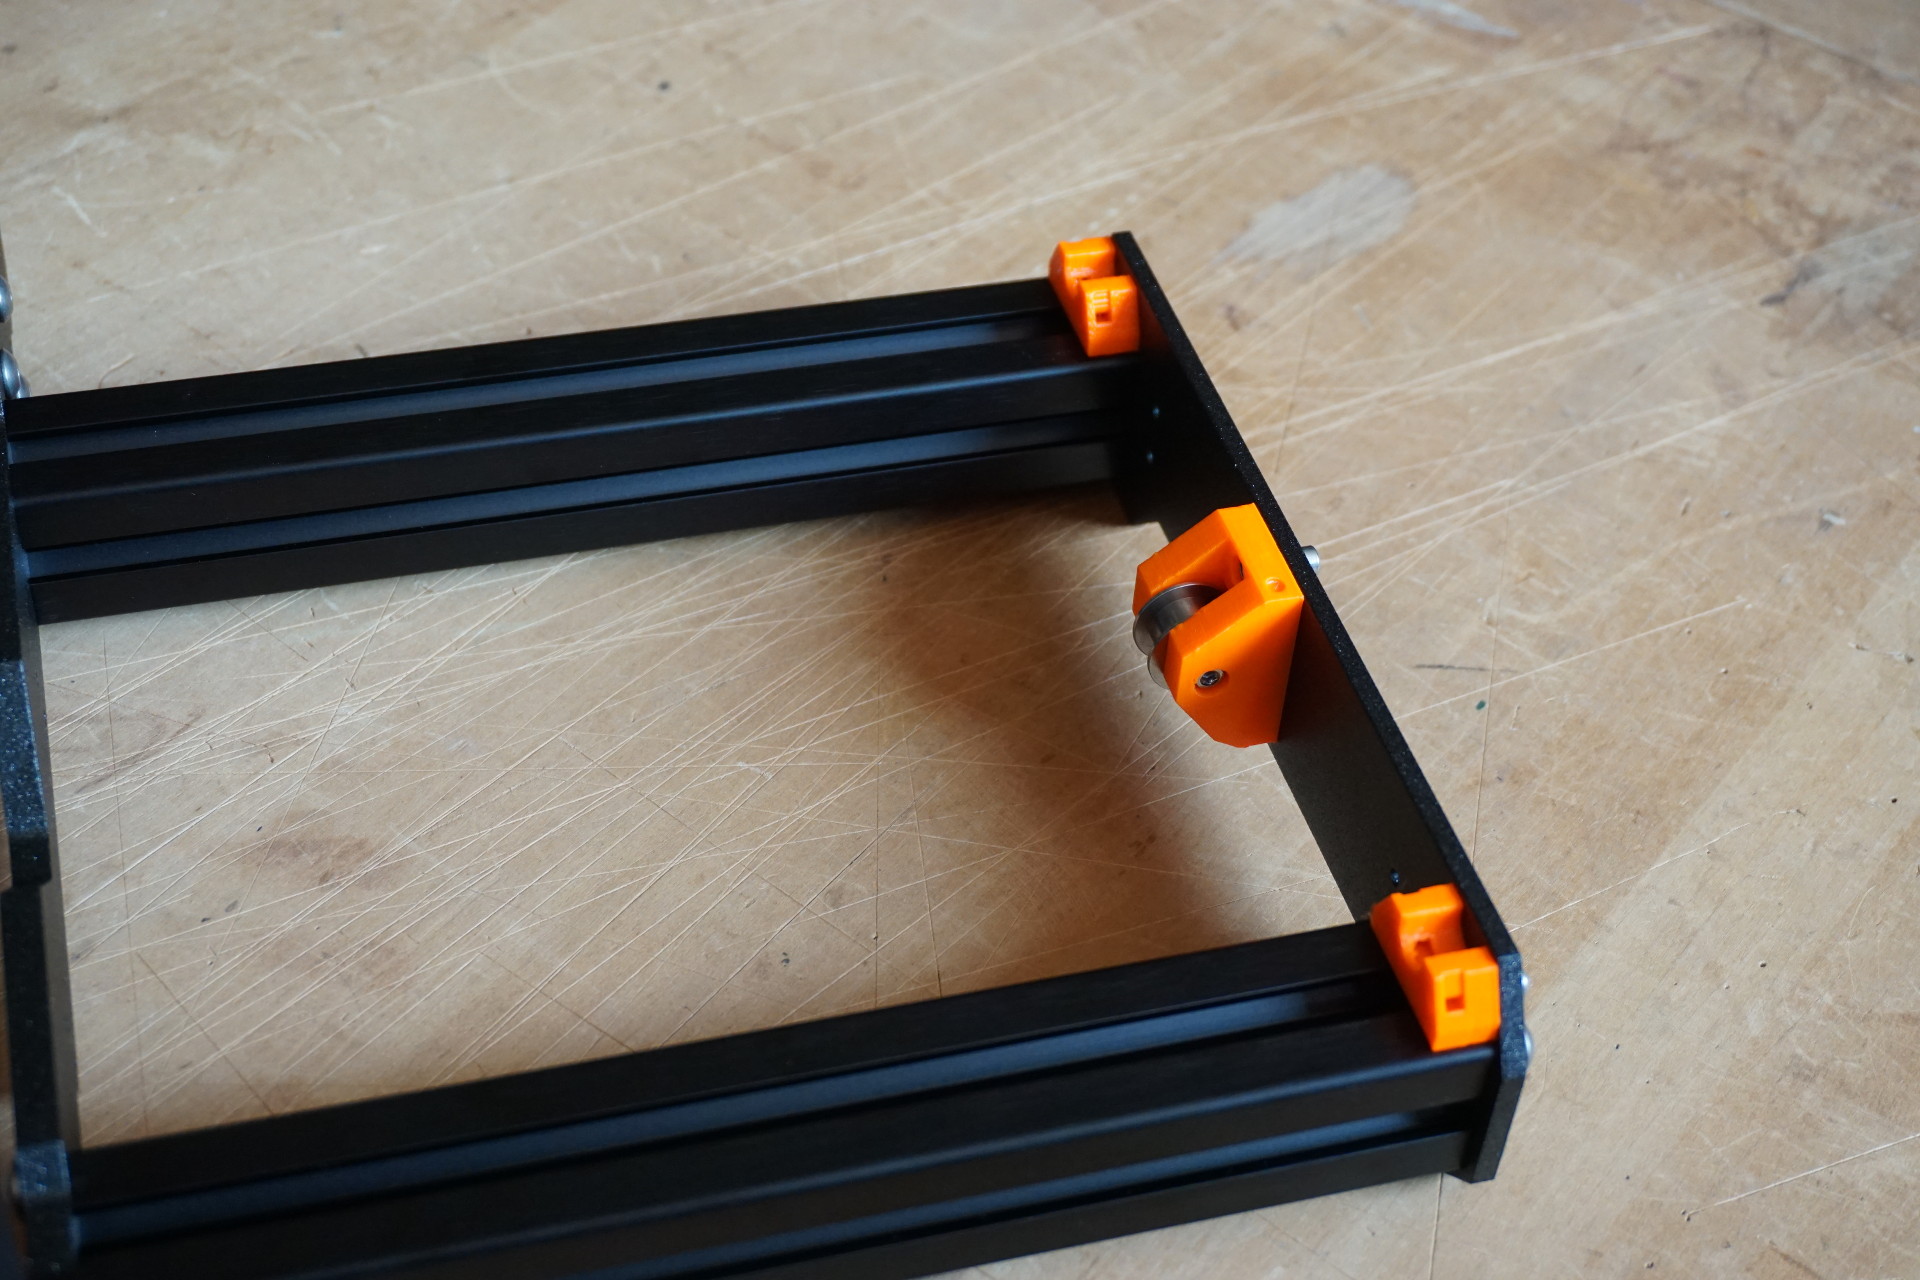
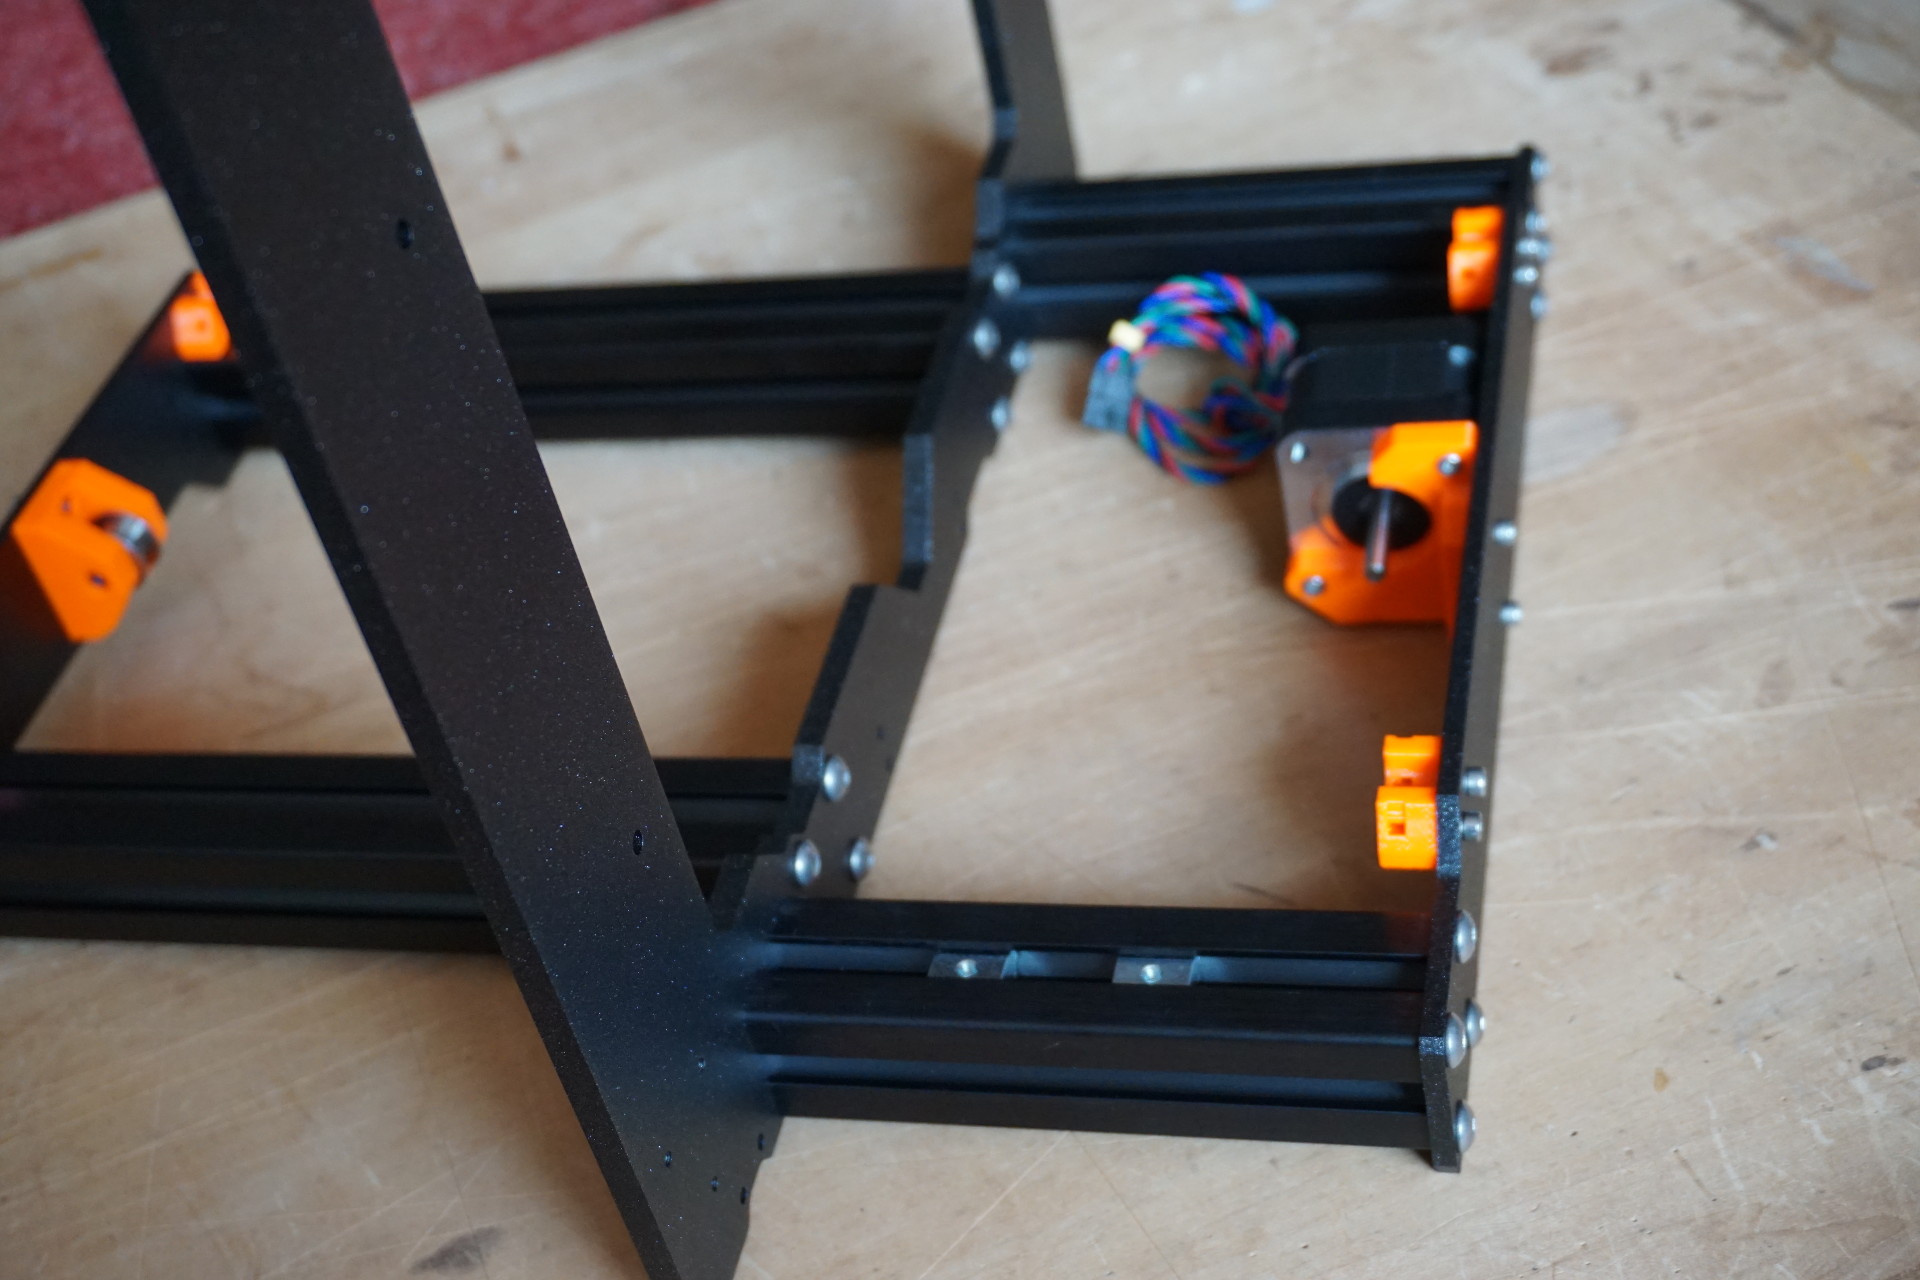
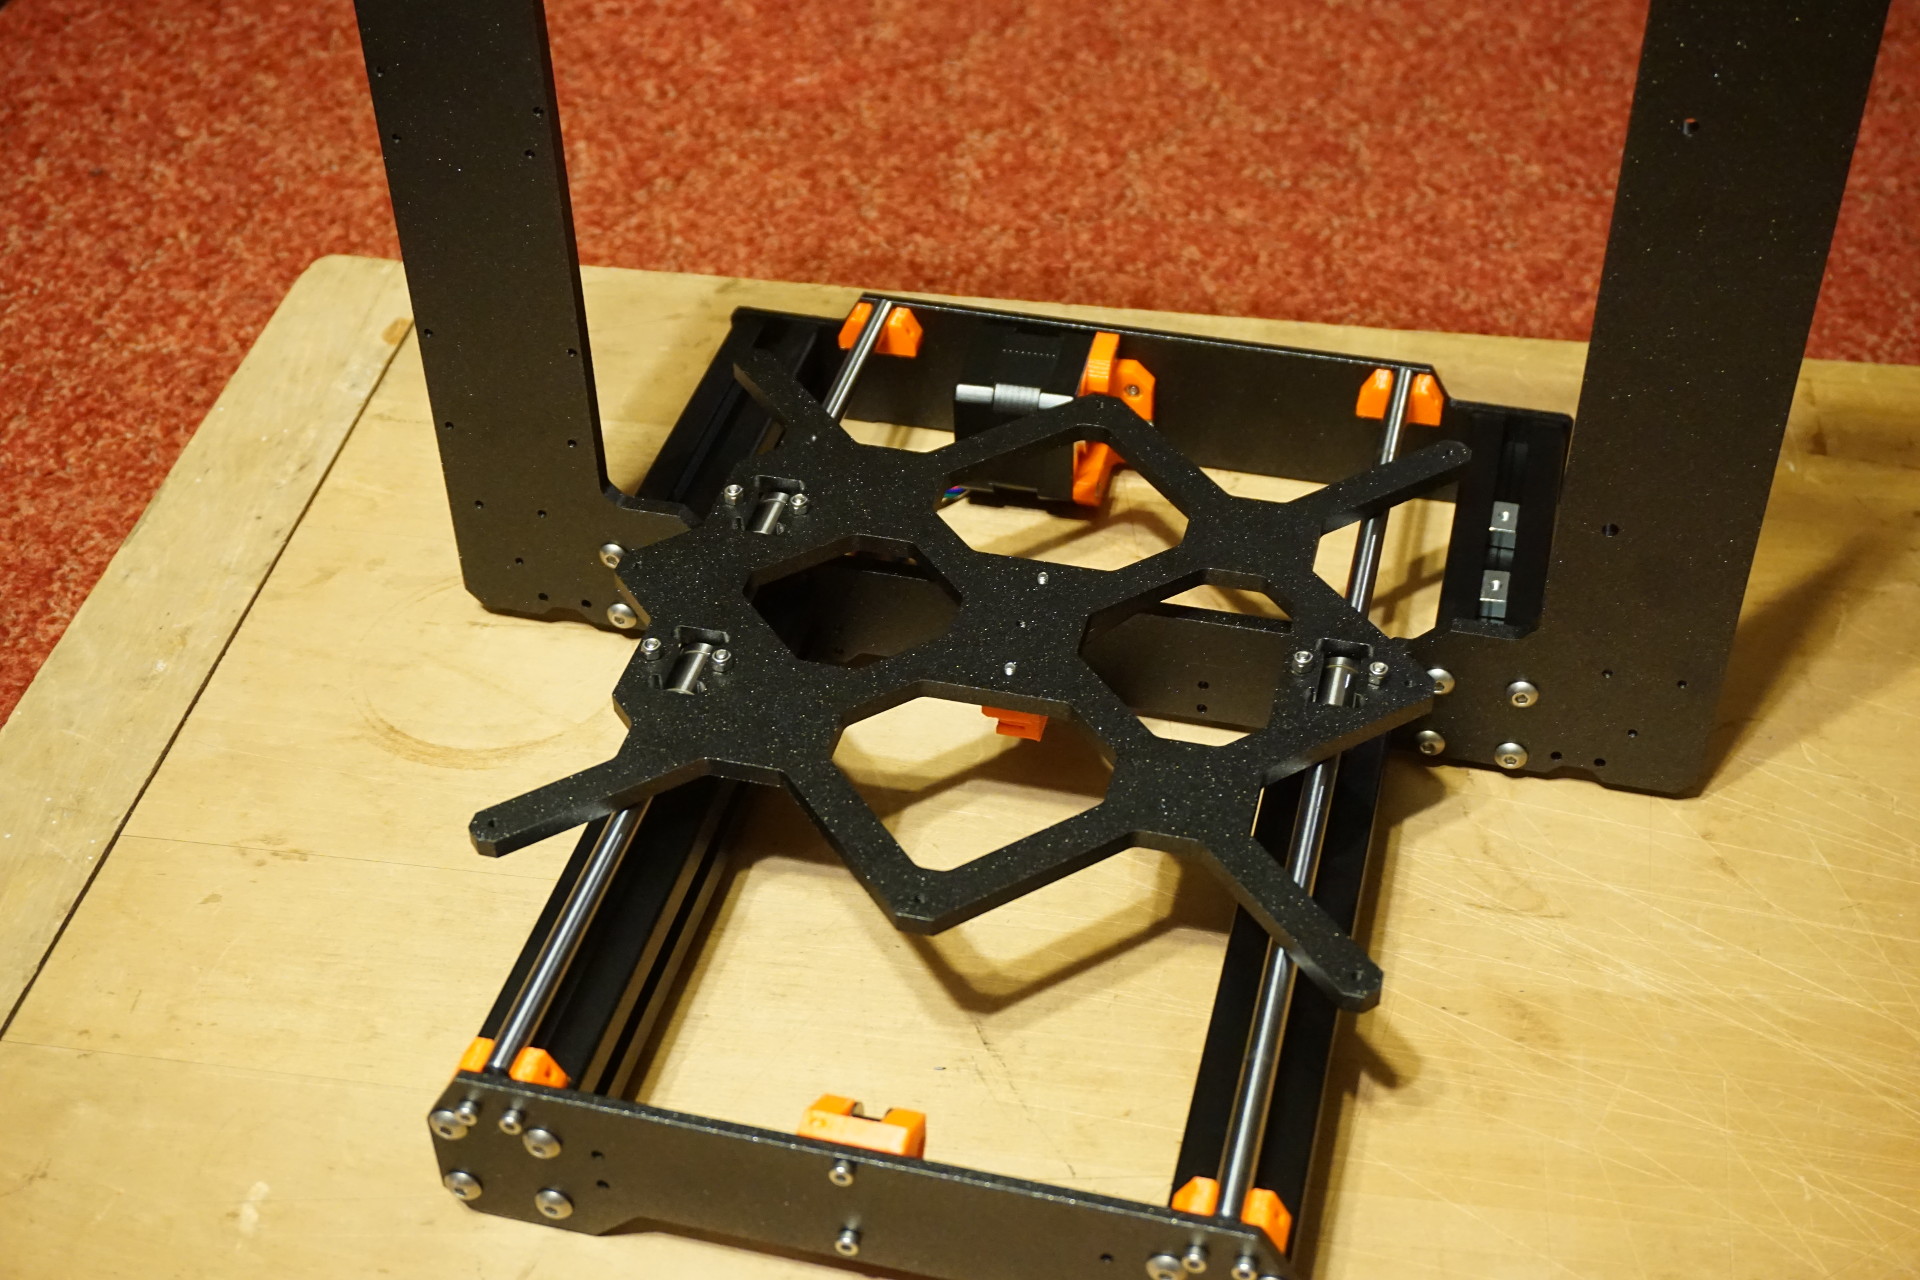
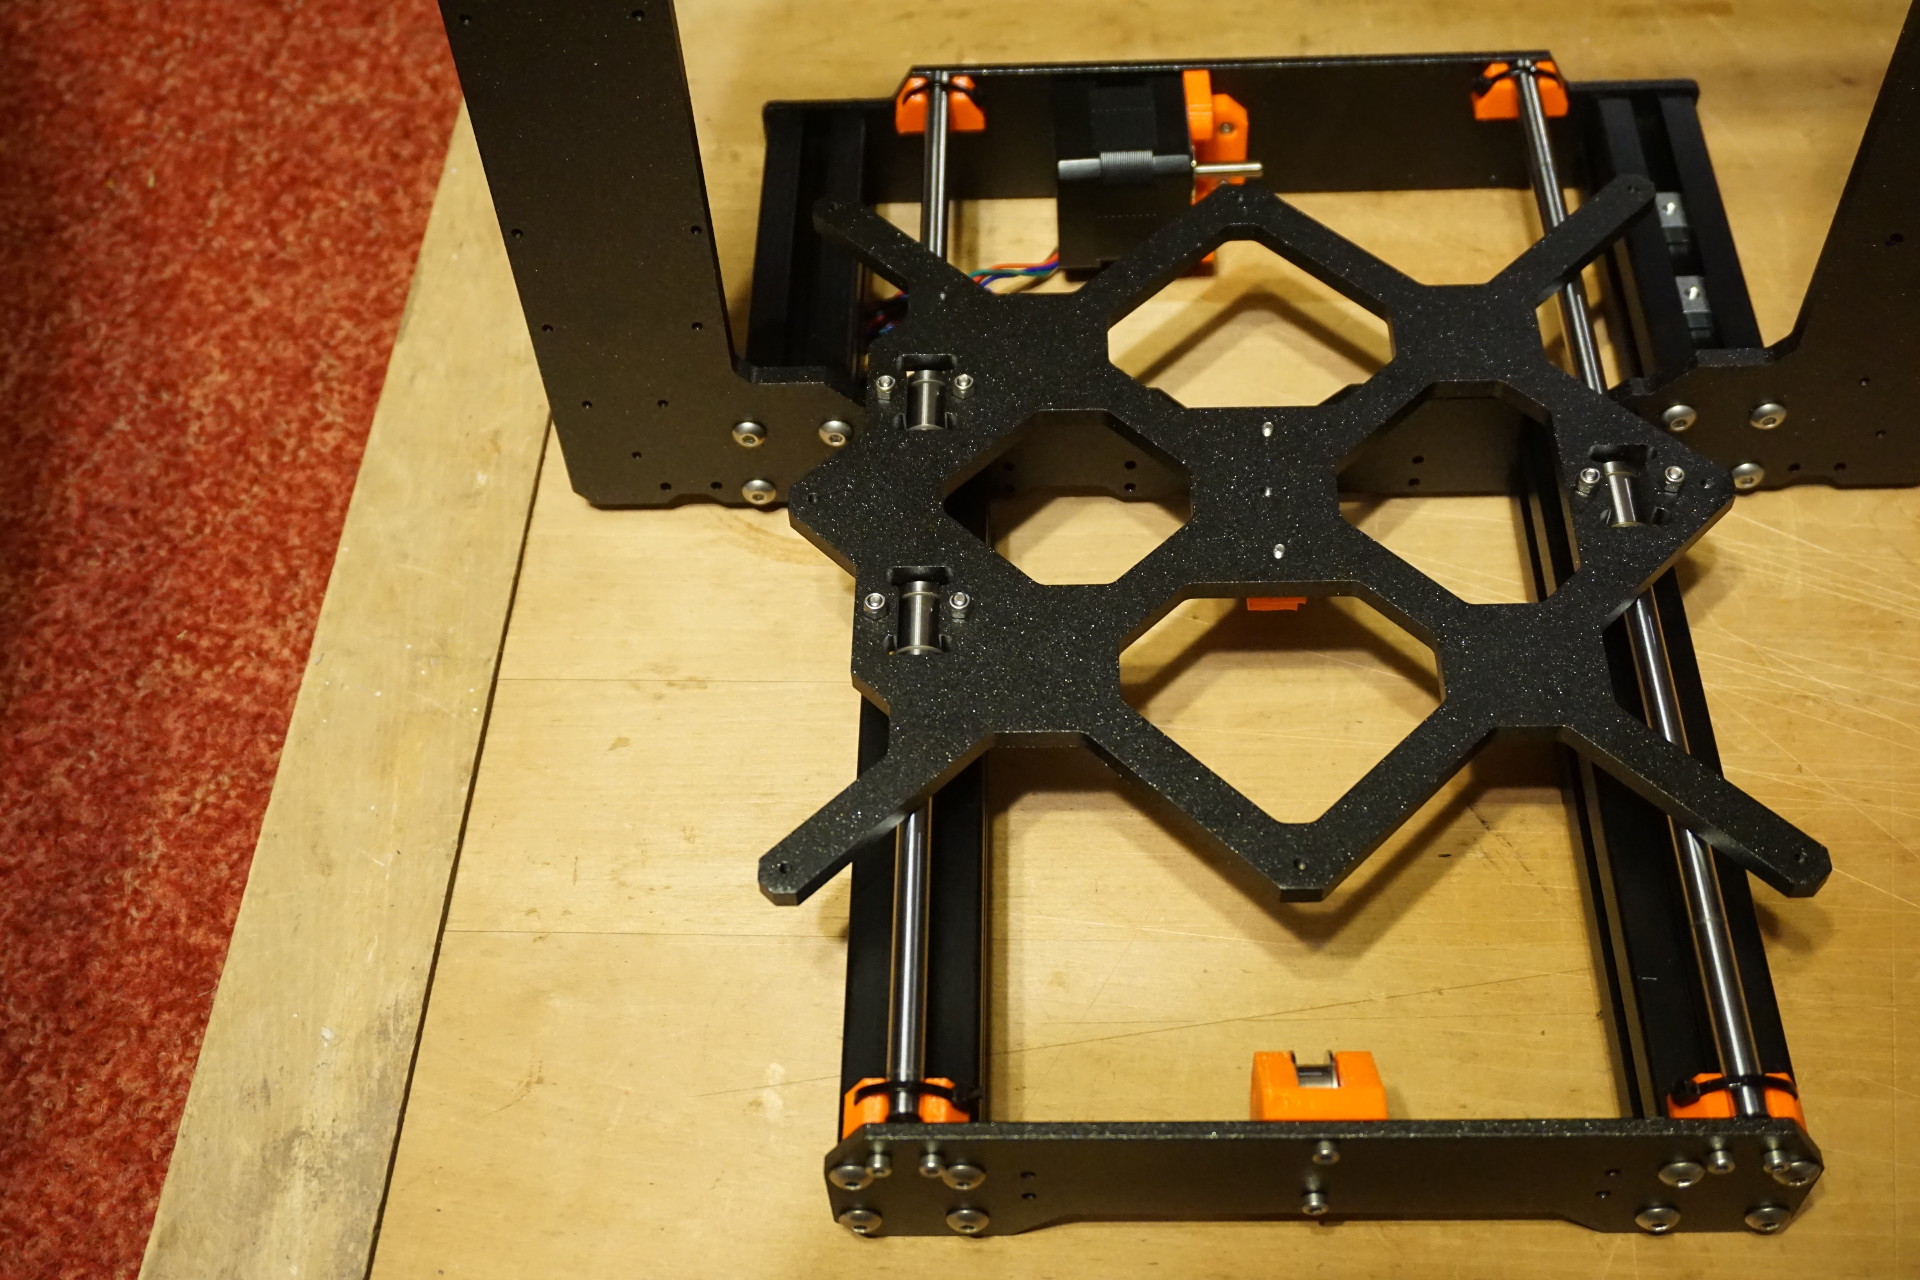
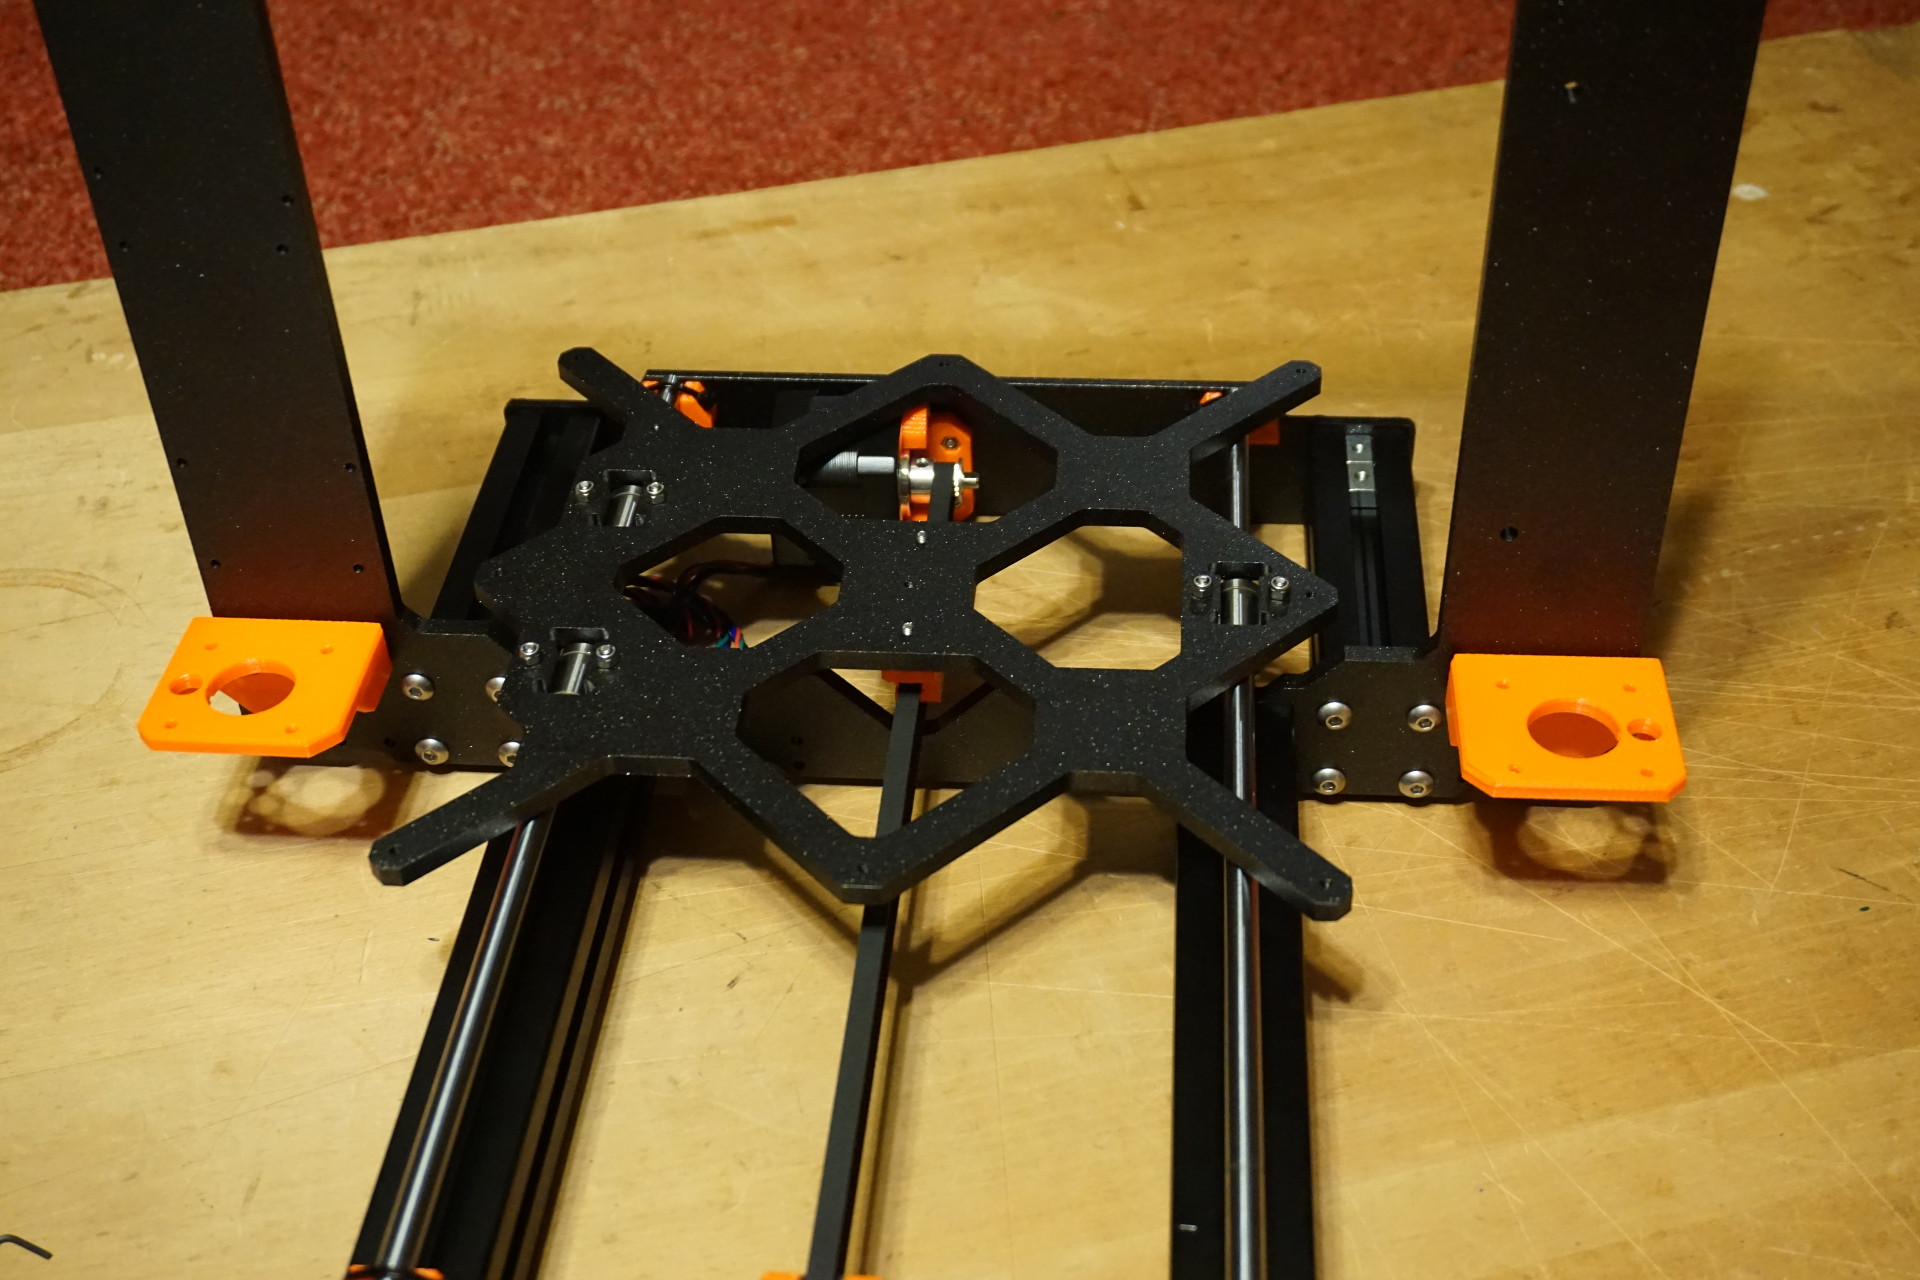
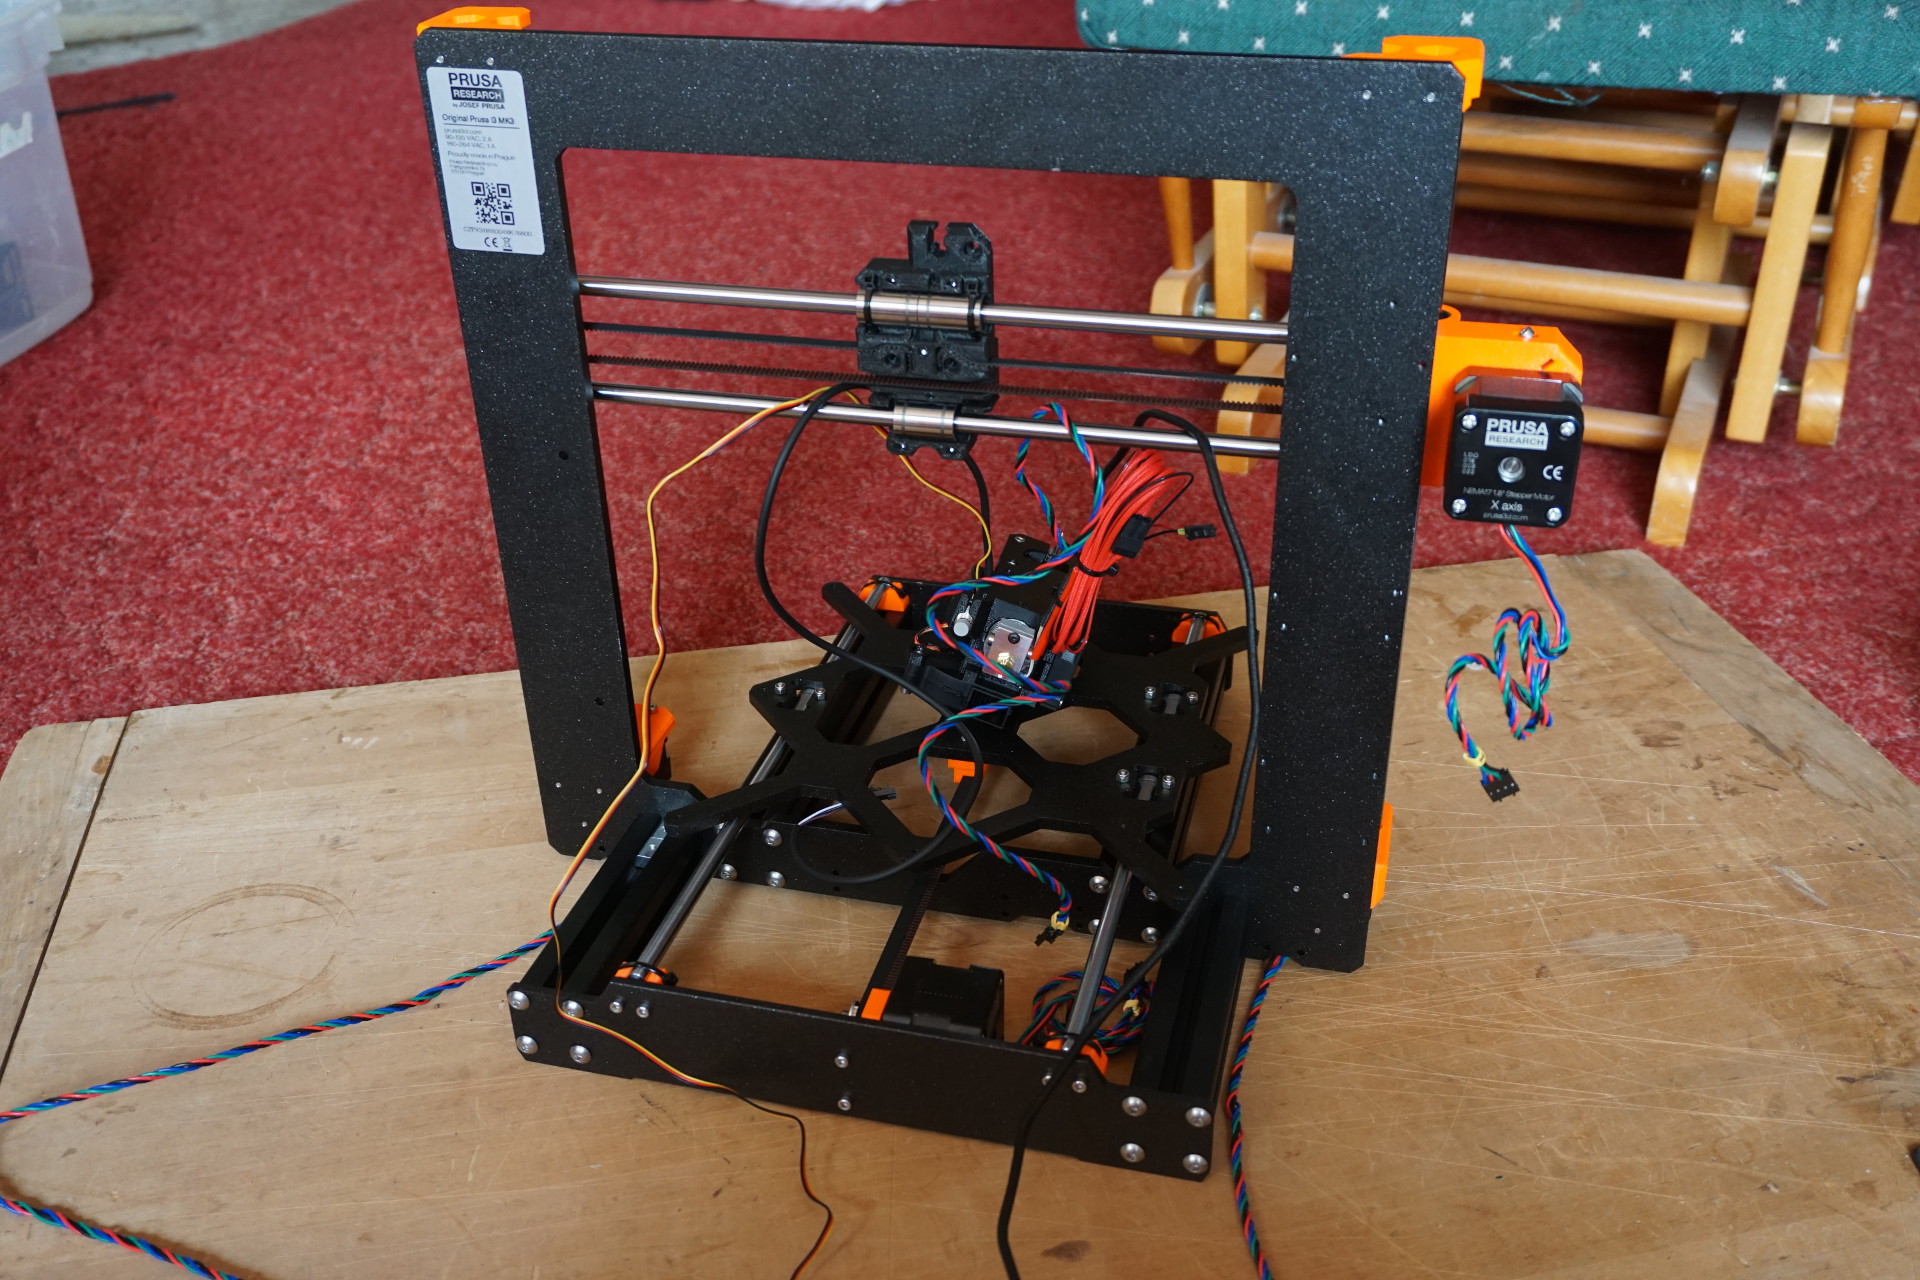
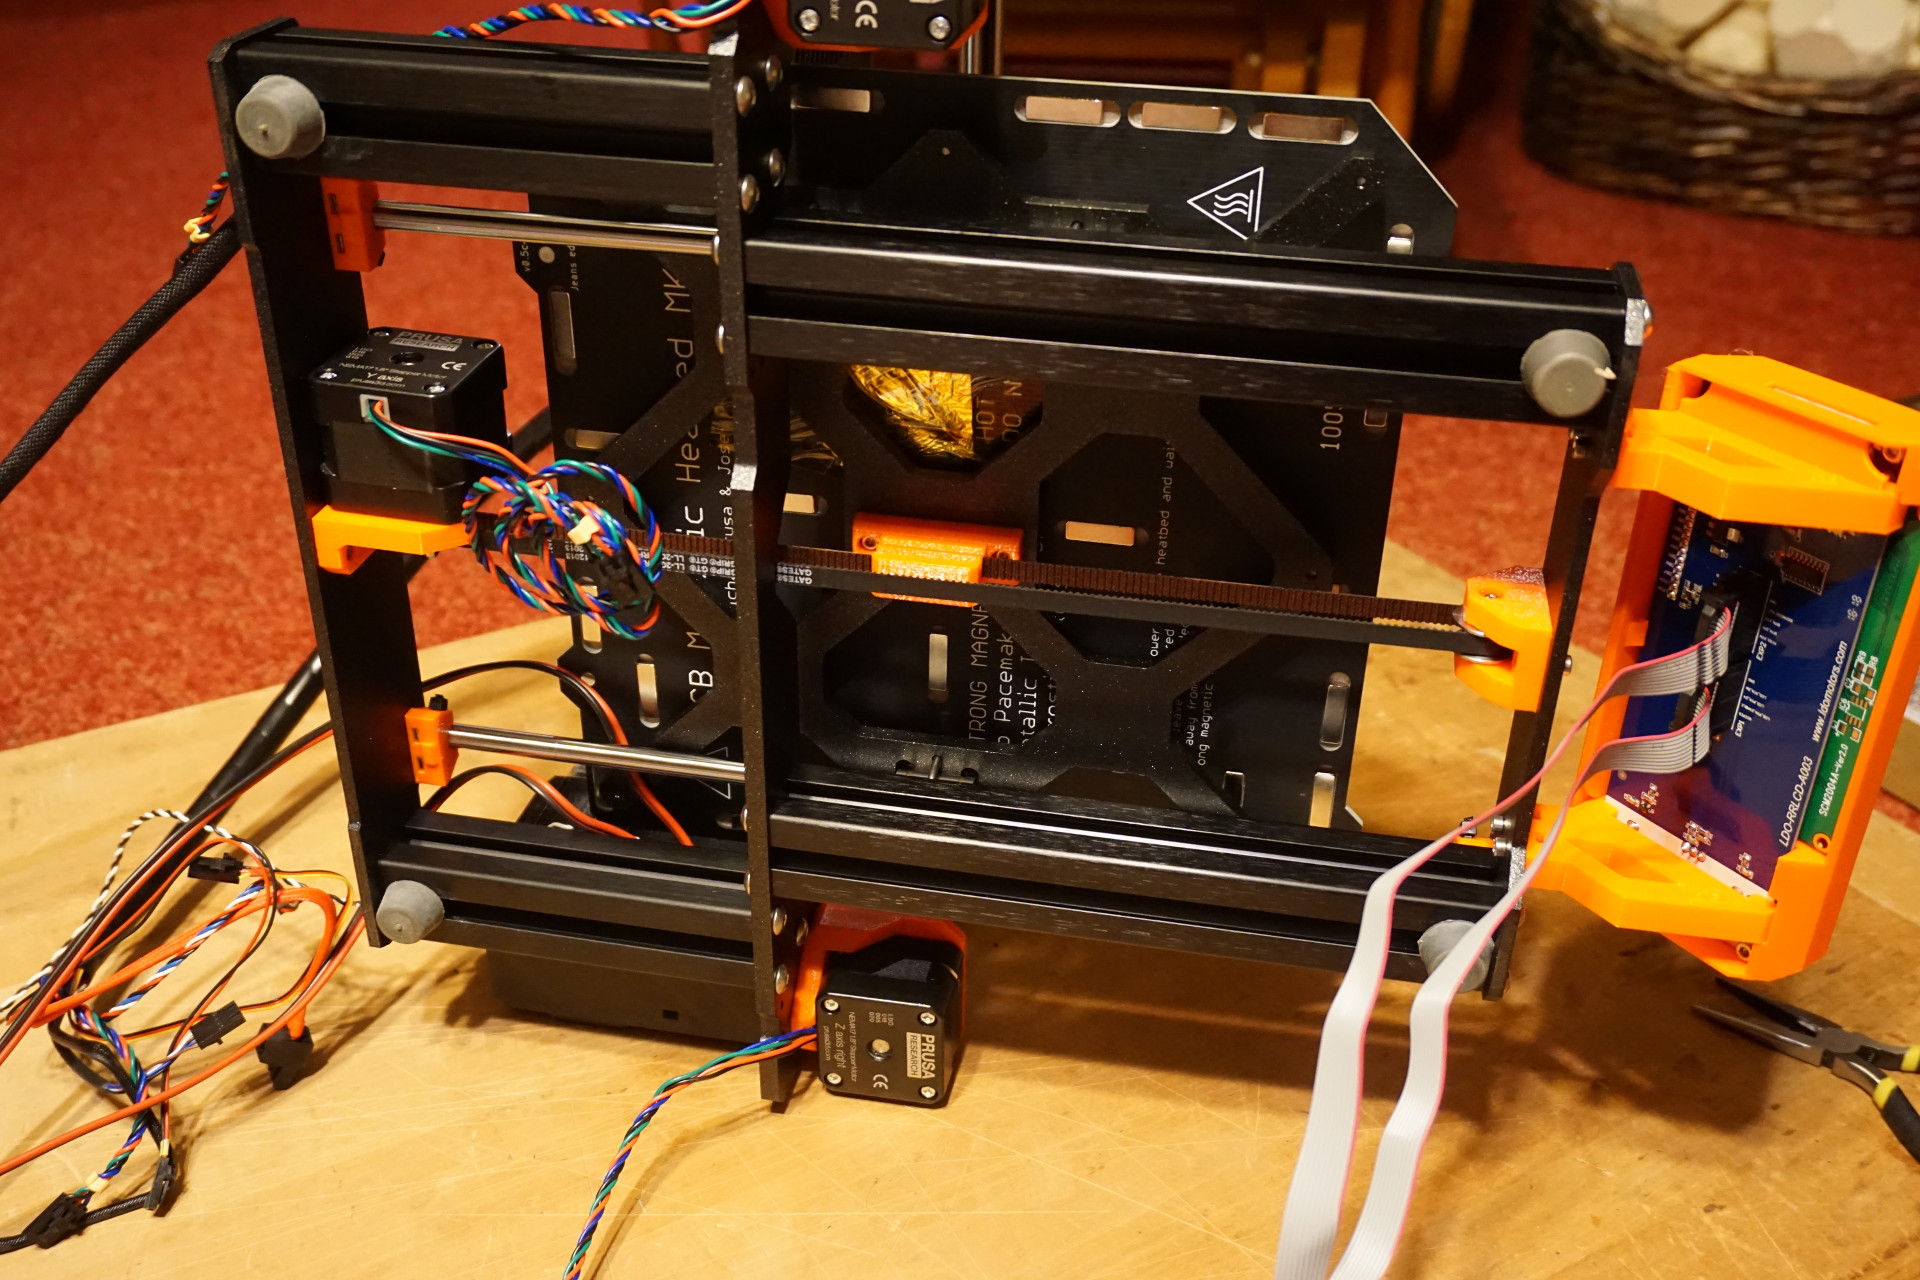
Y-axis assembly, YZ frame:
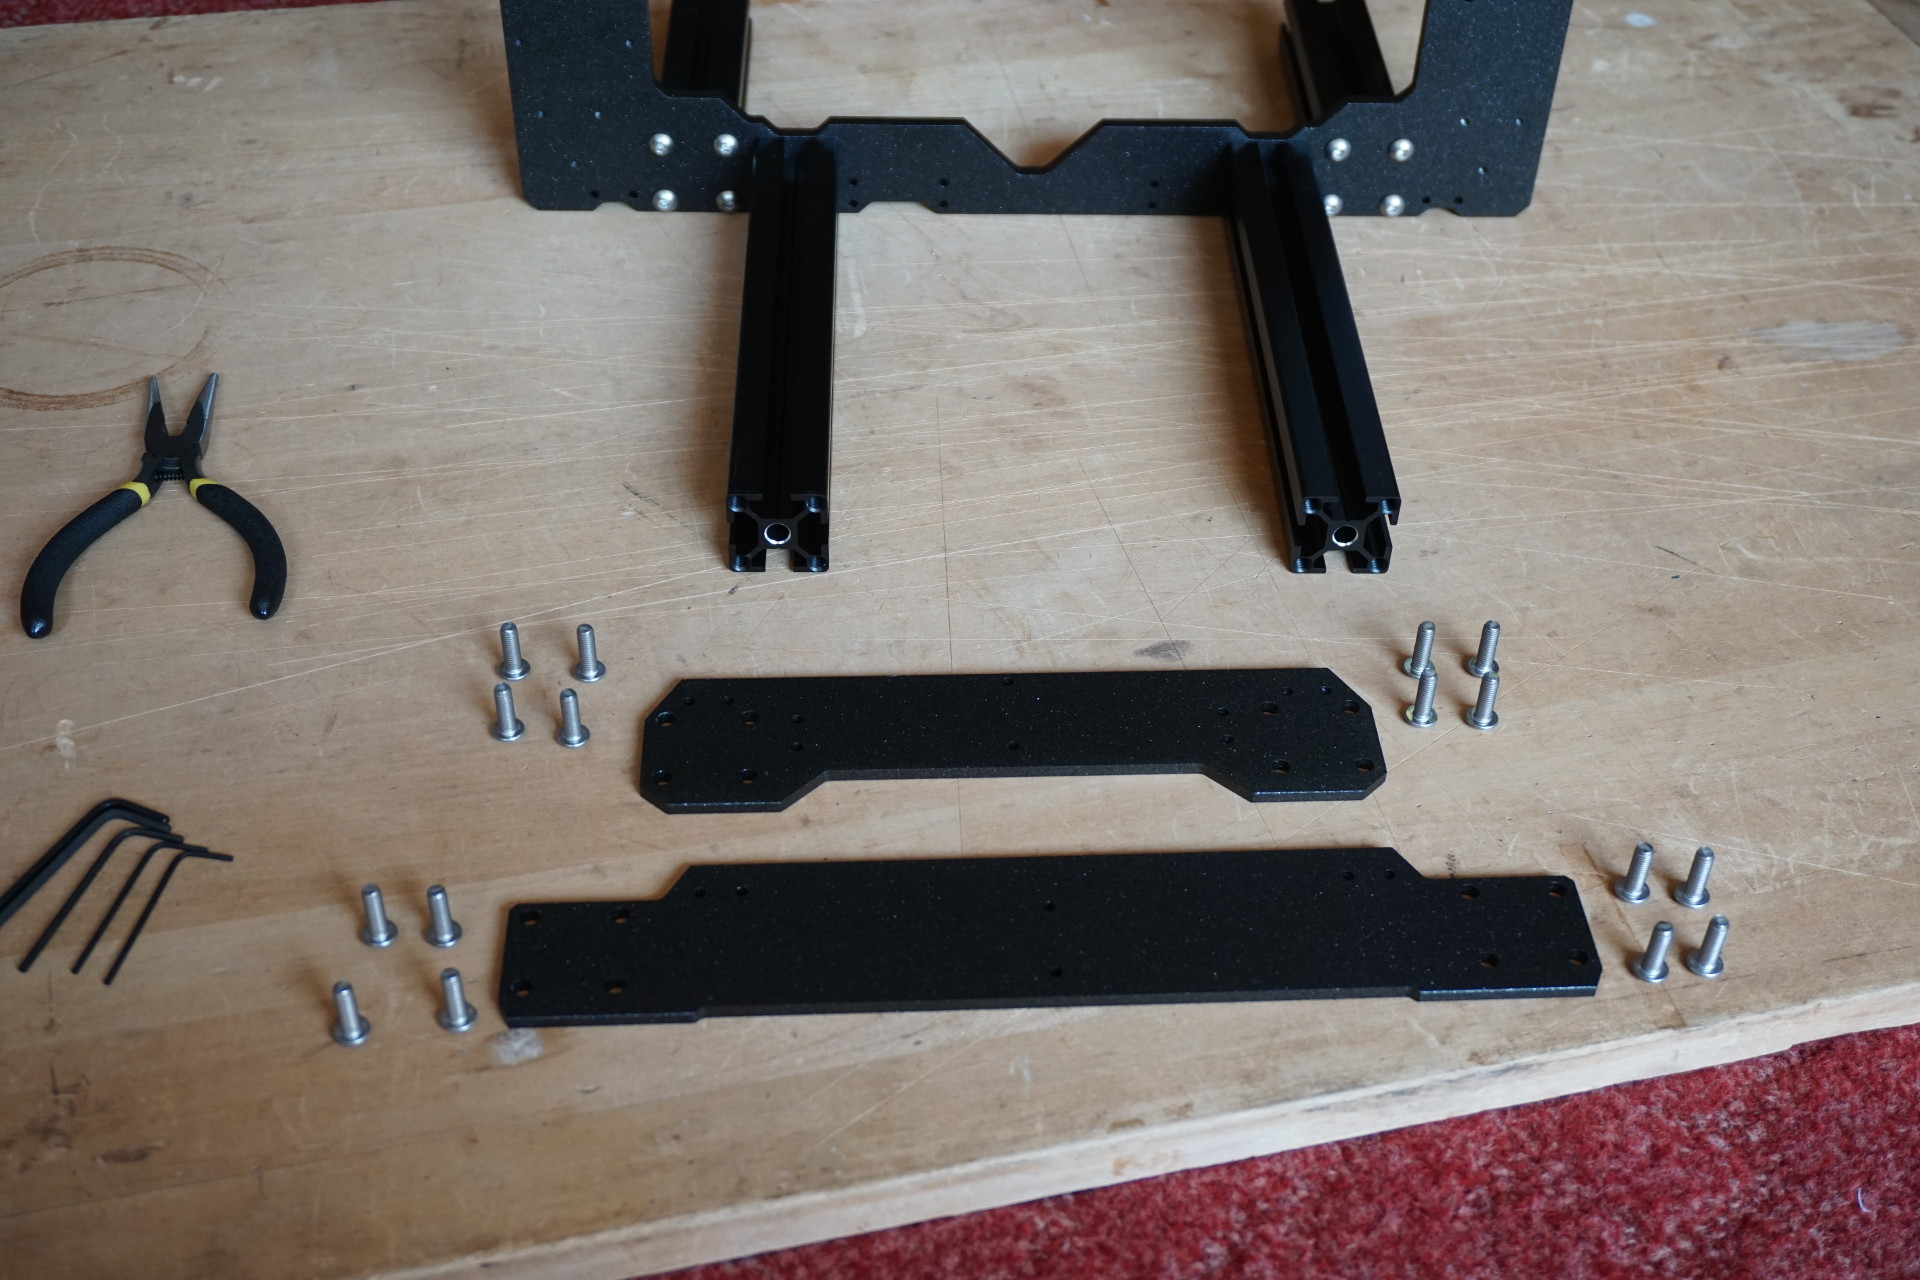
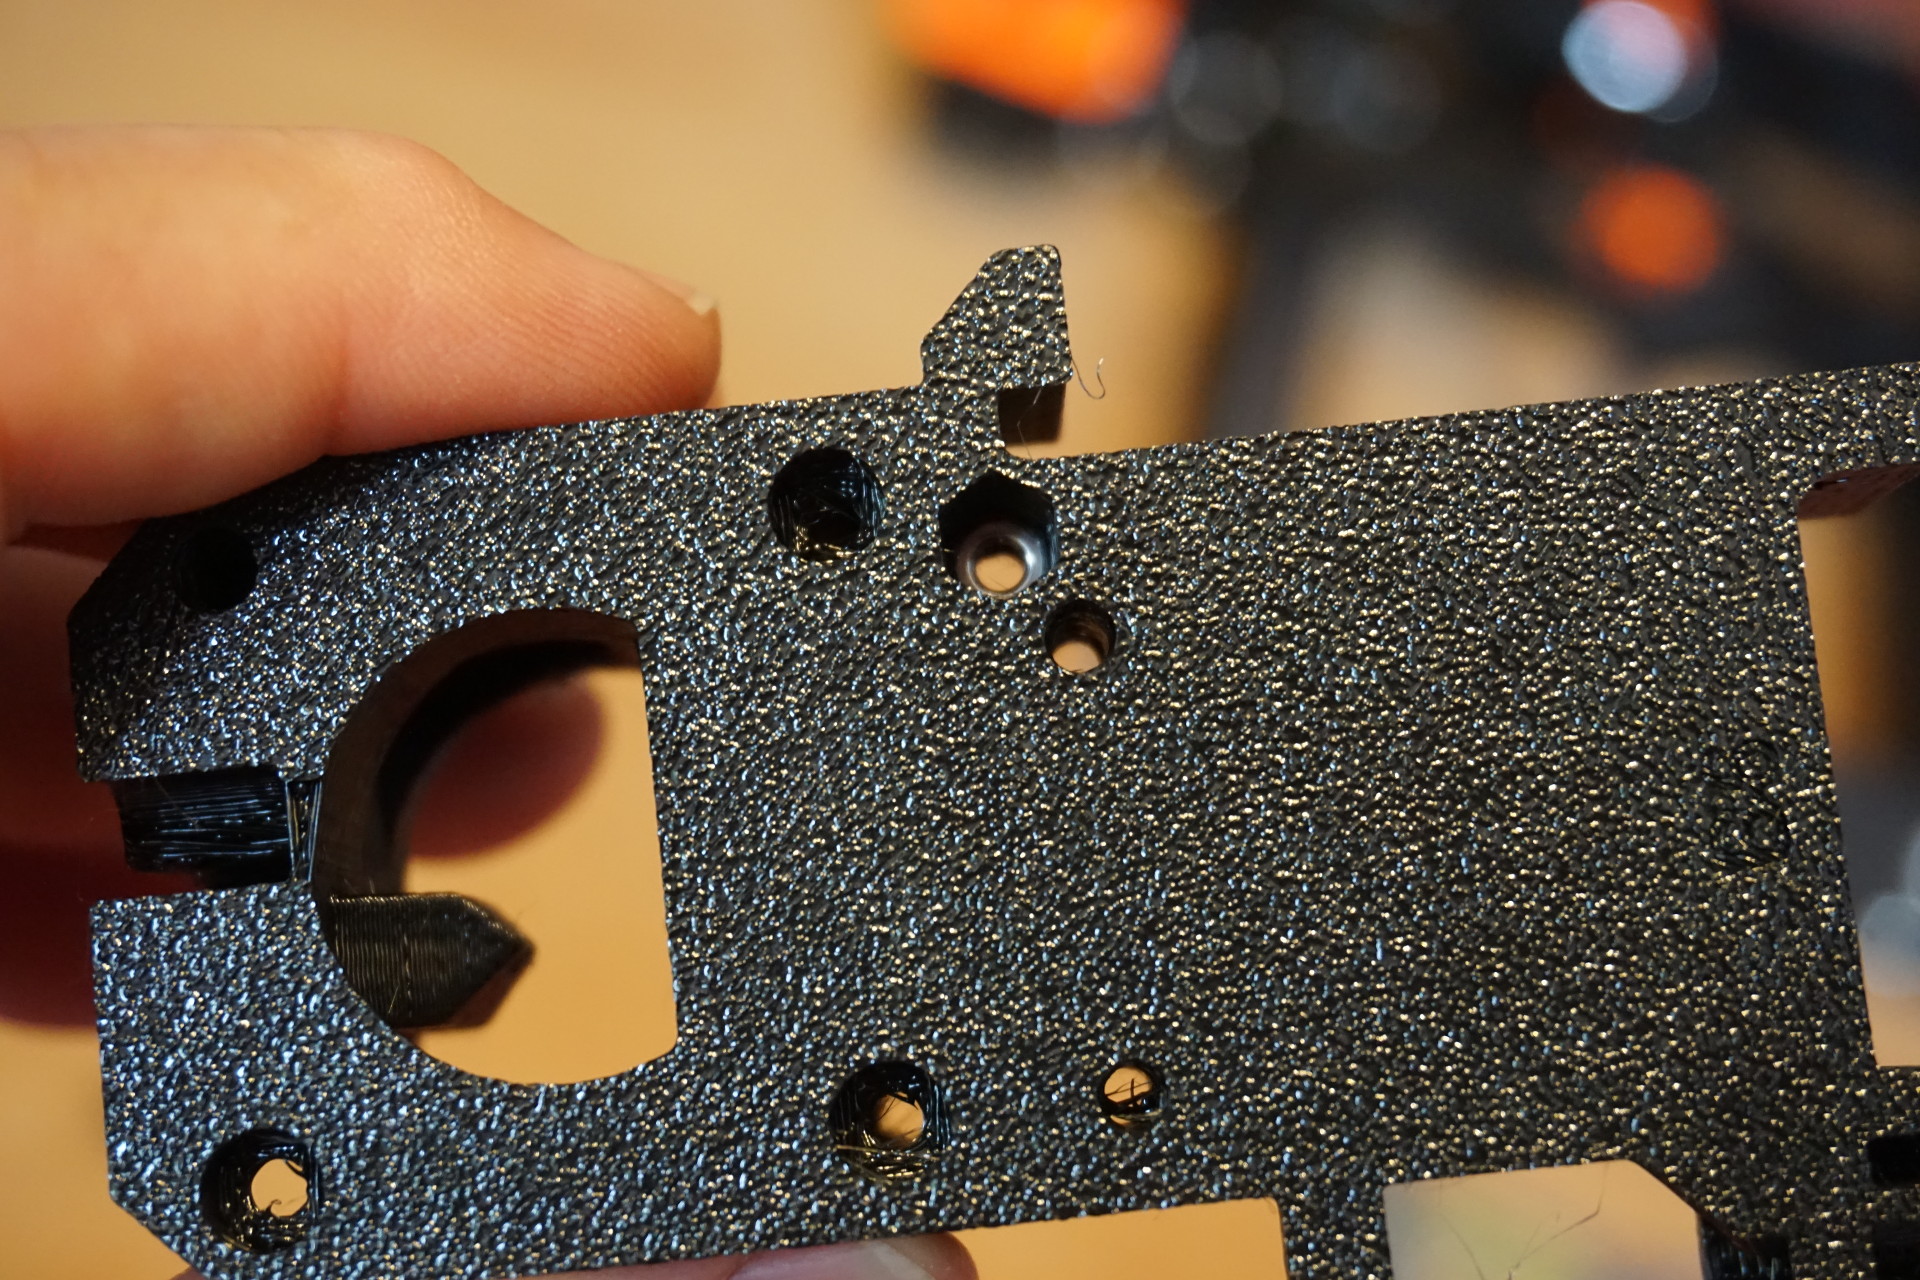
Front and rear plates:
Rear plate and t-nuts for mounting power supply:
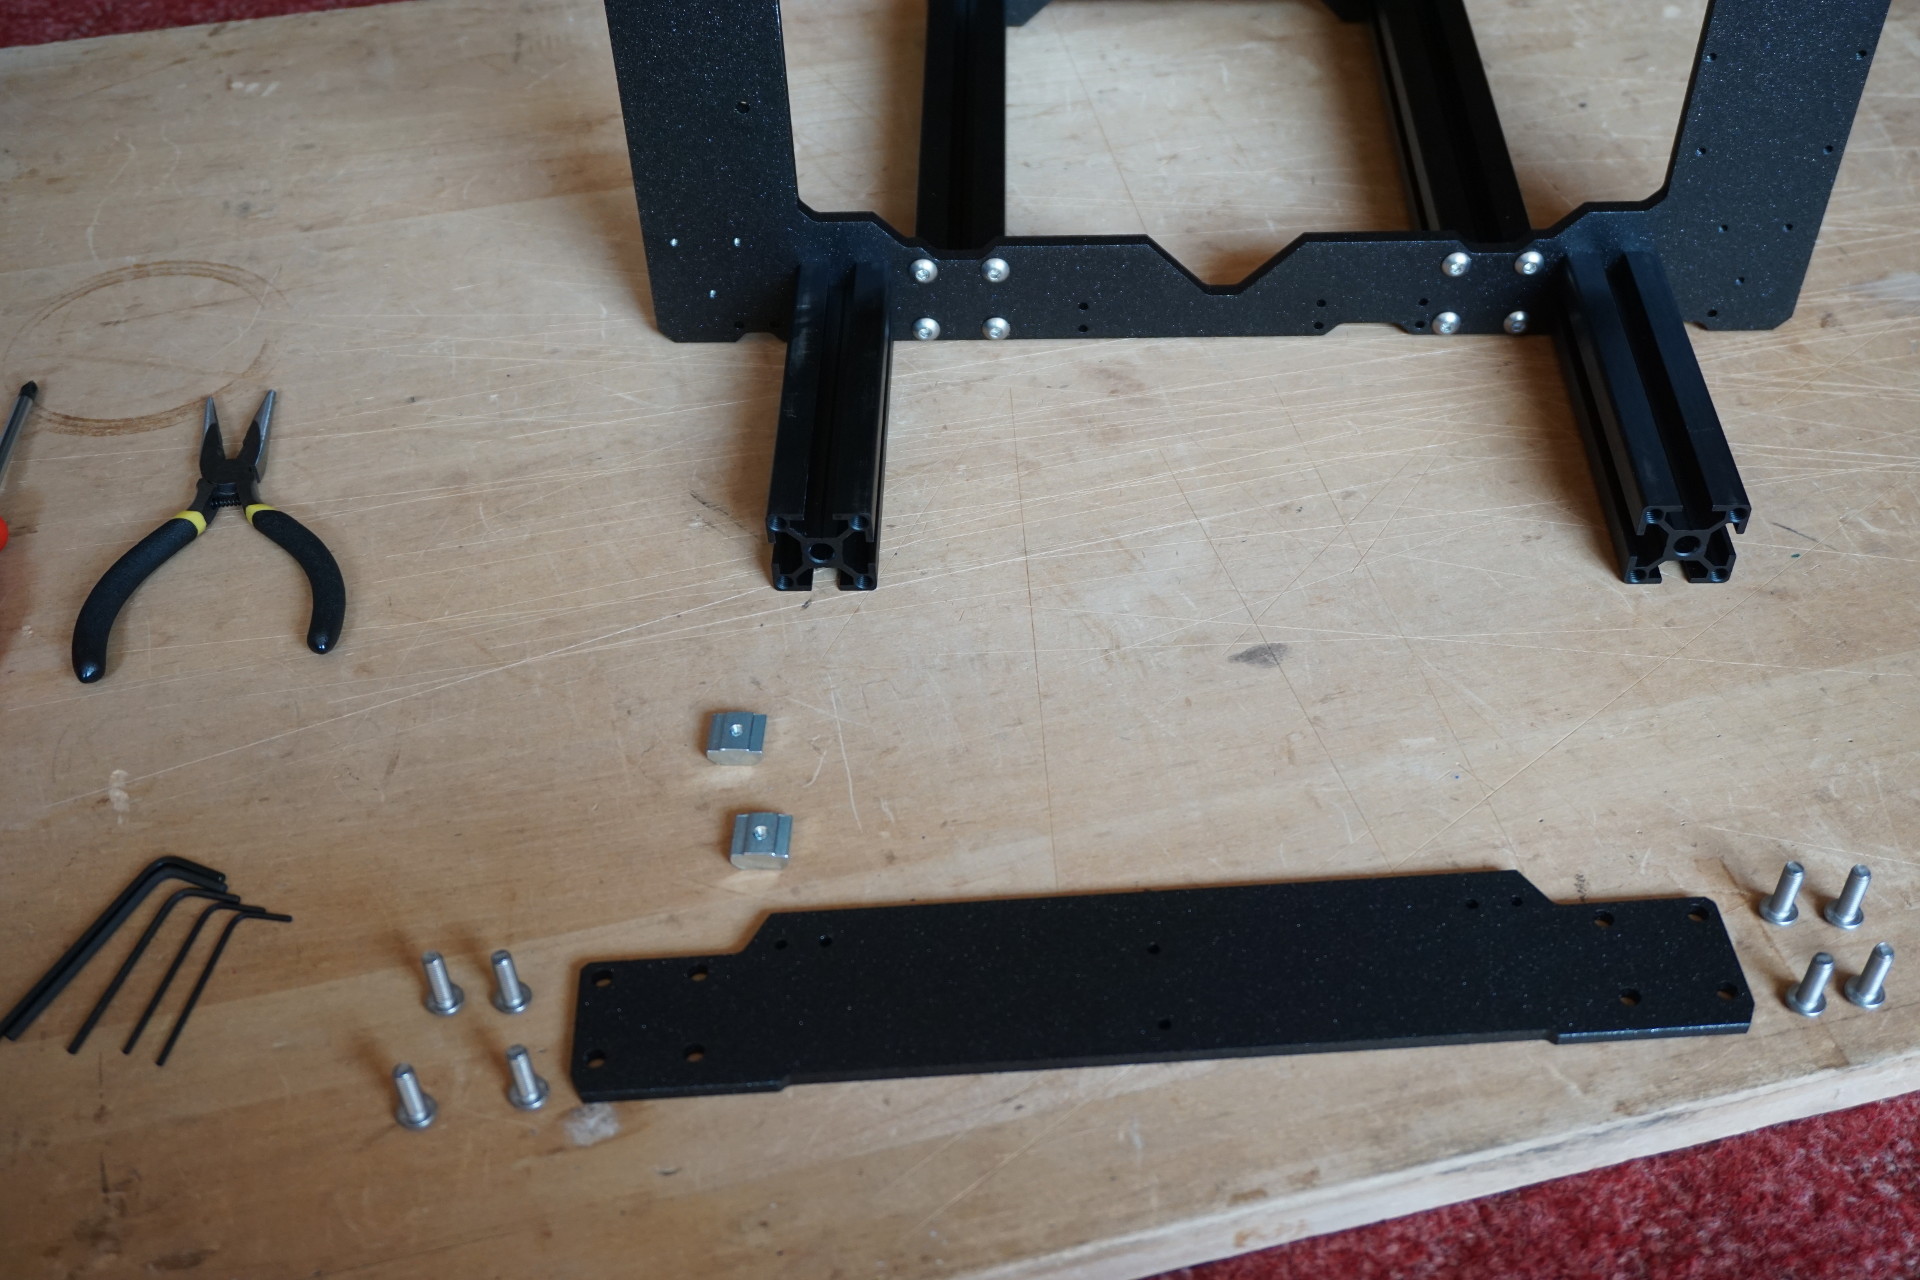

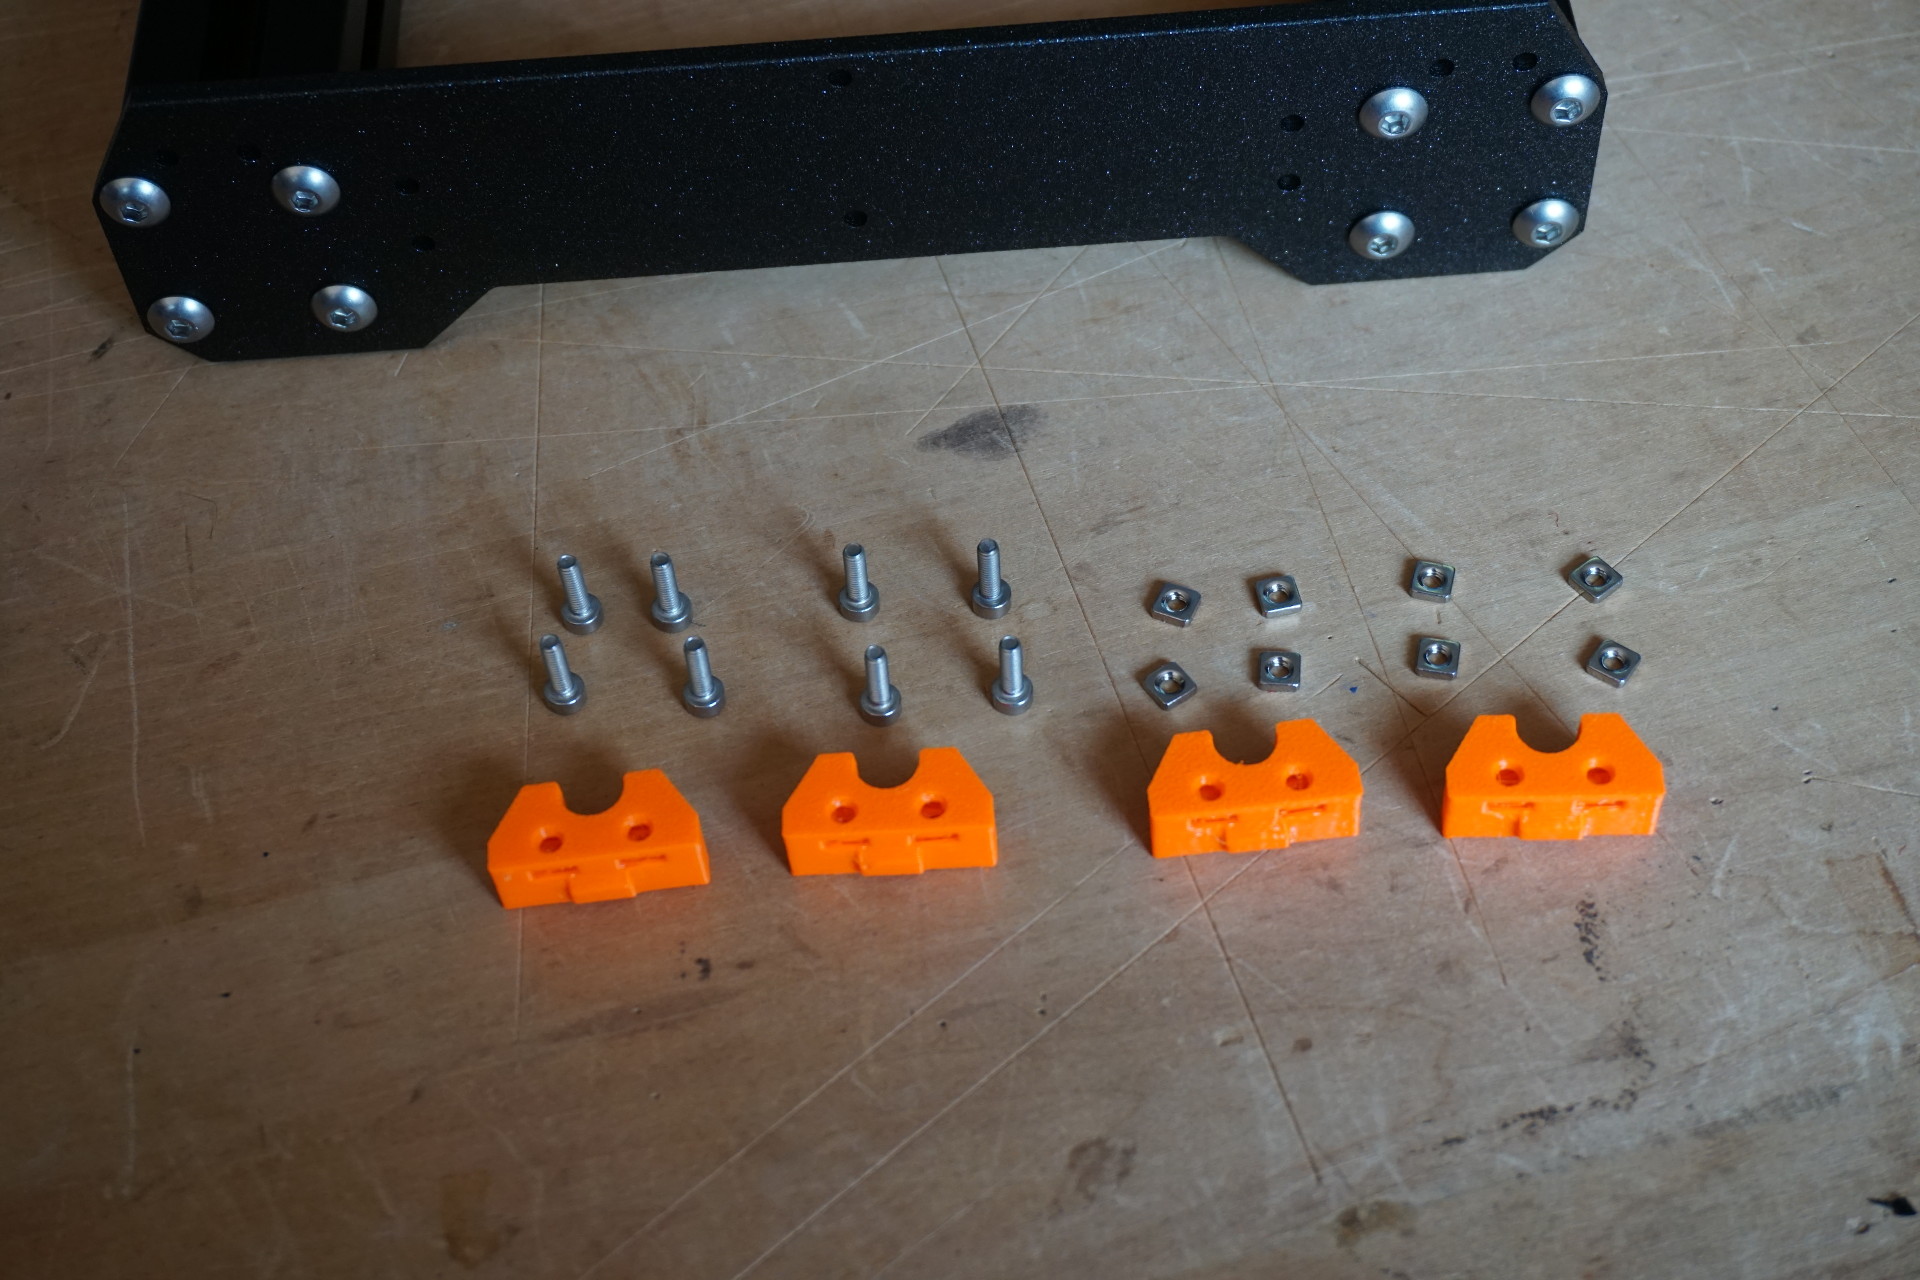
Y-axis rods holders:
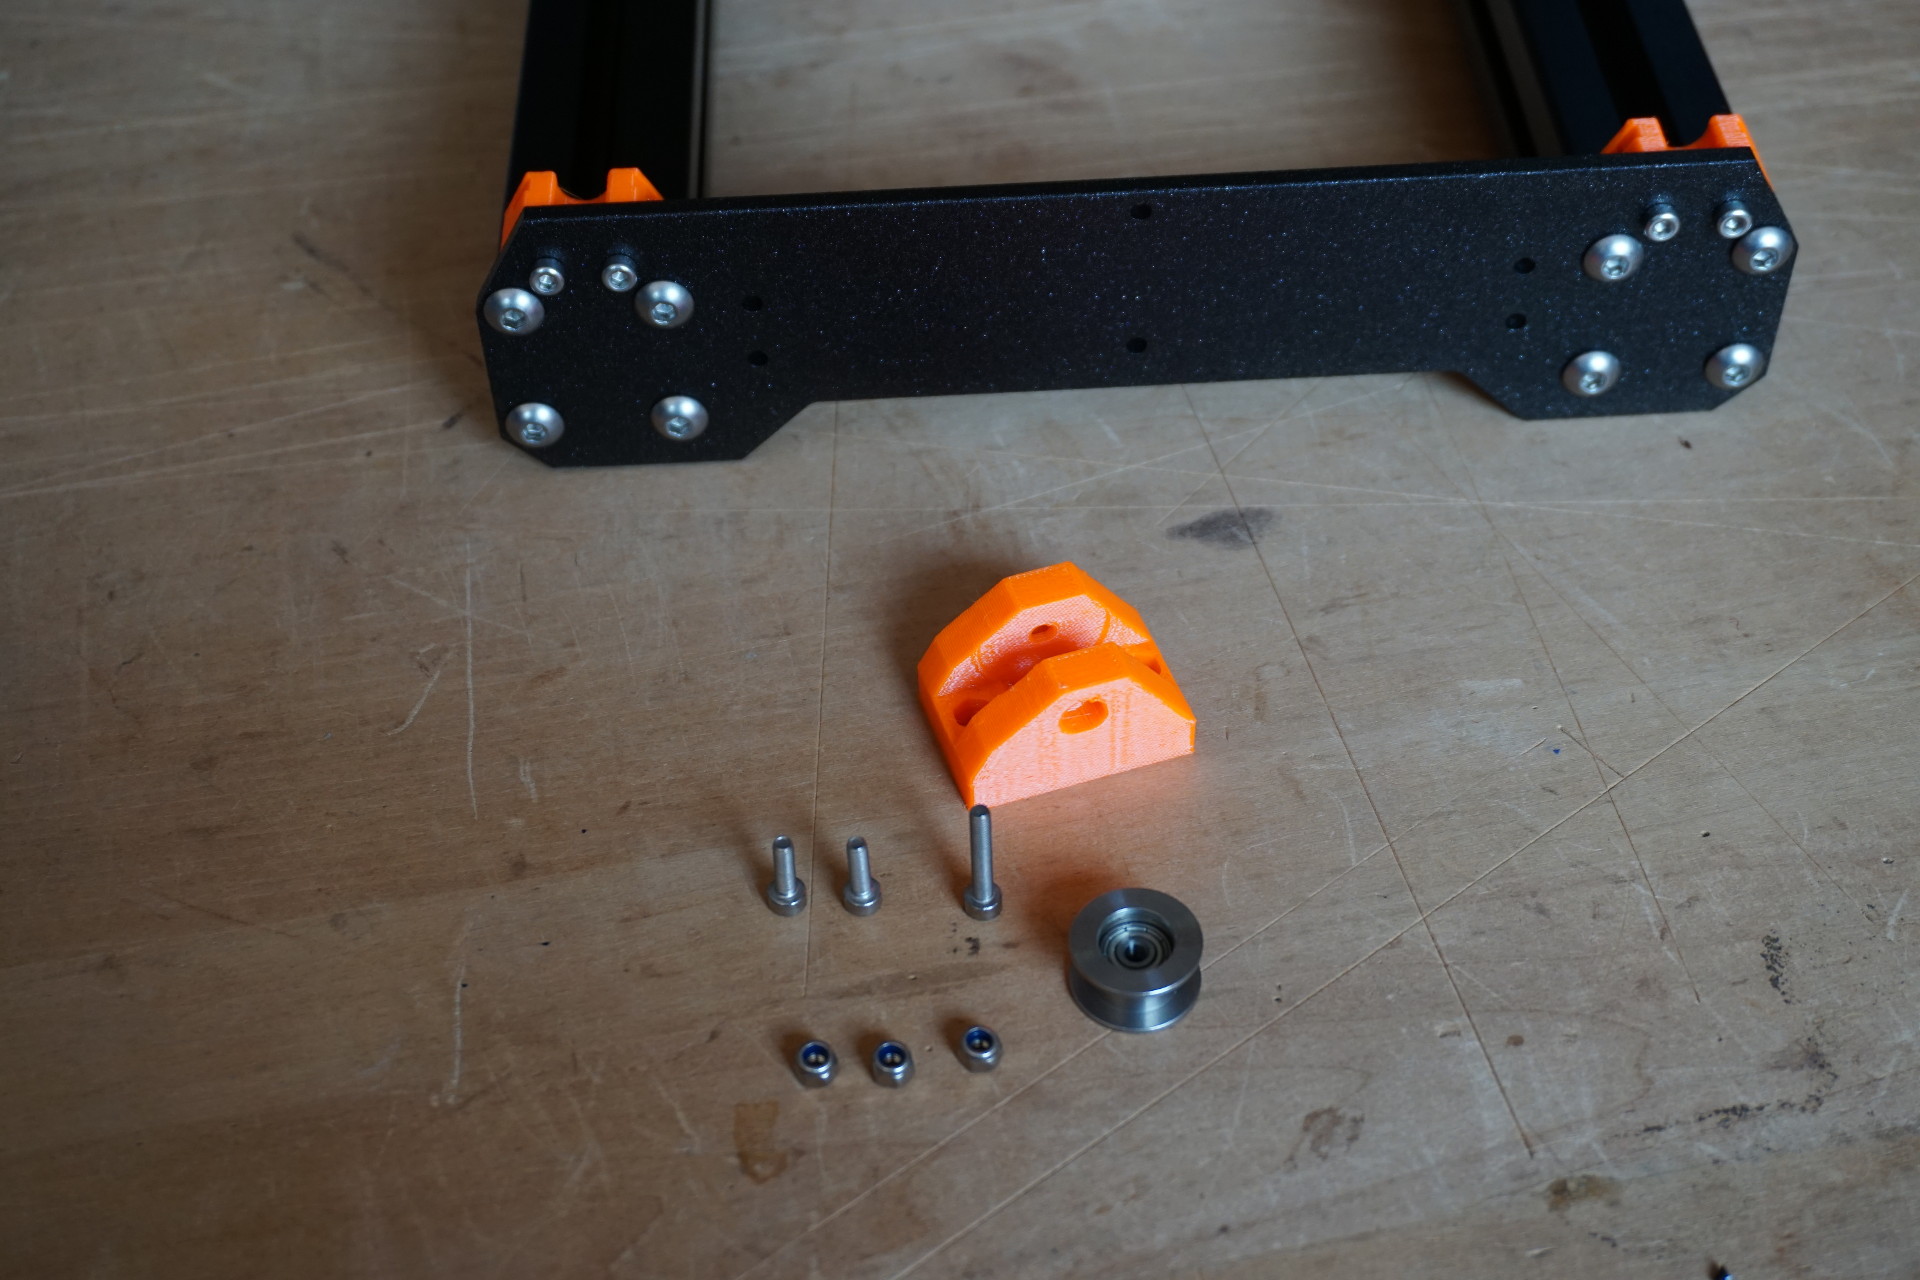
Y-belt idler:
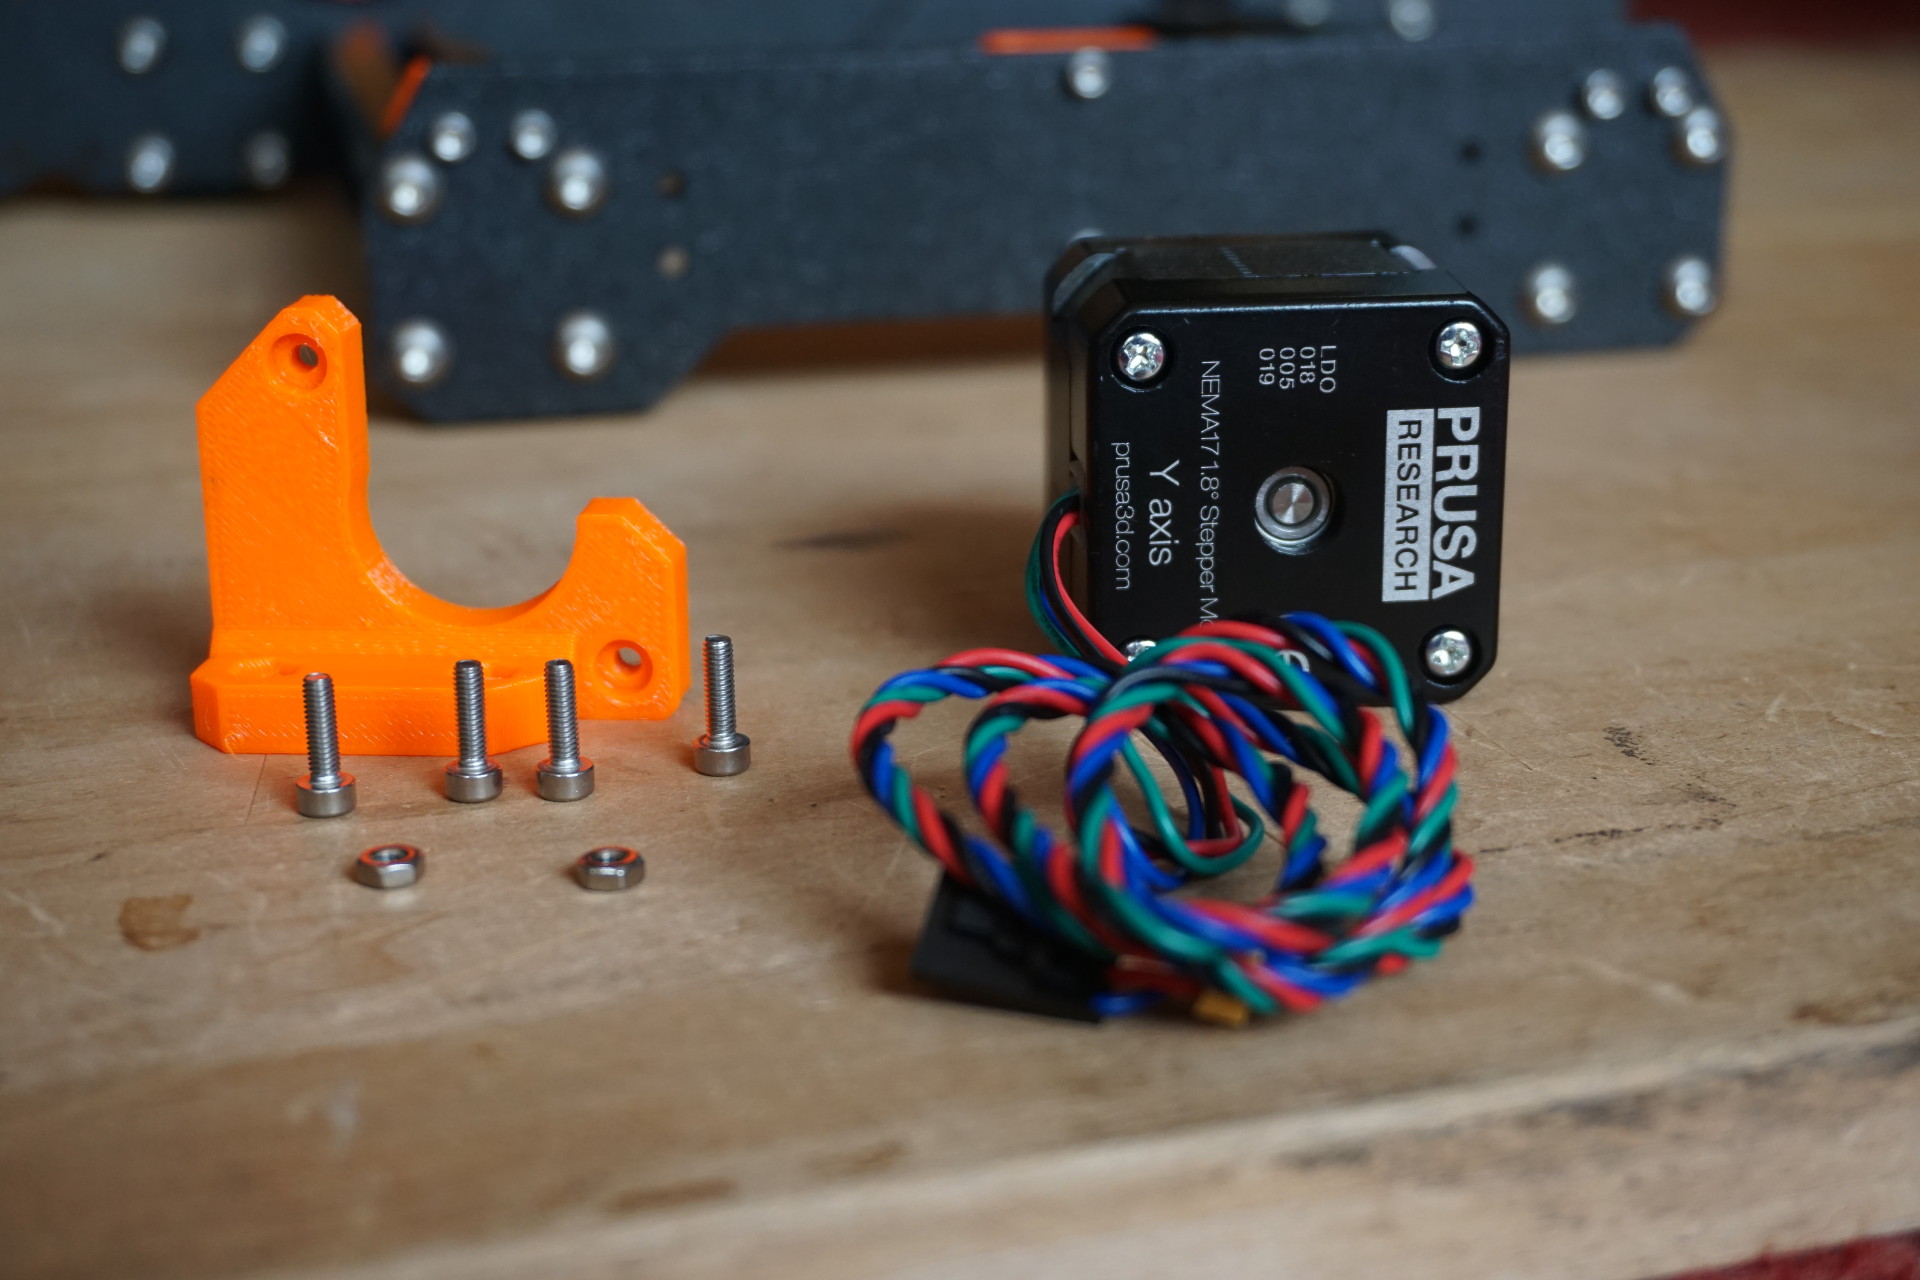
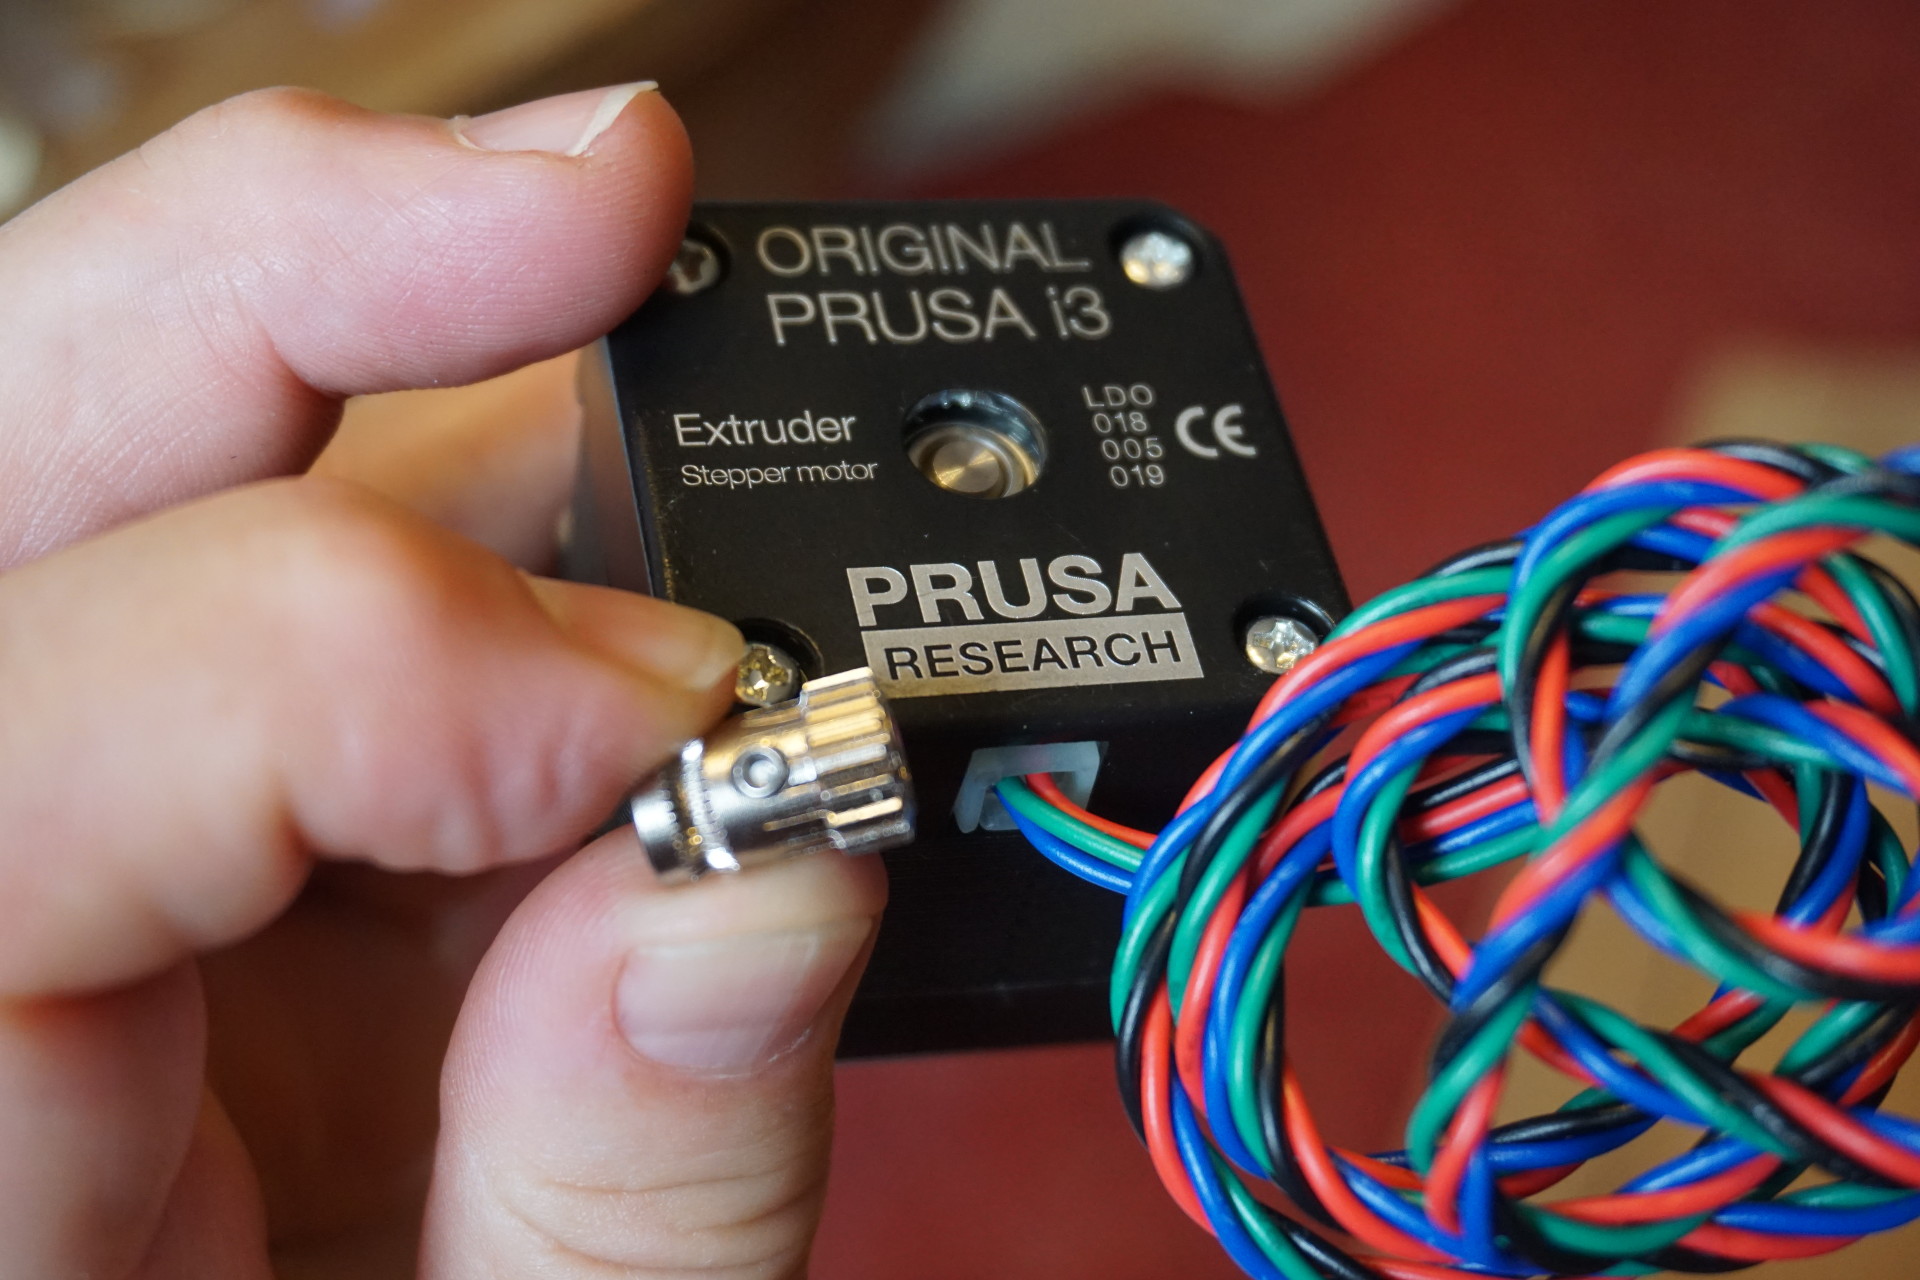
Y-axis motor:
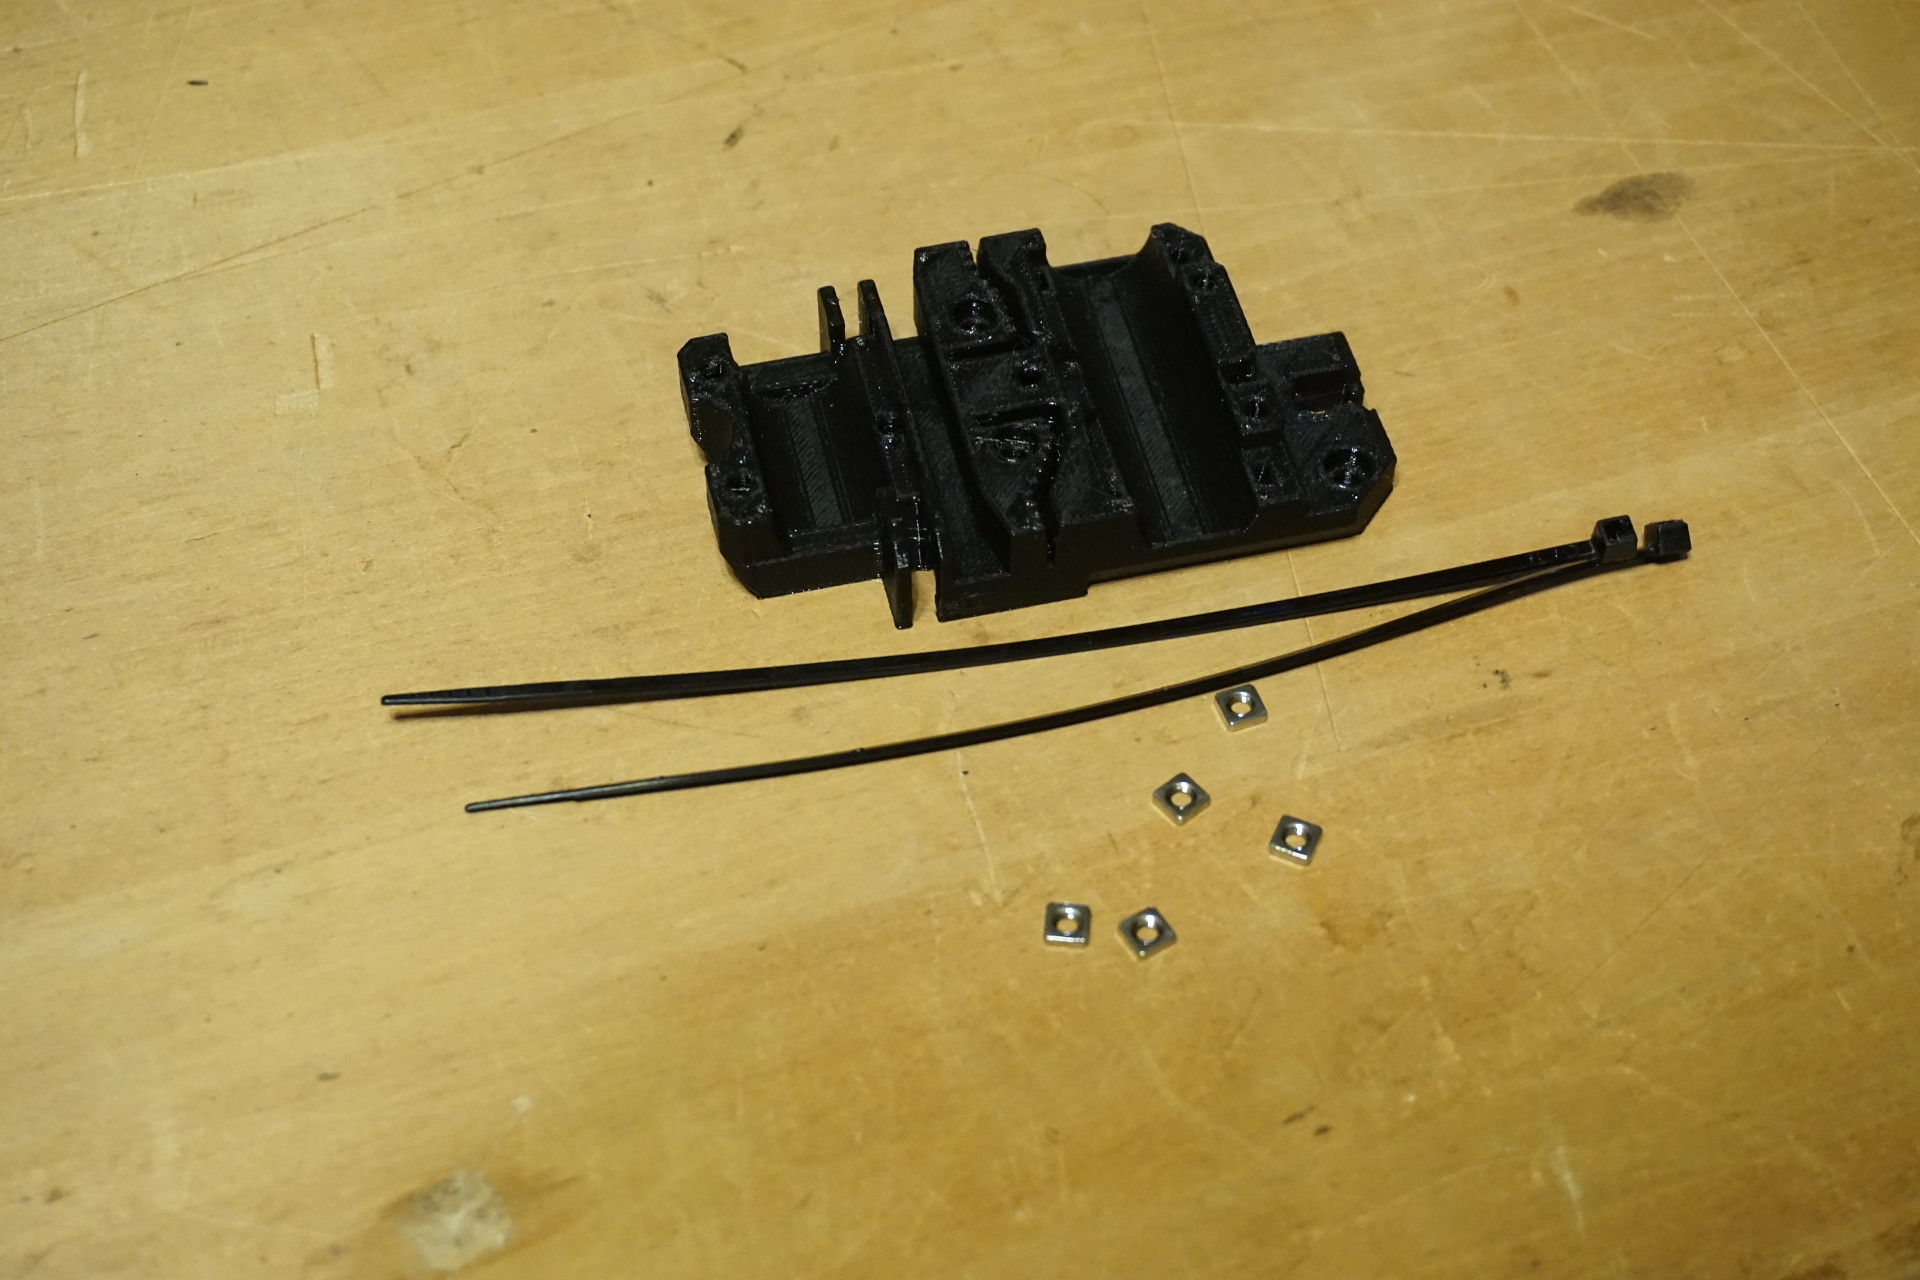
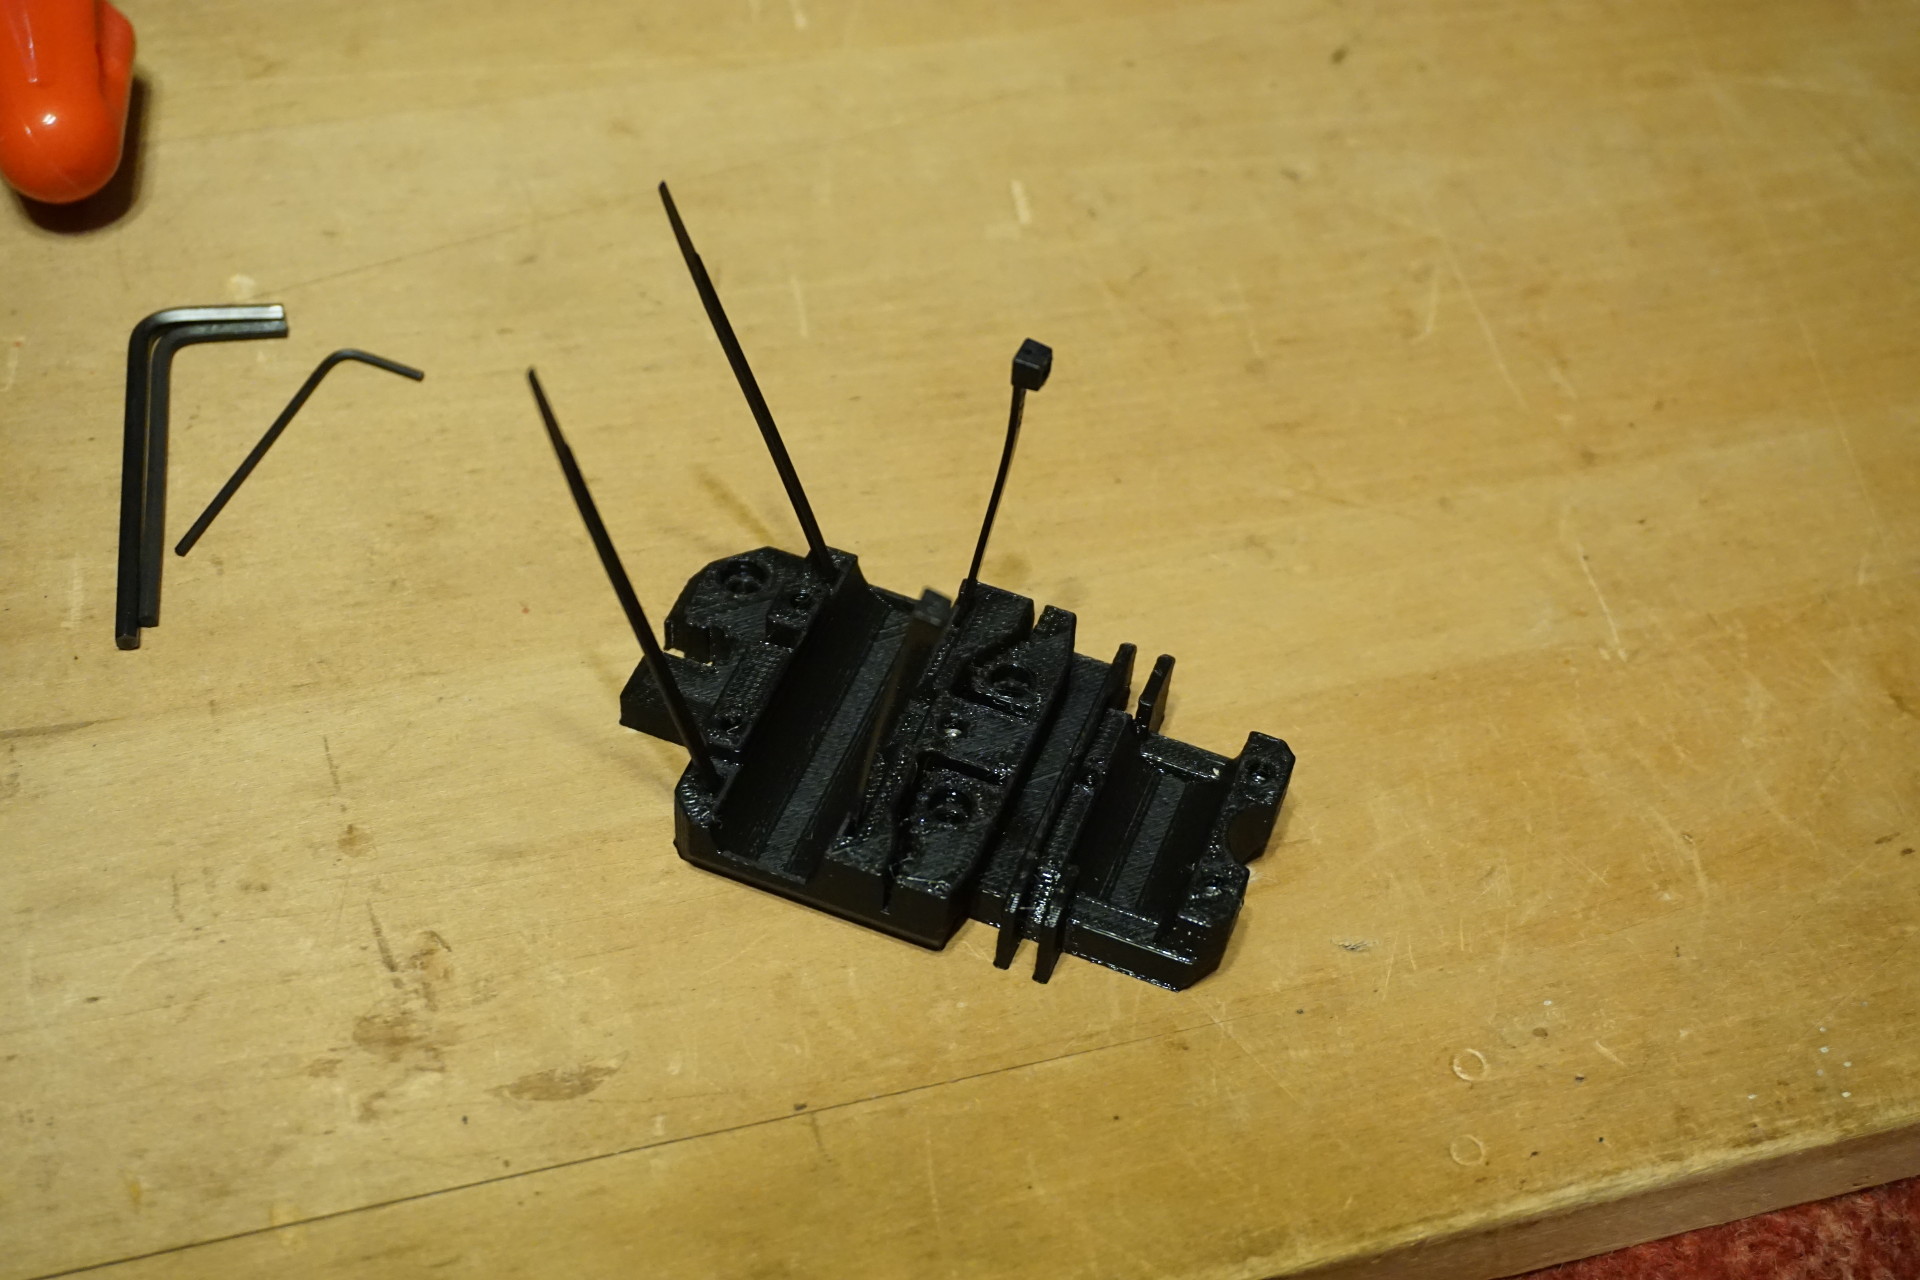
Y-carriage:
Y-axis rods:
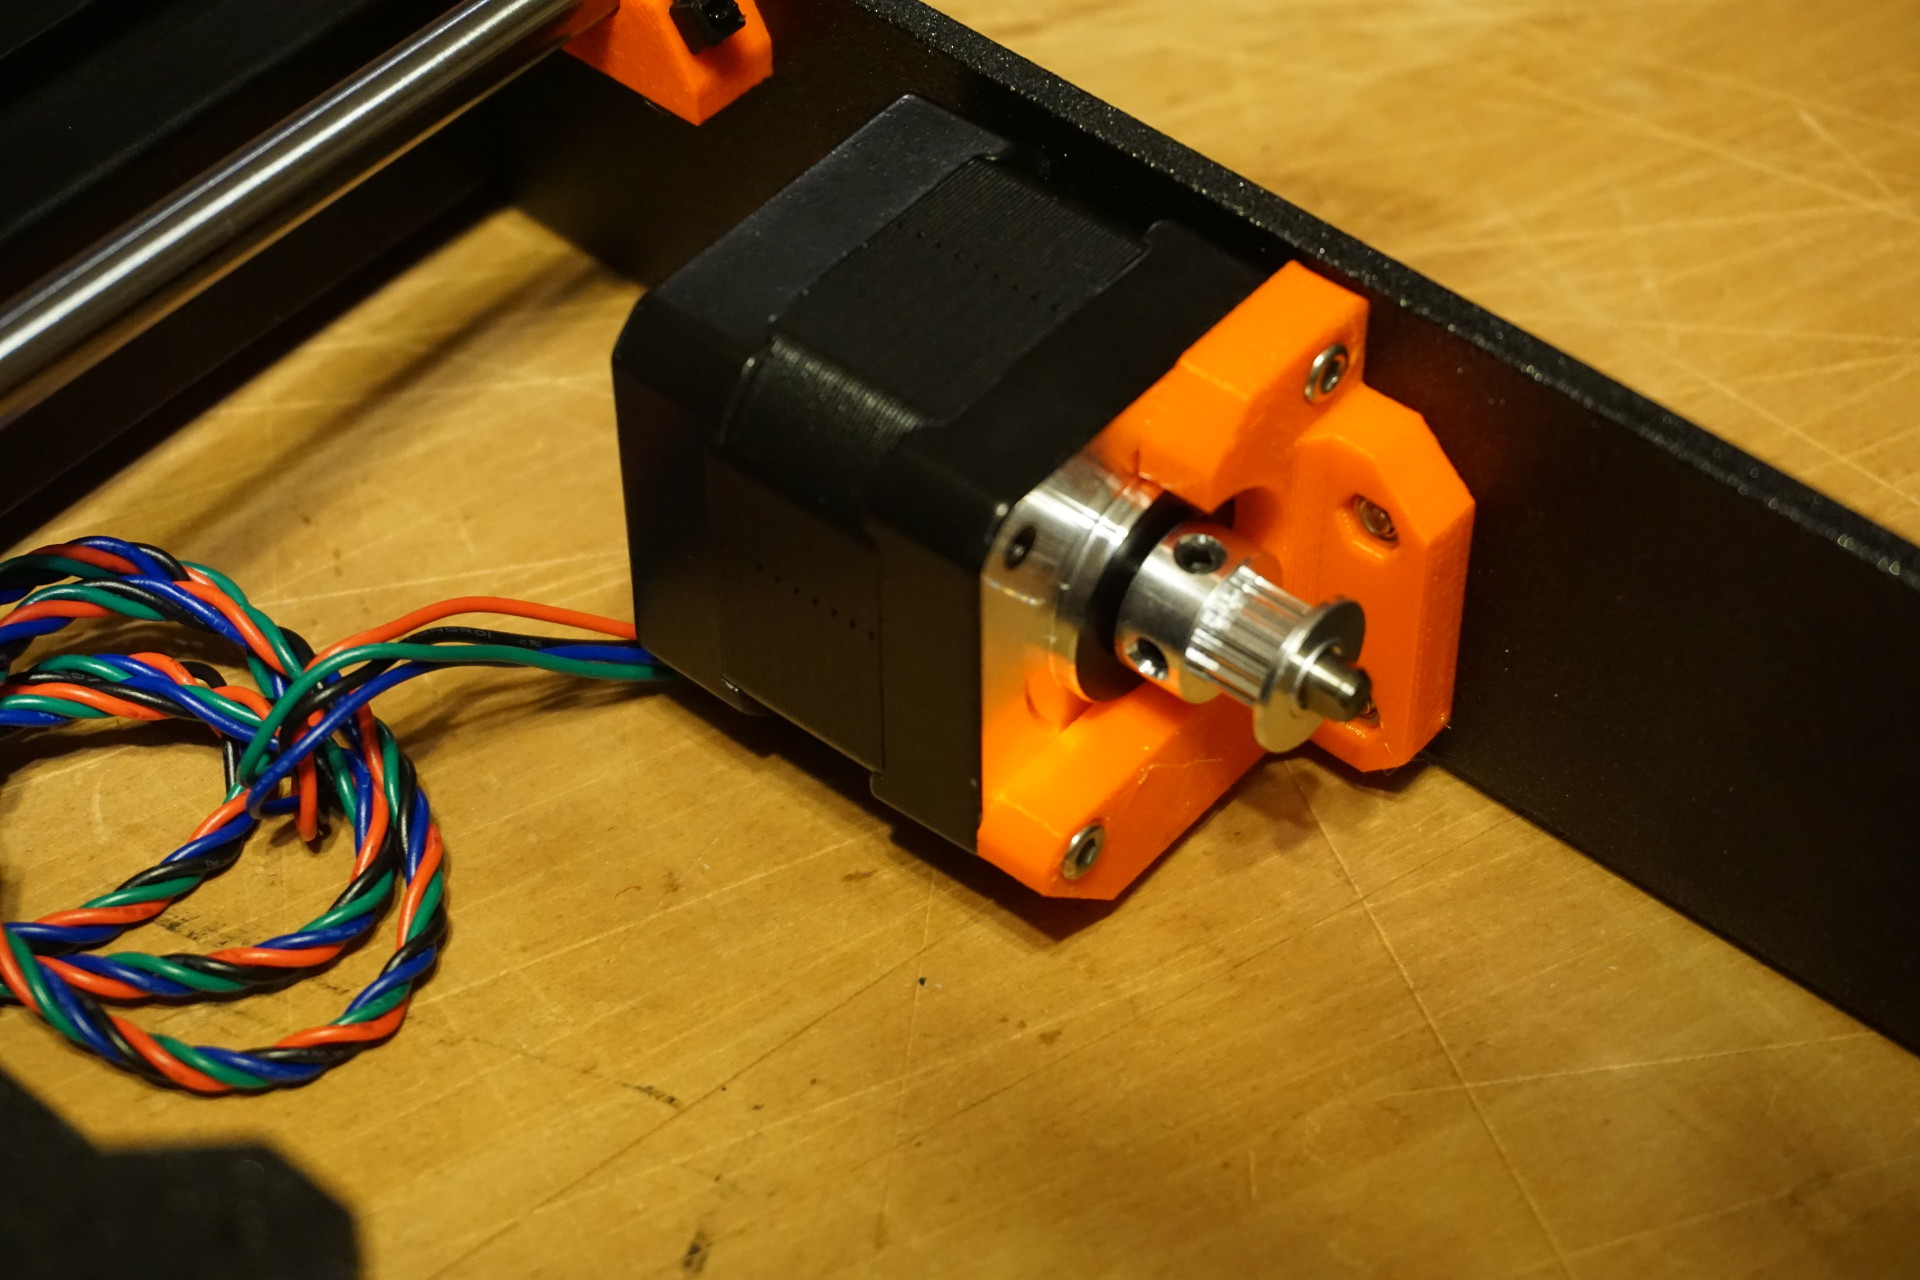
Y-axis motor with drive pulley:
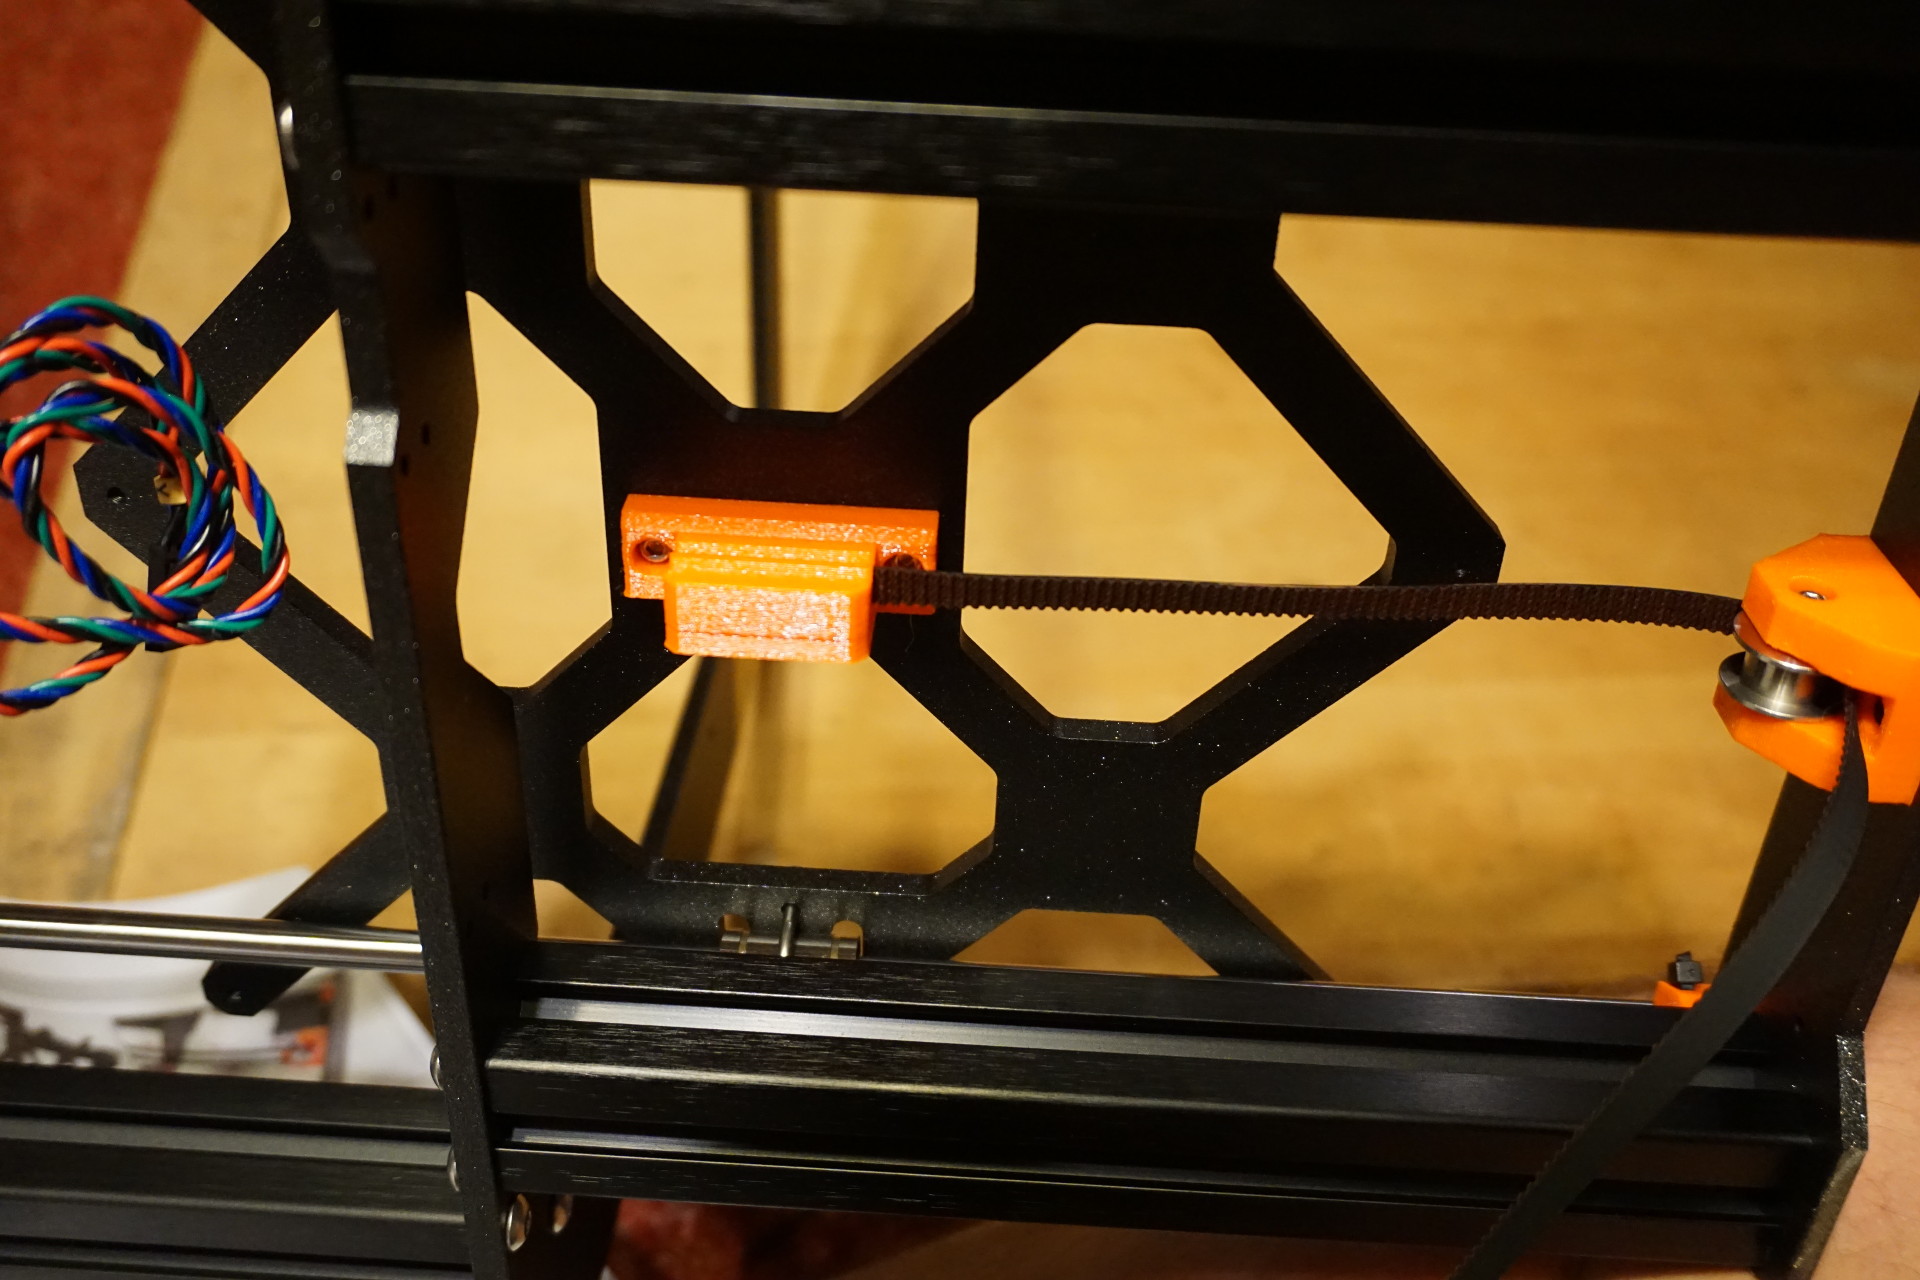
Y-axis drive belt:
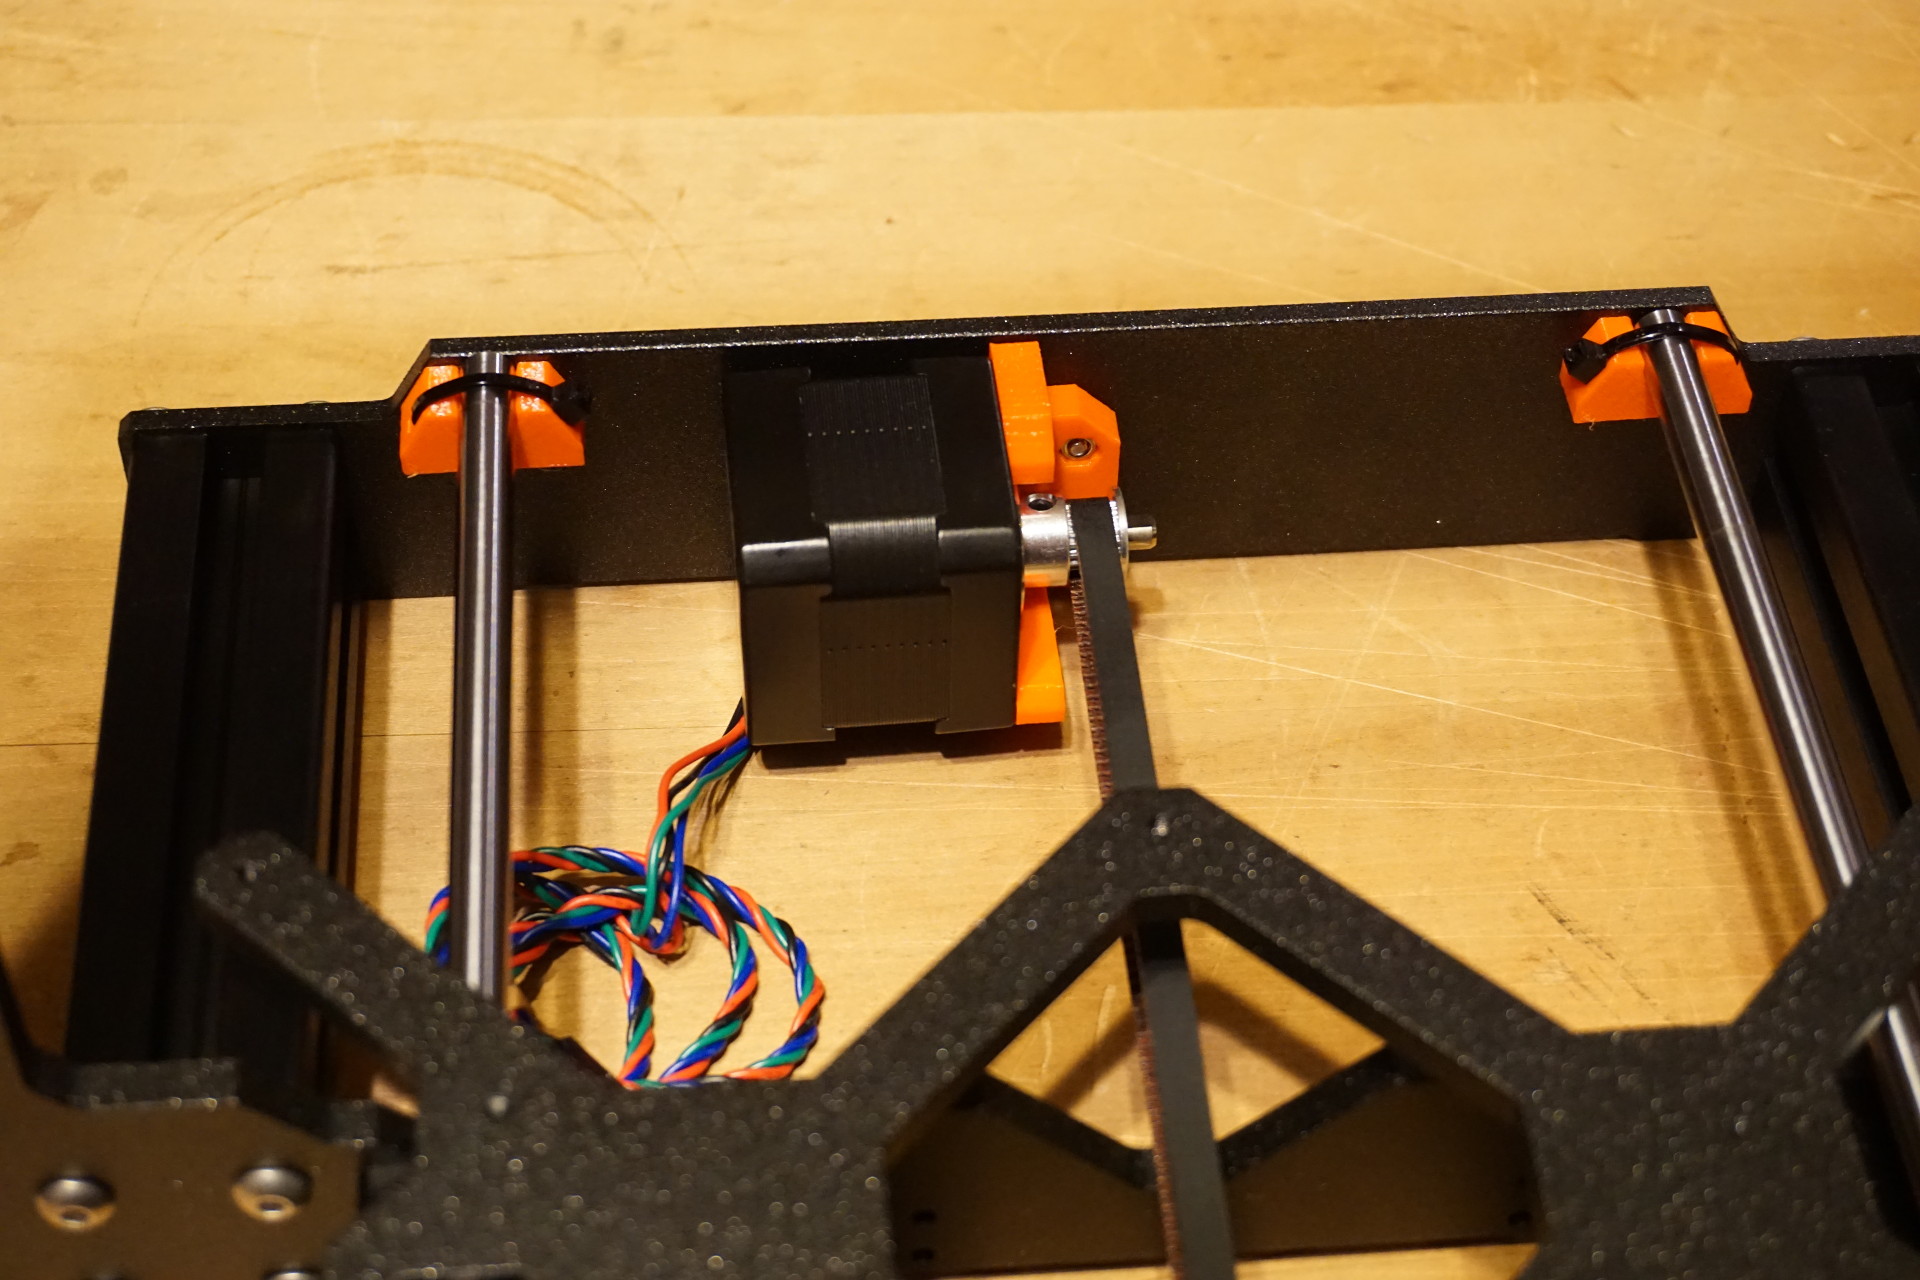
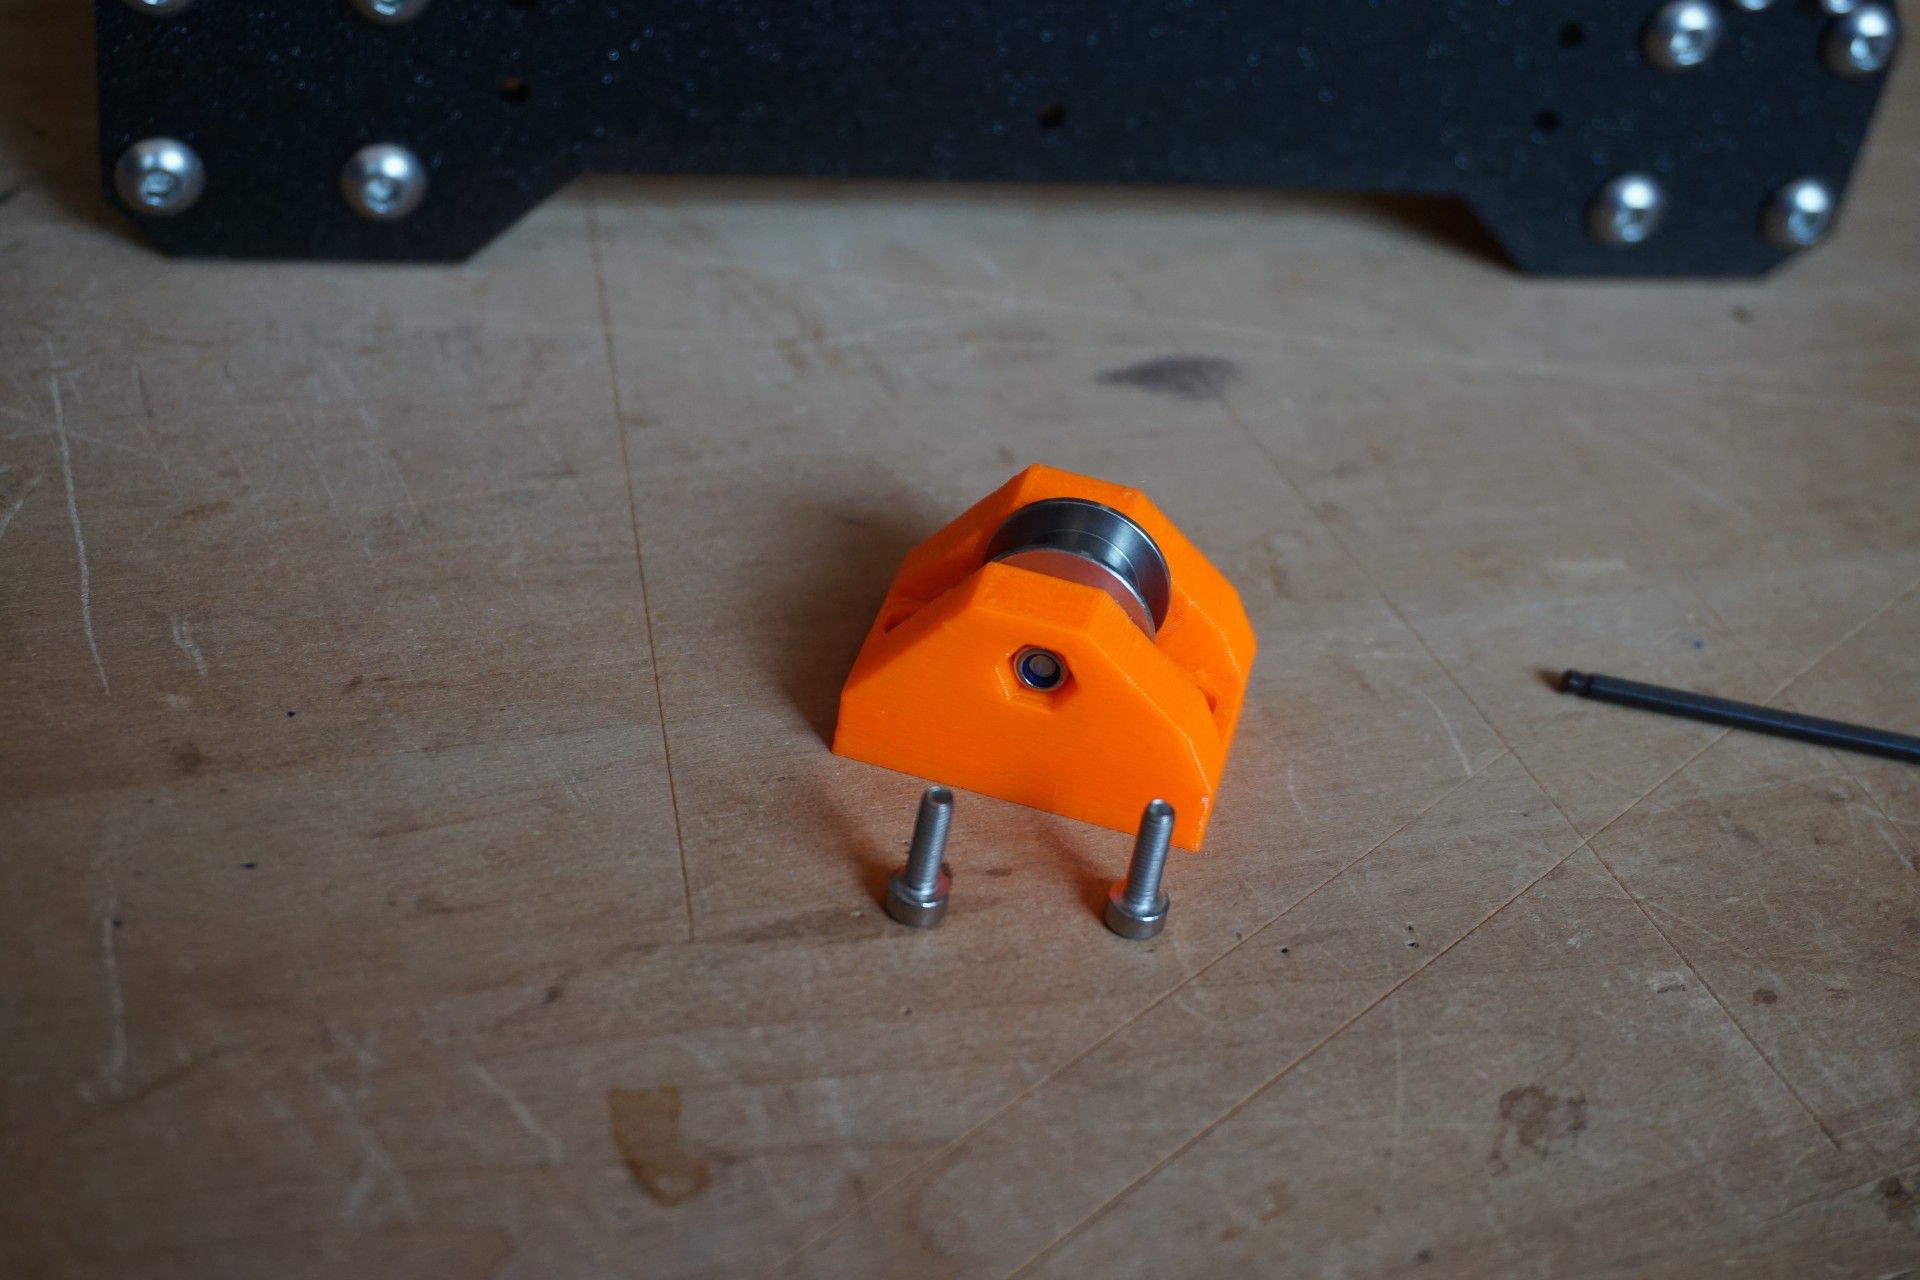
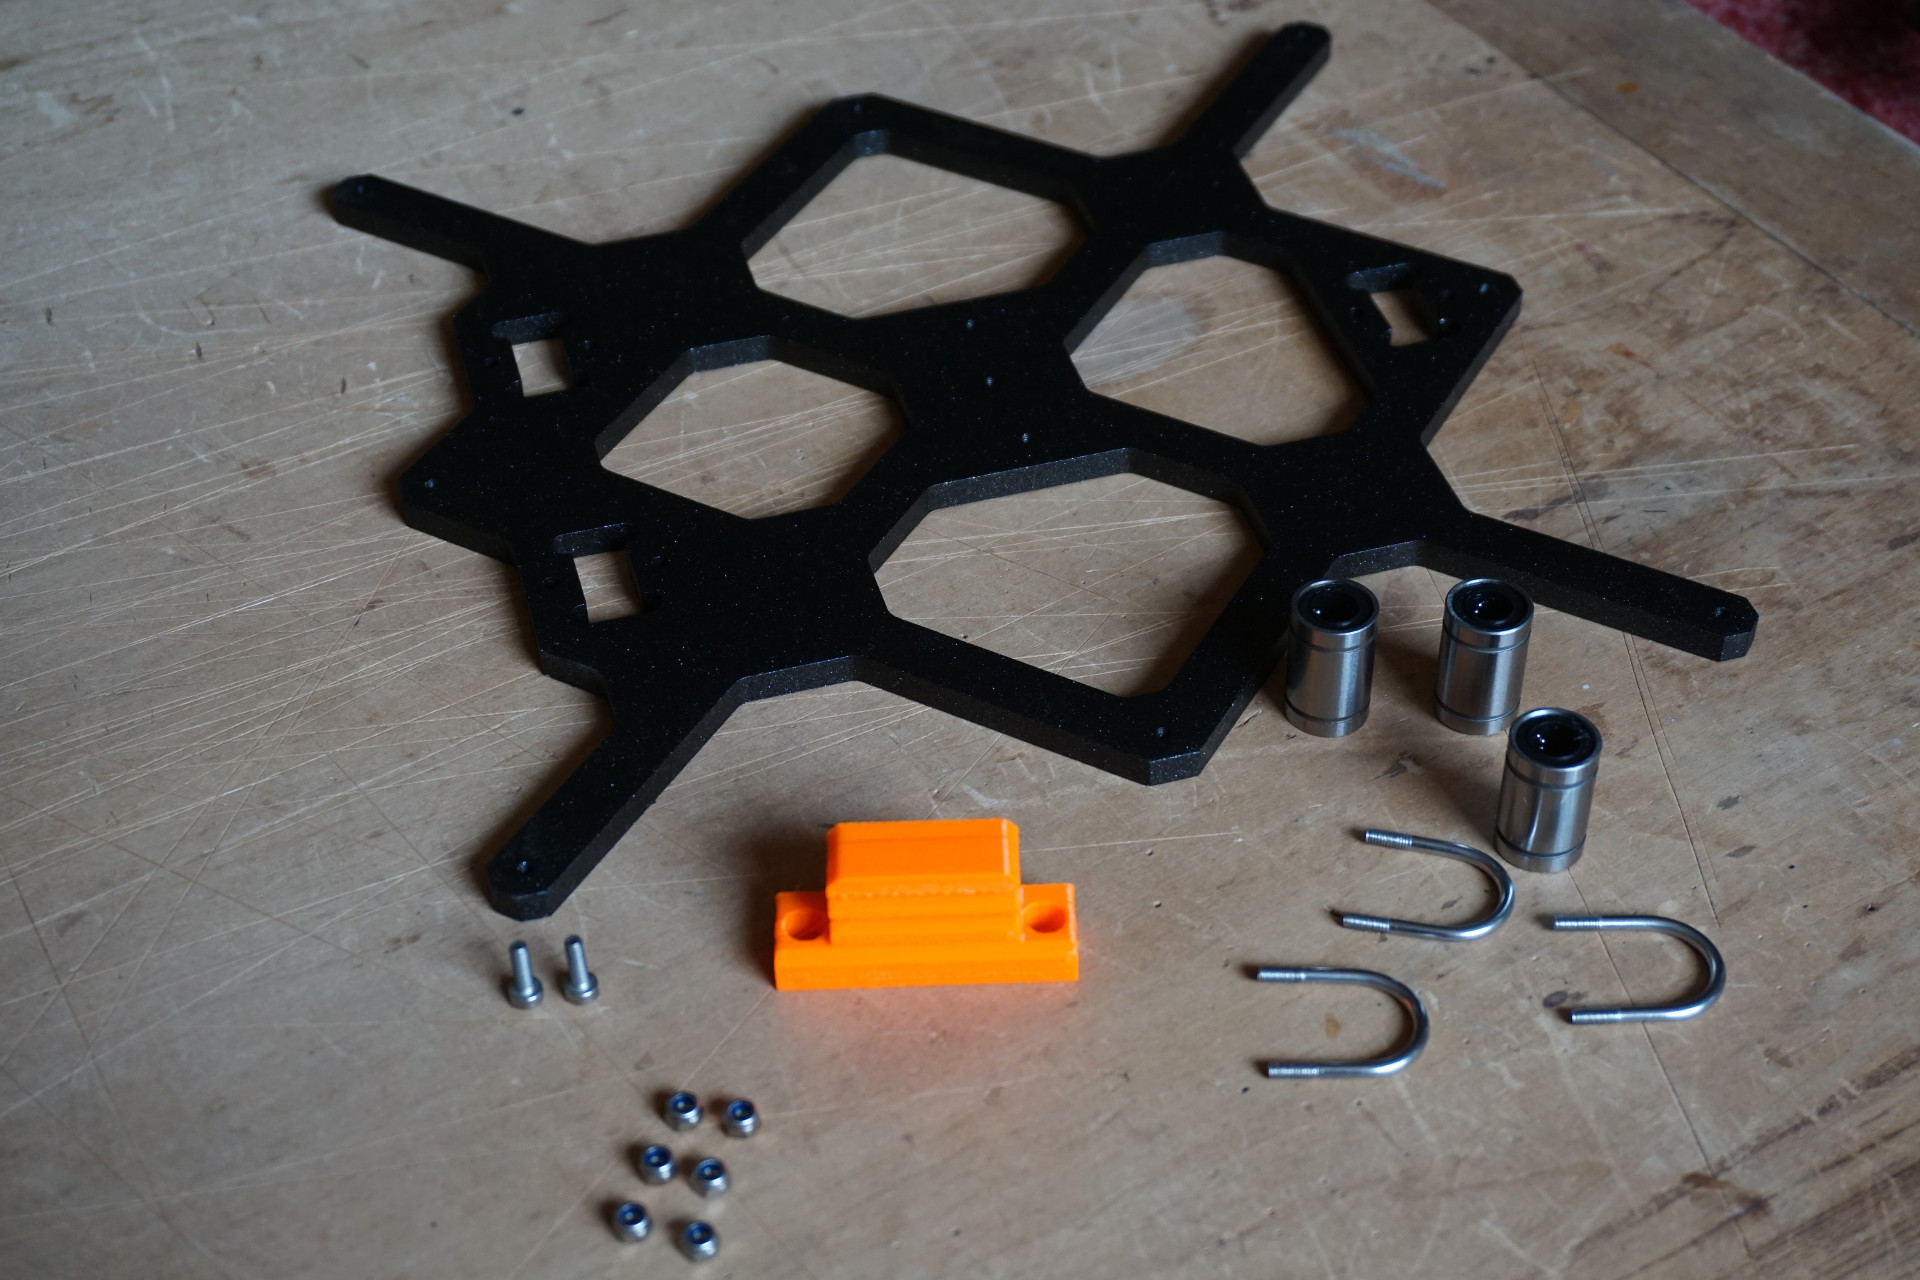
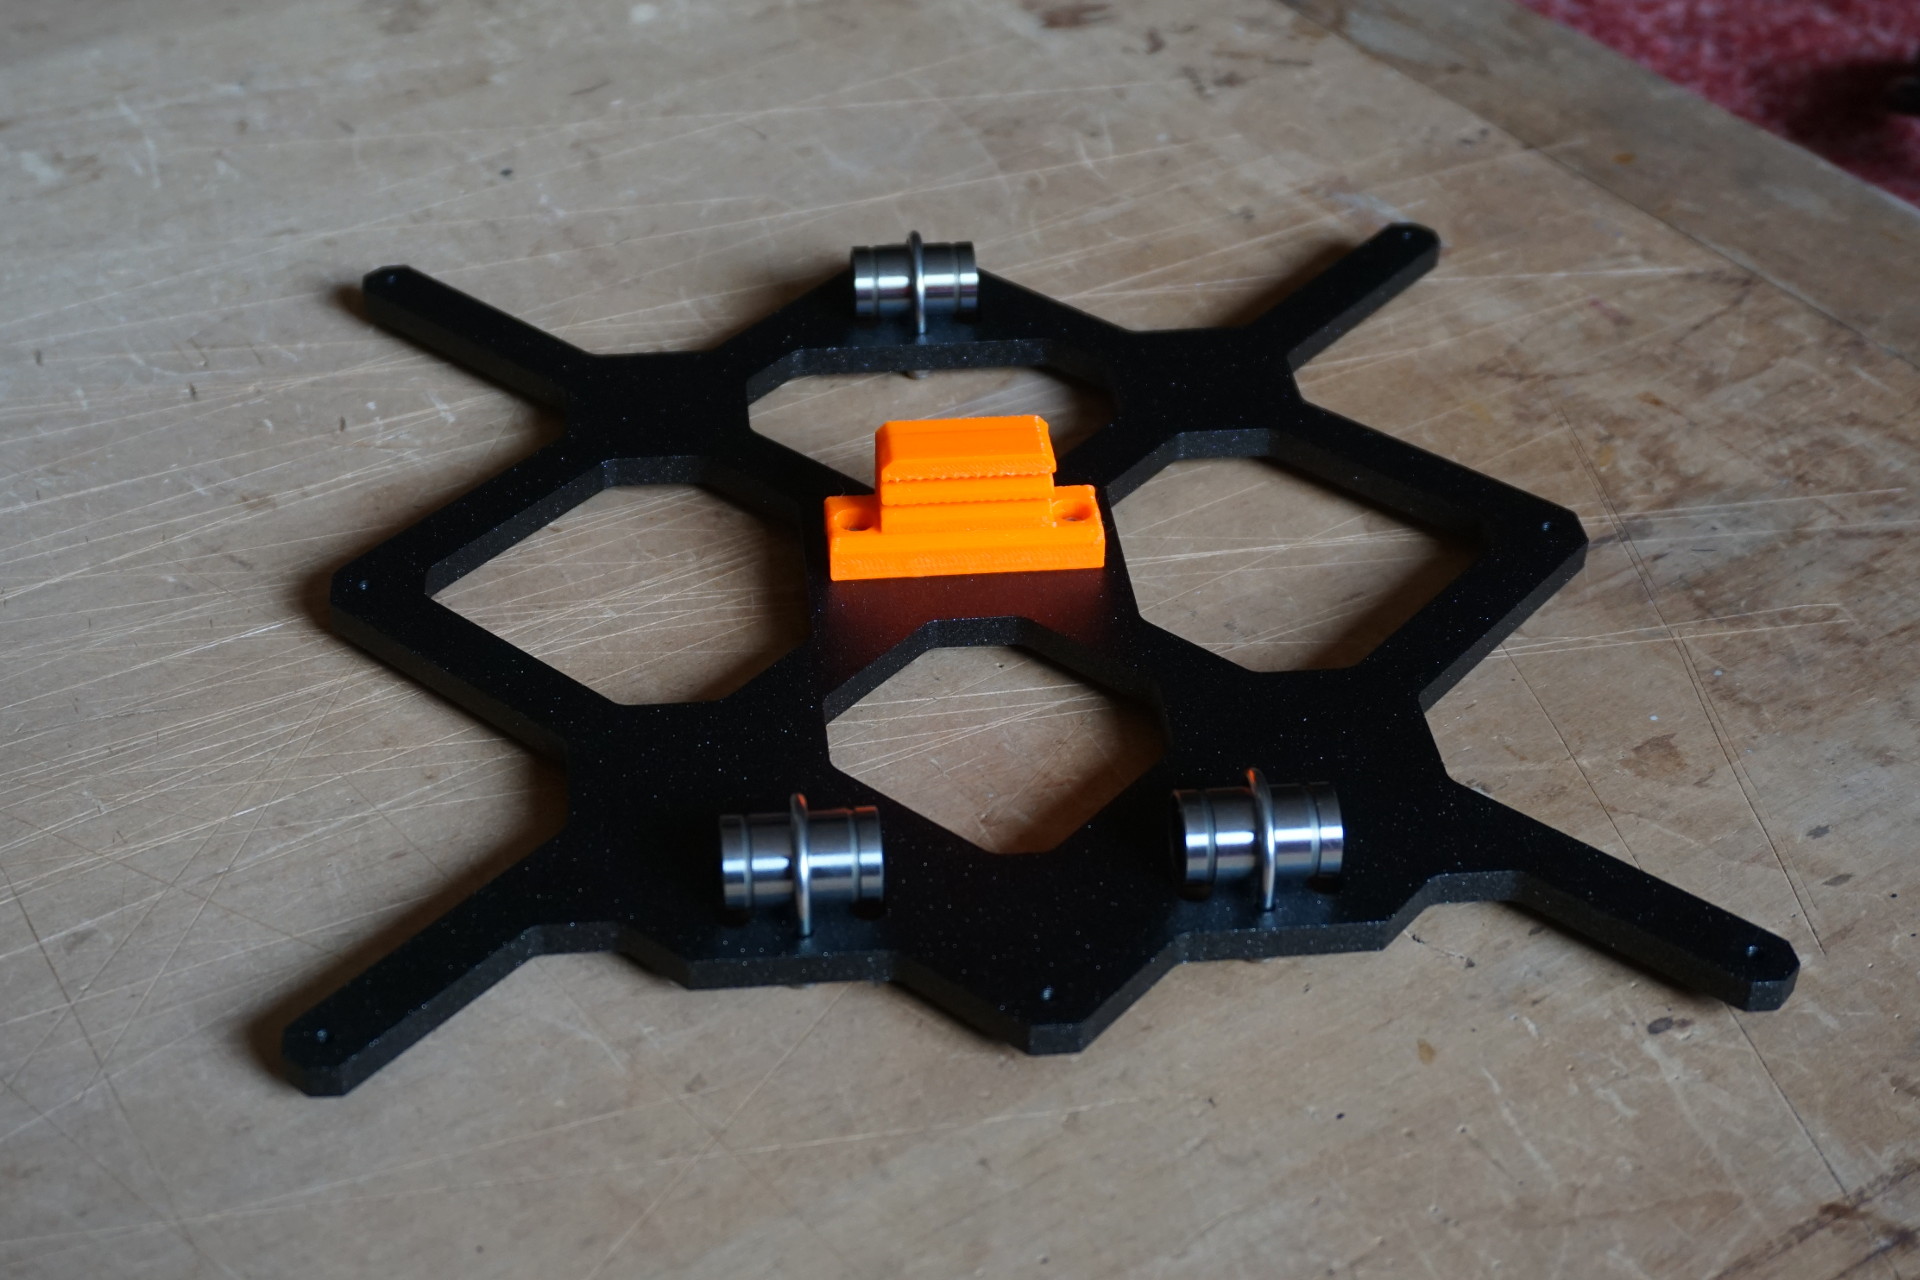
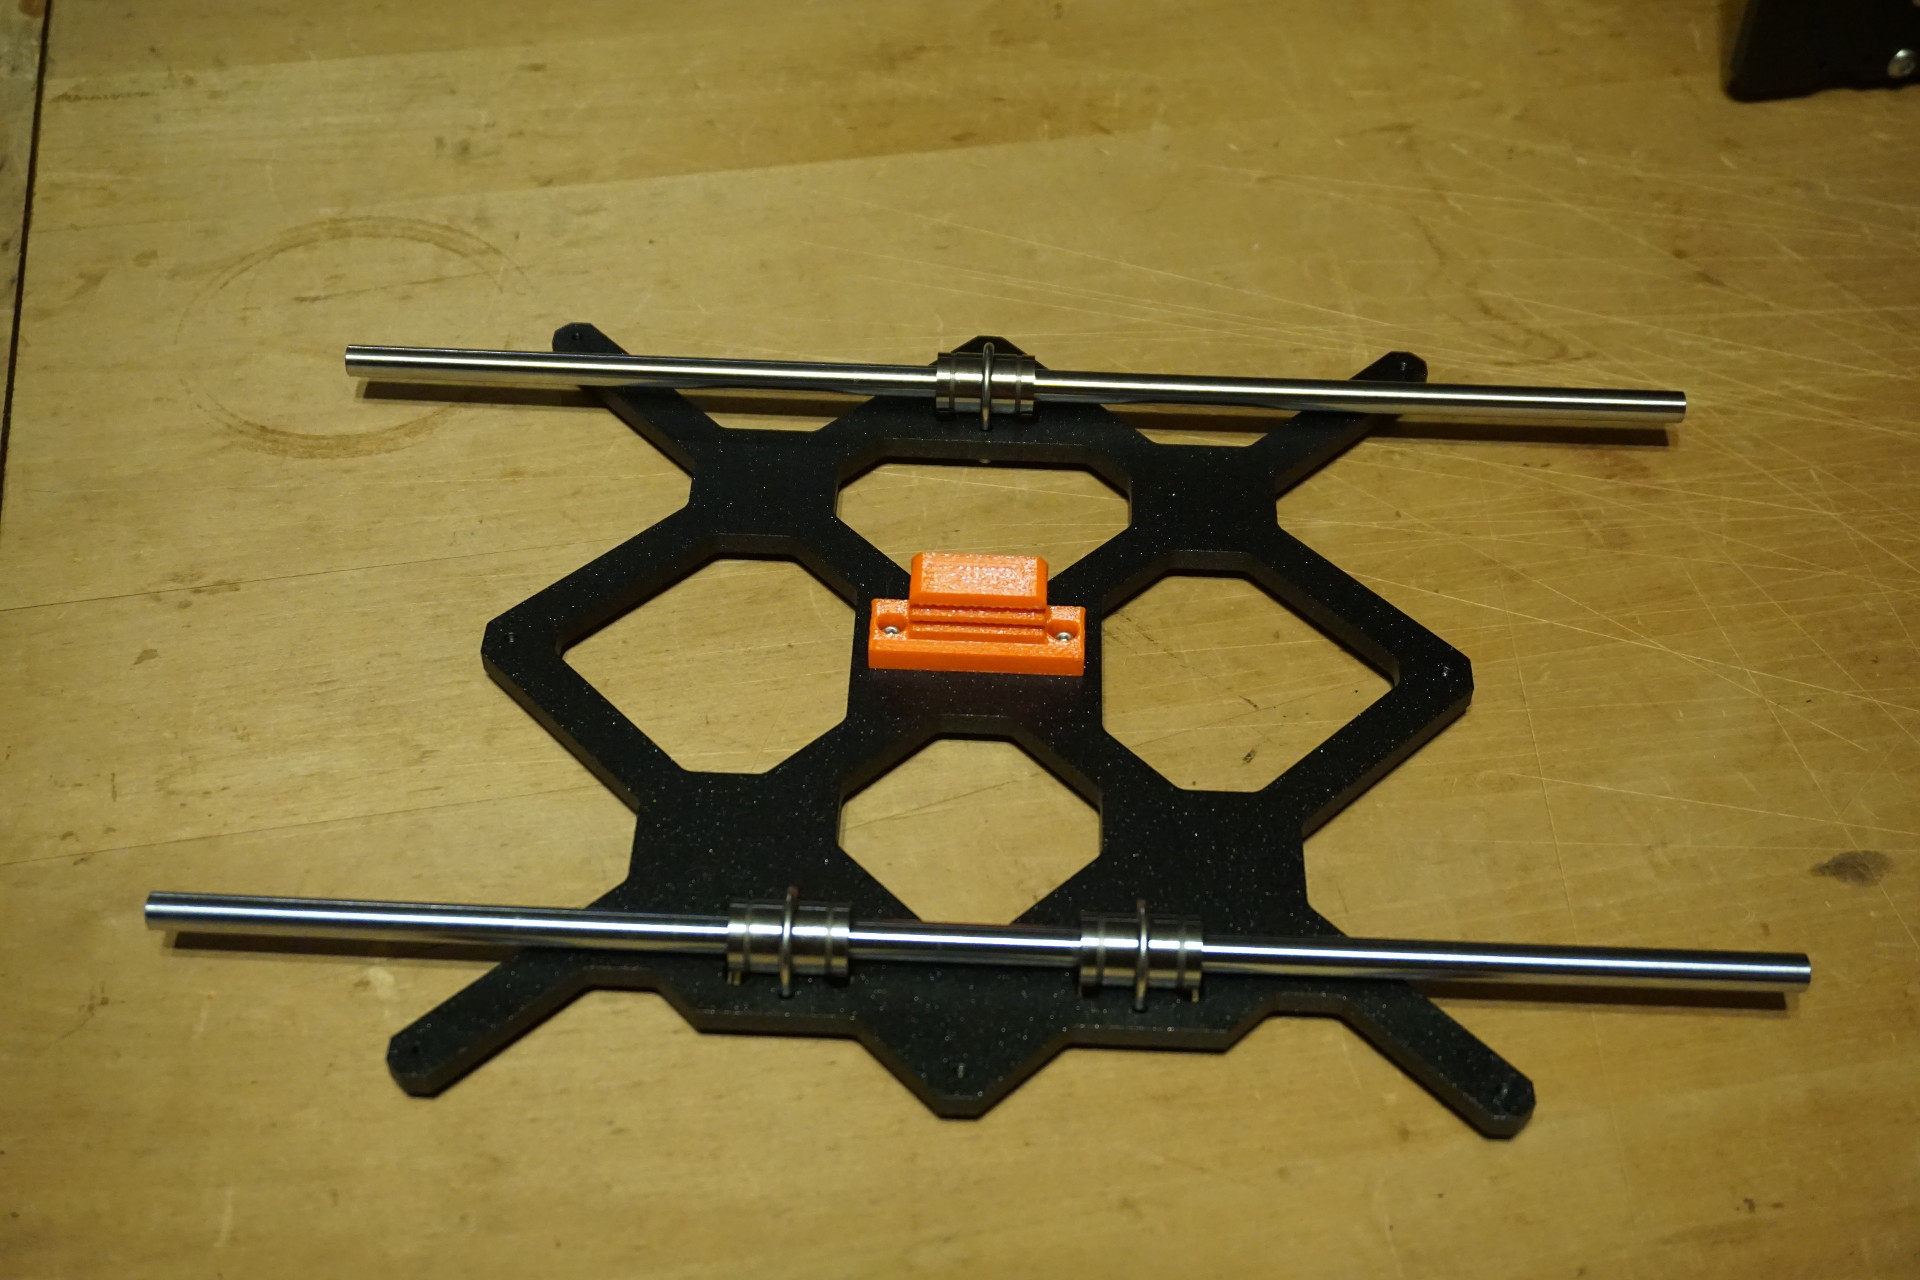
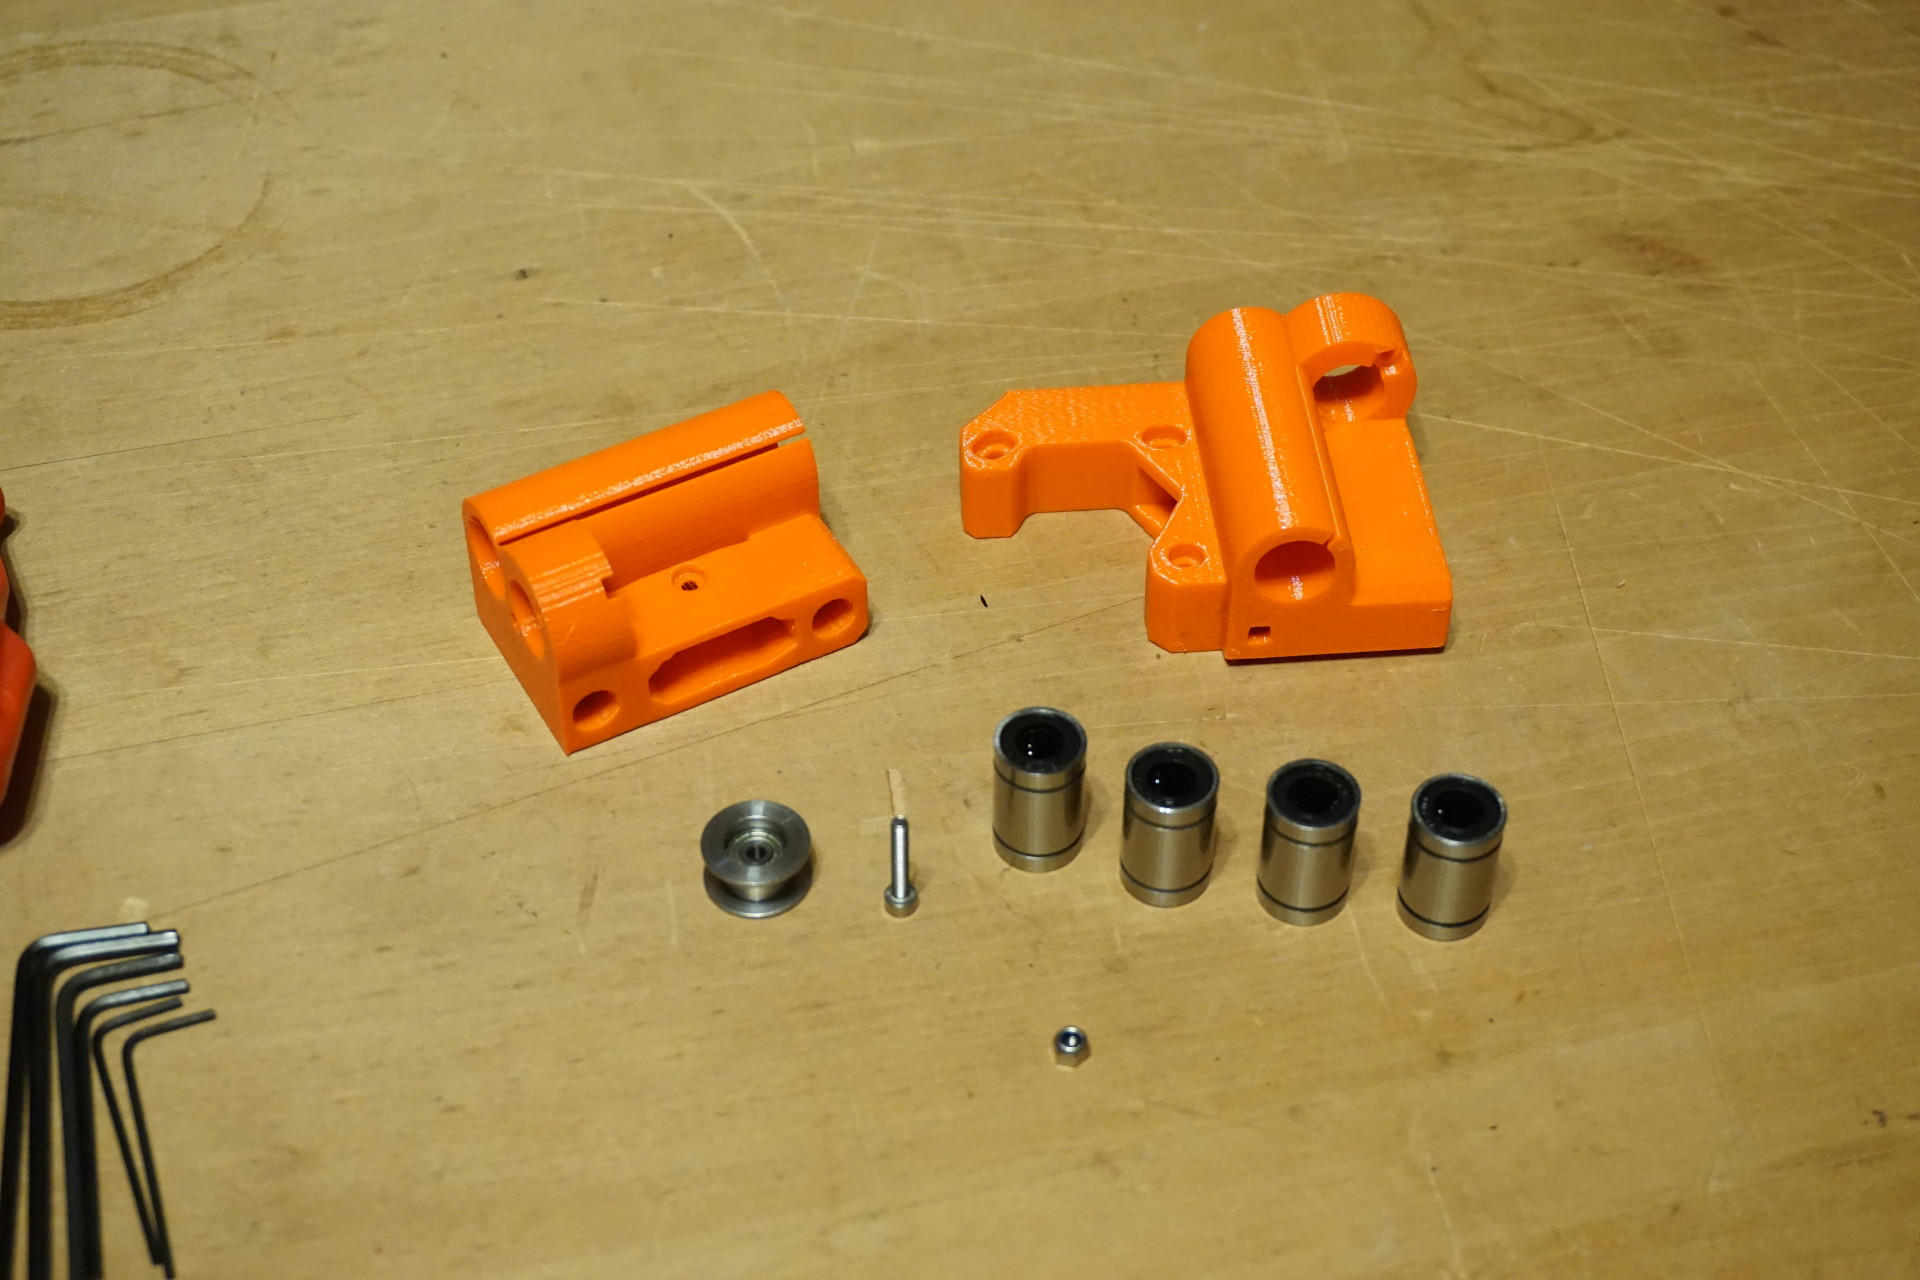
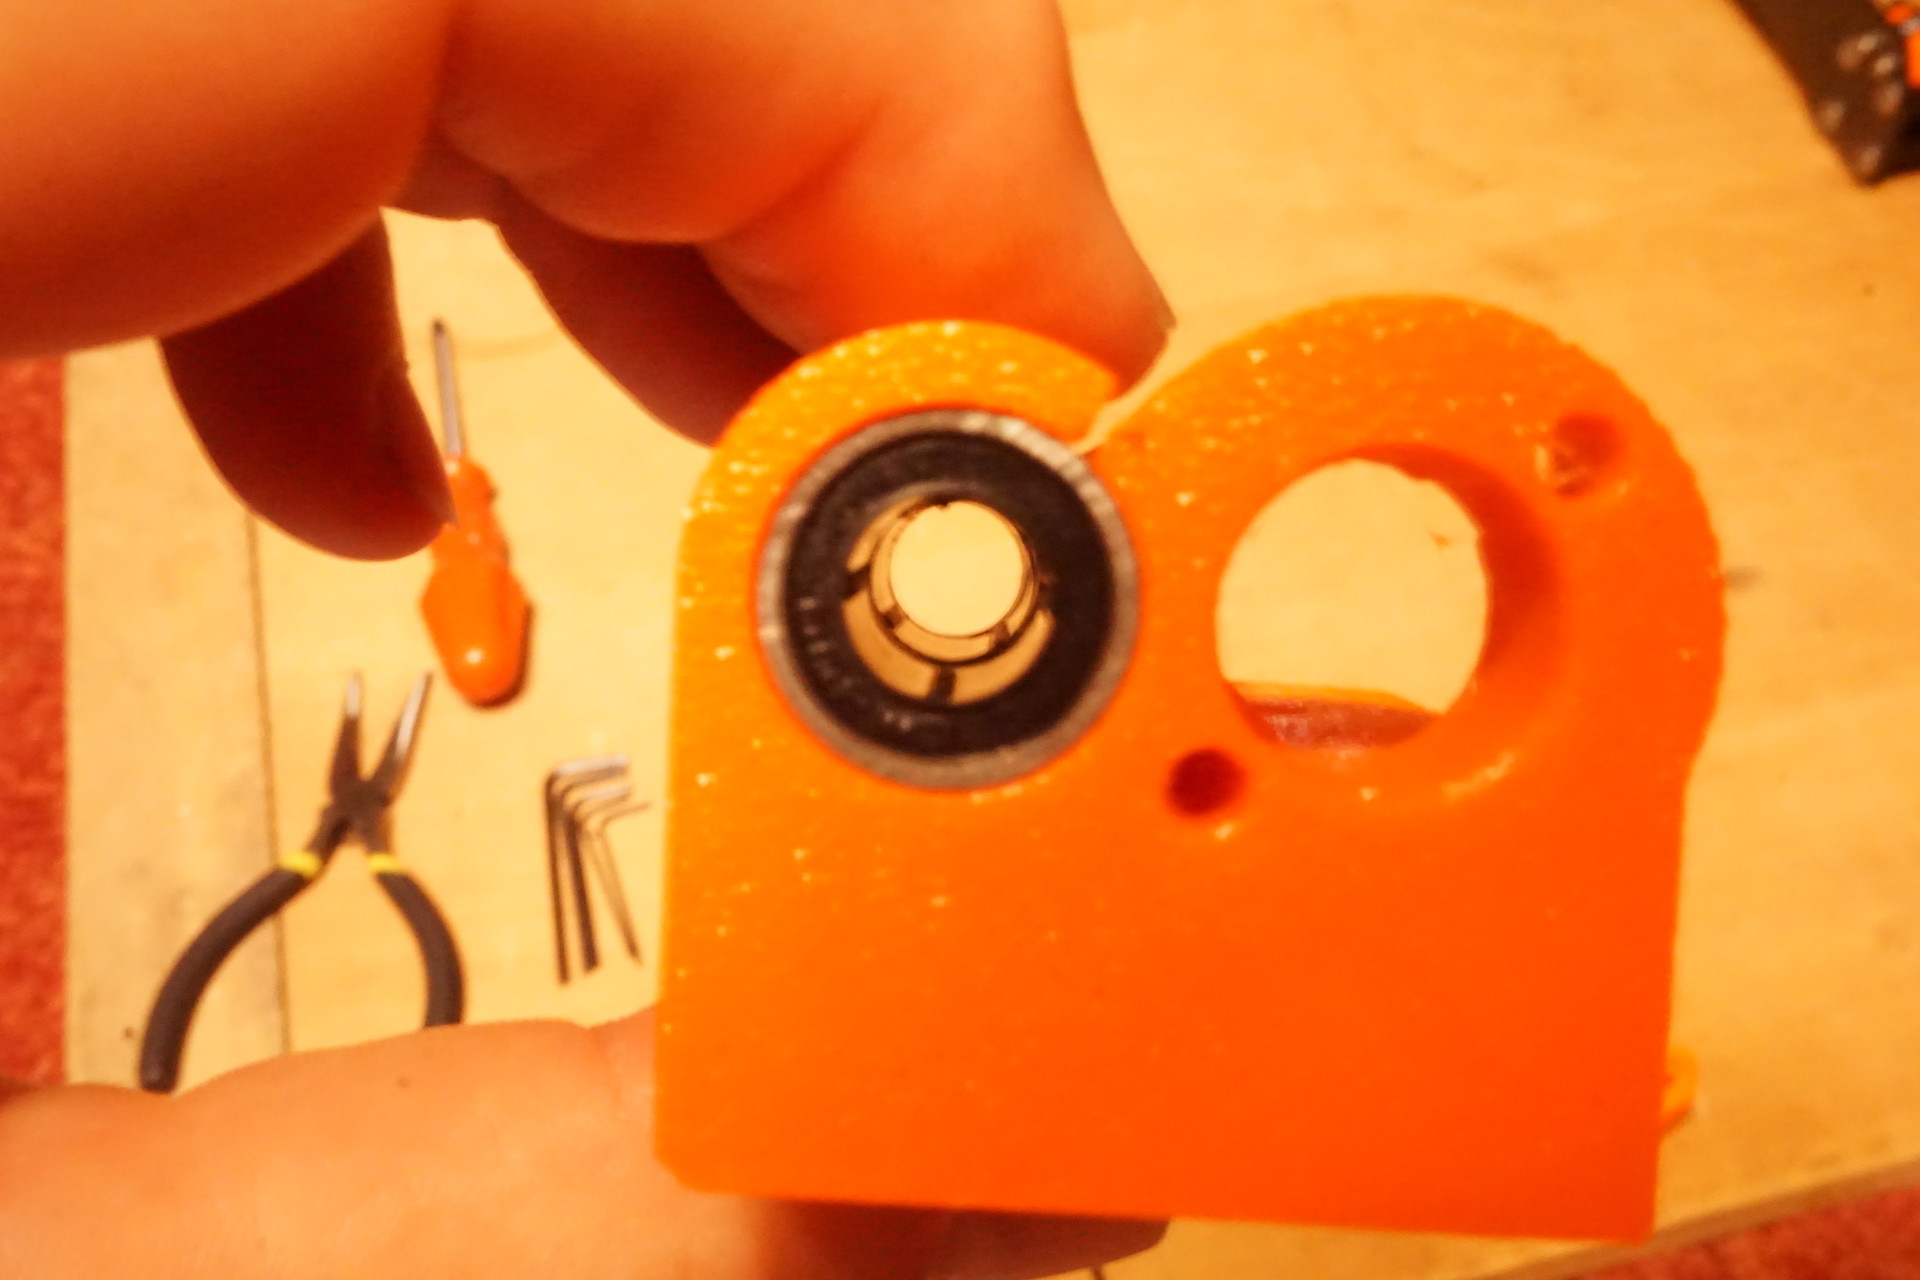
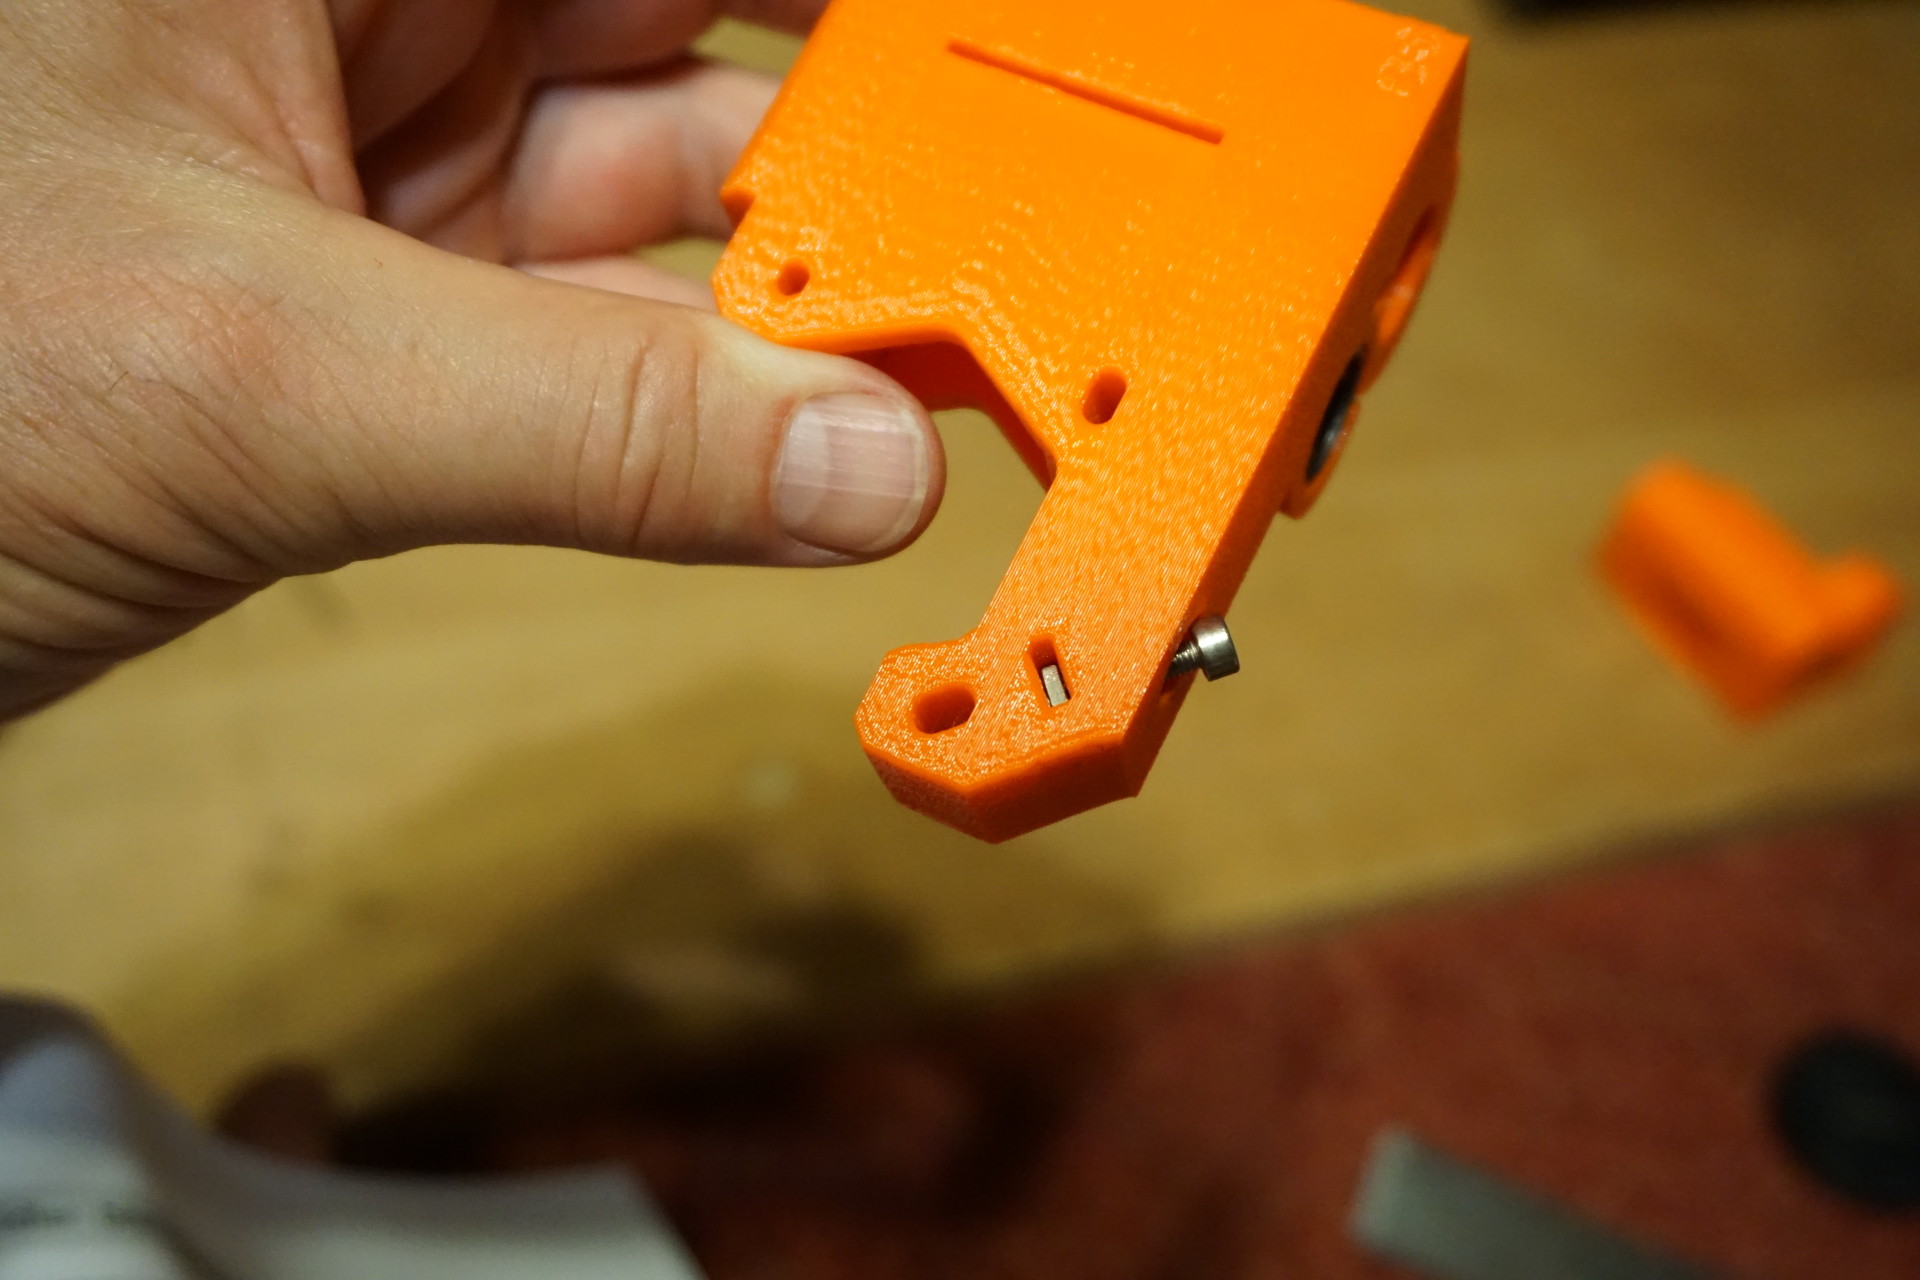
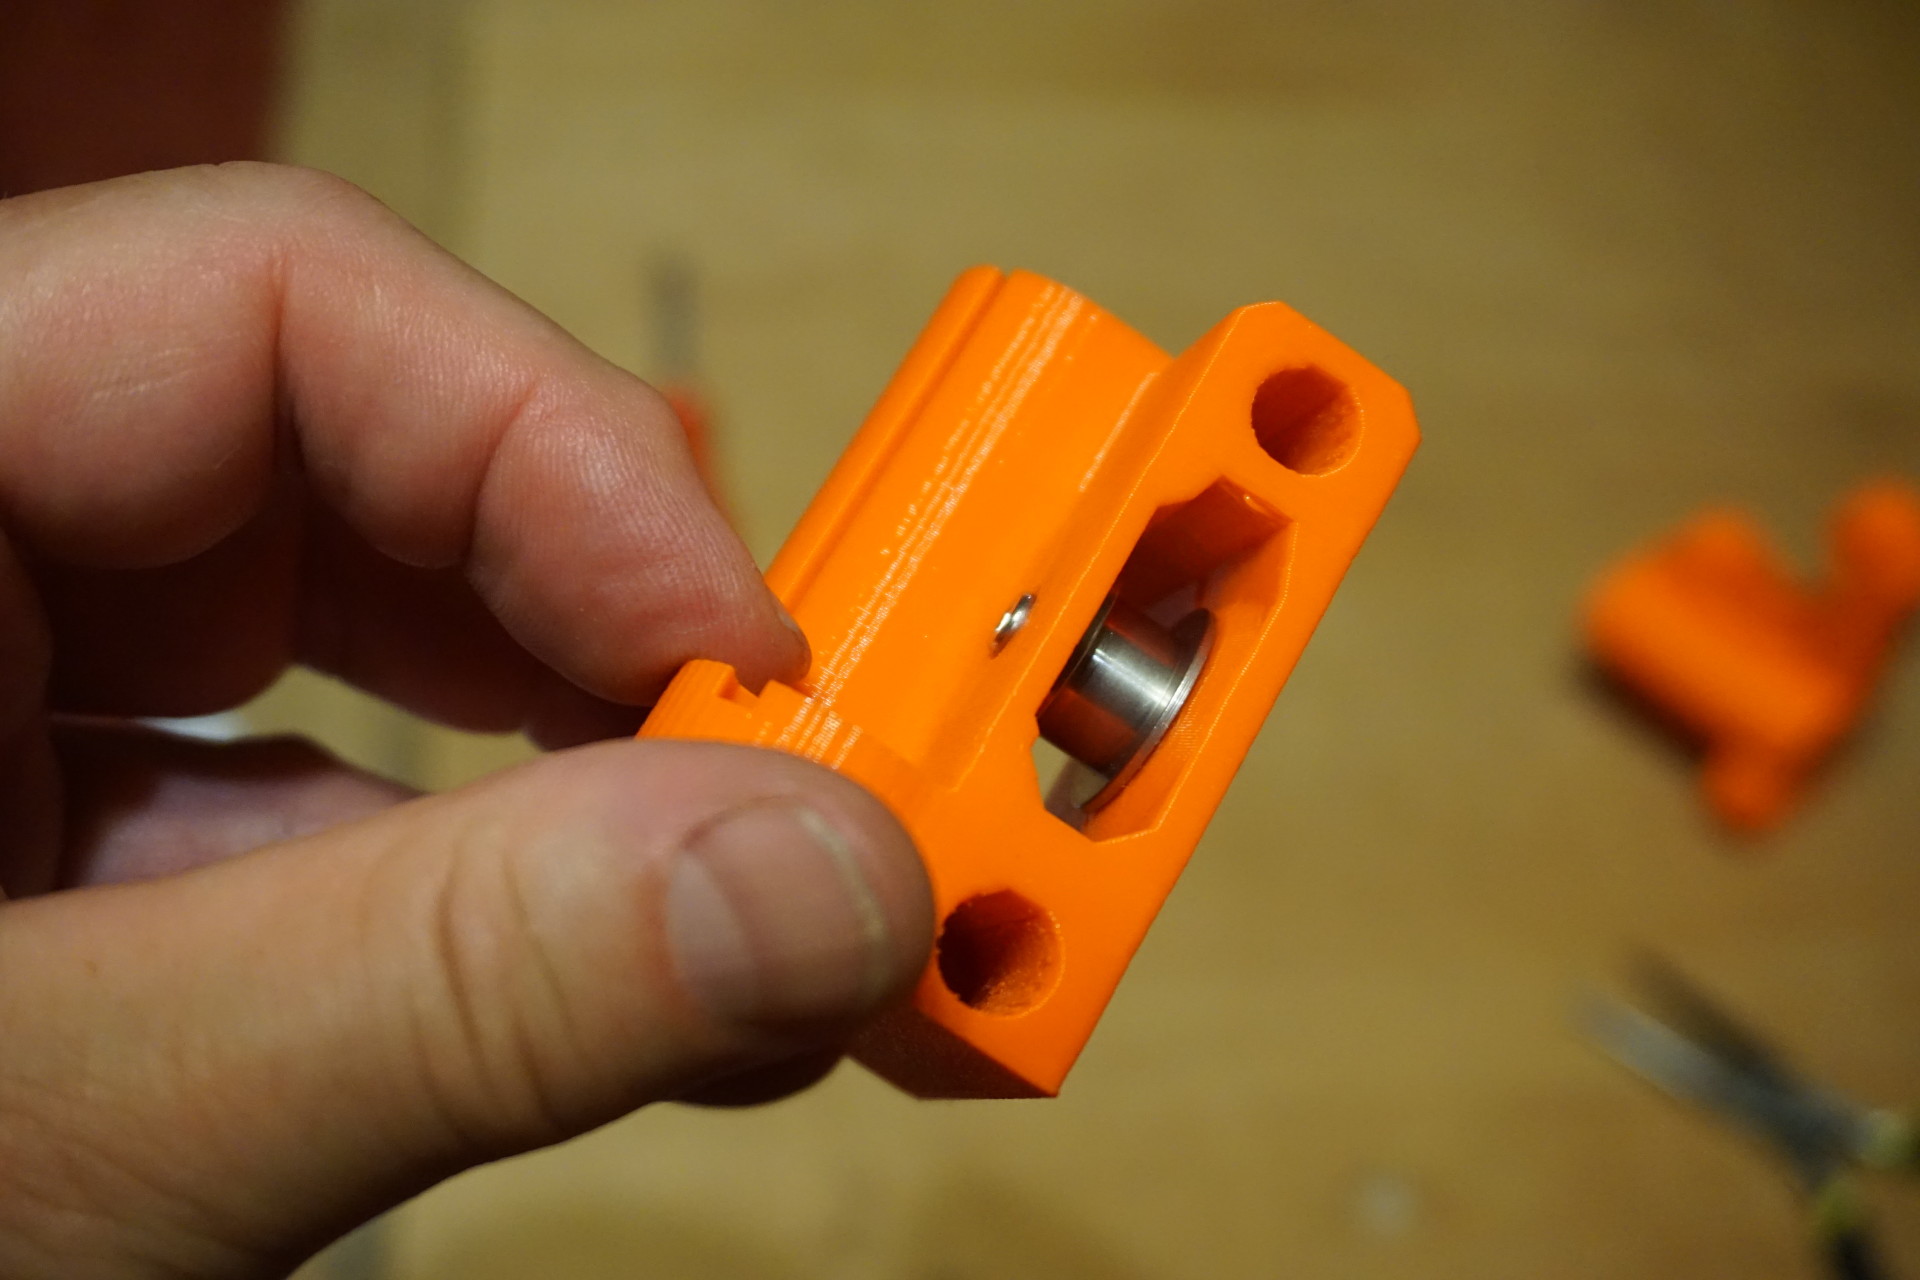
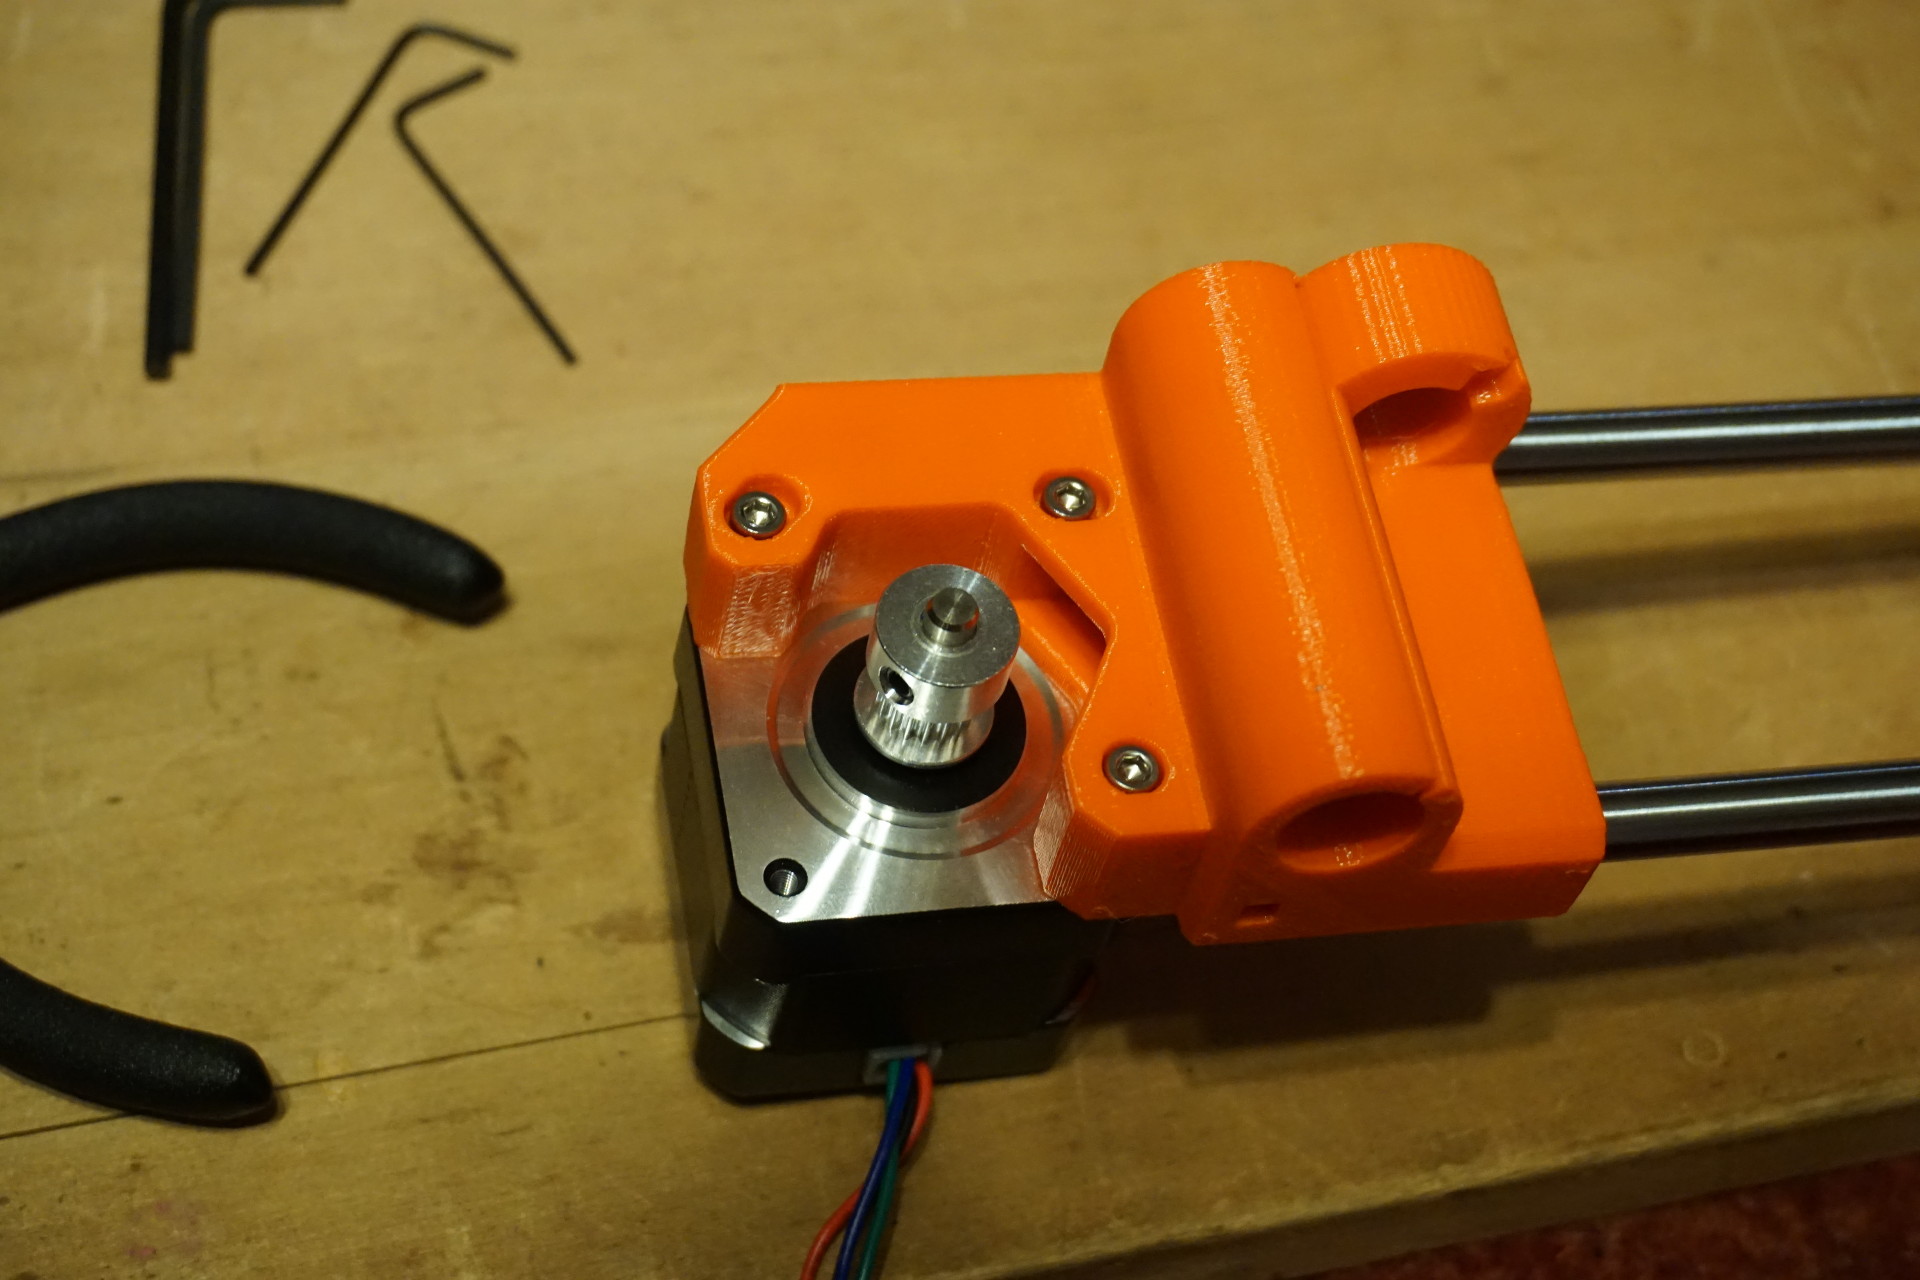
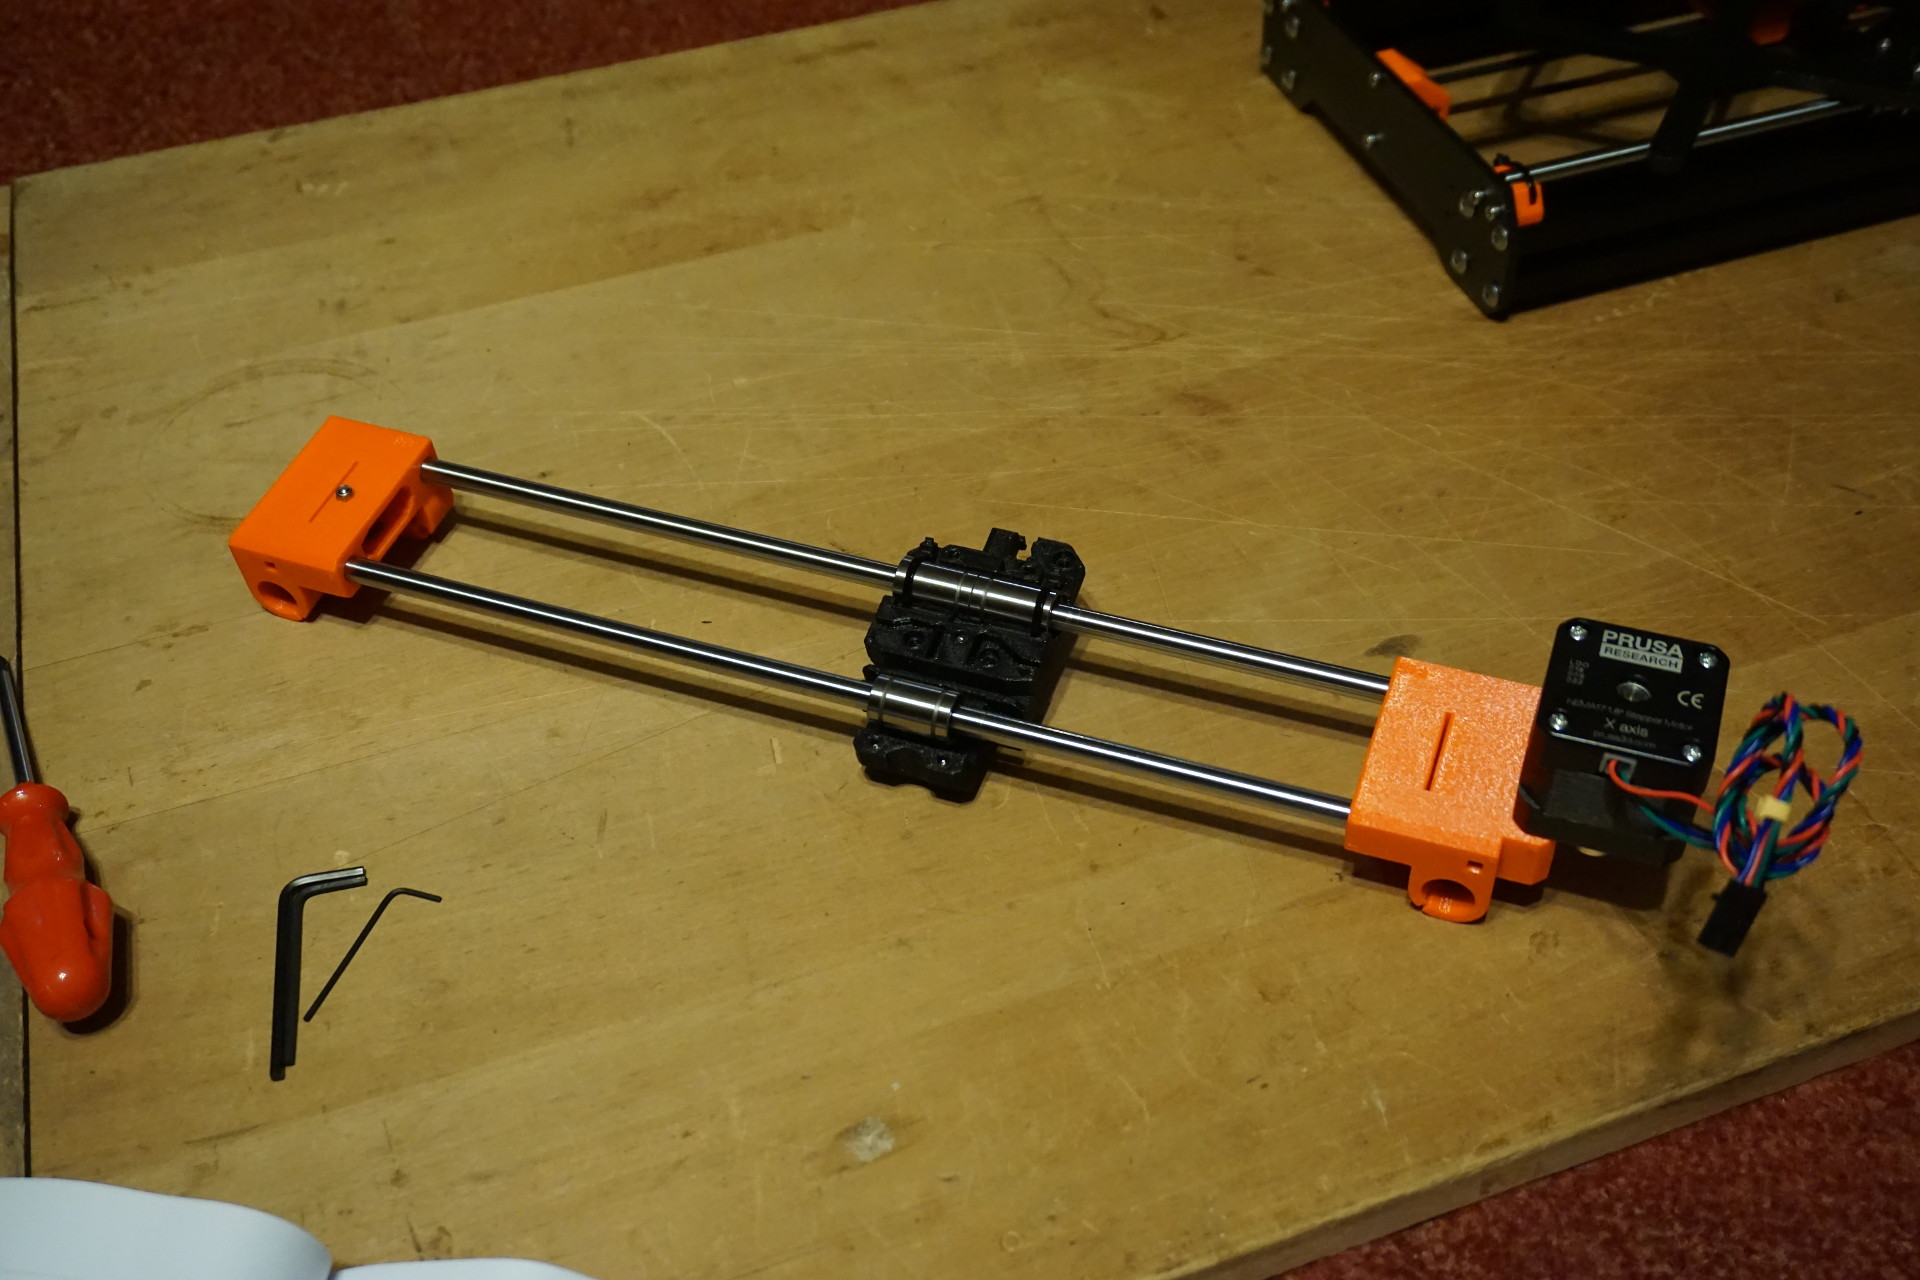
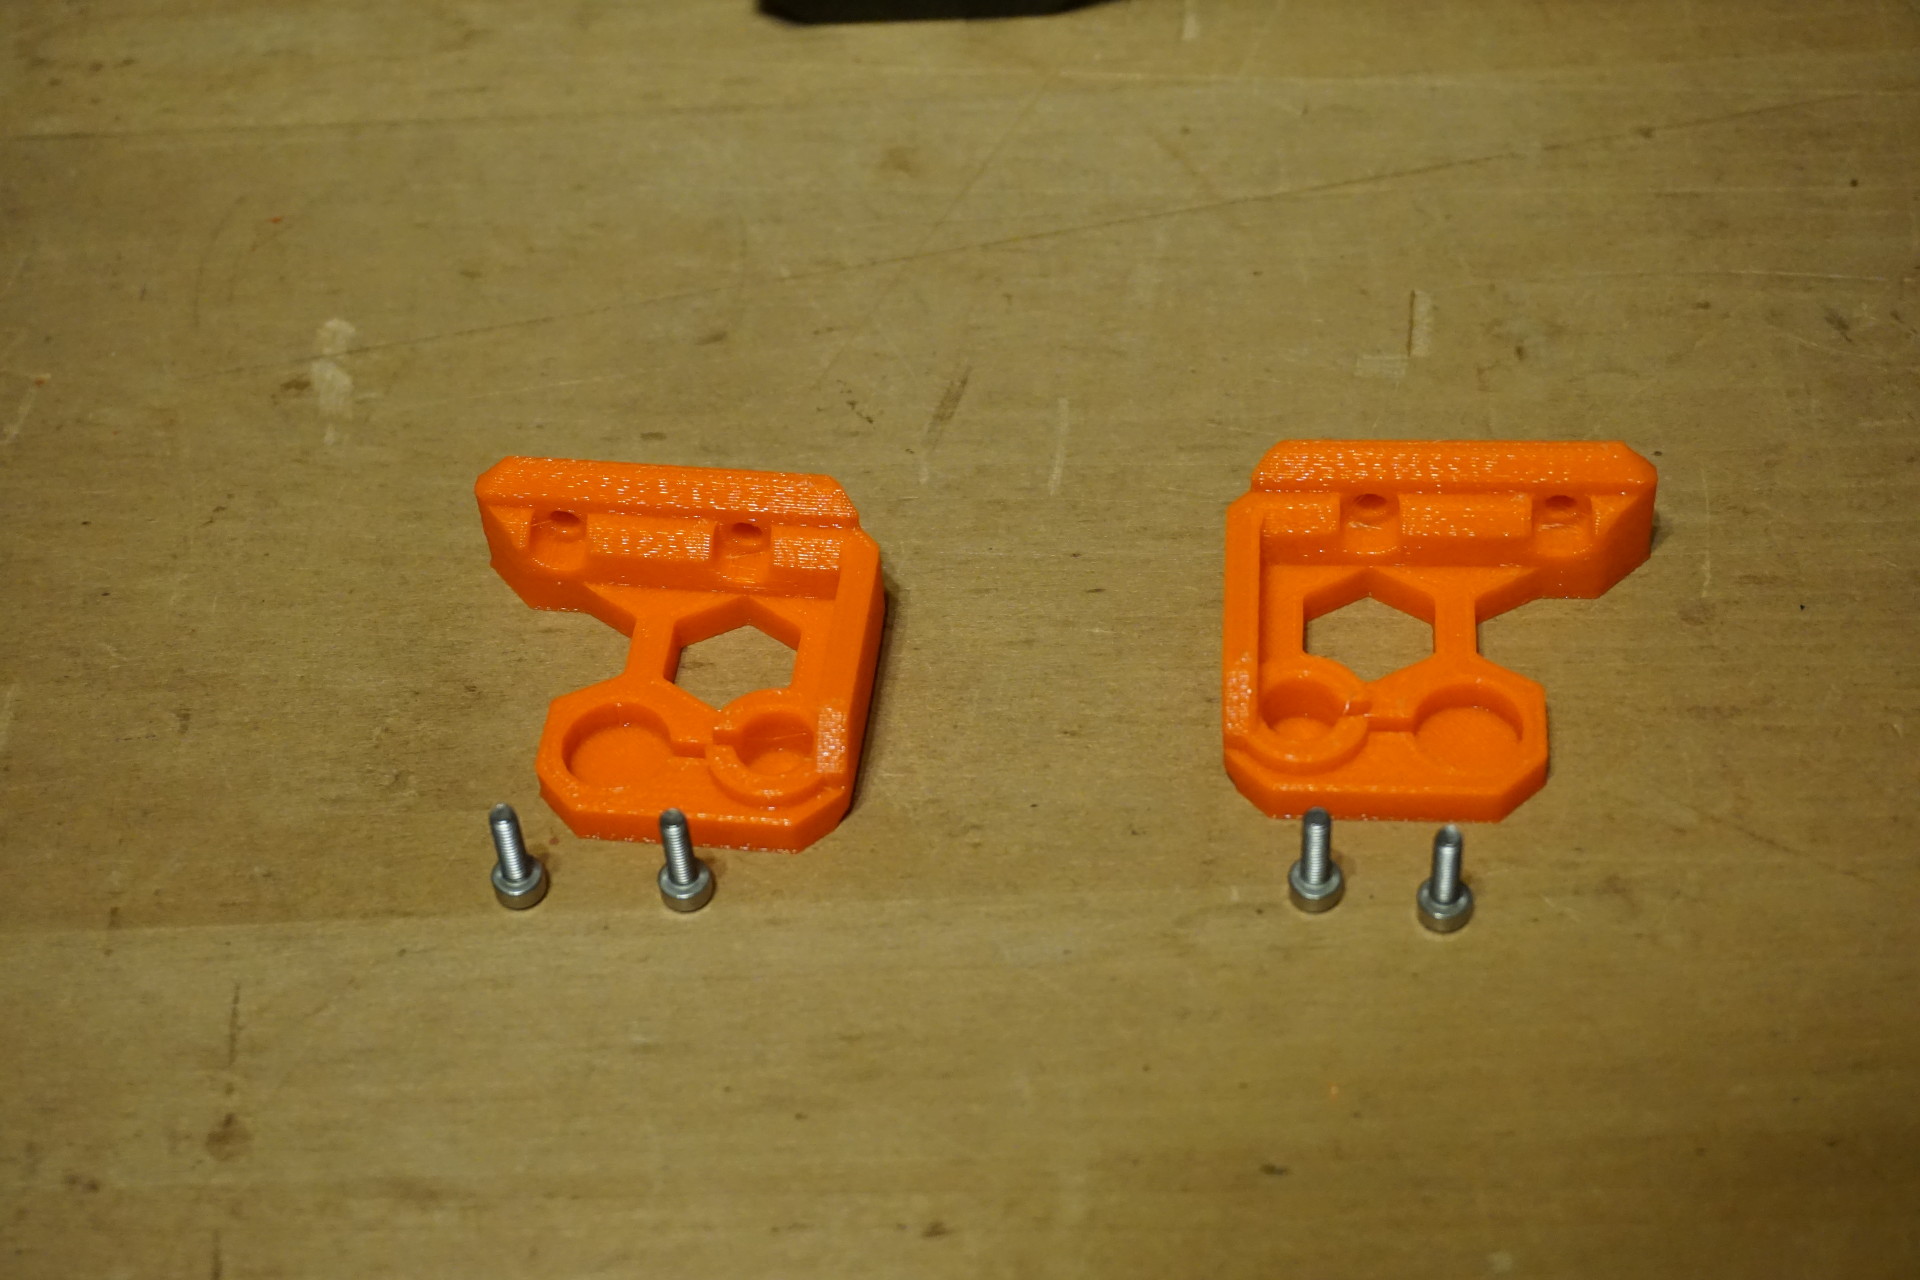
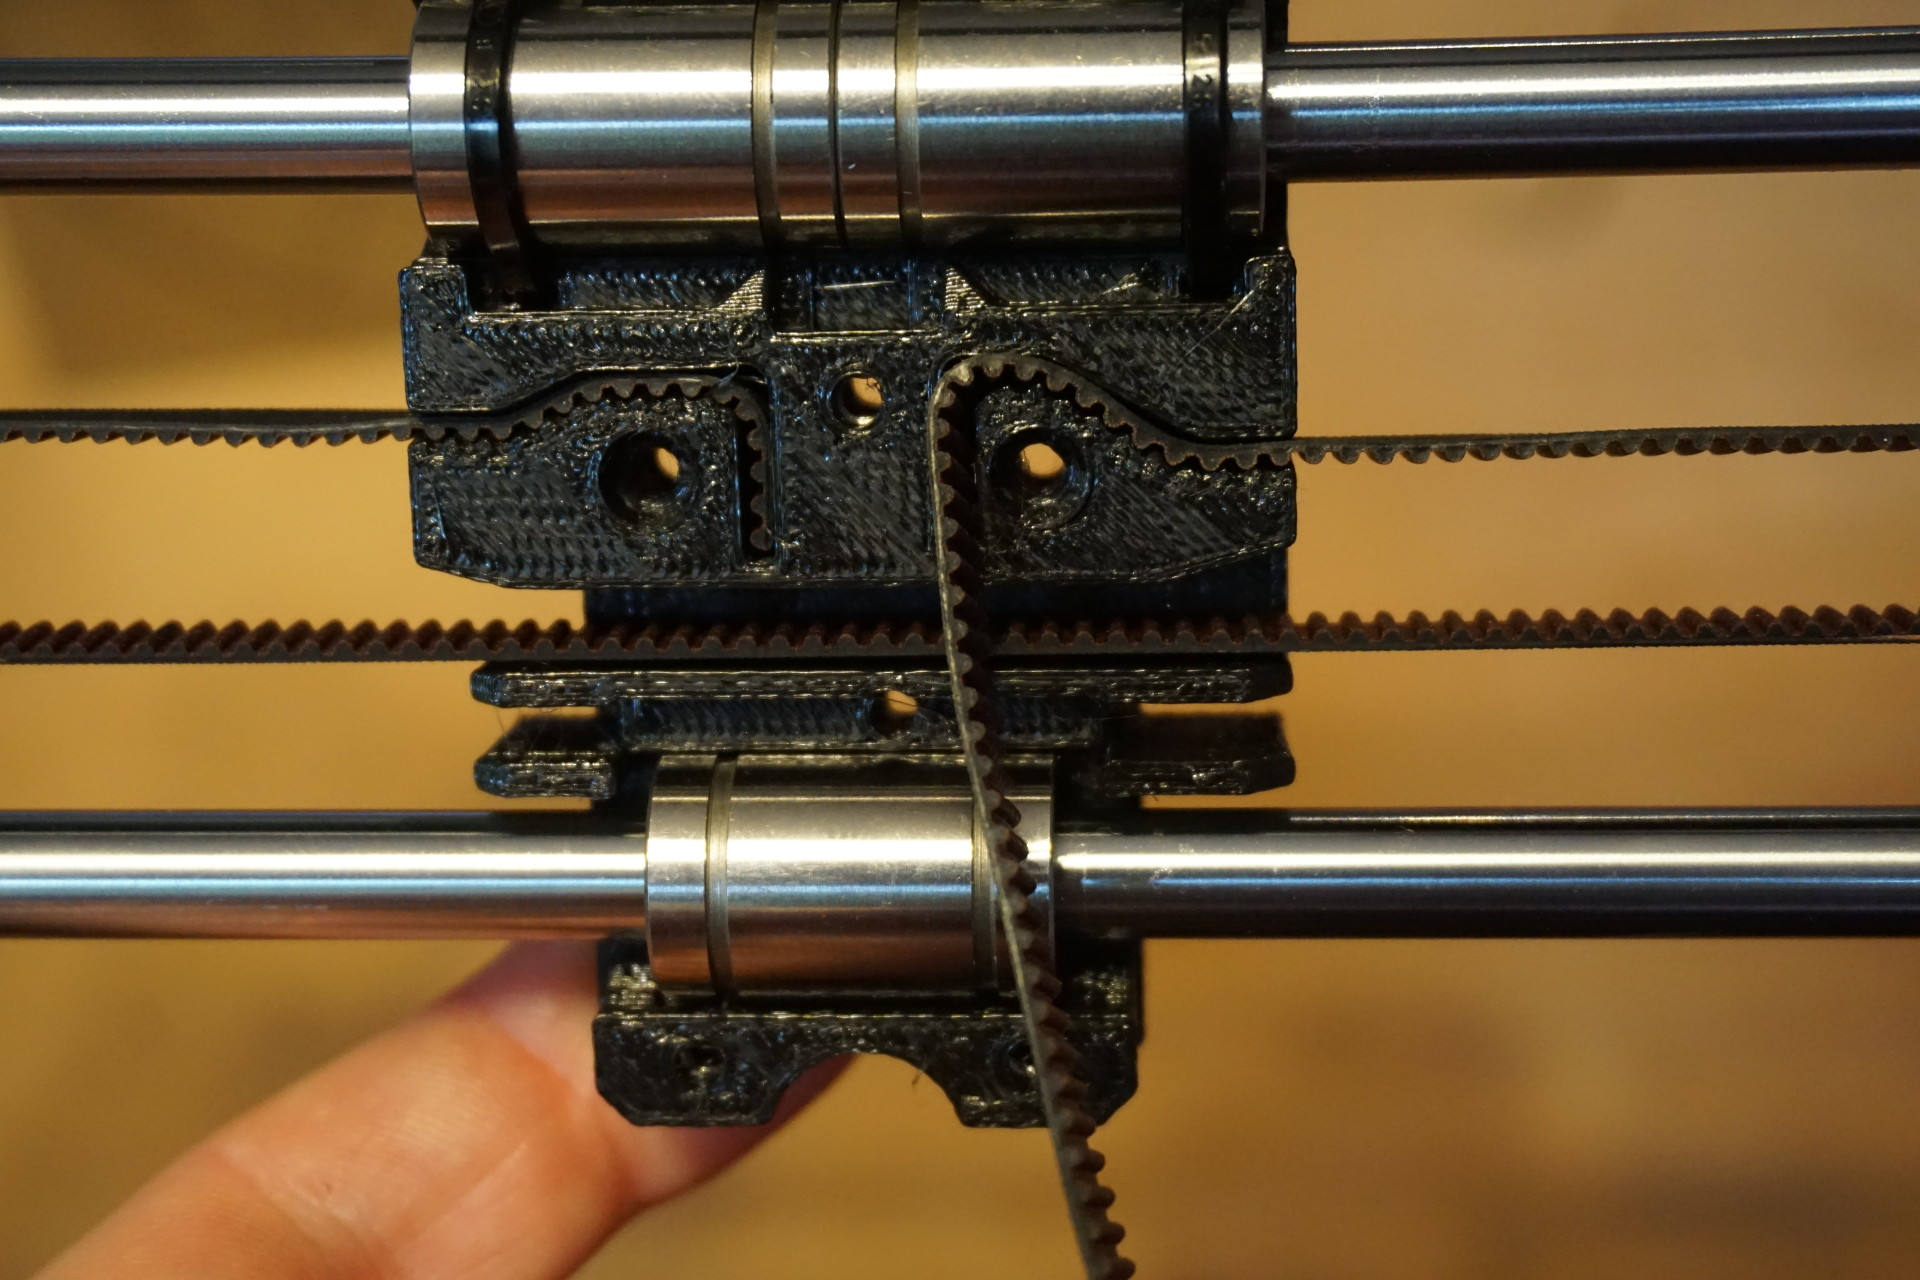
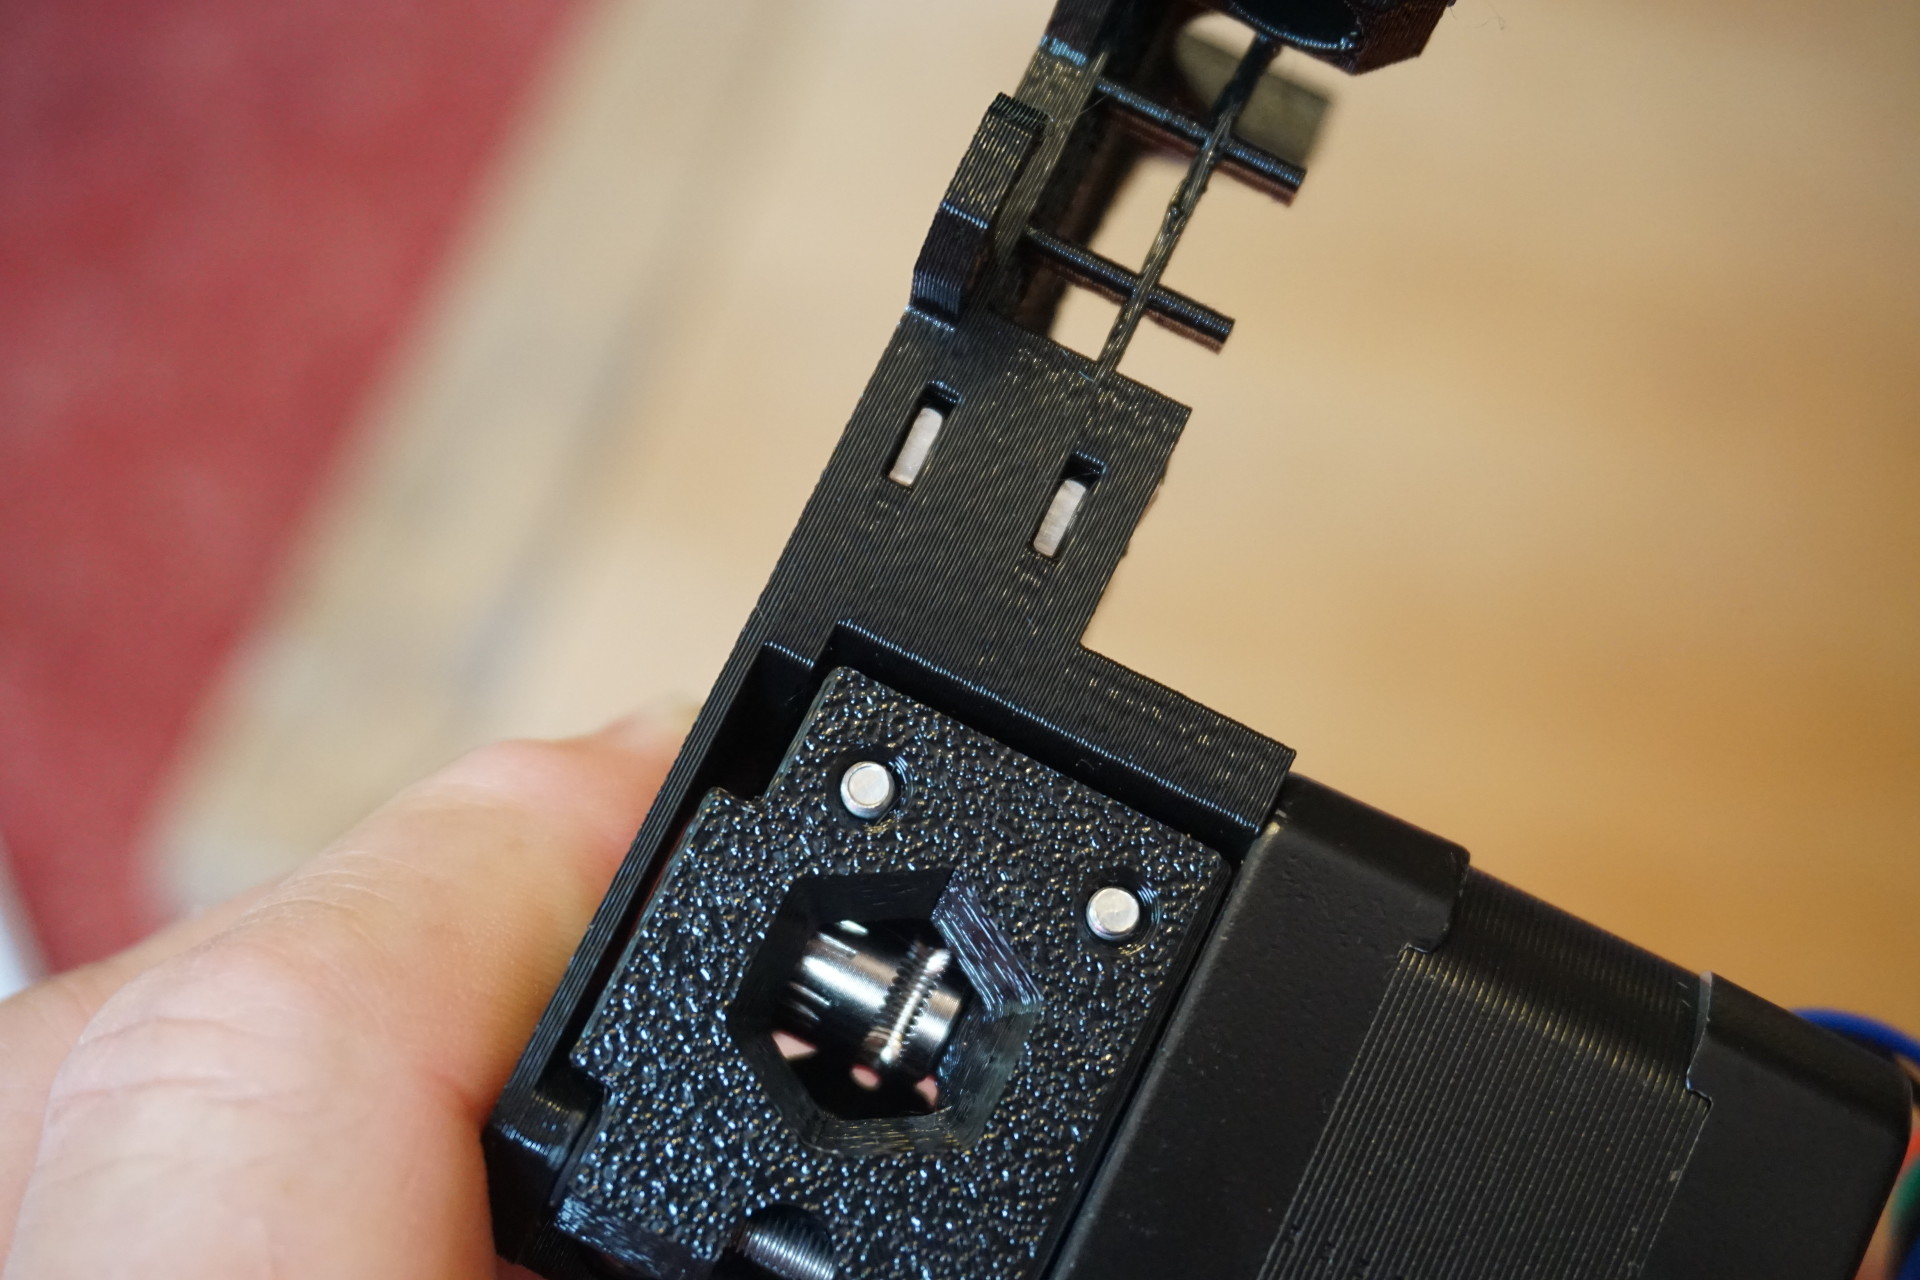
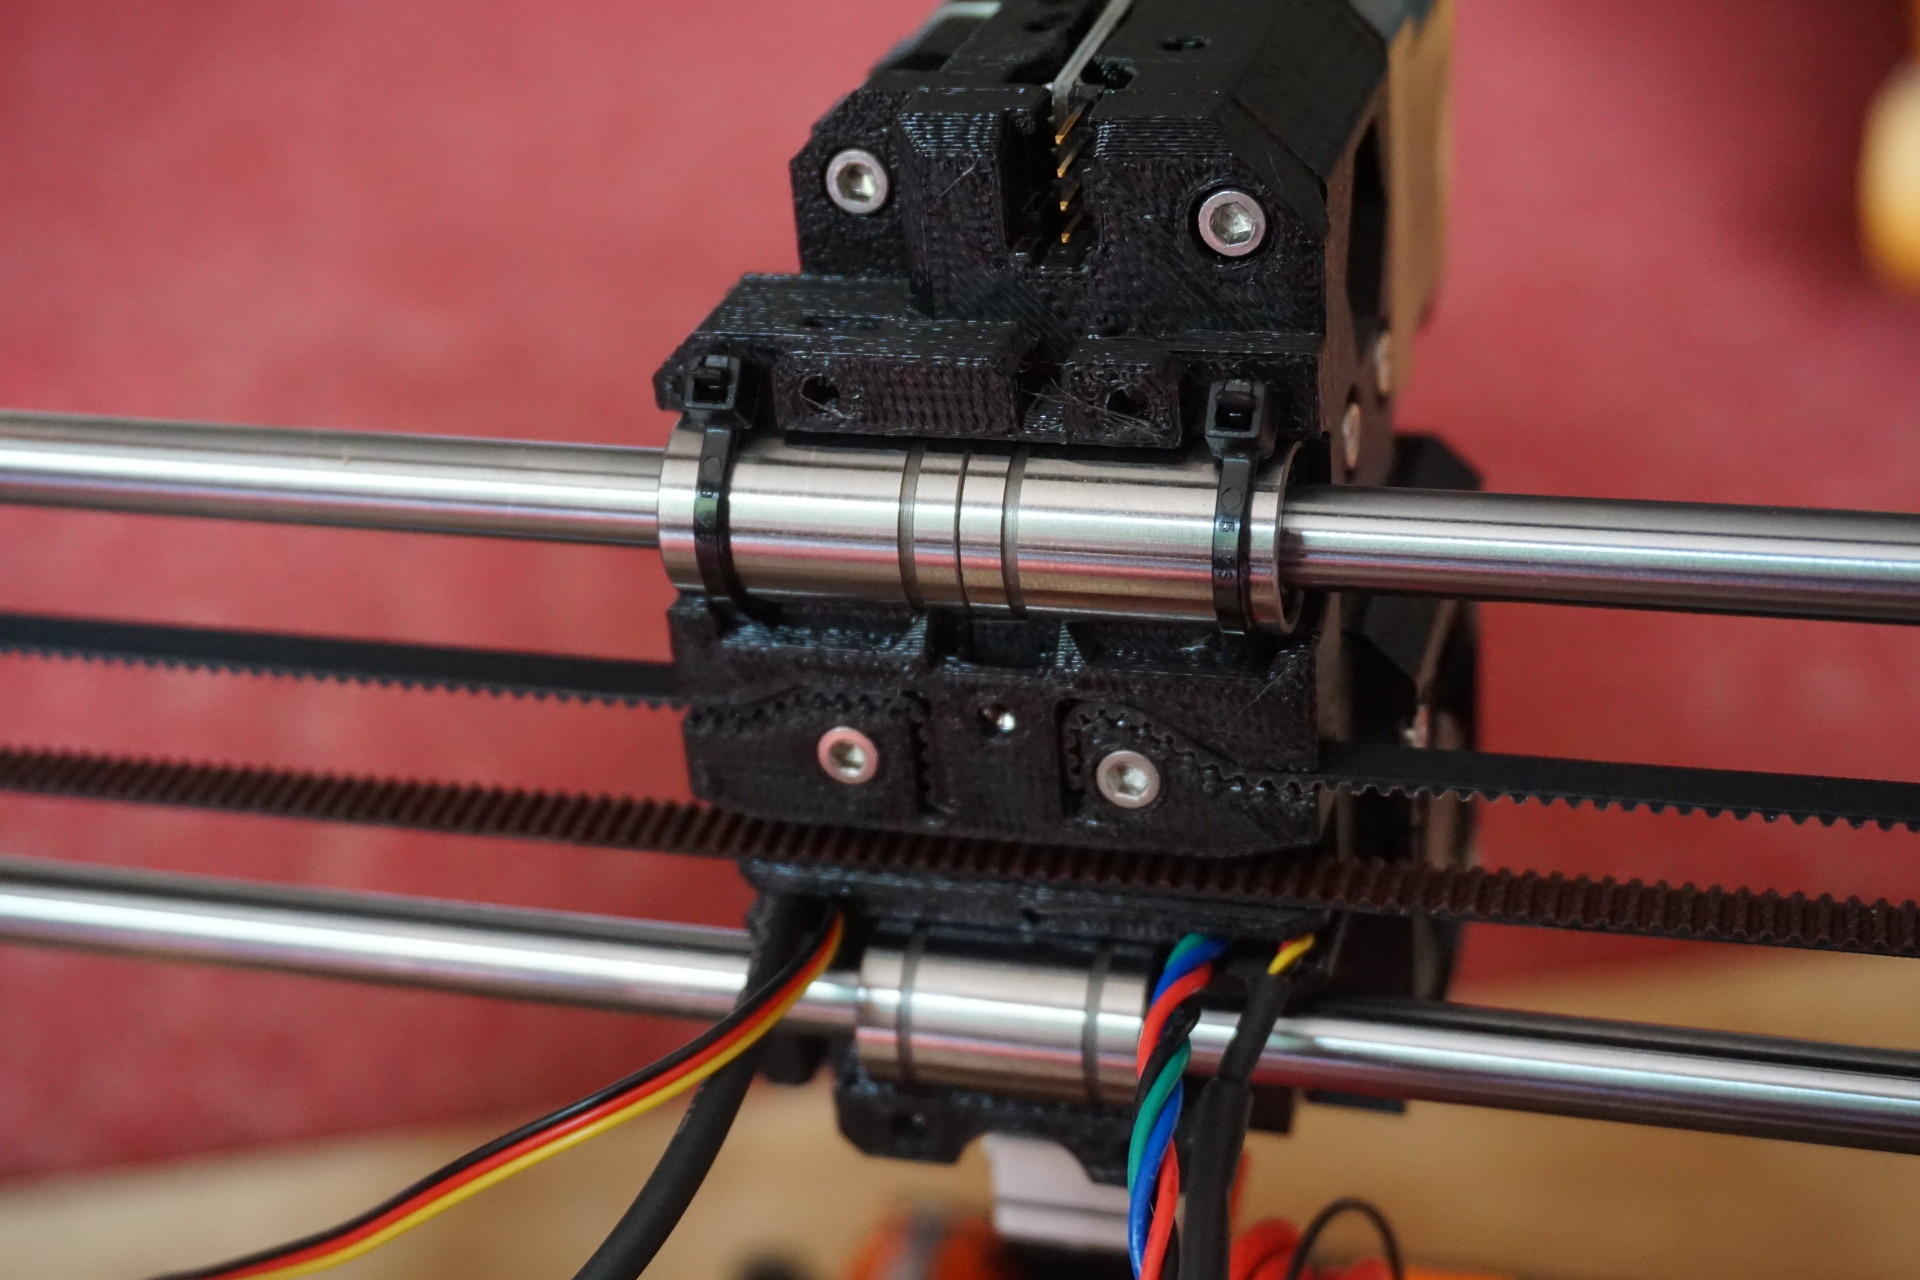
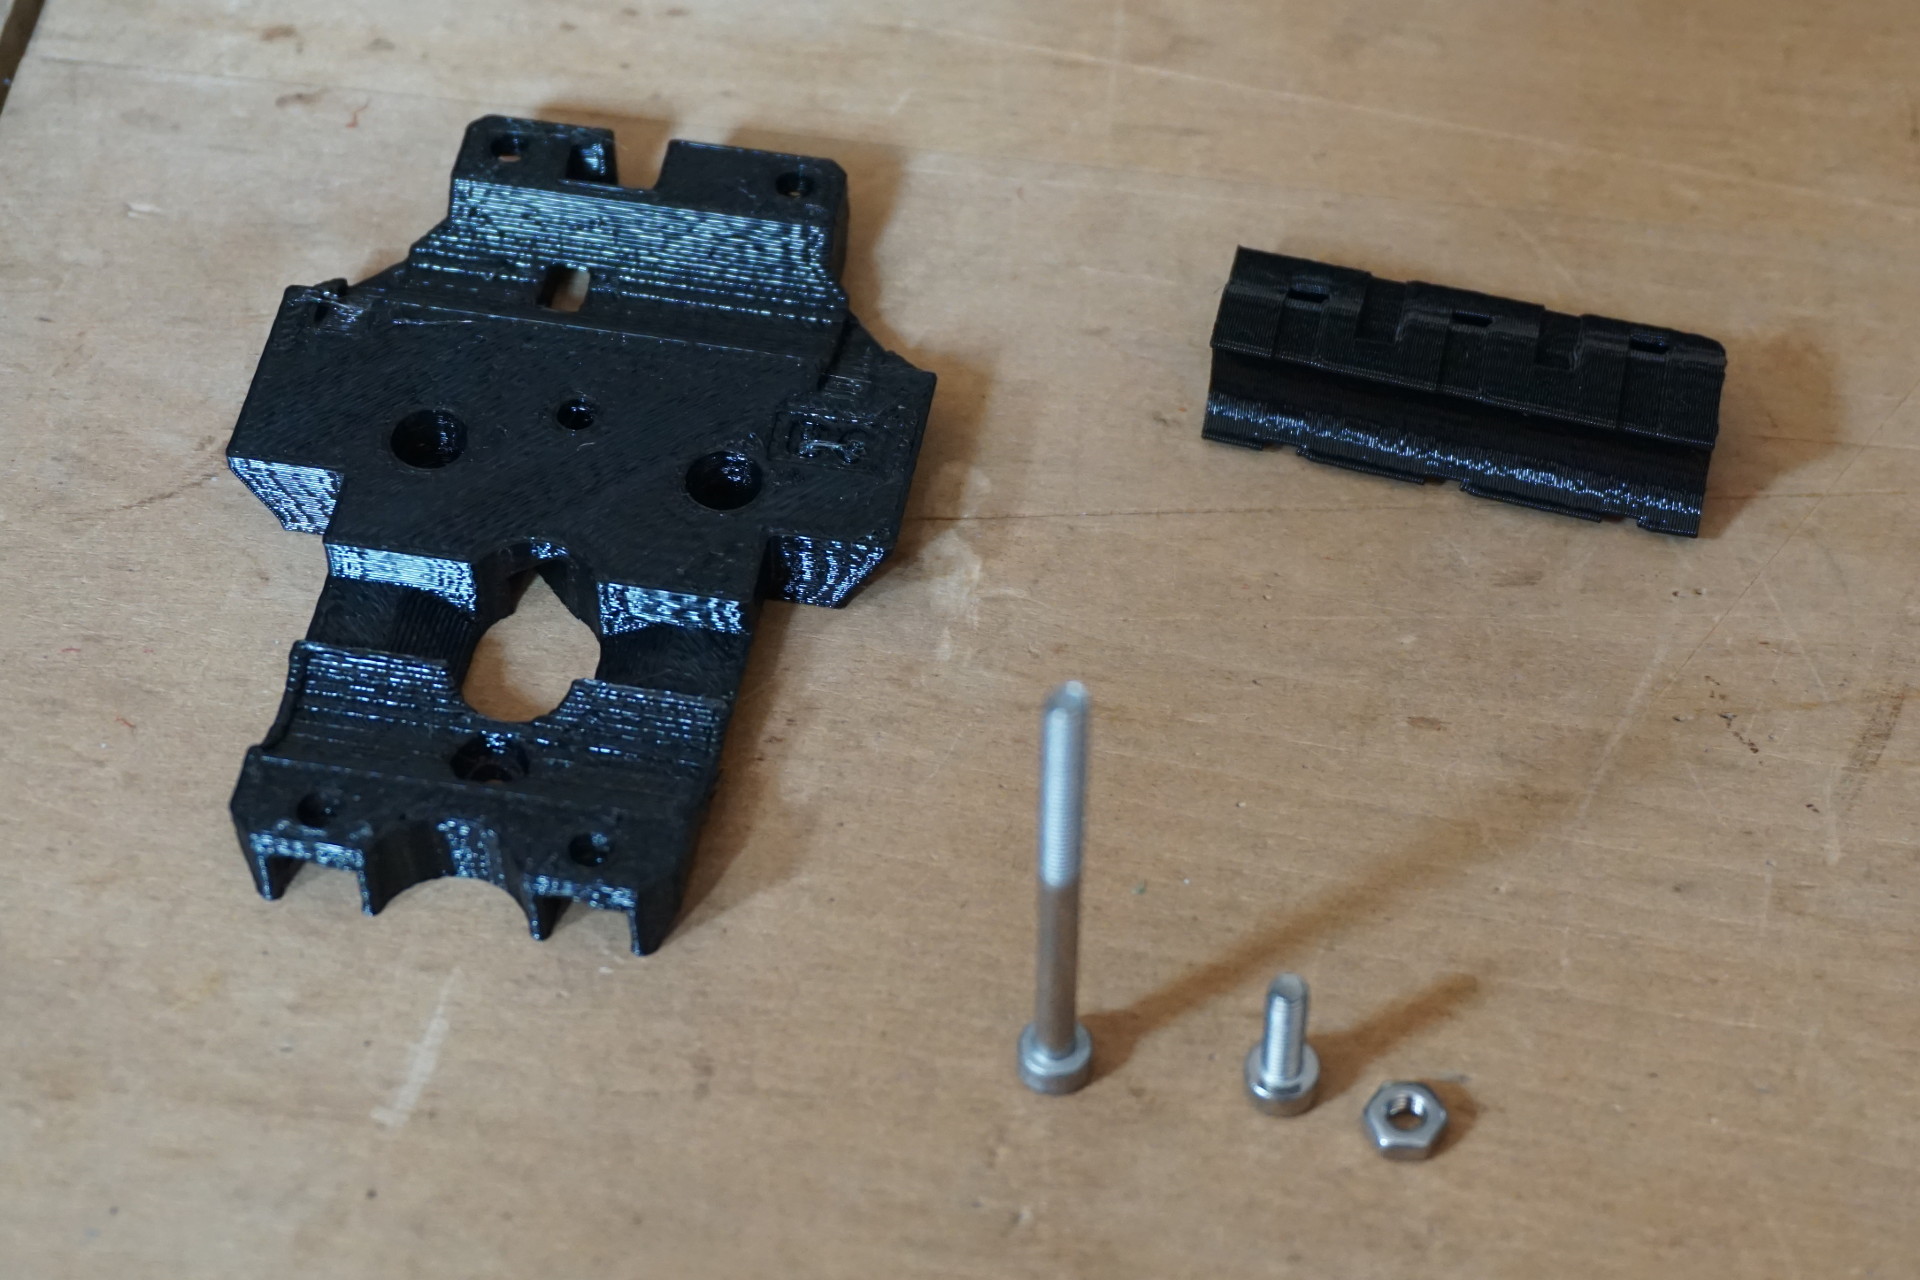
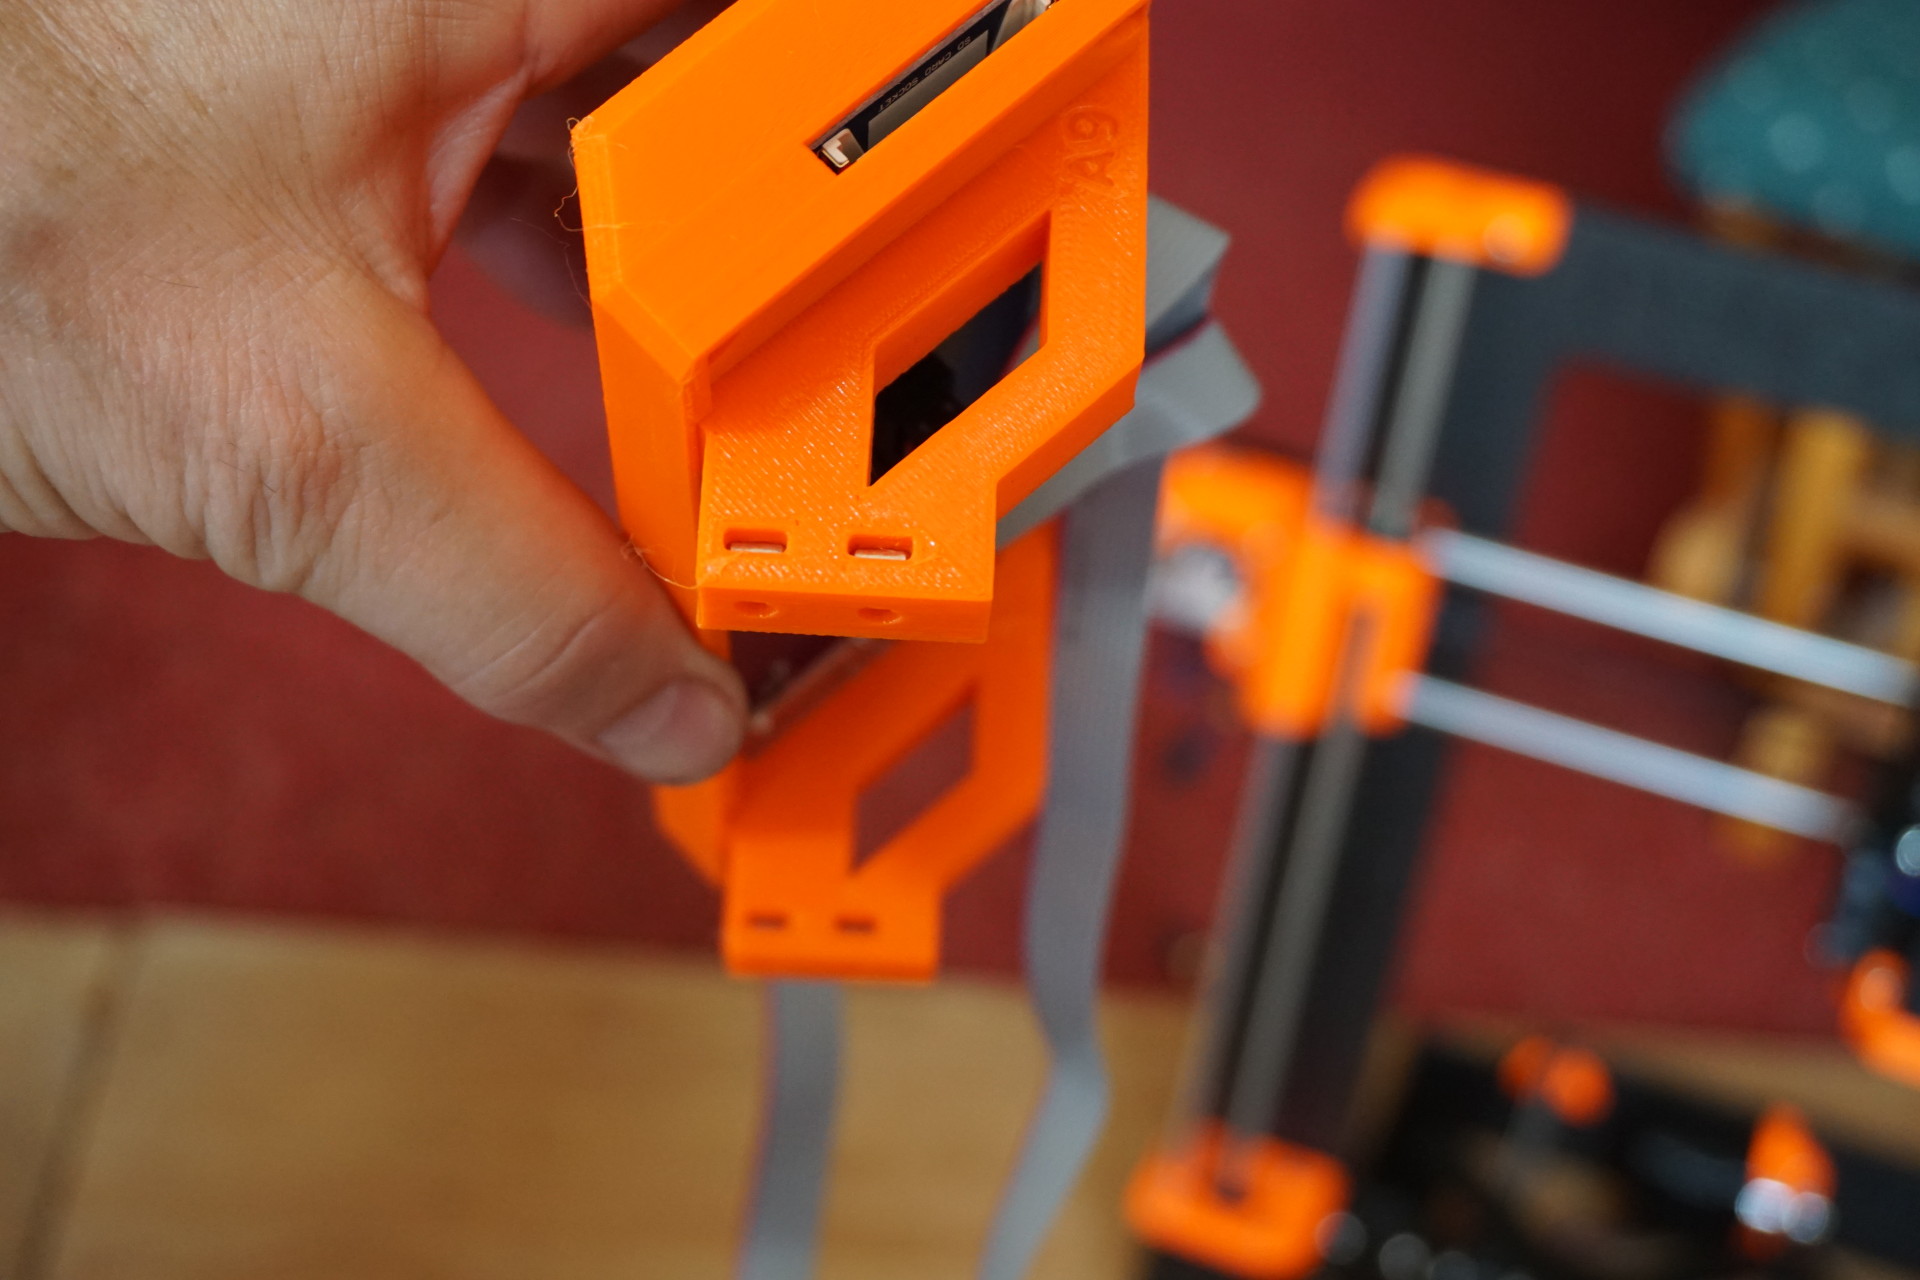
X-axis assembly, x-end idler and motor holder. These bearings slide on the Z-axis rods:
Bearings offset by about 45°:
X-axis belt tension adjuster:
X-axis belt idler pulley:
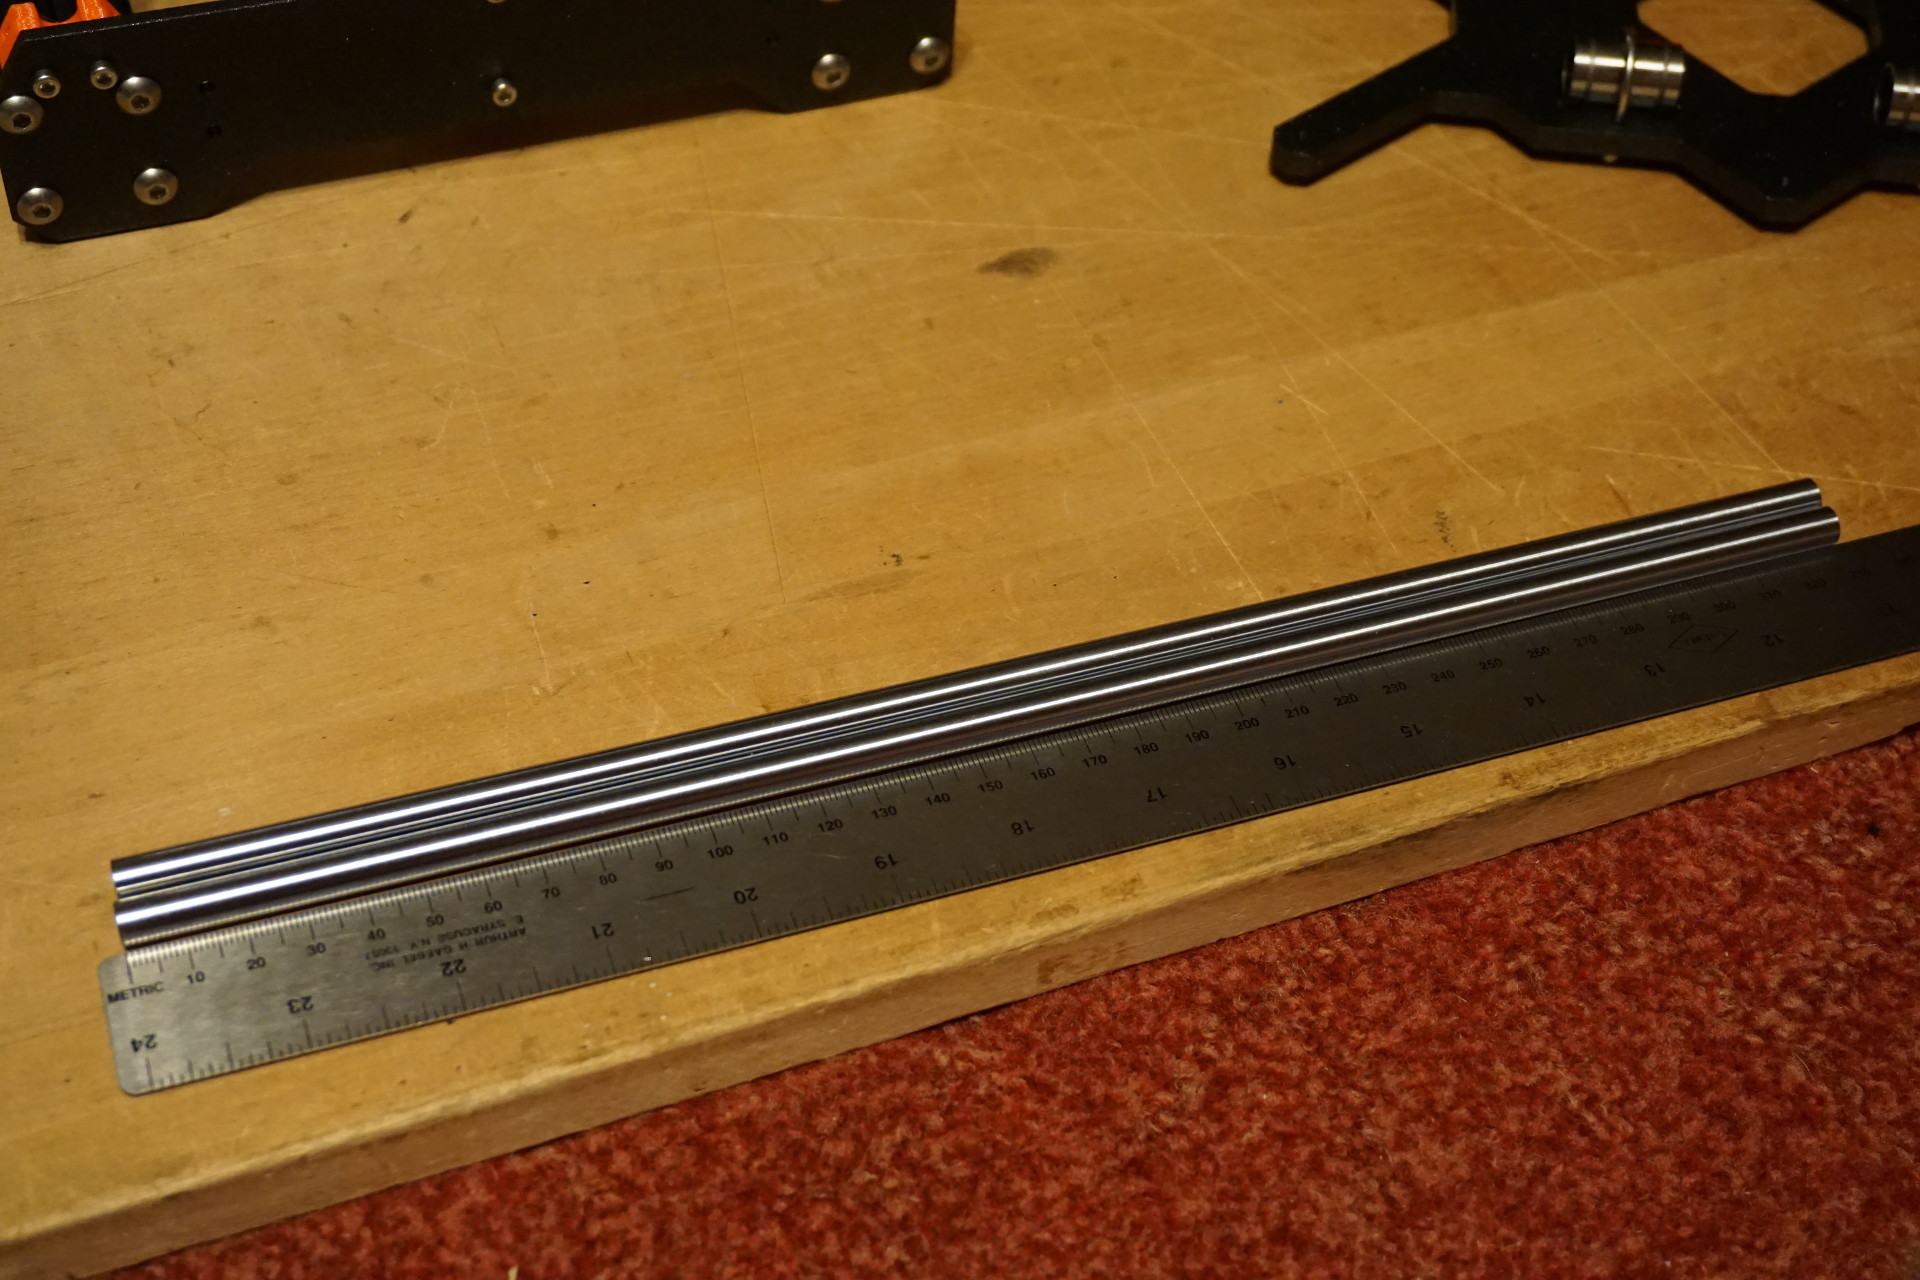
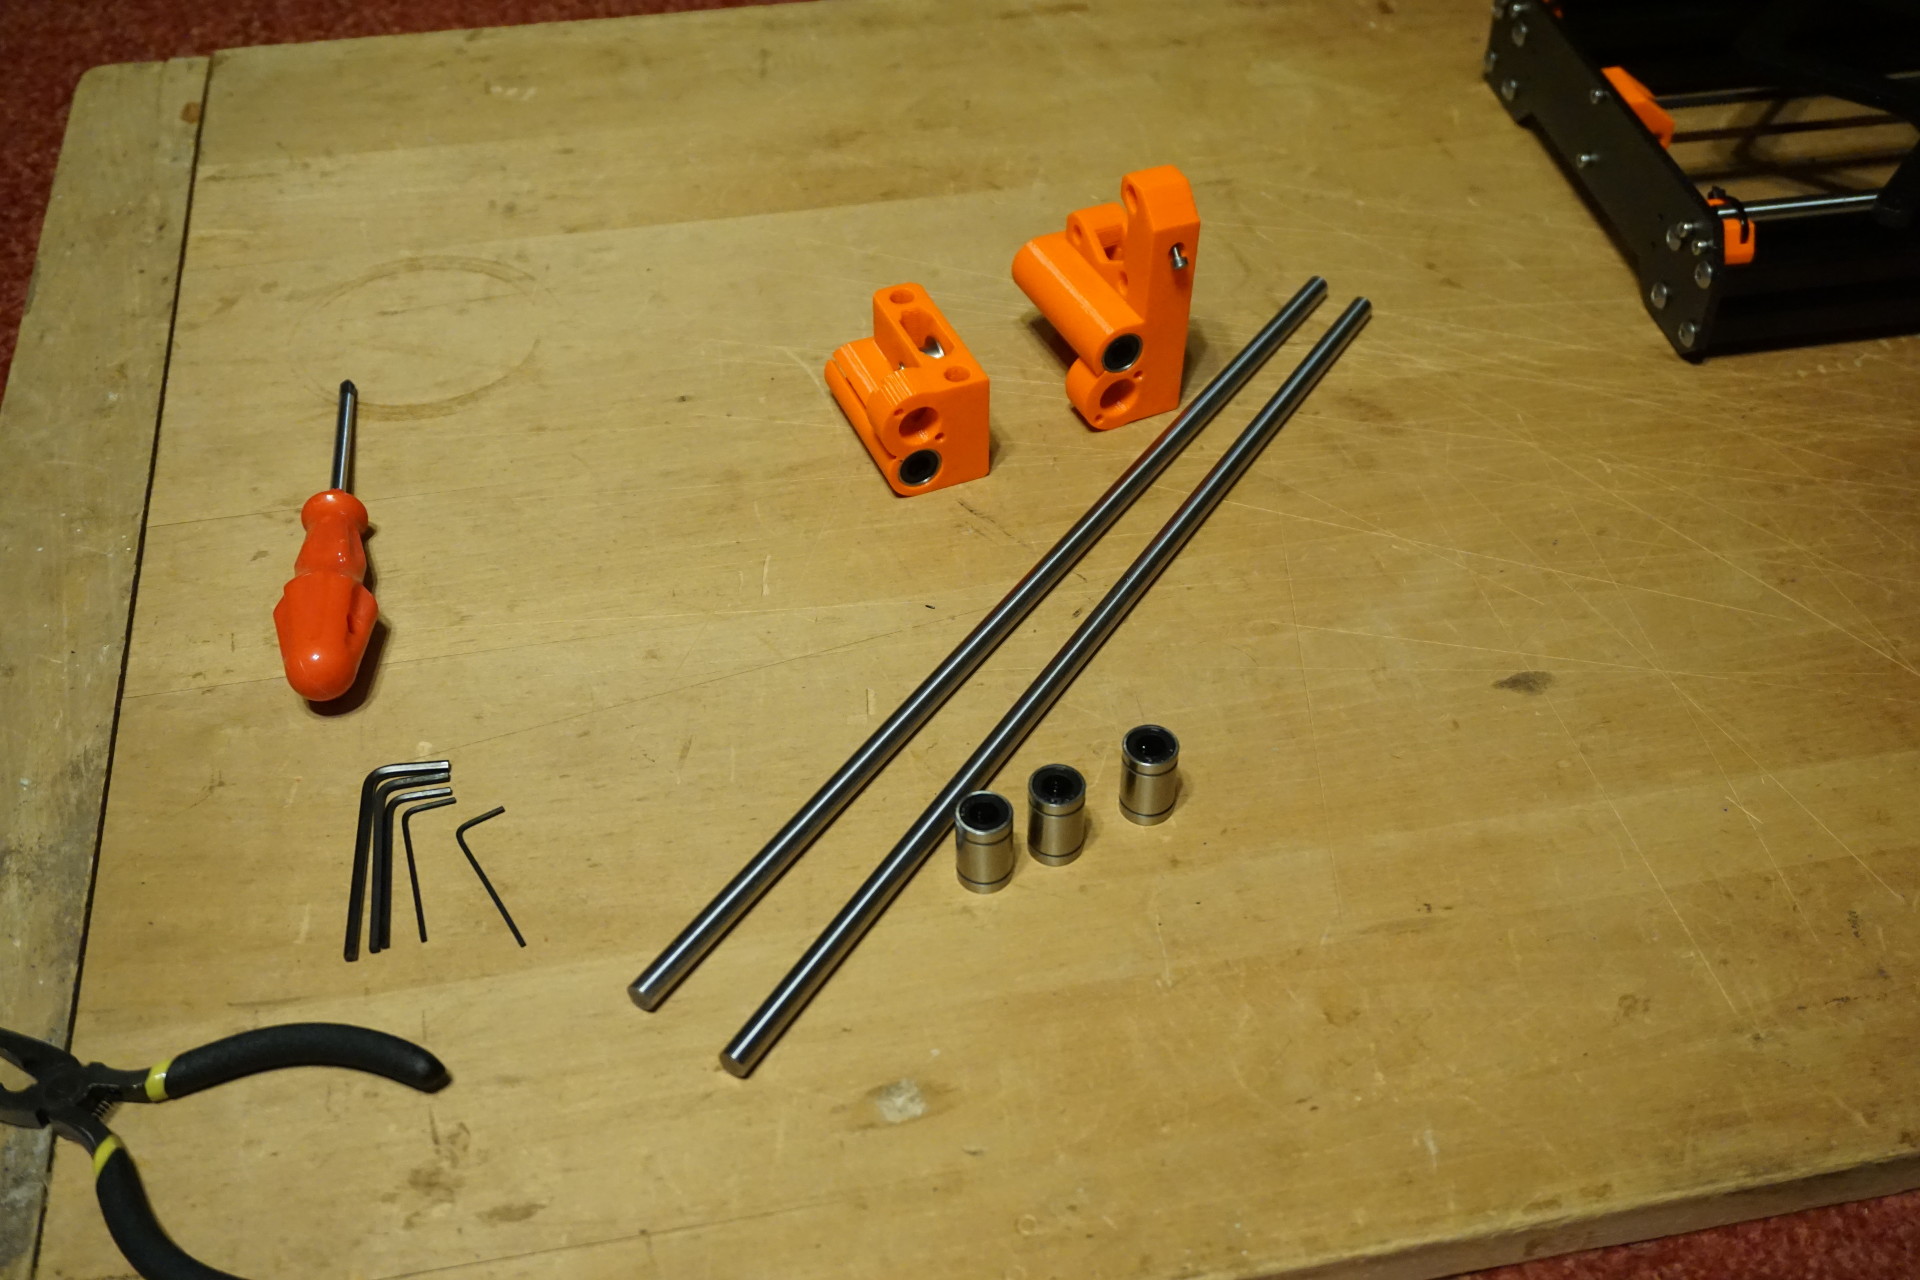
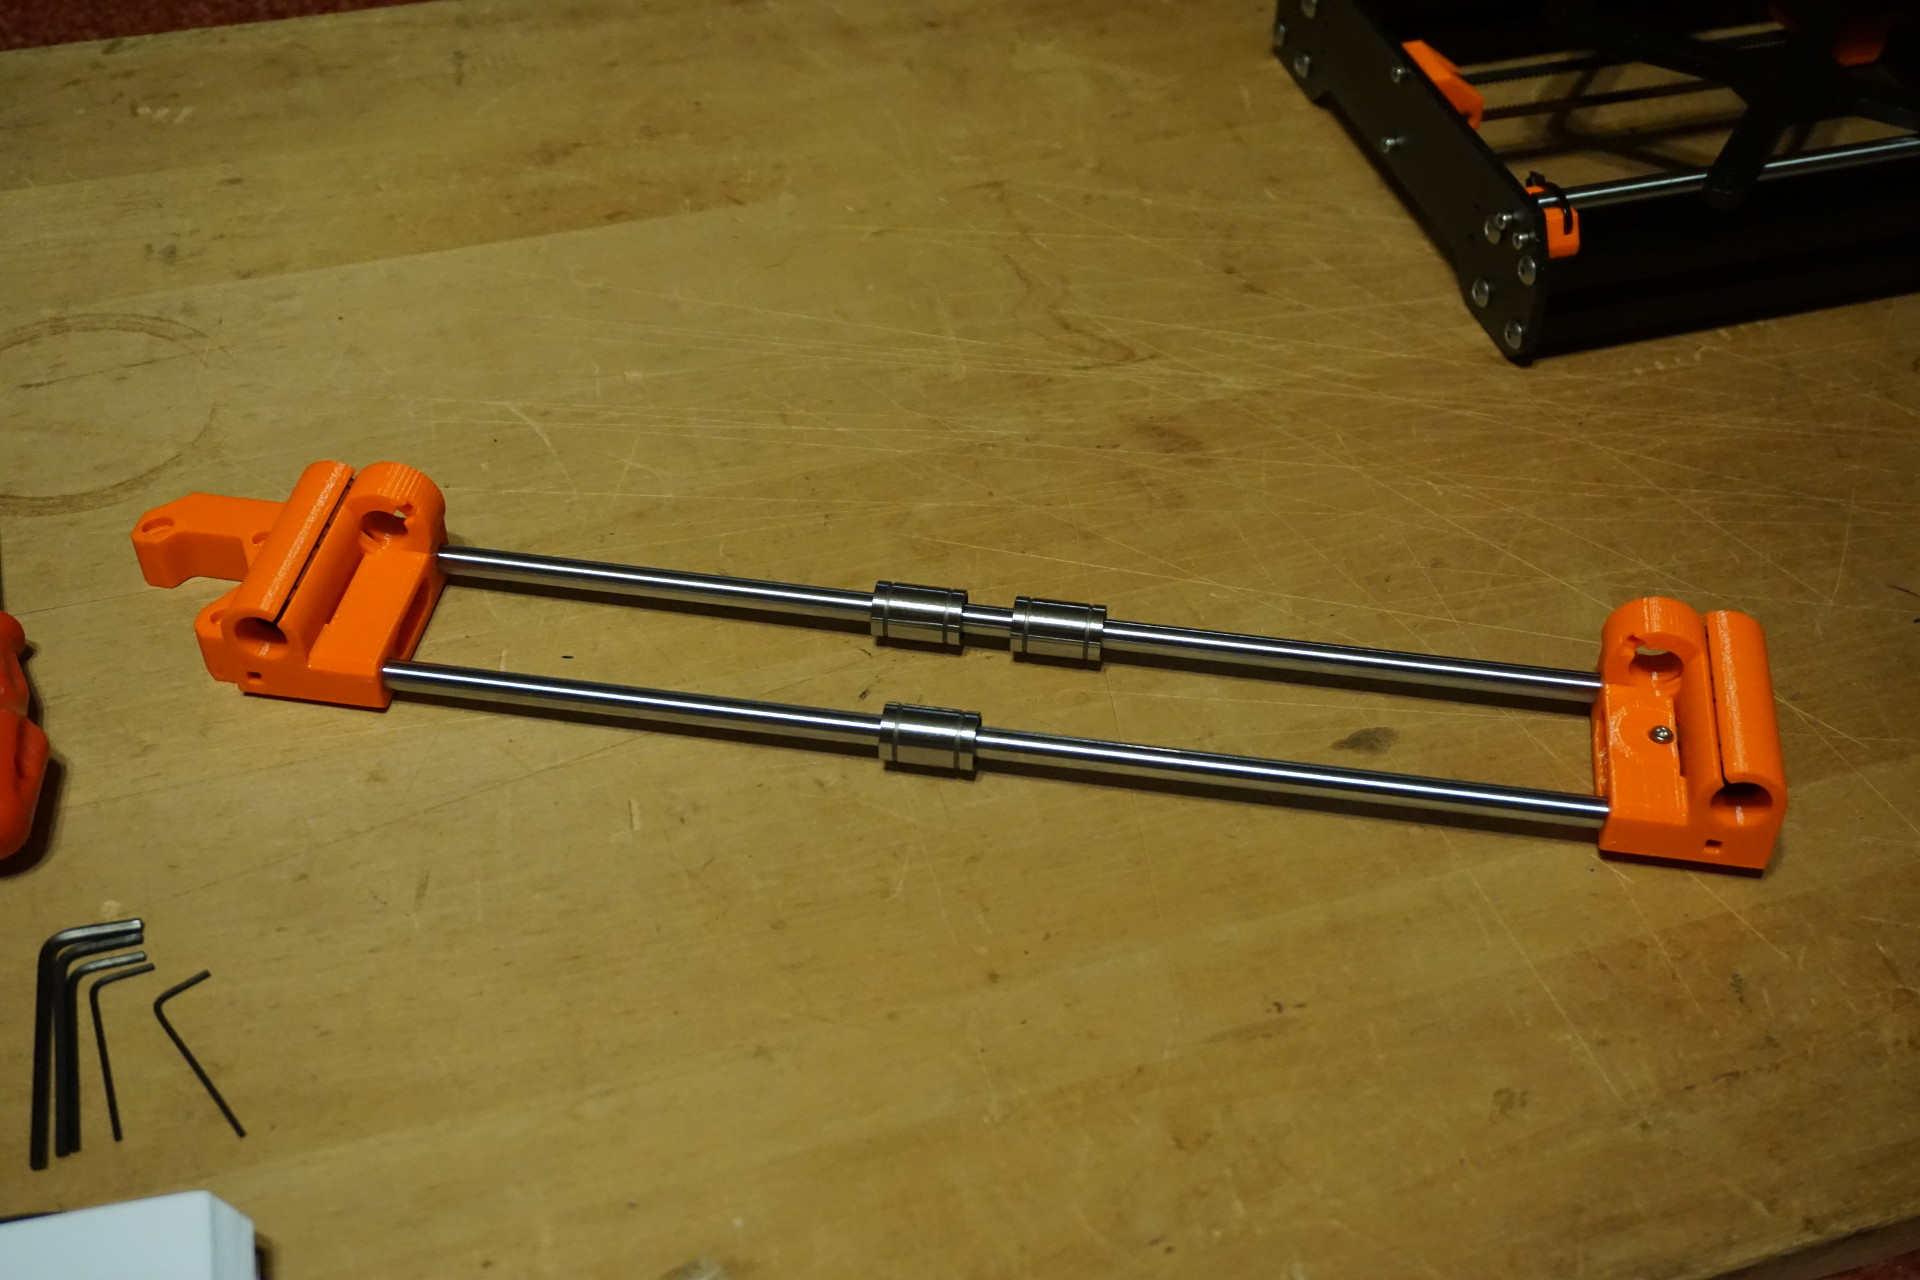
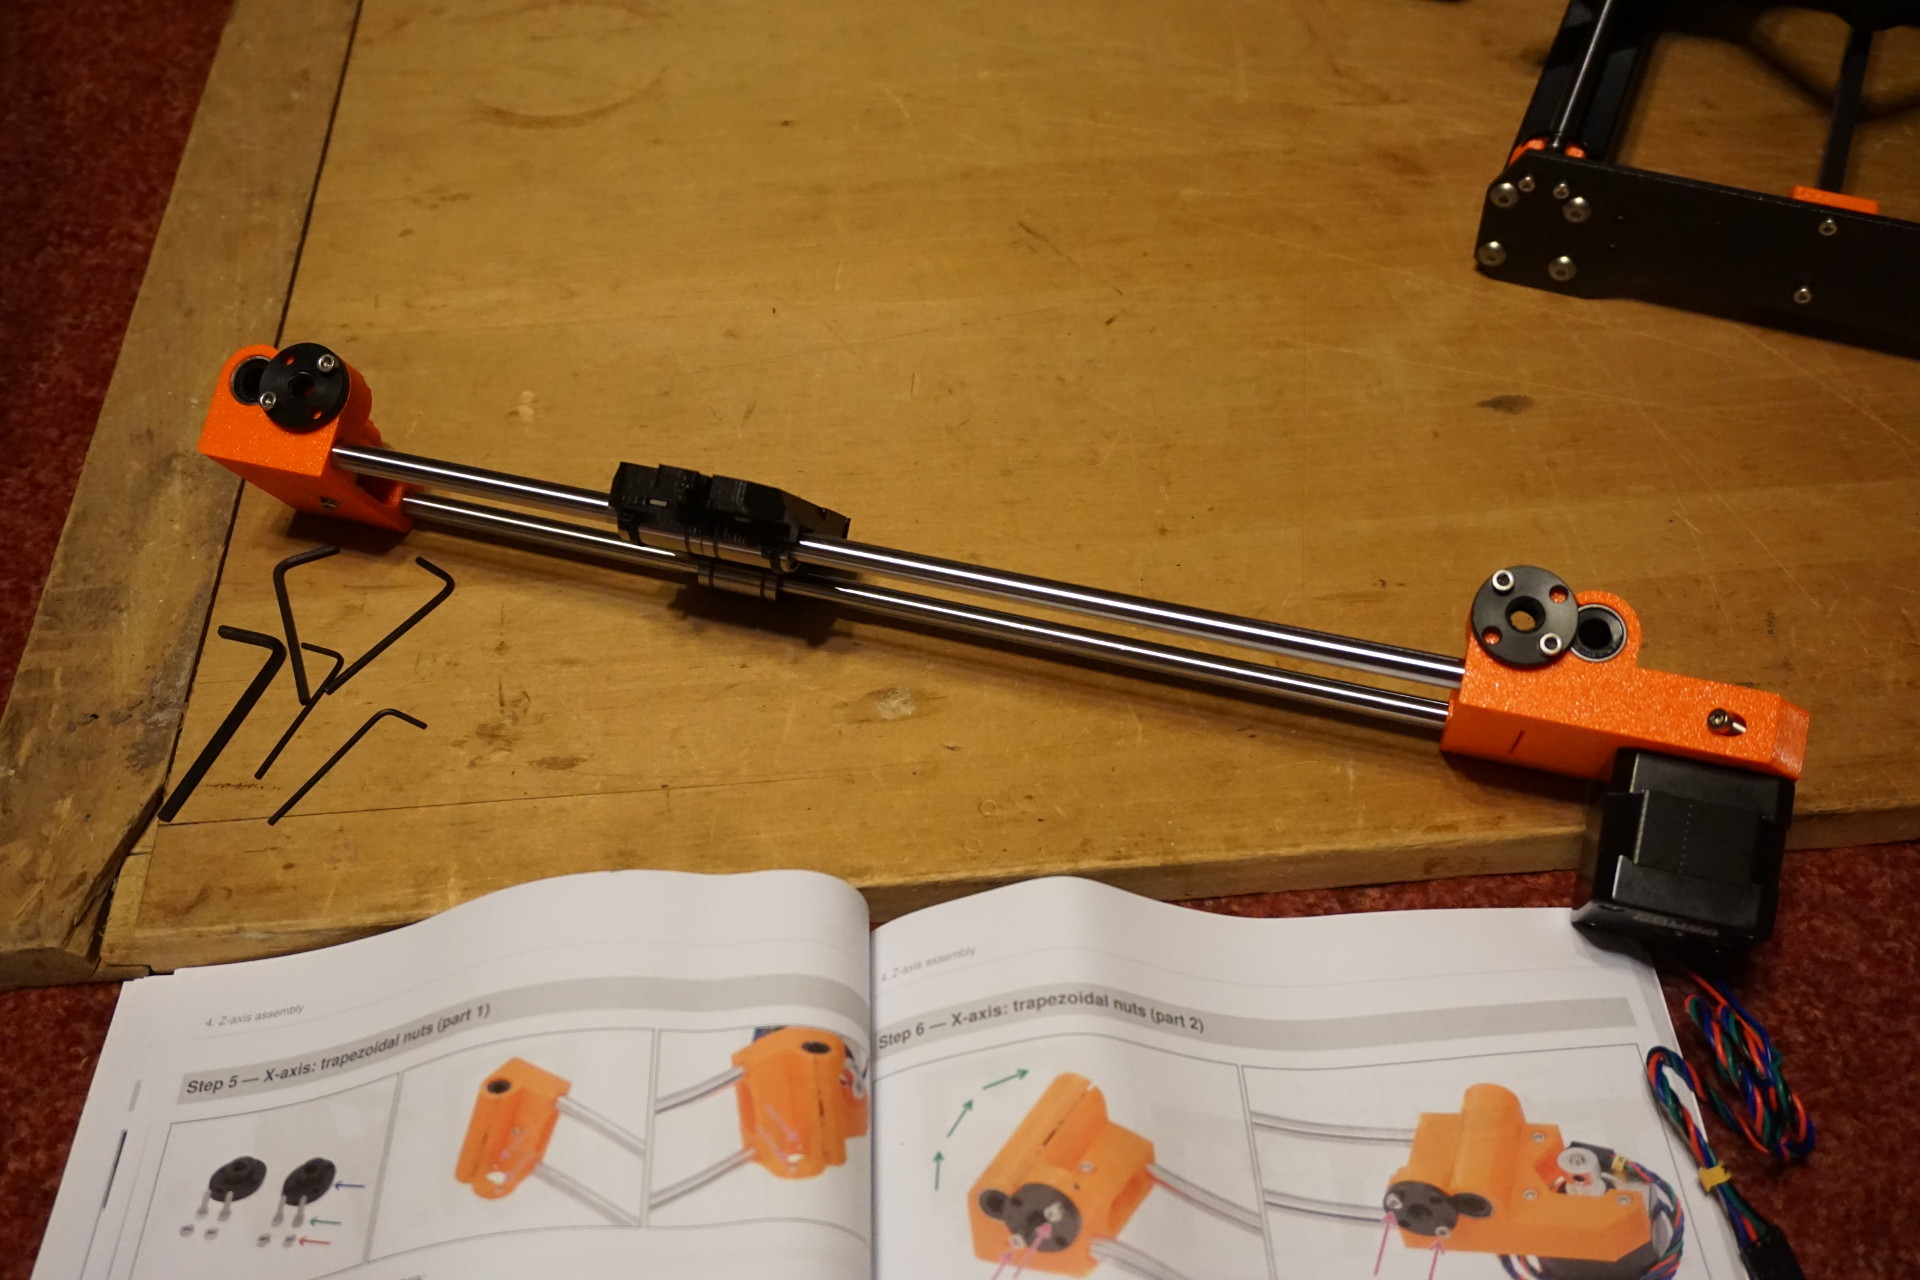
X-axis rods:

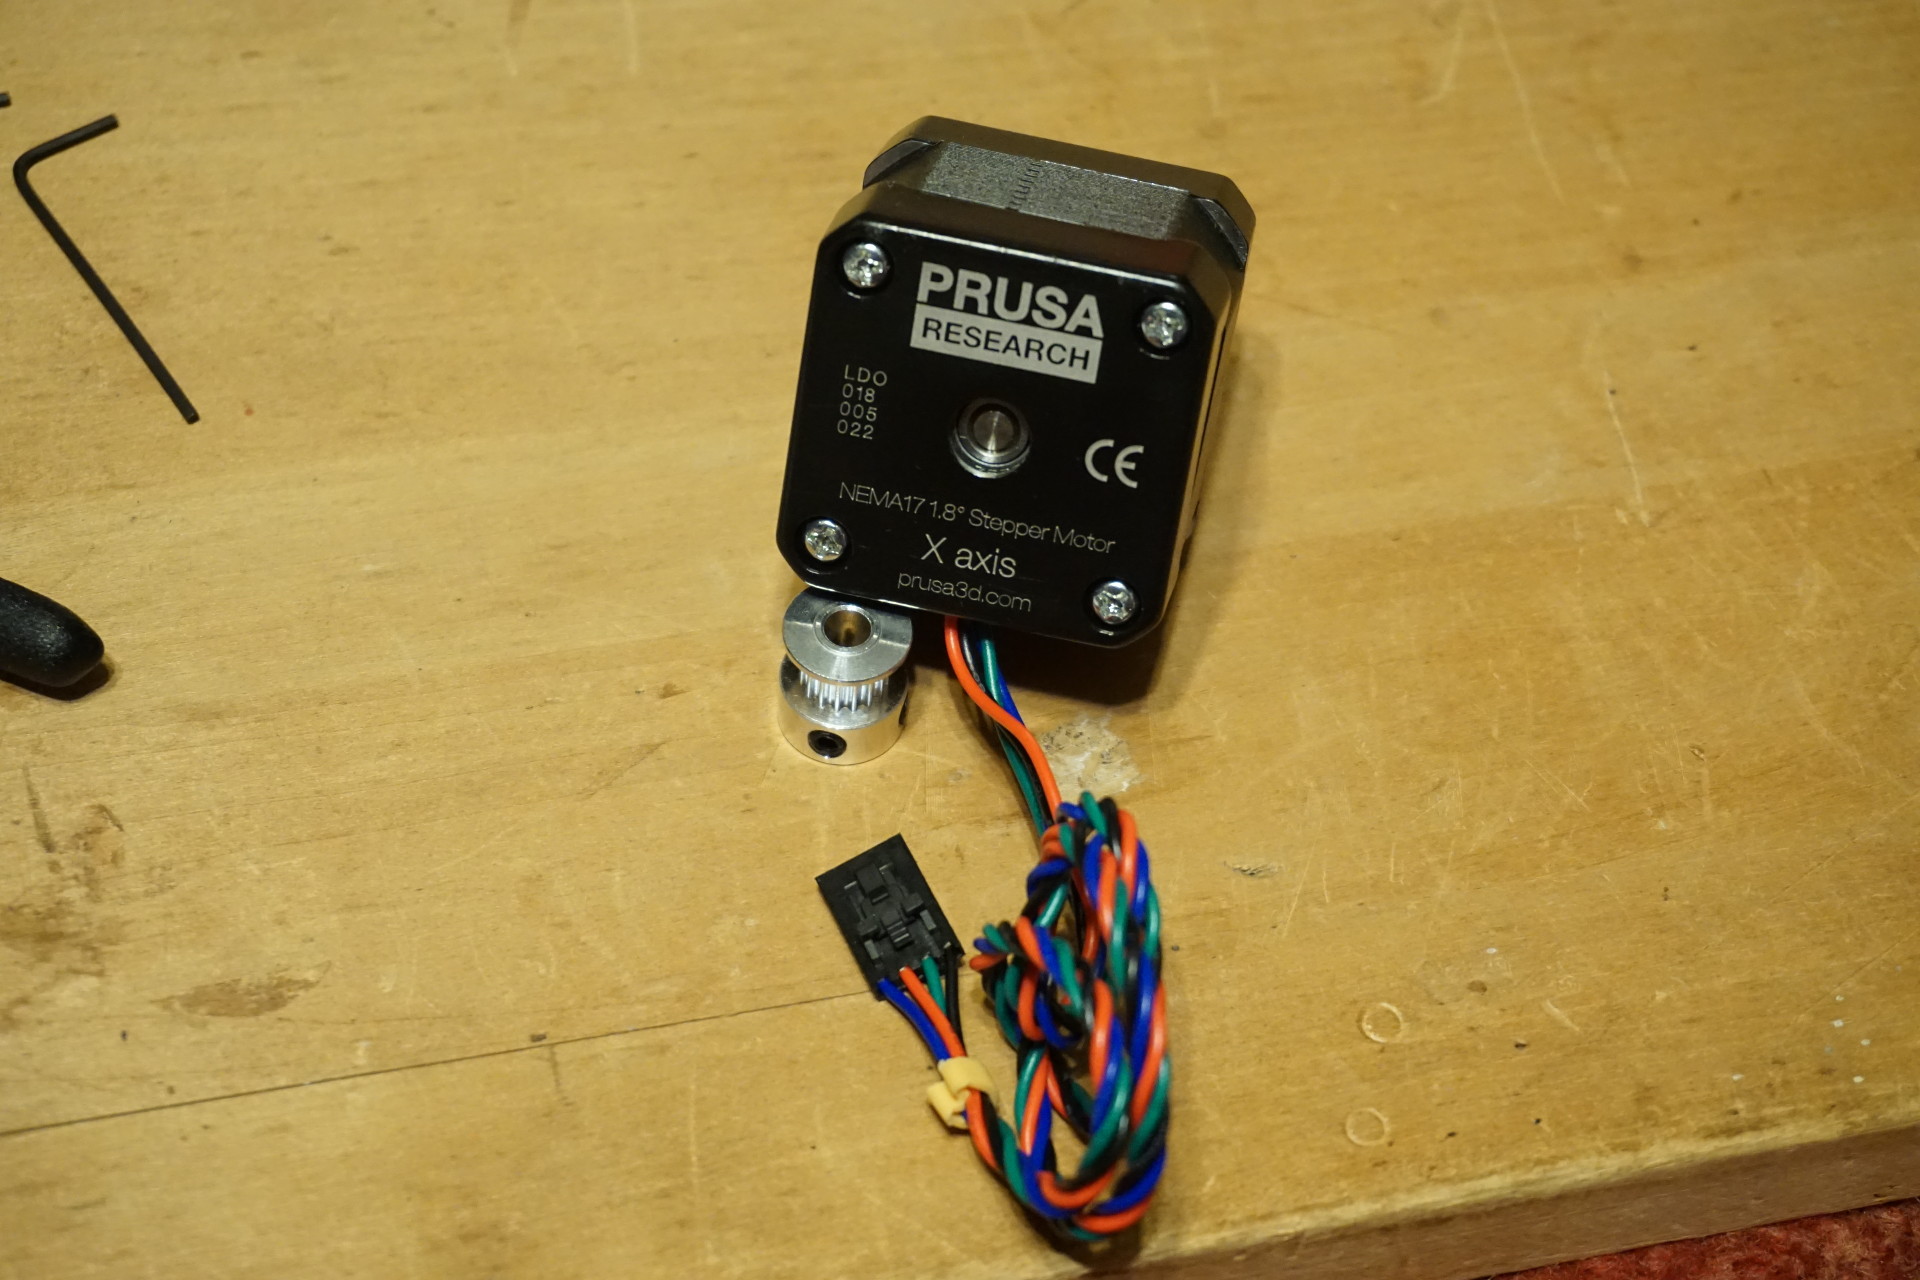
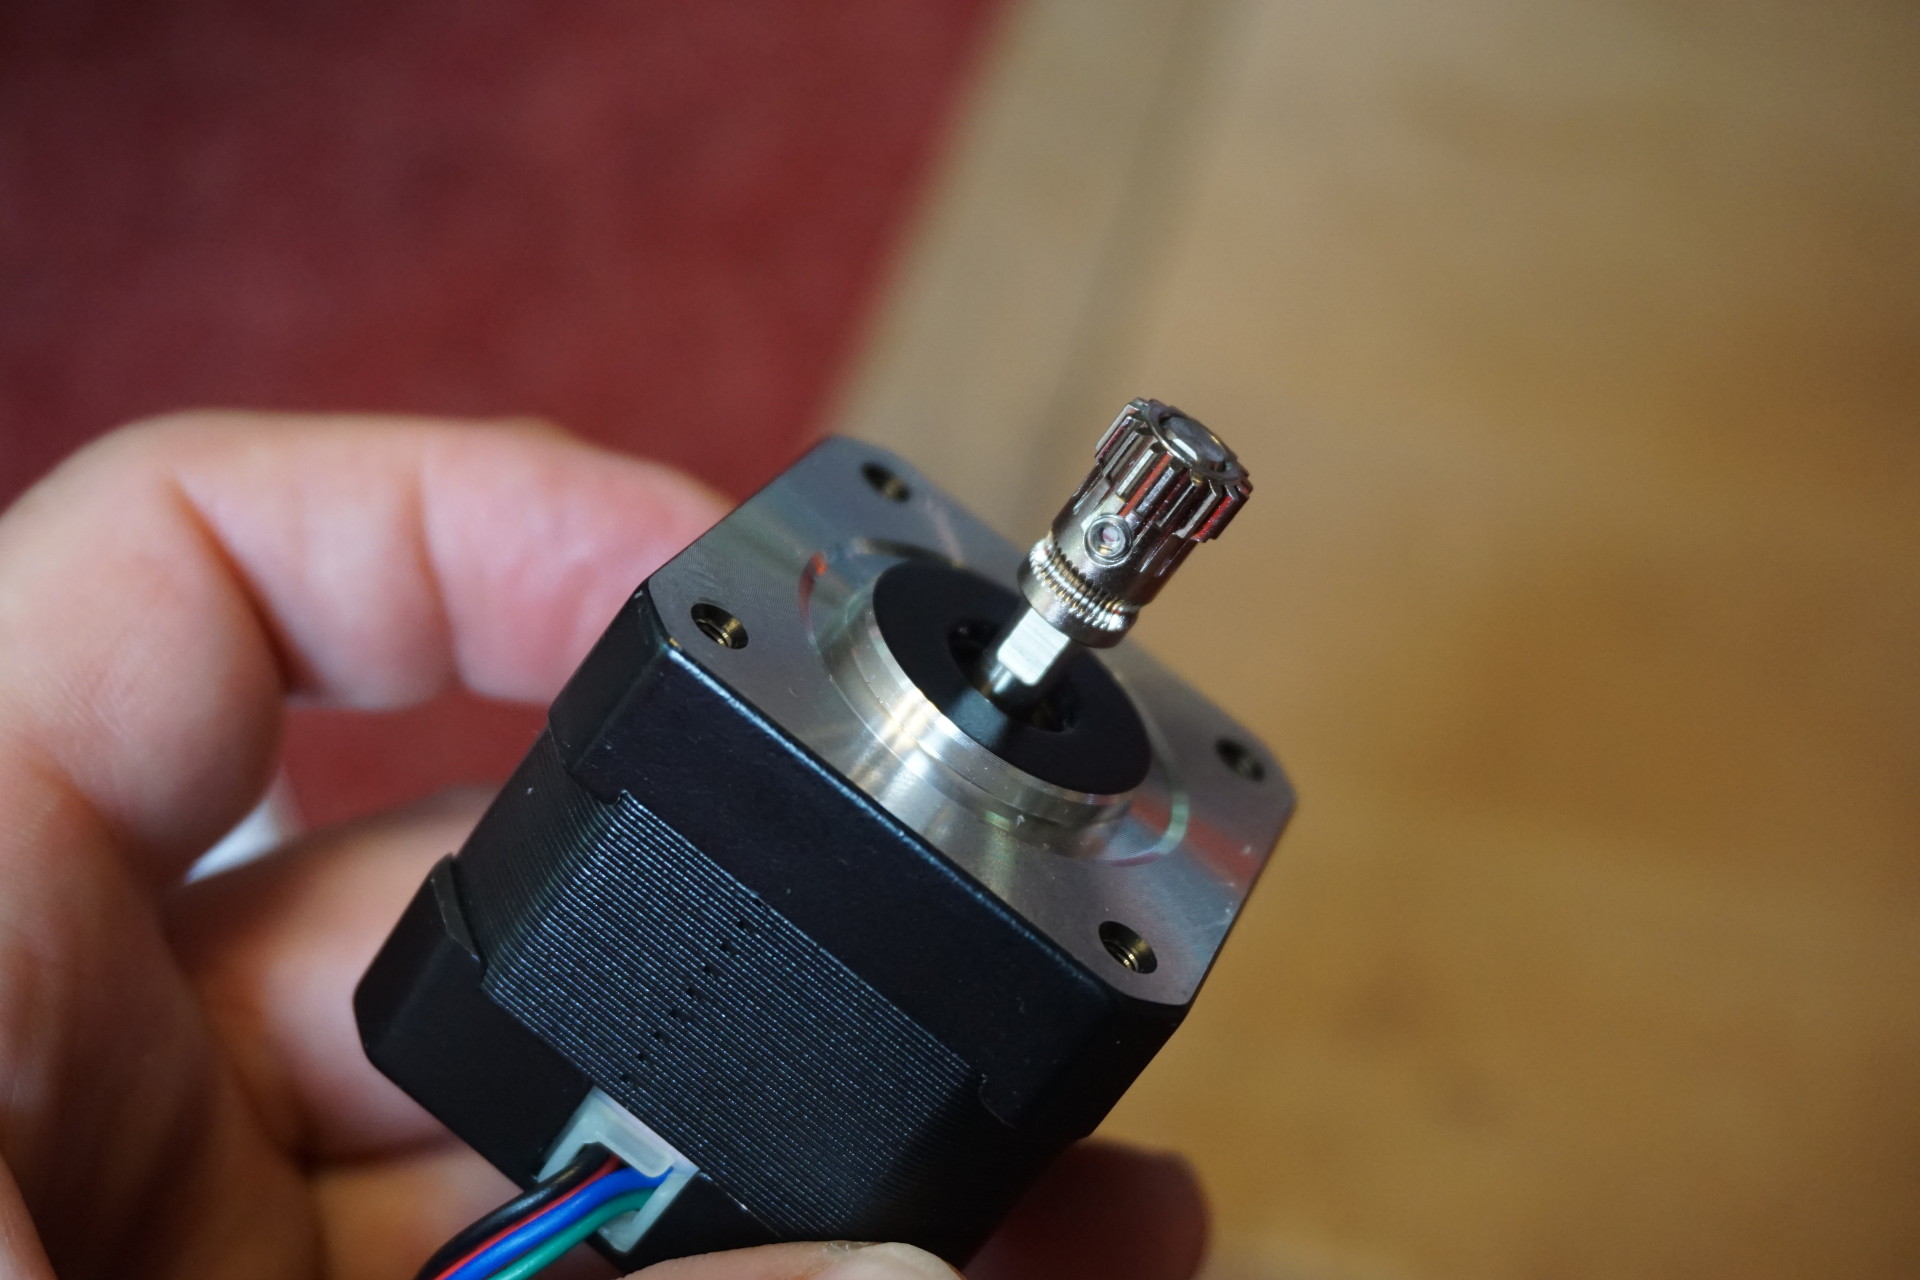
X-axis motor and drive pulley:
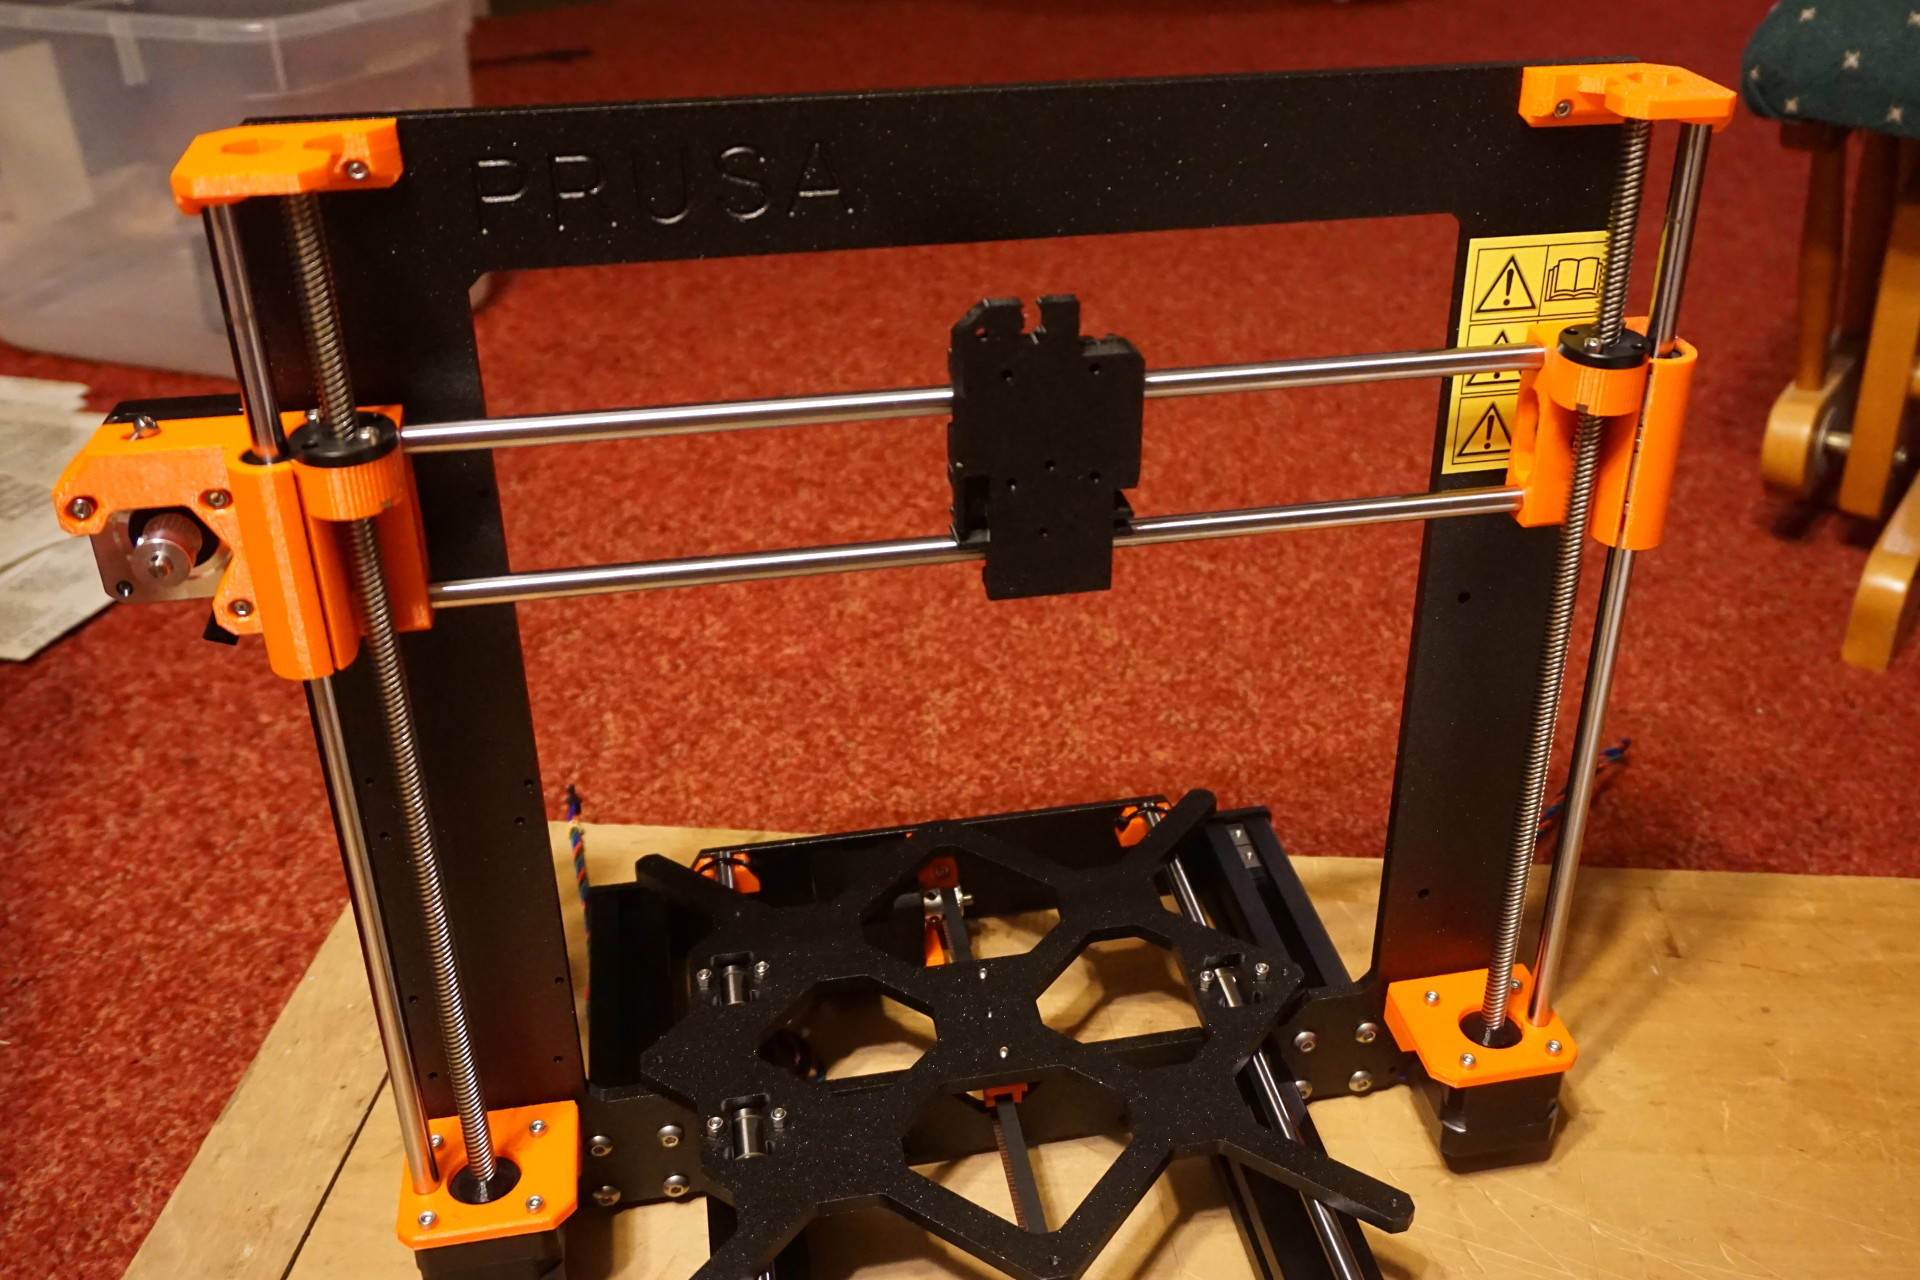
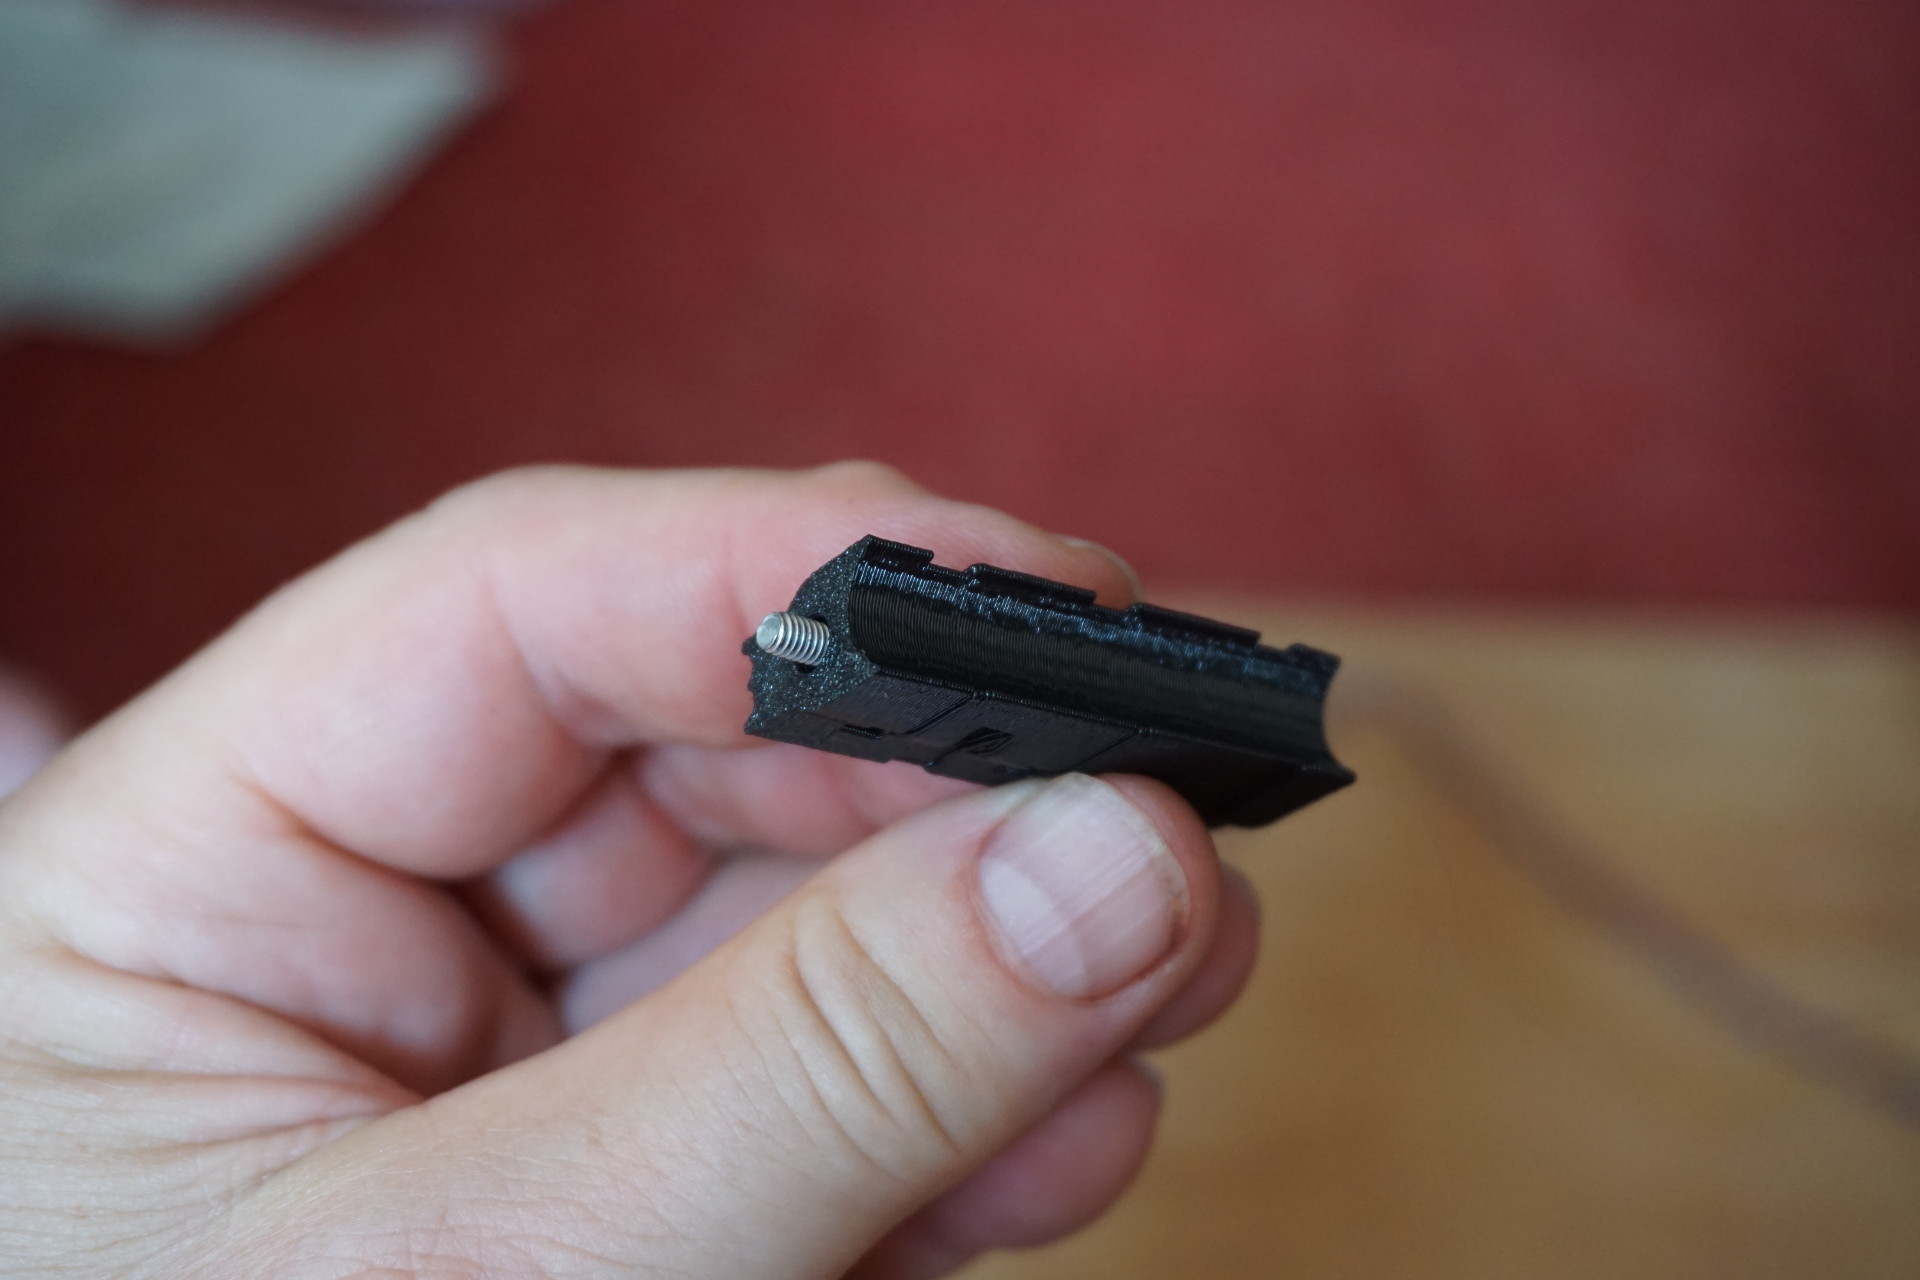
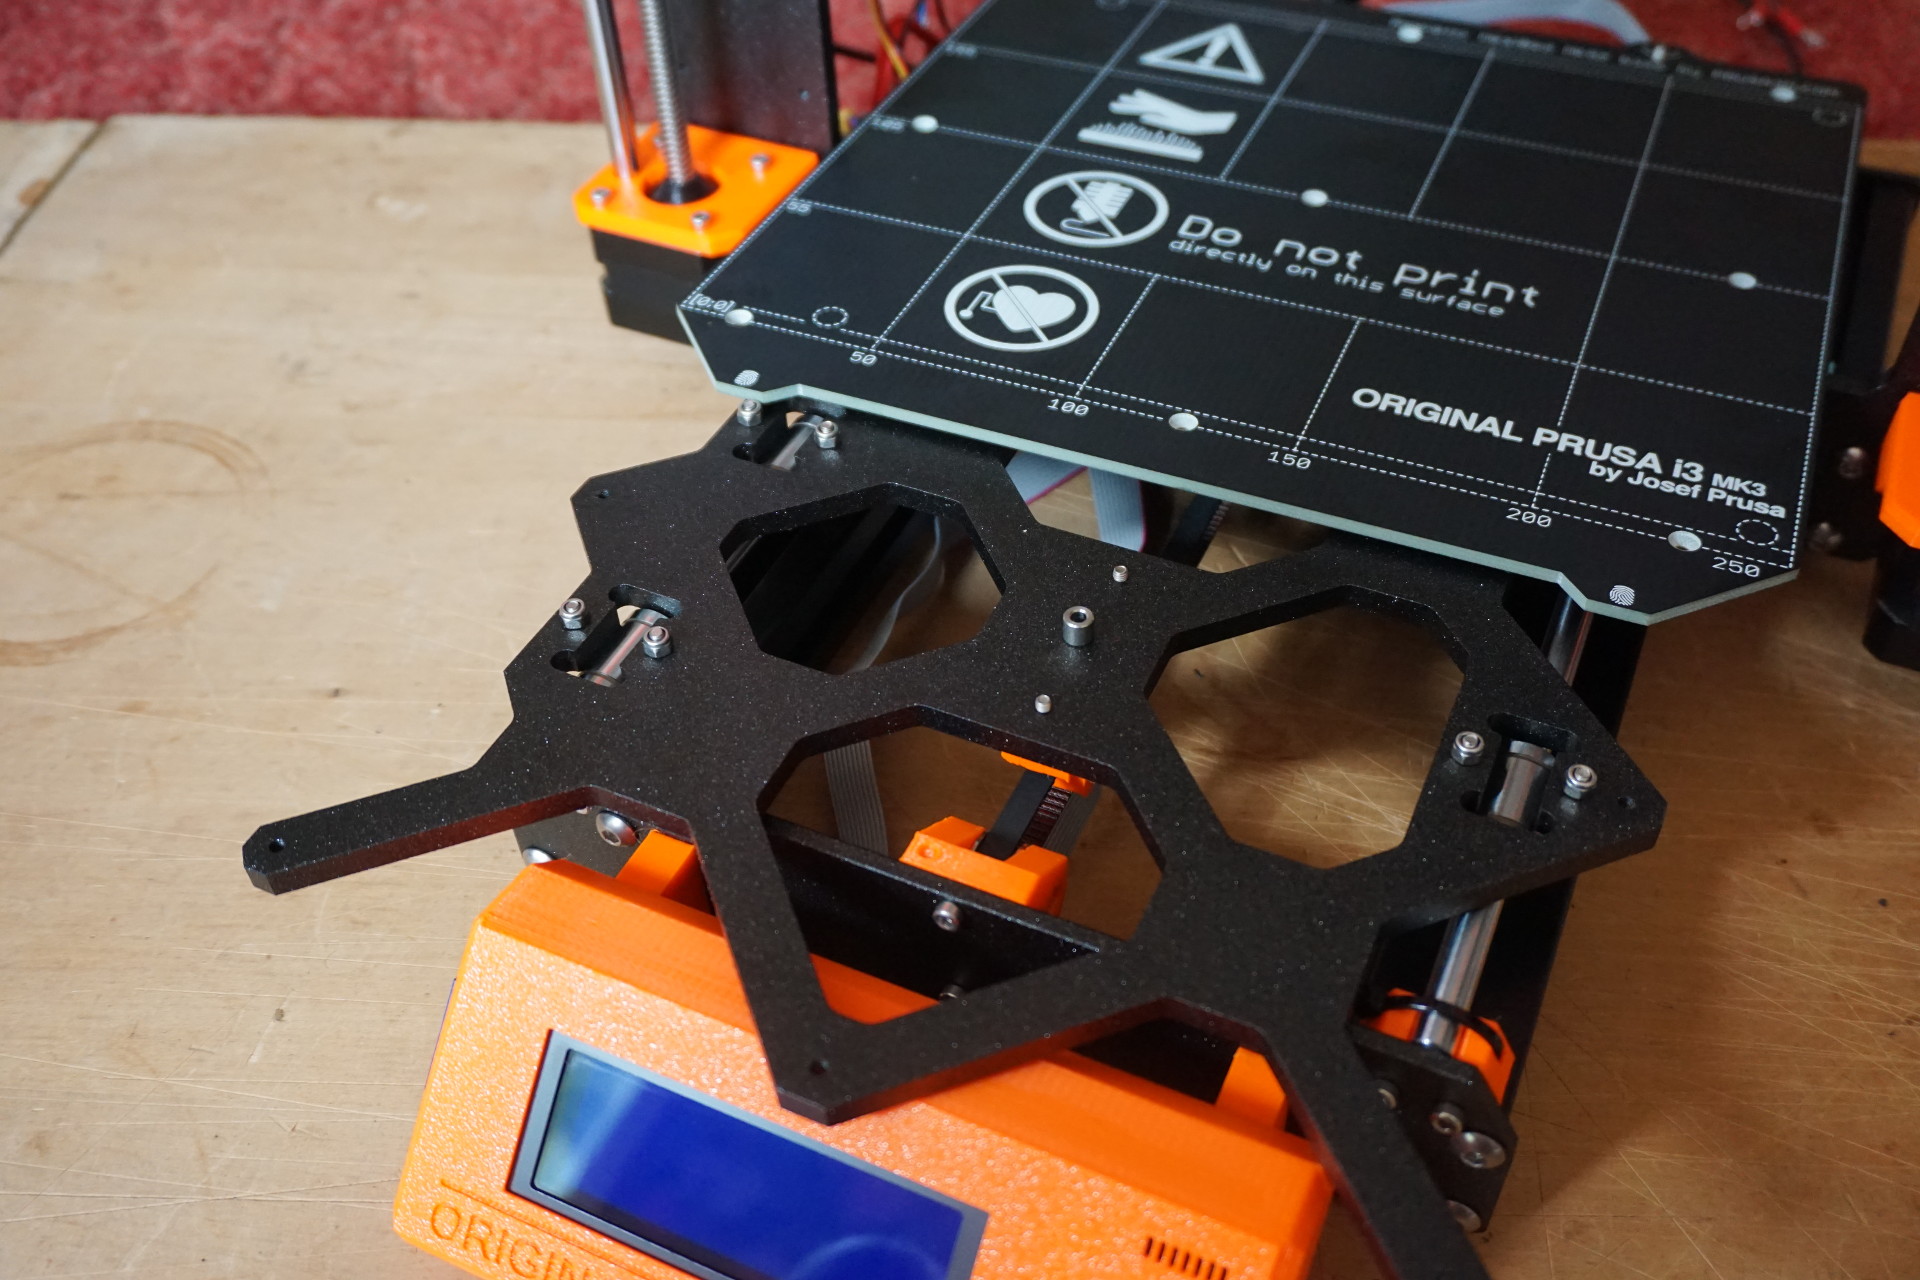
X-carriage:
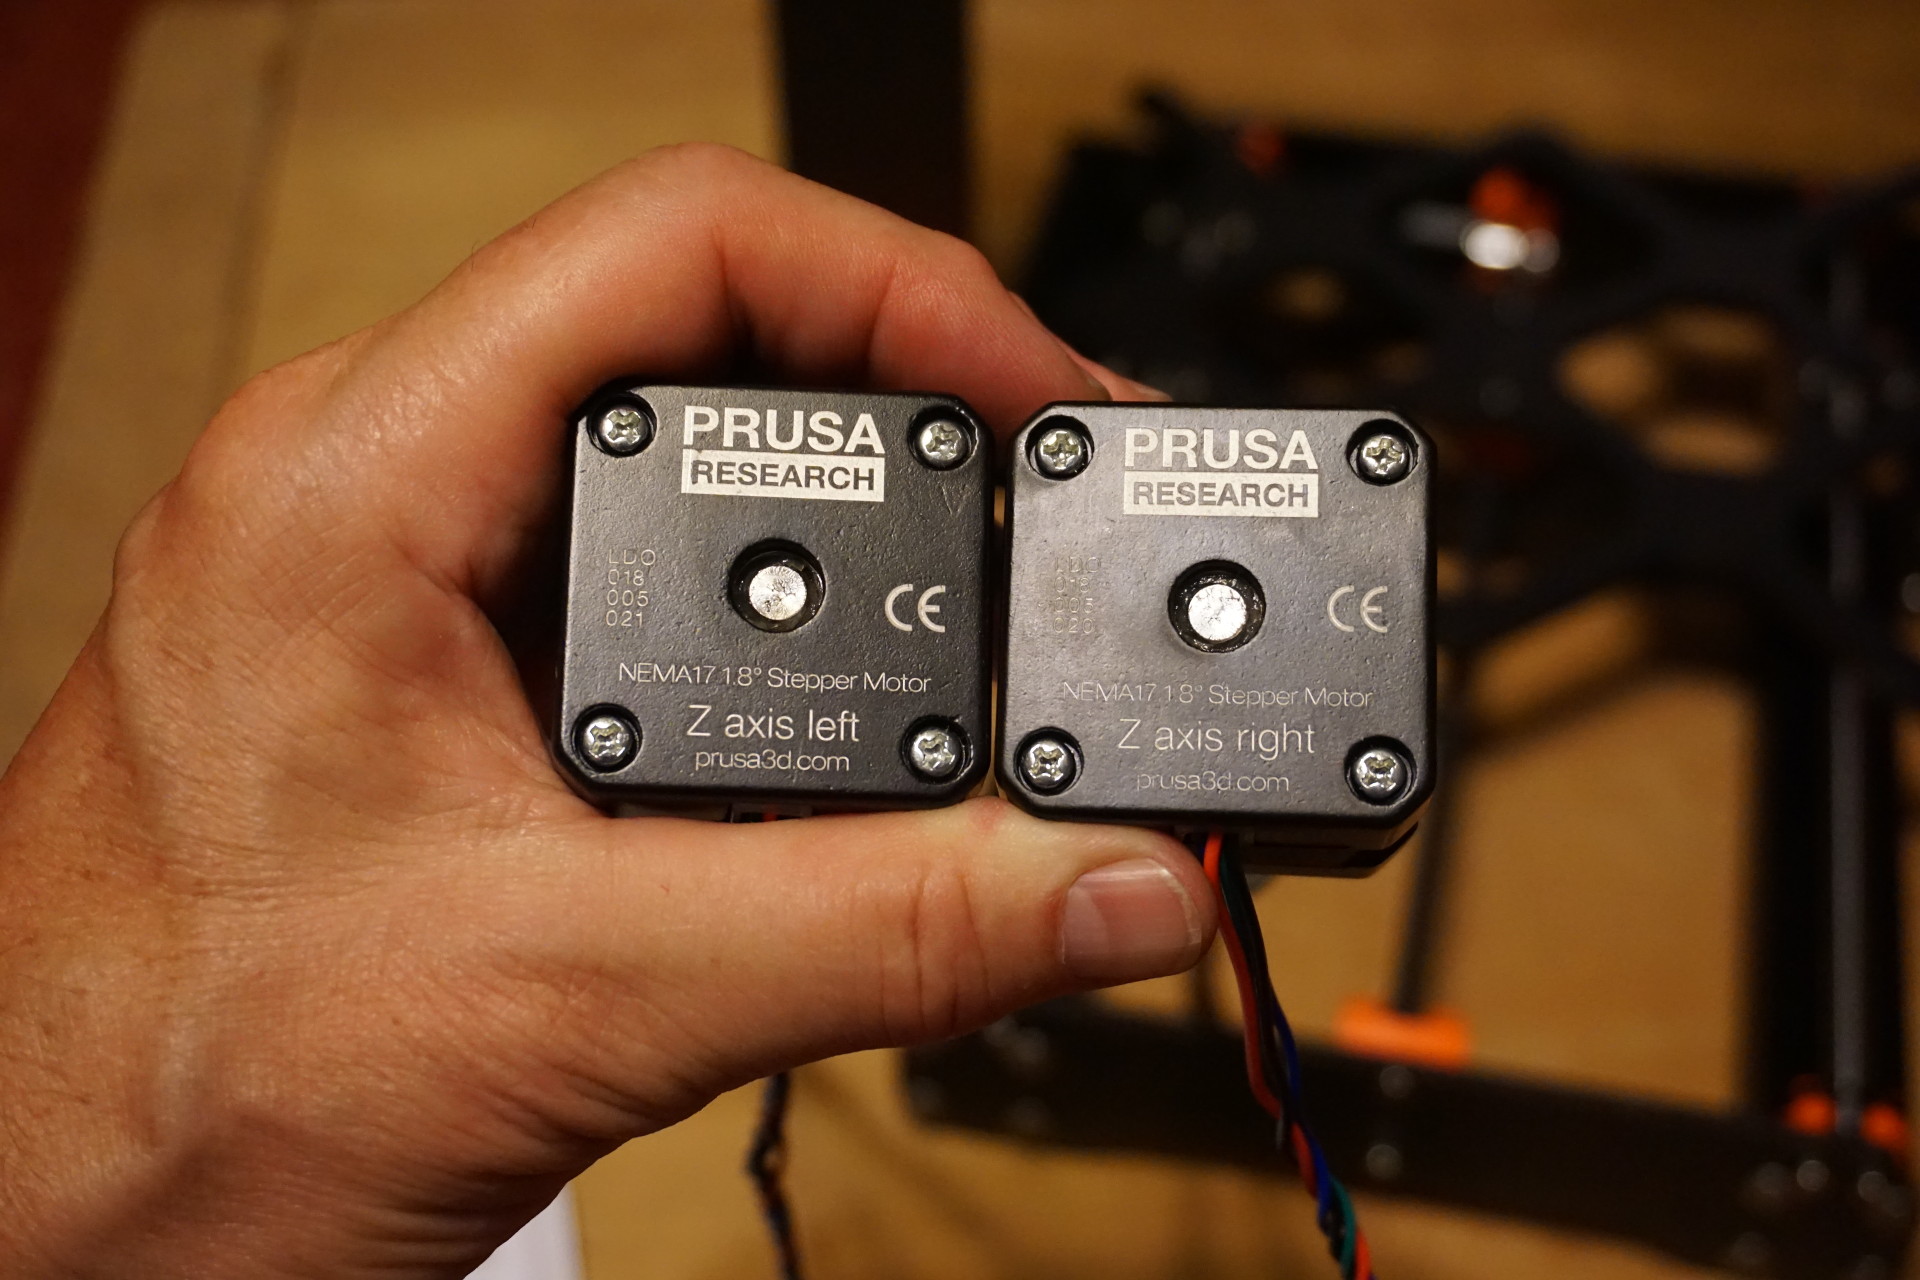
Z-axis motor mounts:
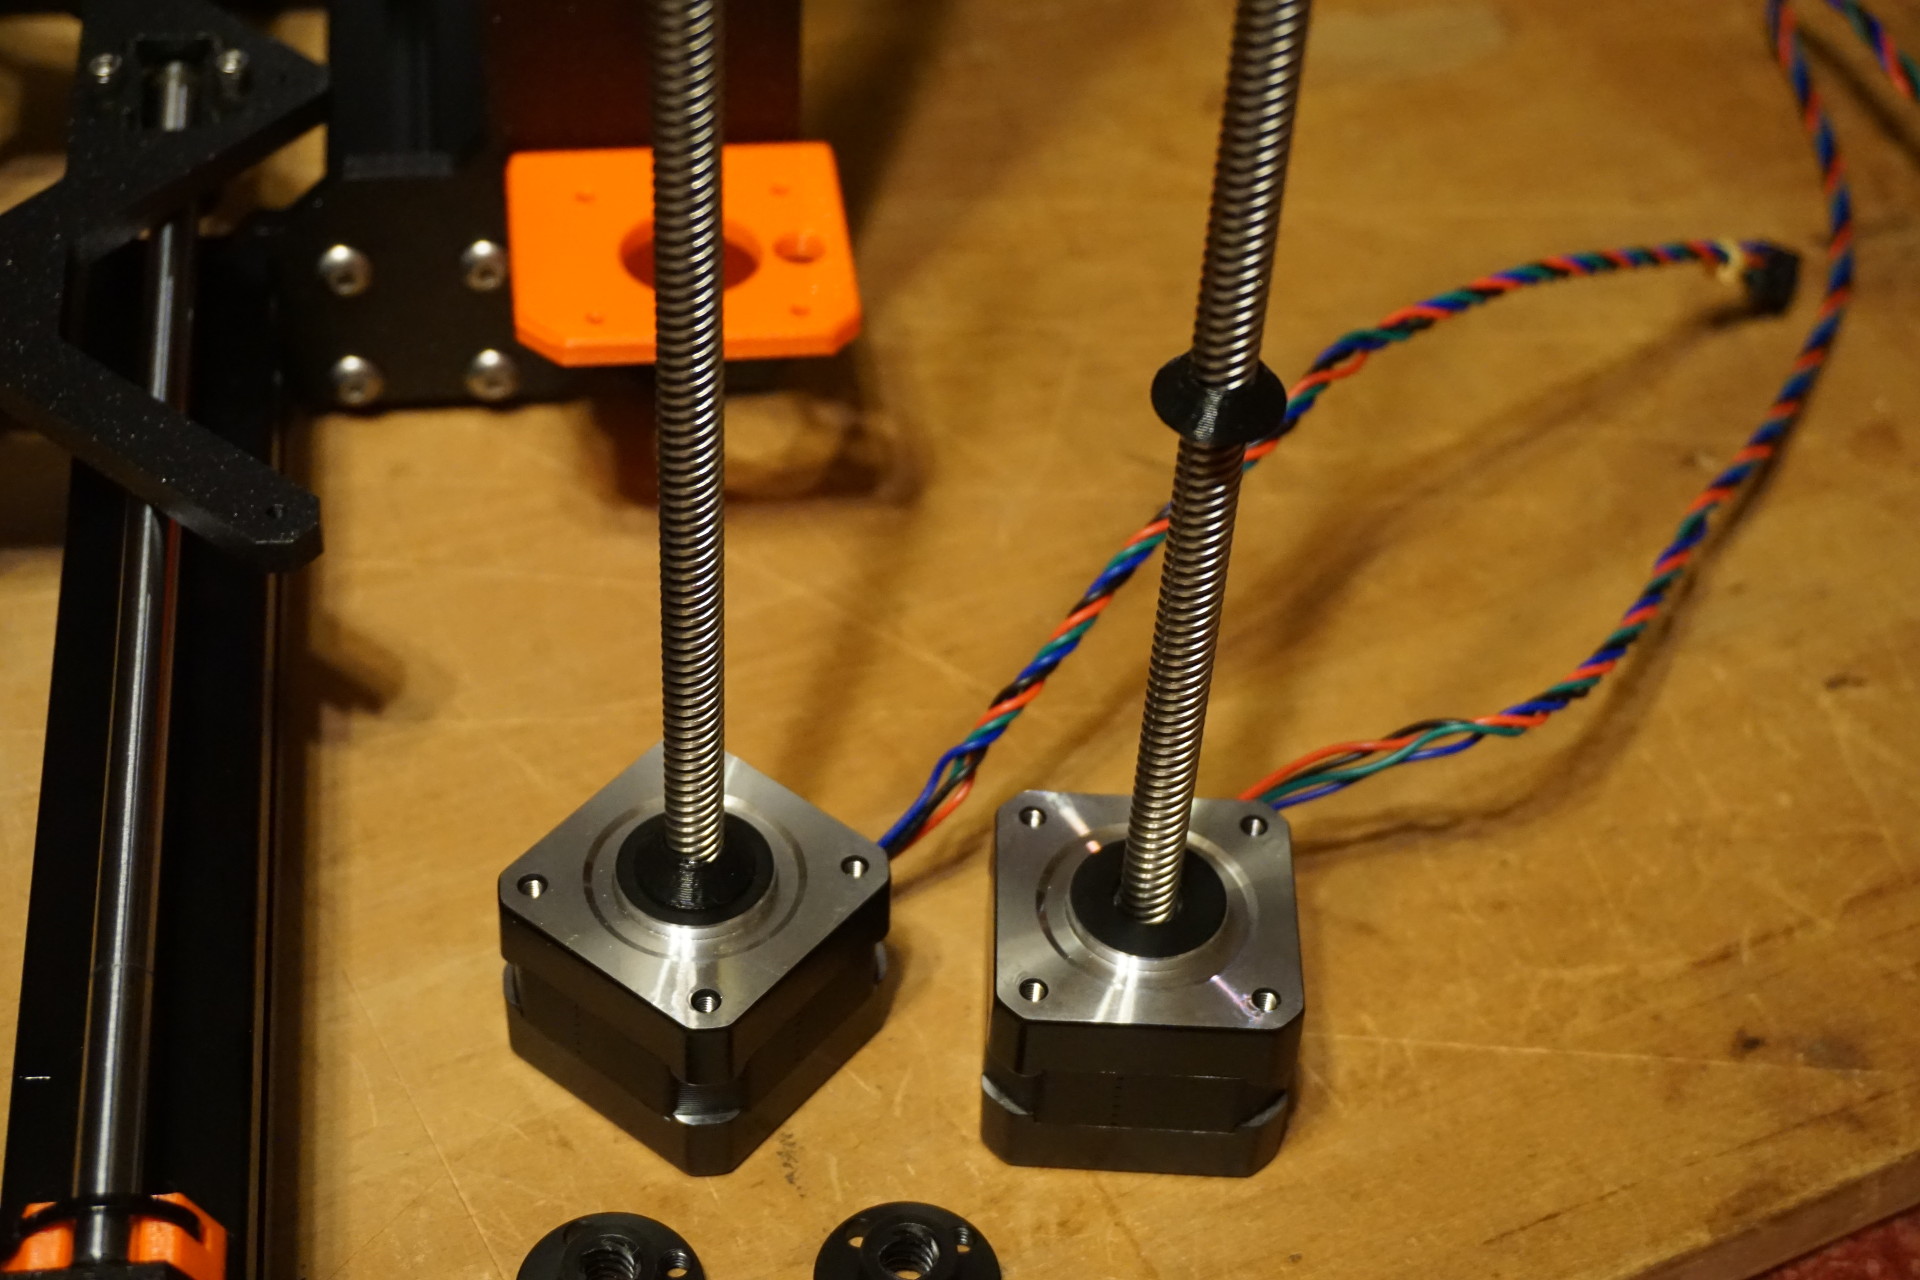
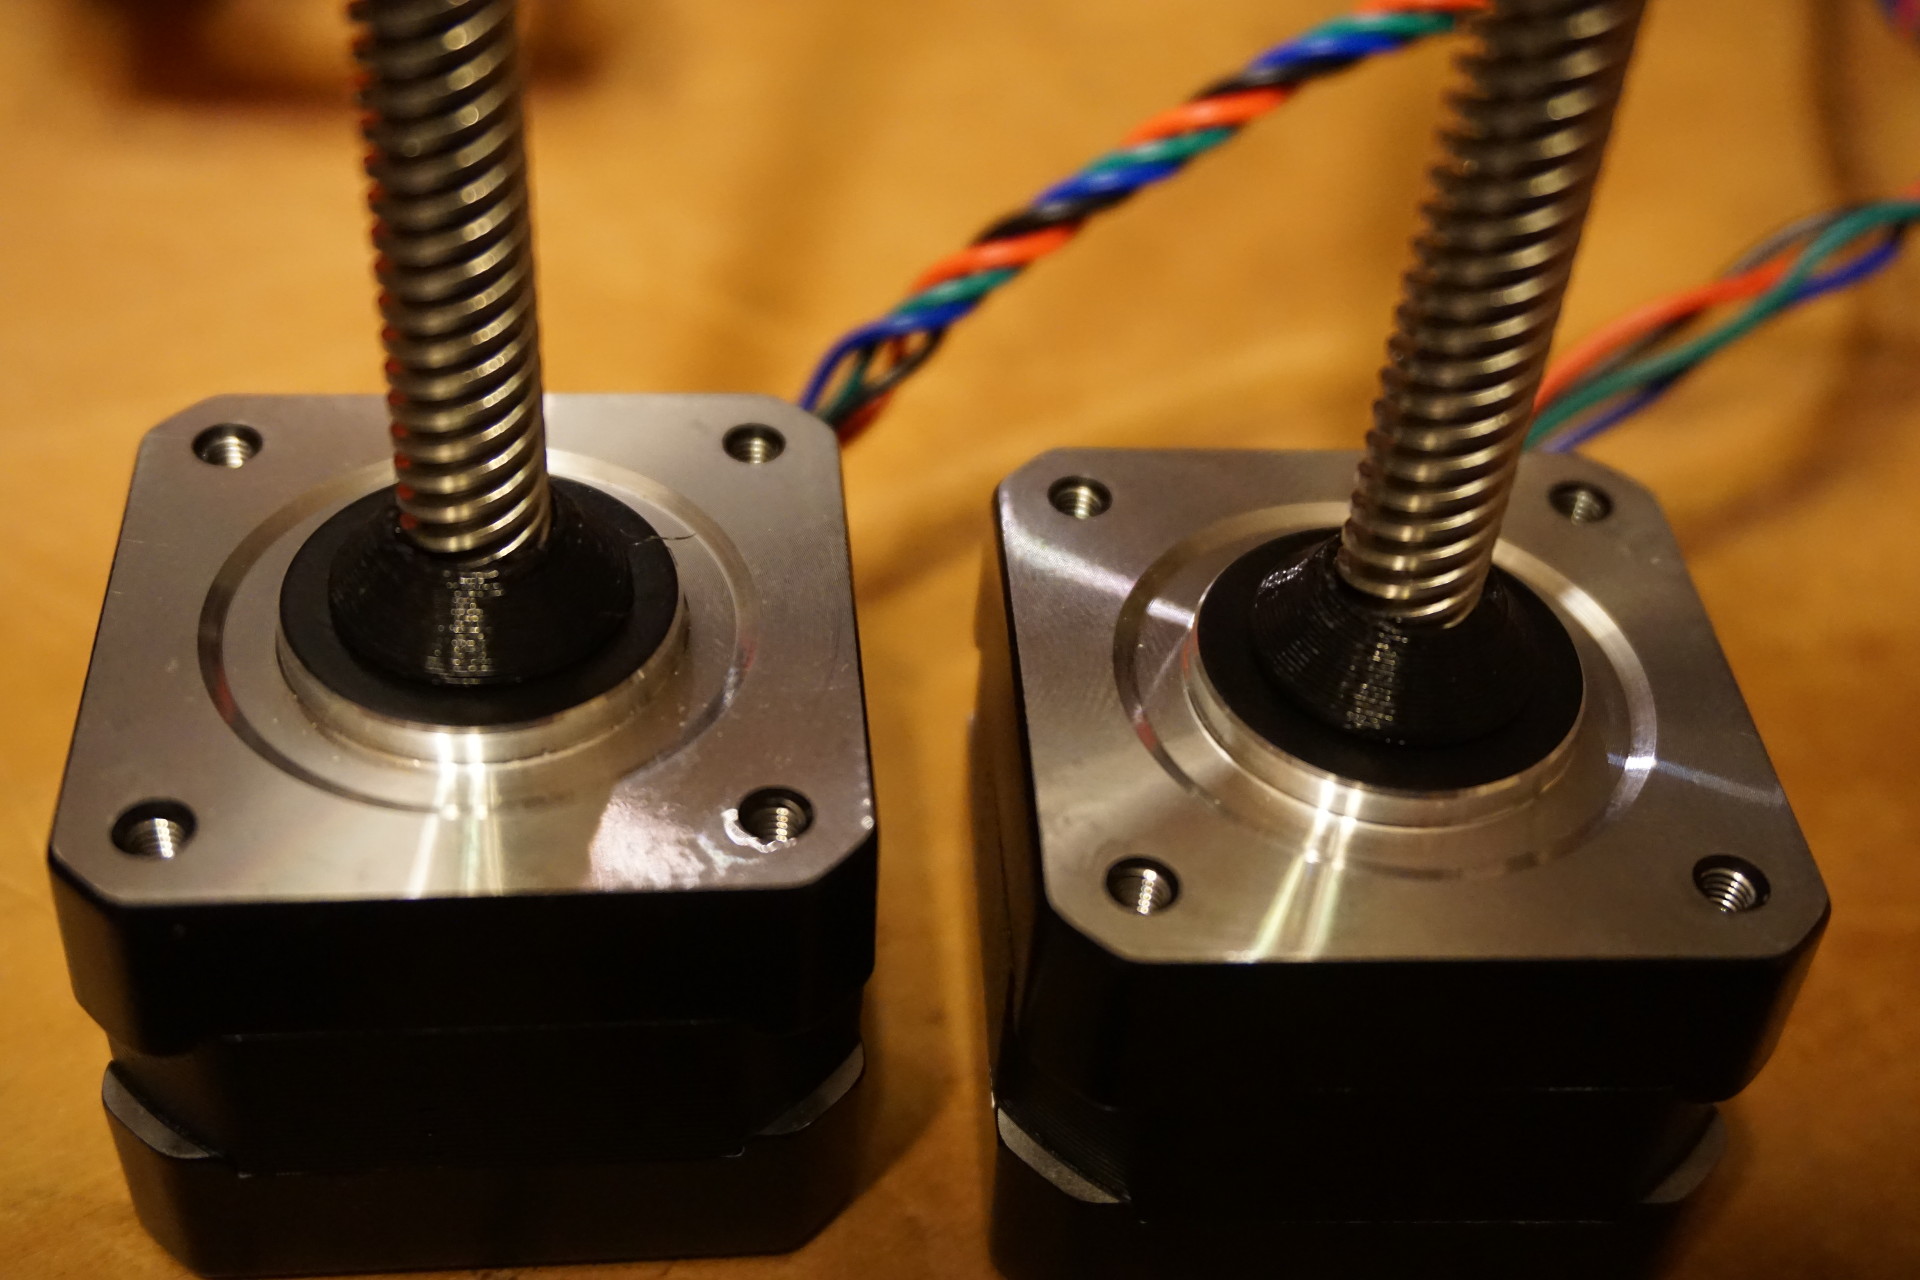
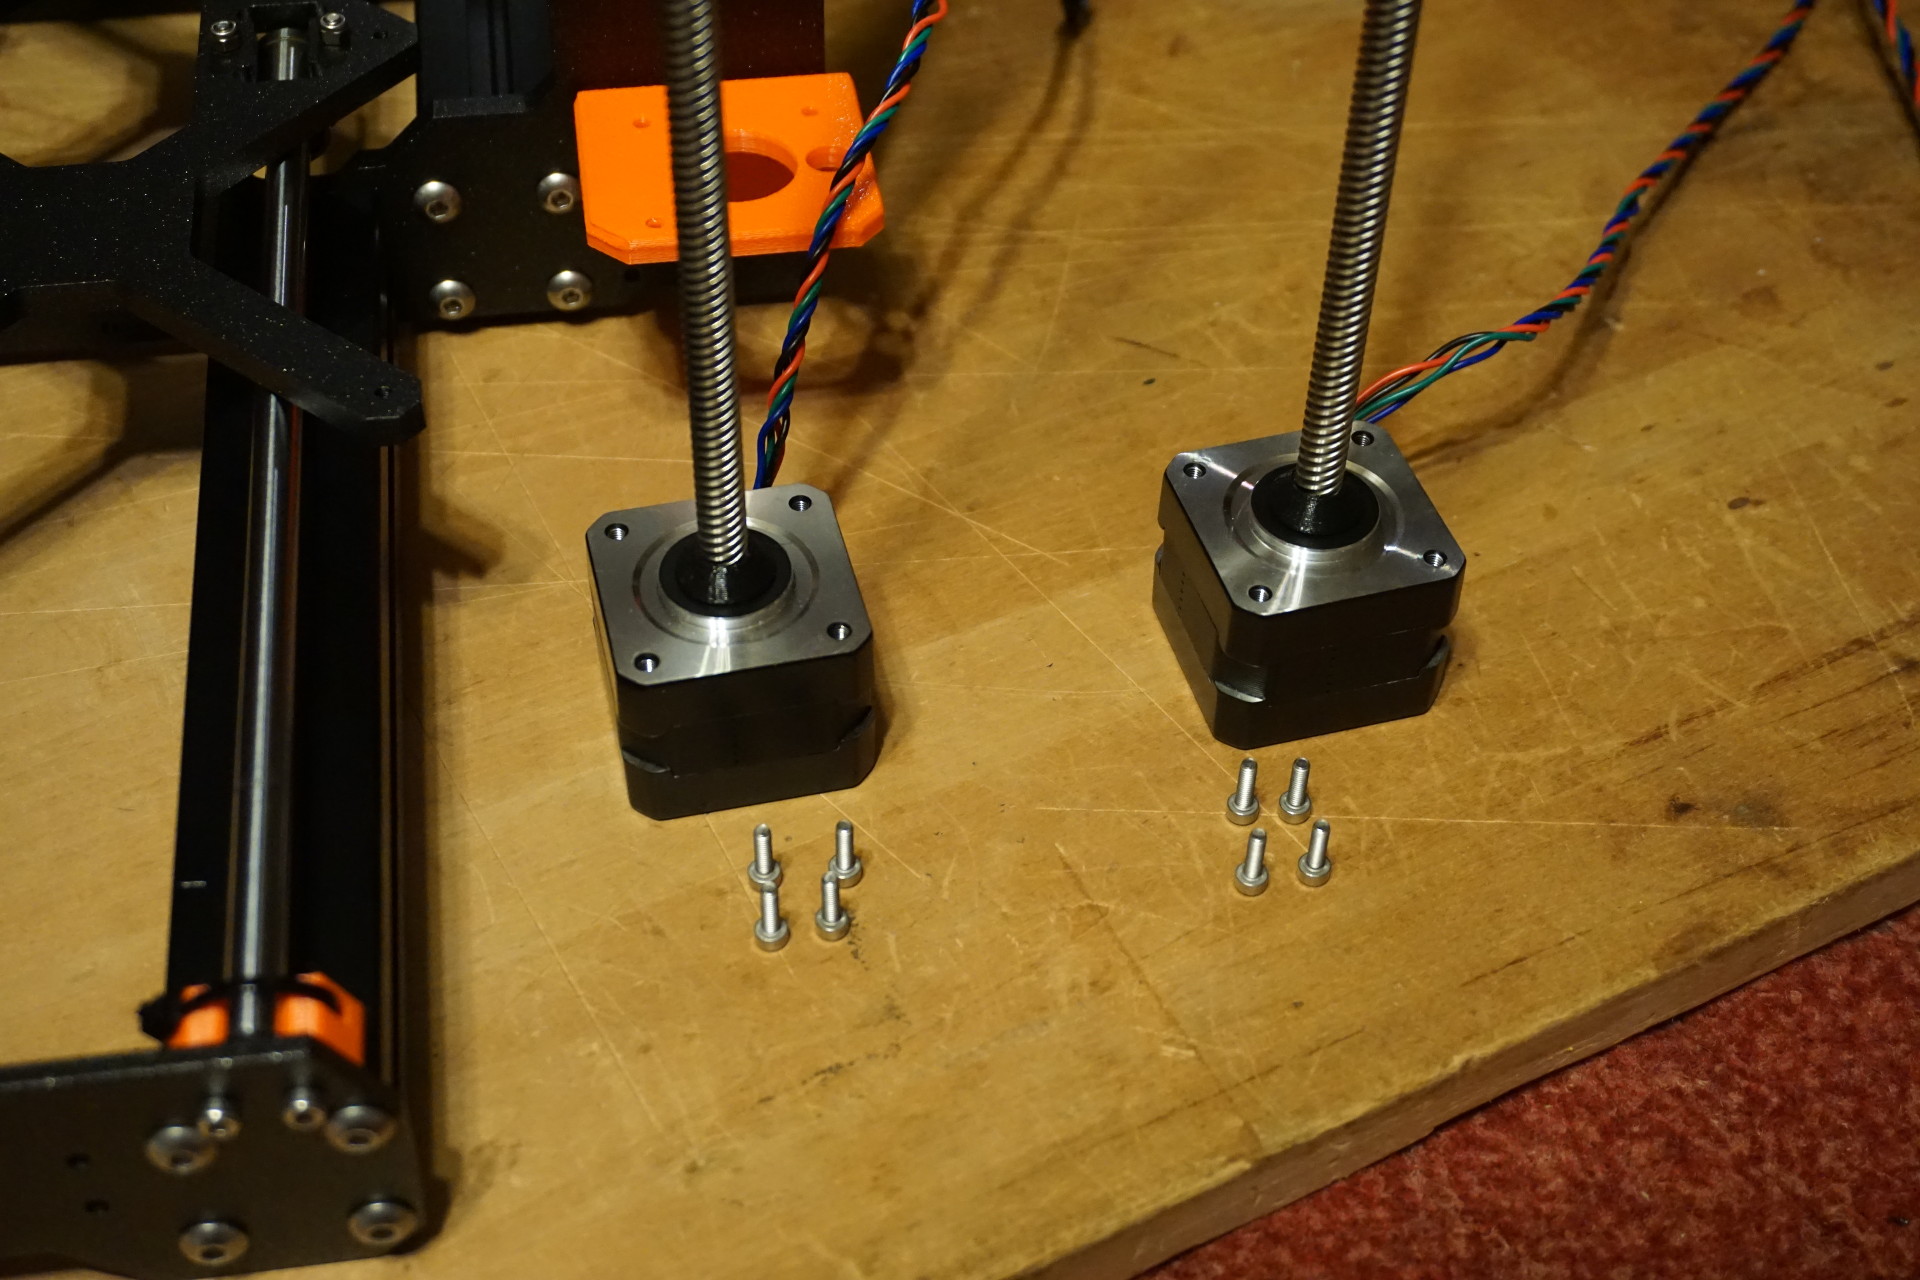
Z-axis motors:
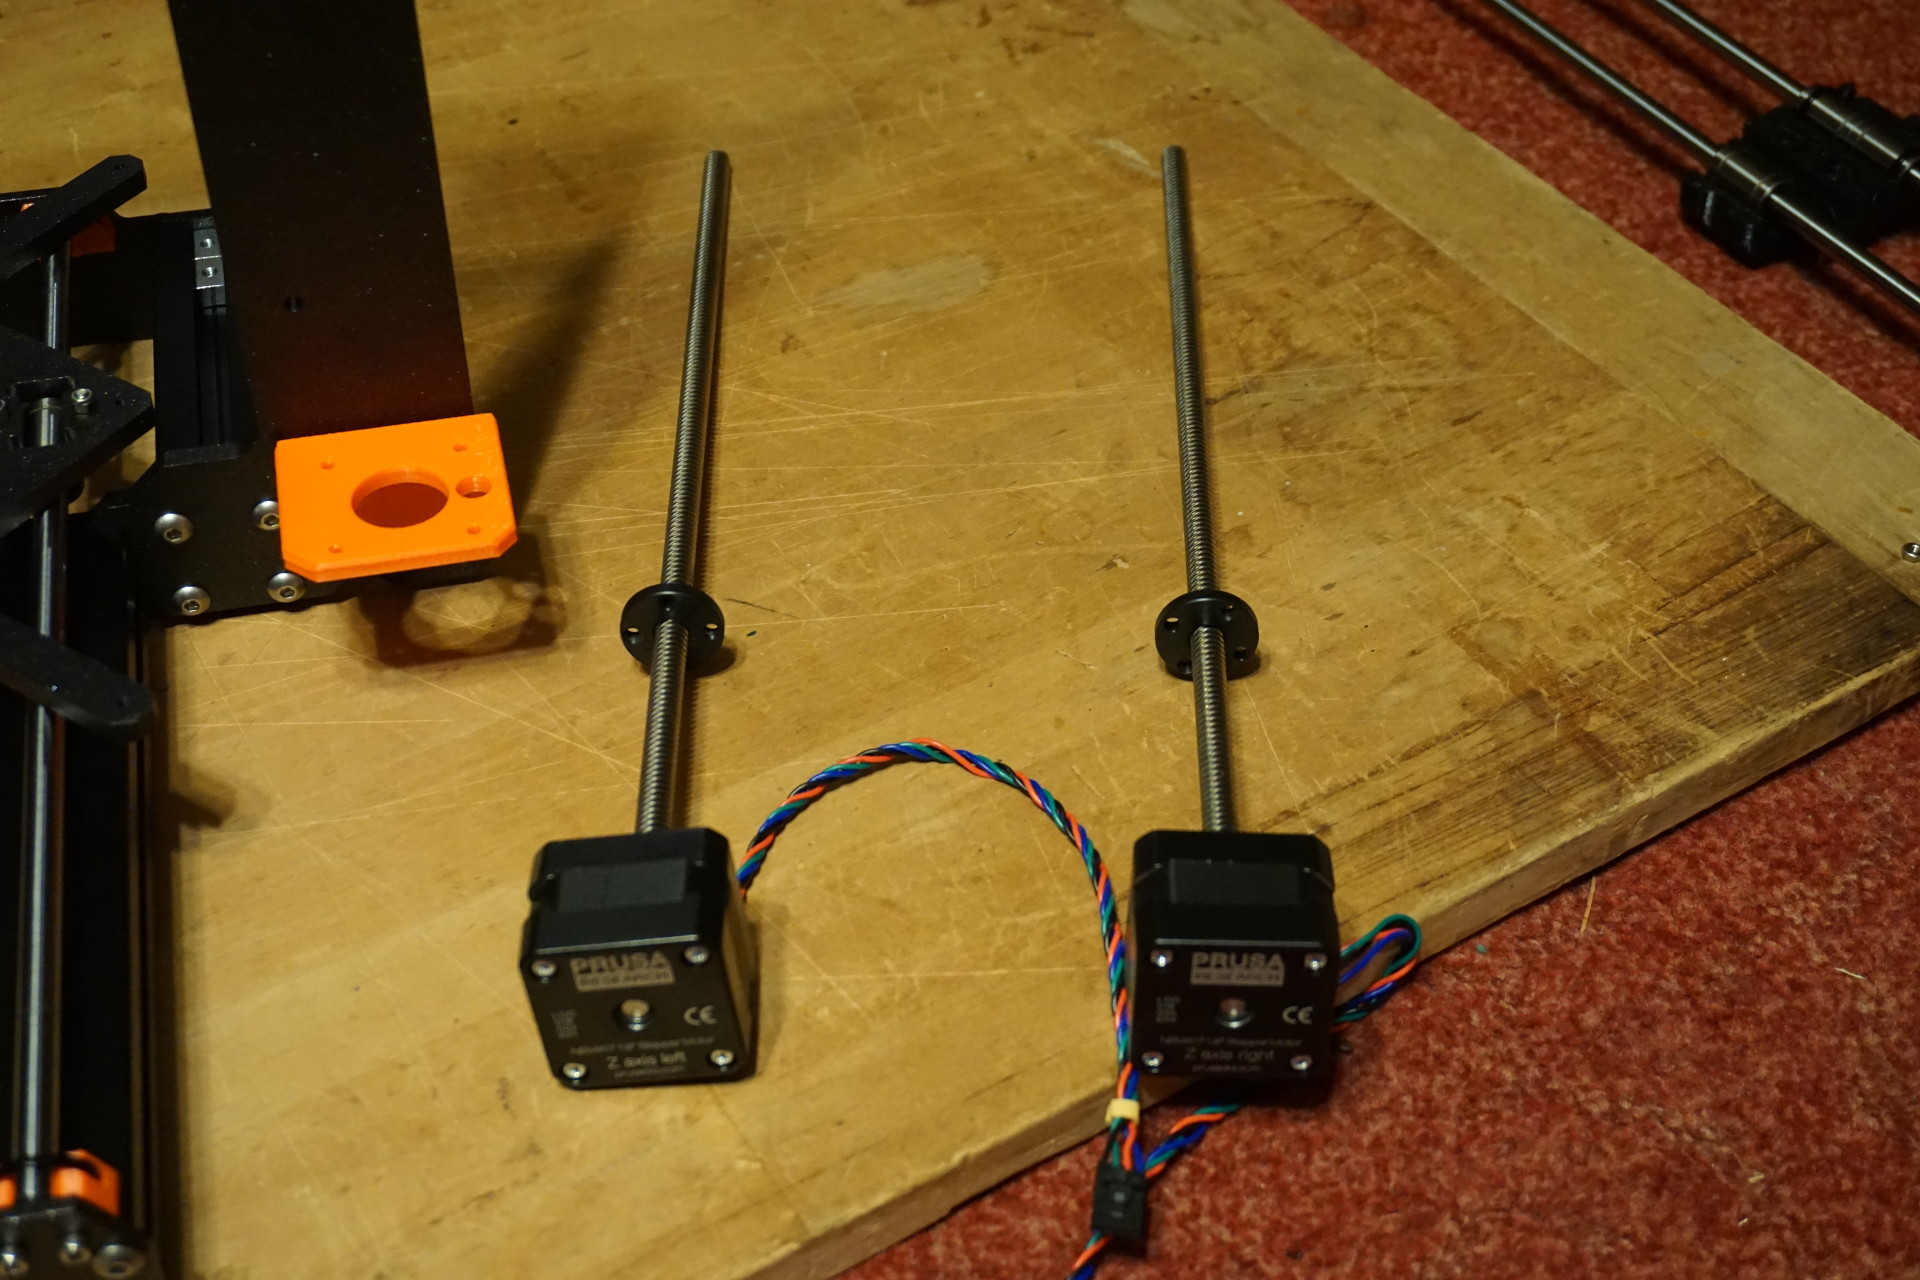
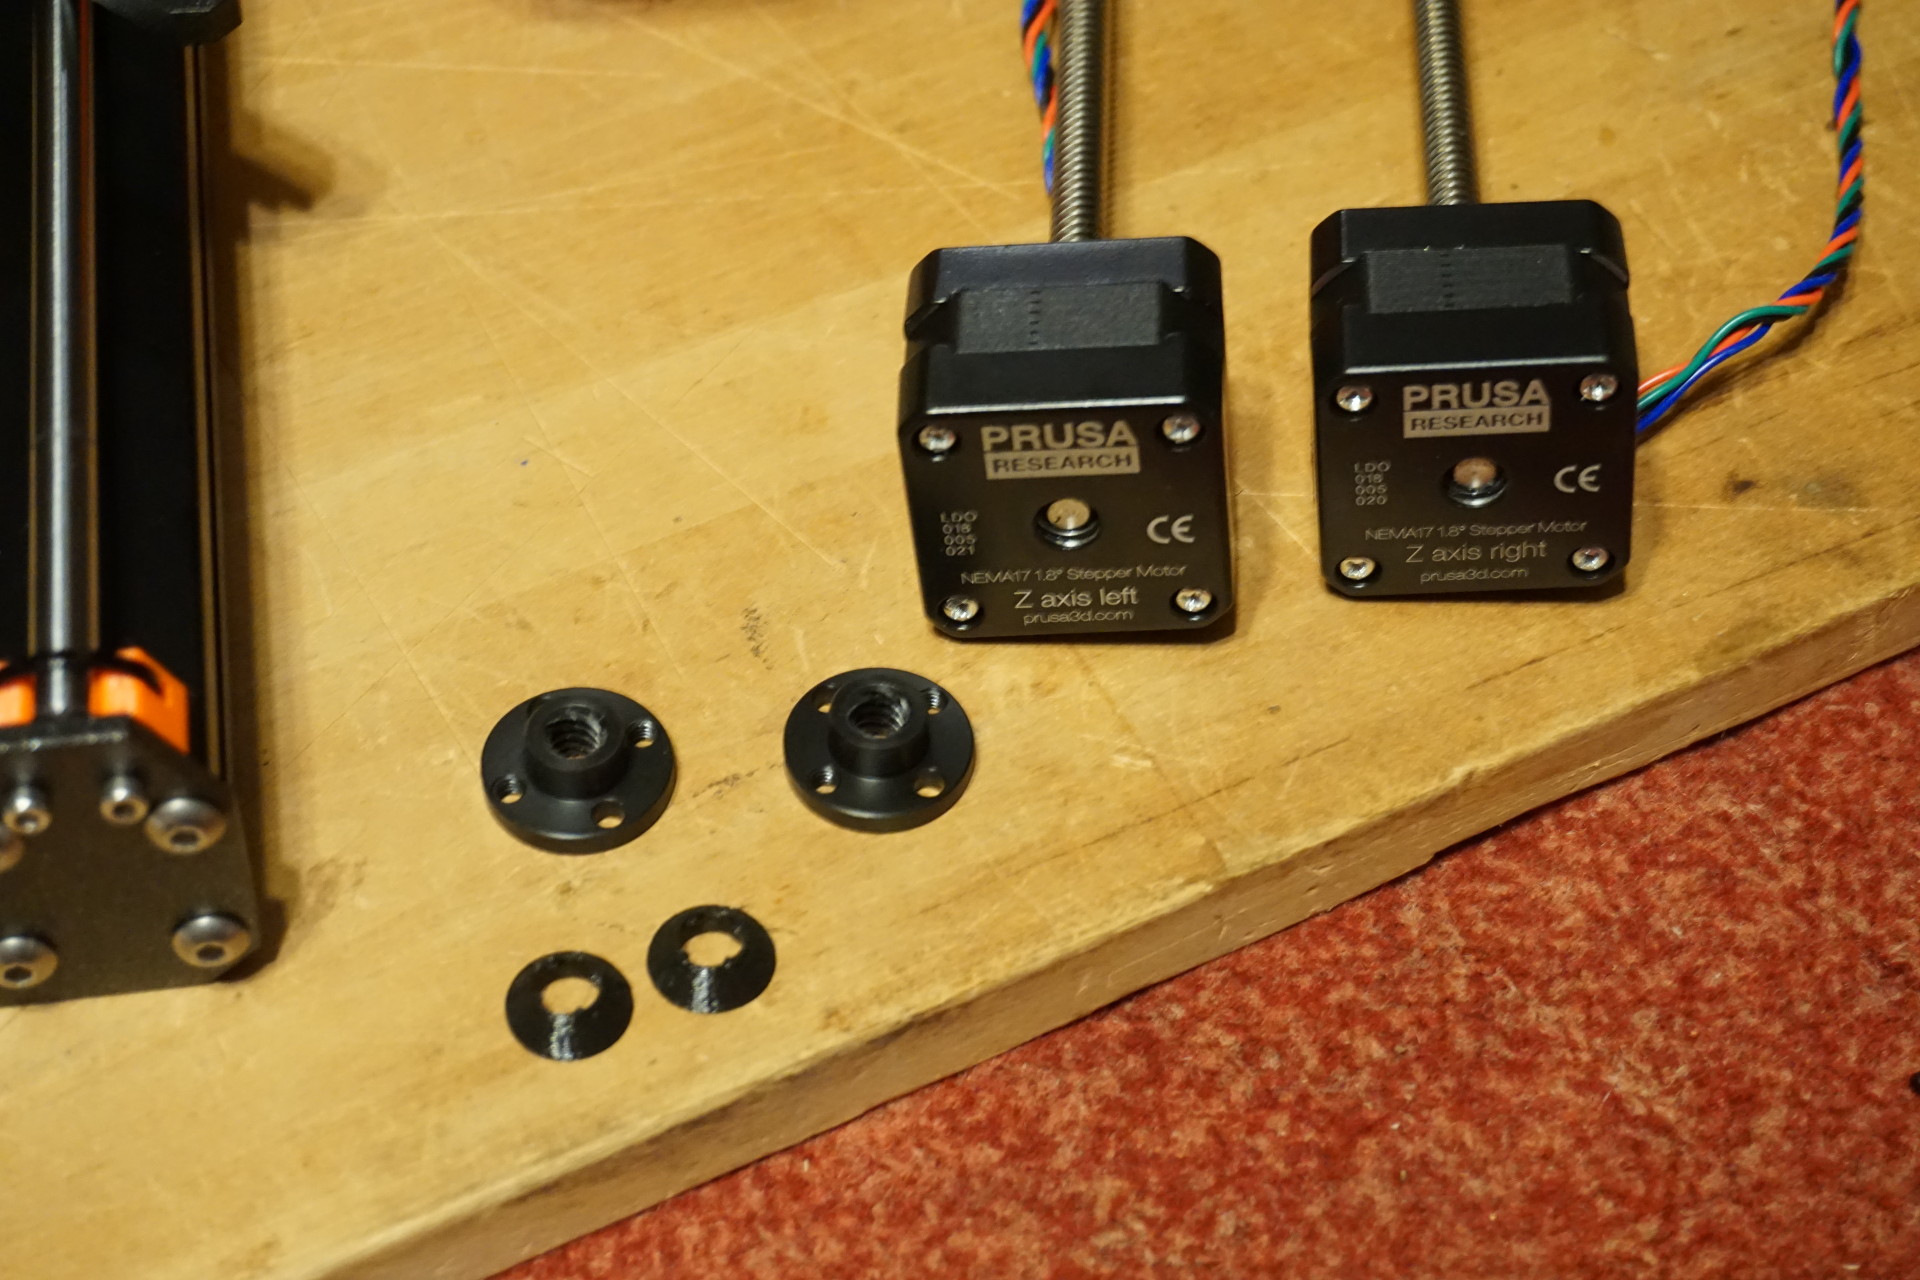
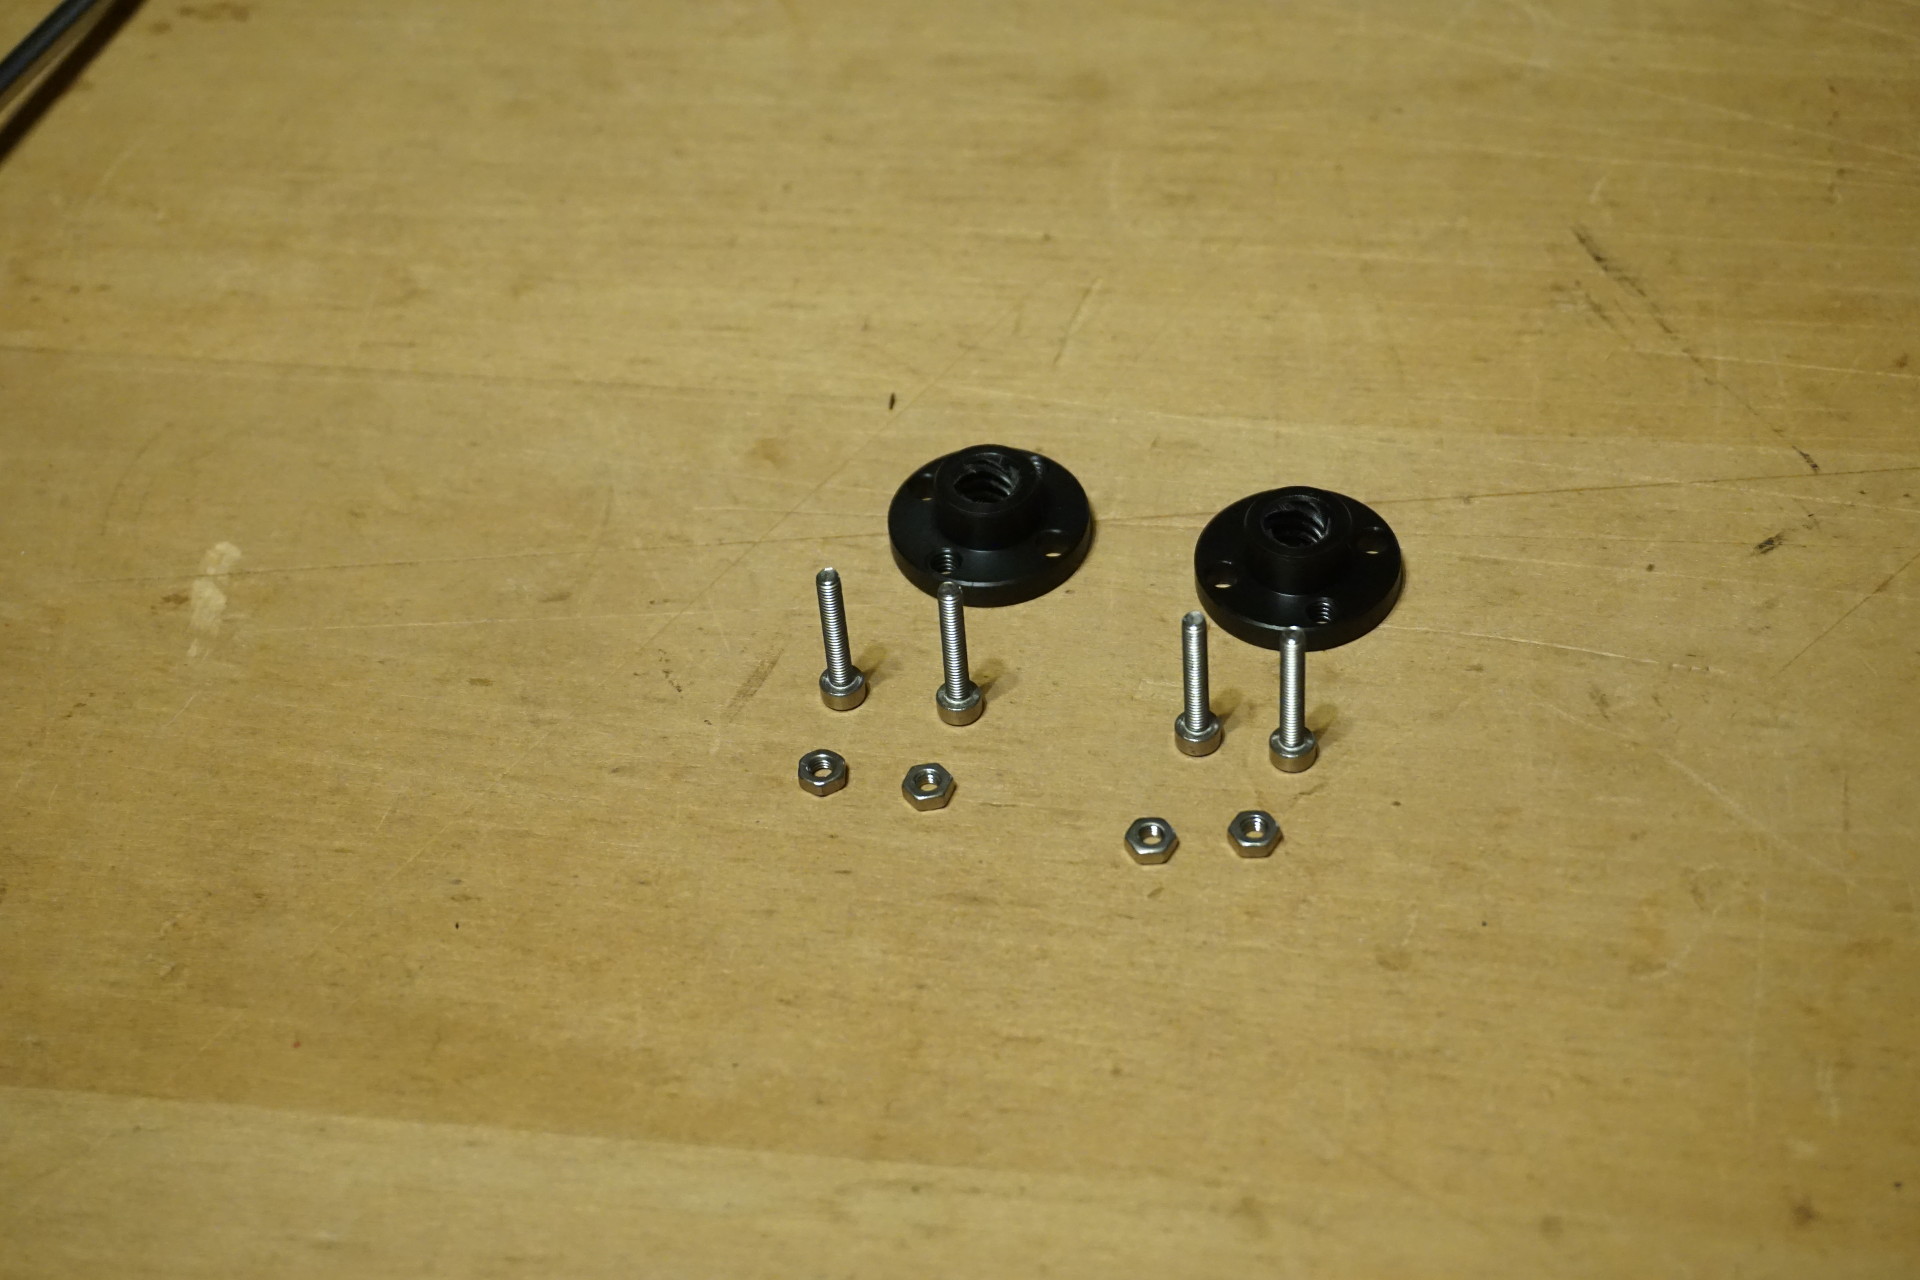
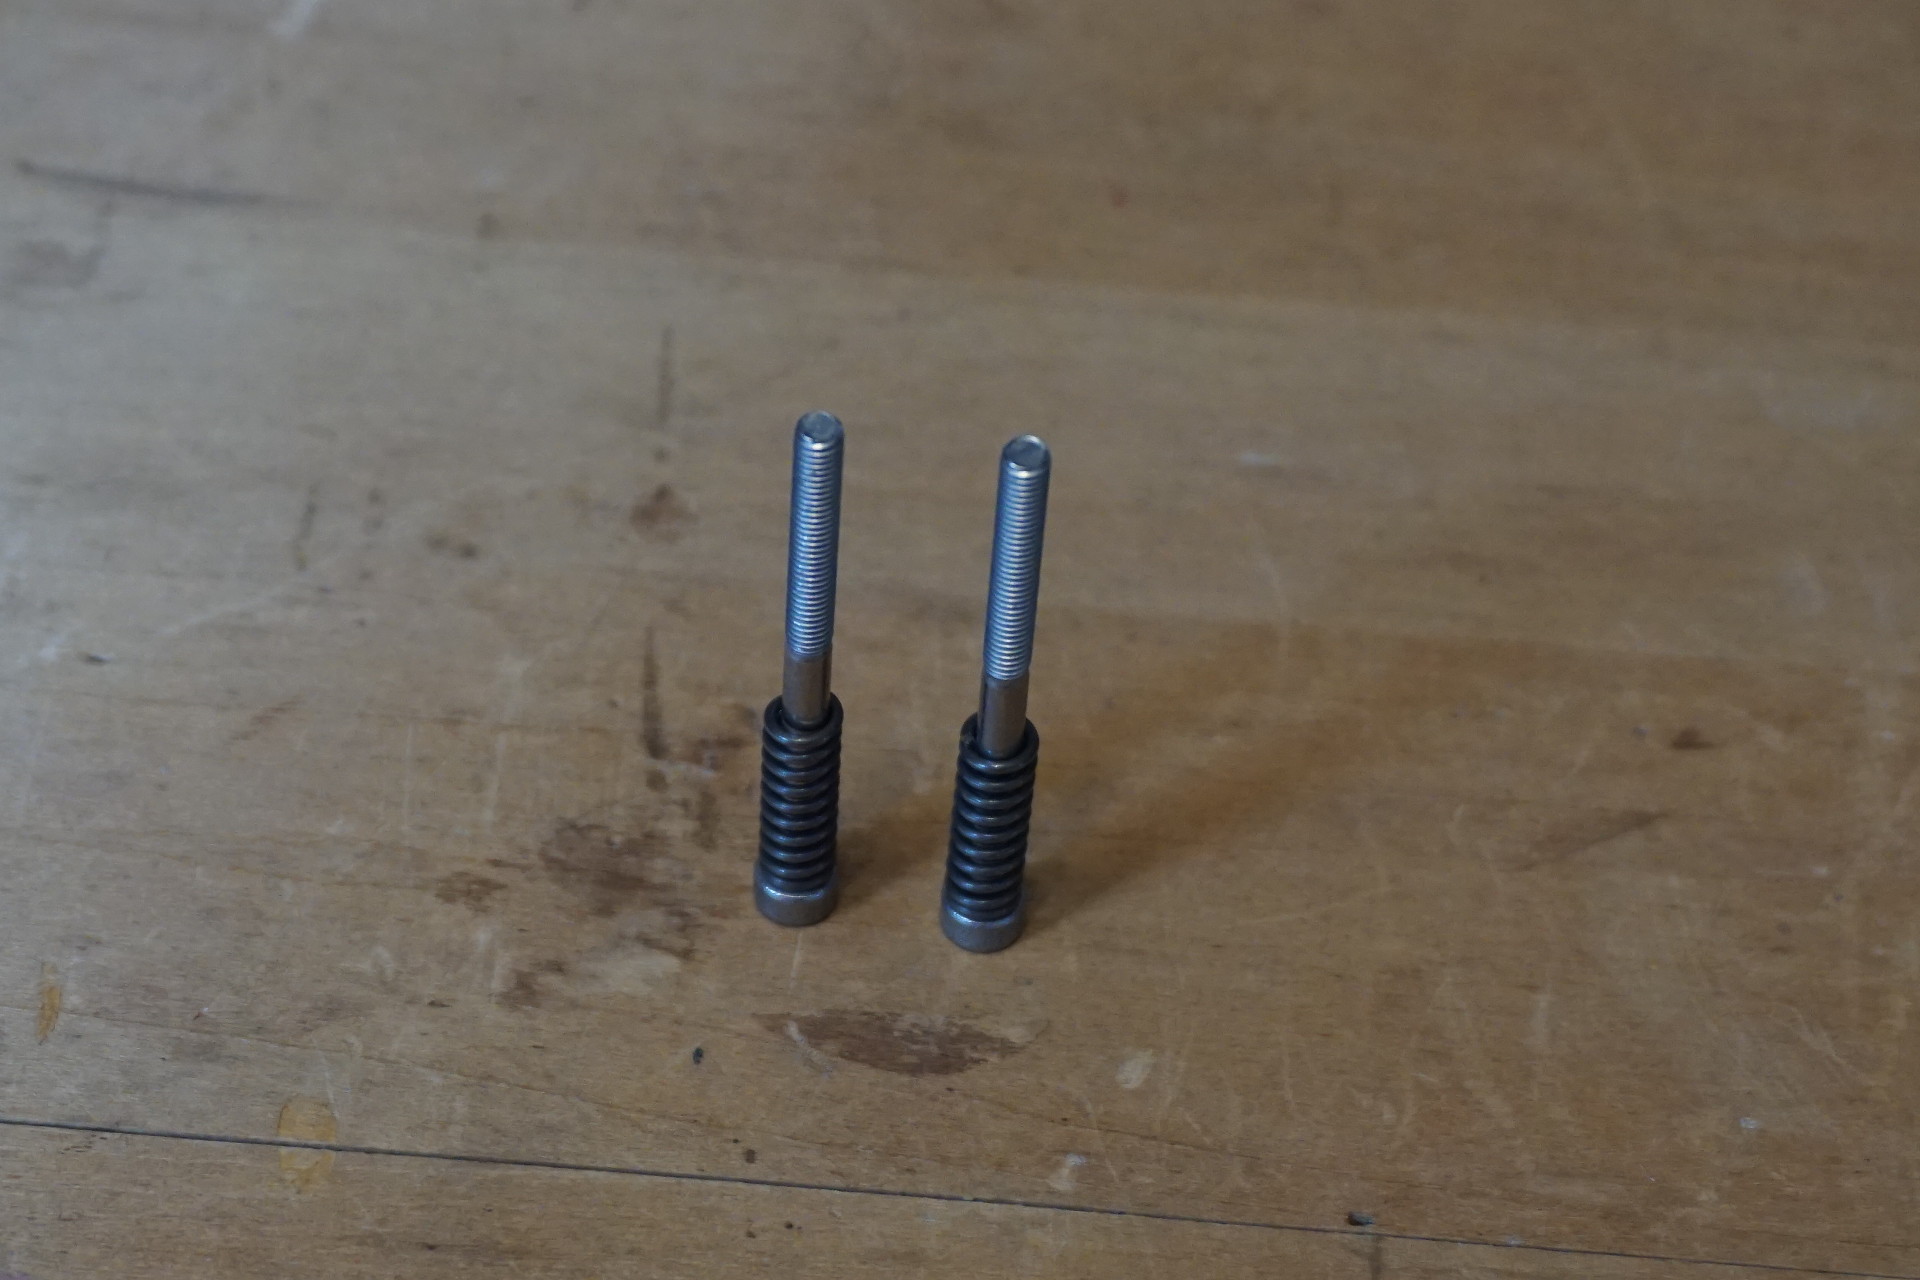
Z-axis drive nuts (trapezoidal nuts):
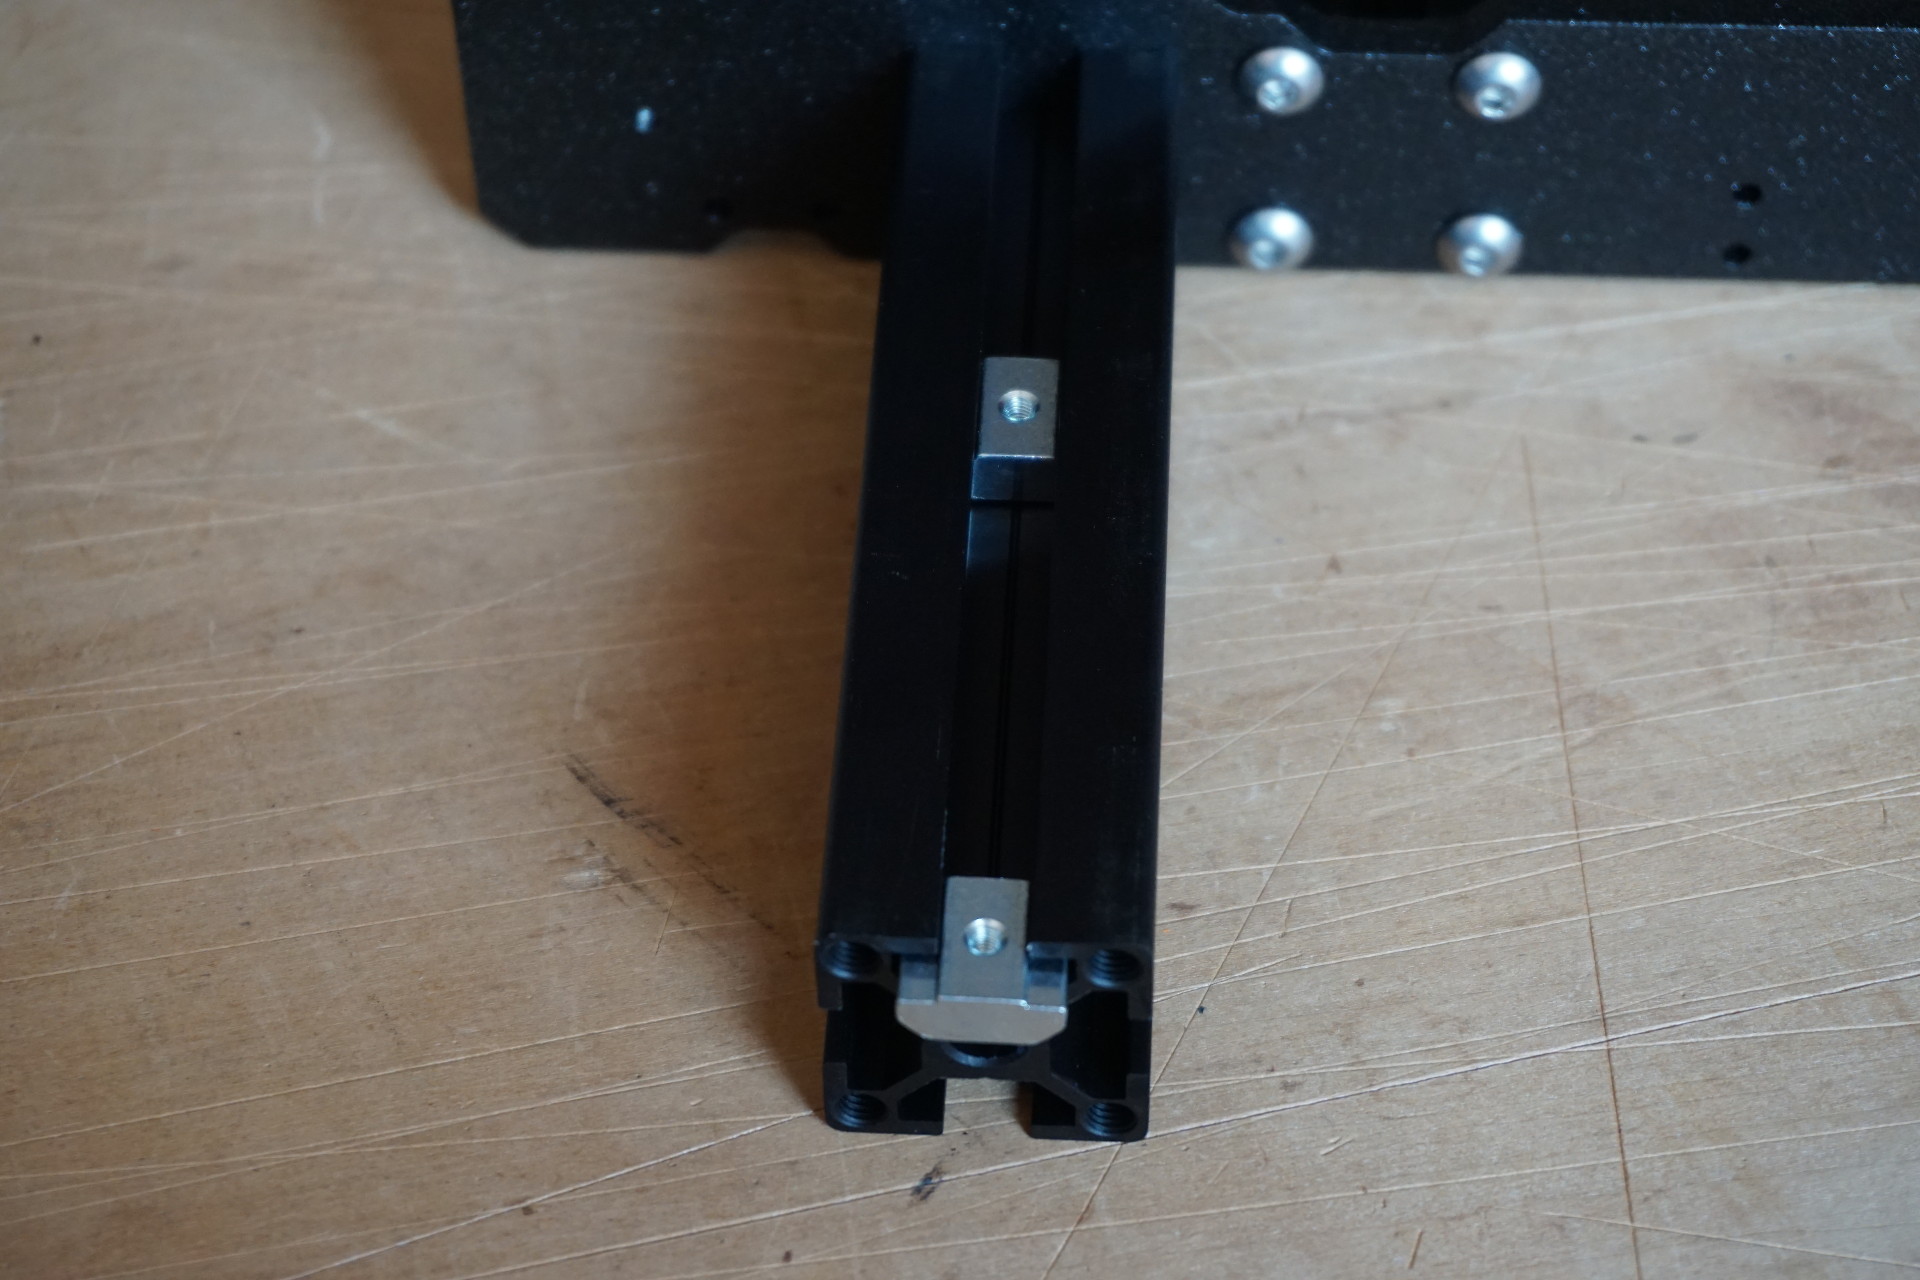
Z-axis rods:
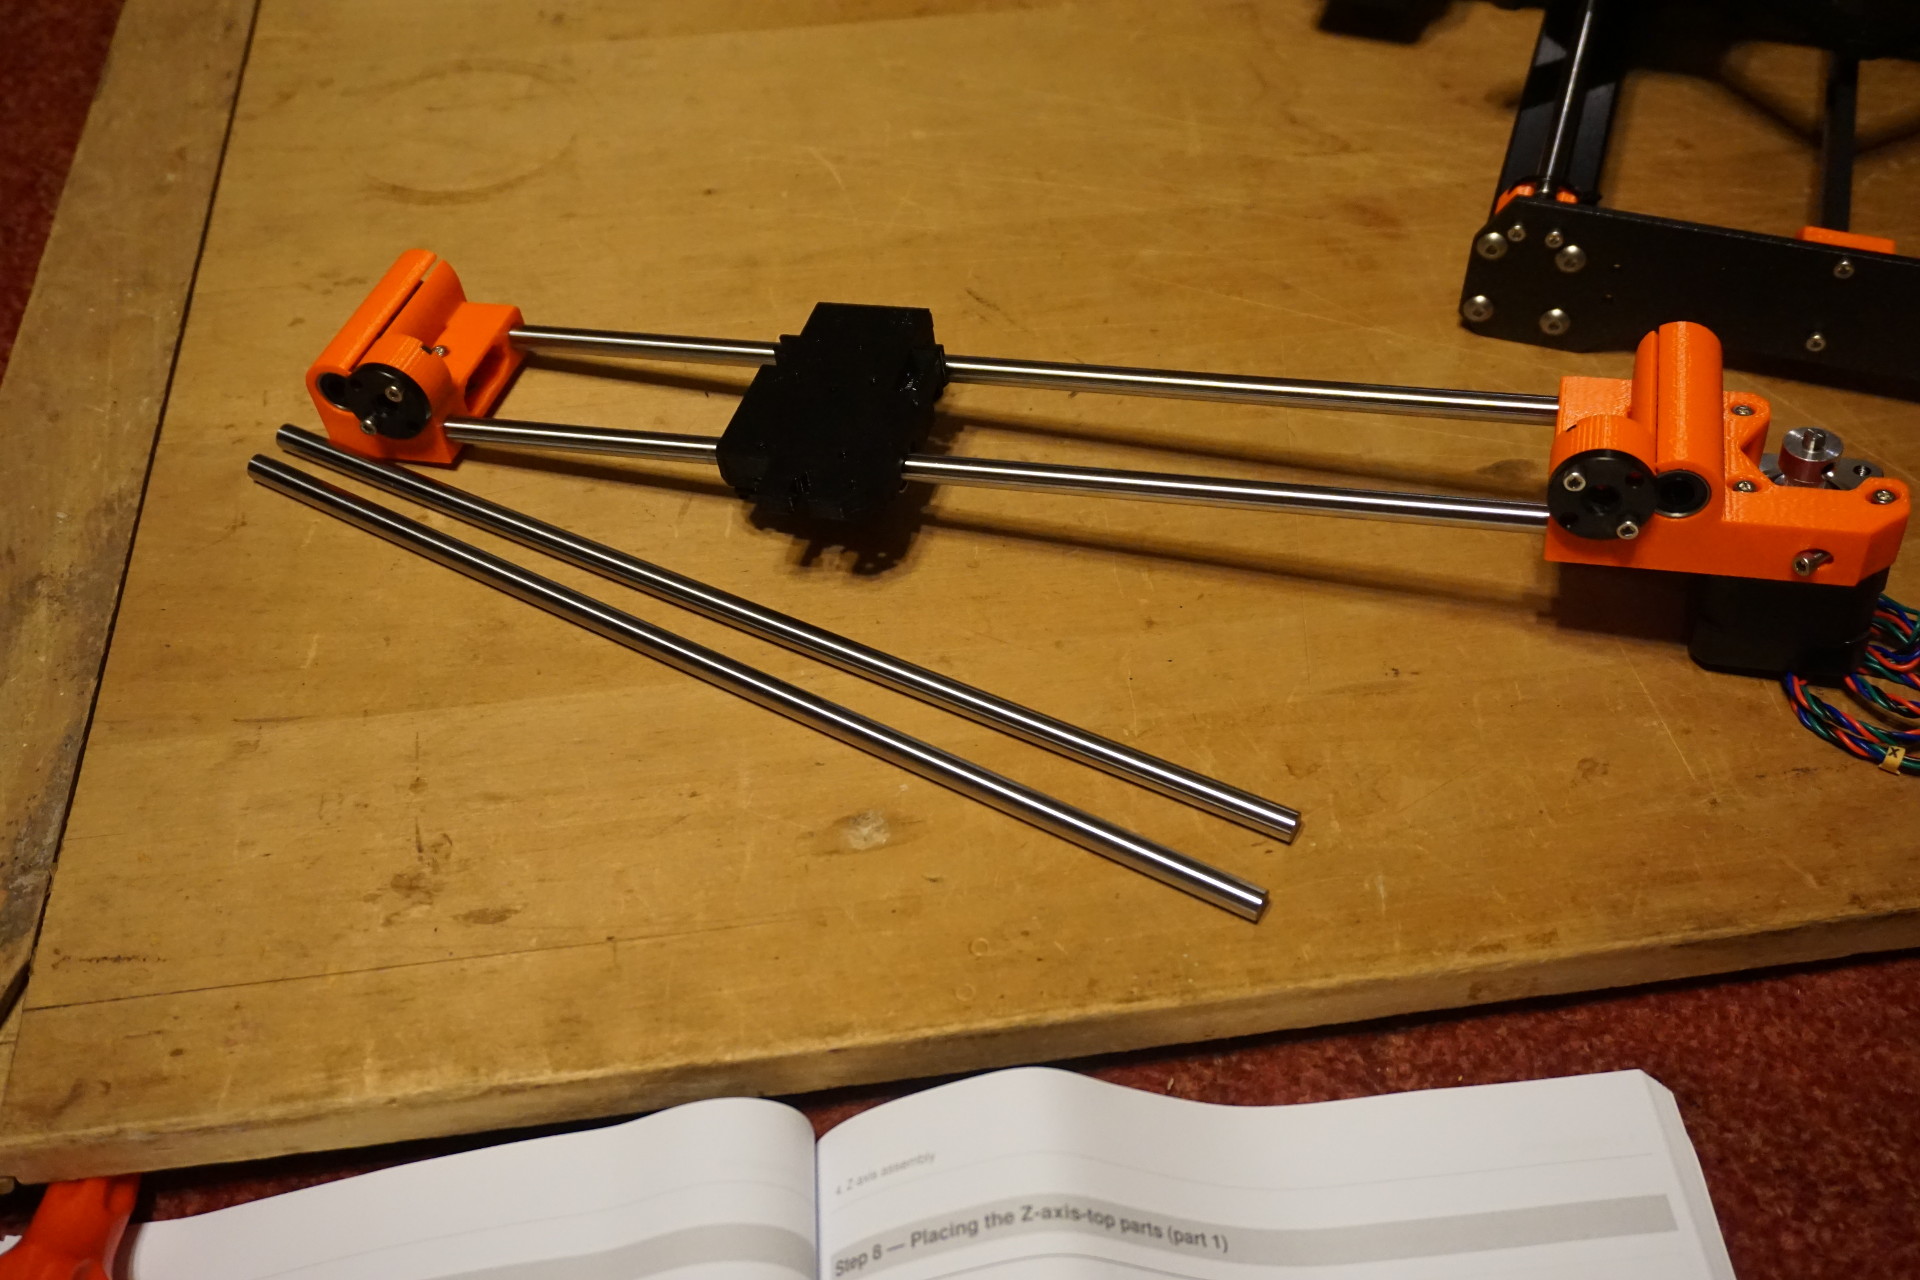
Z-axis top mounts:
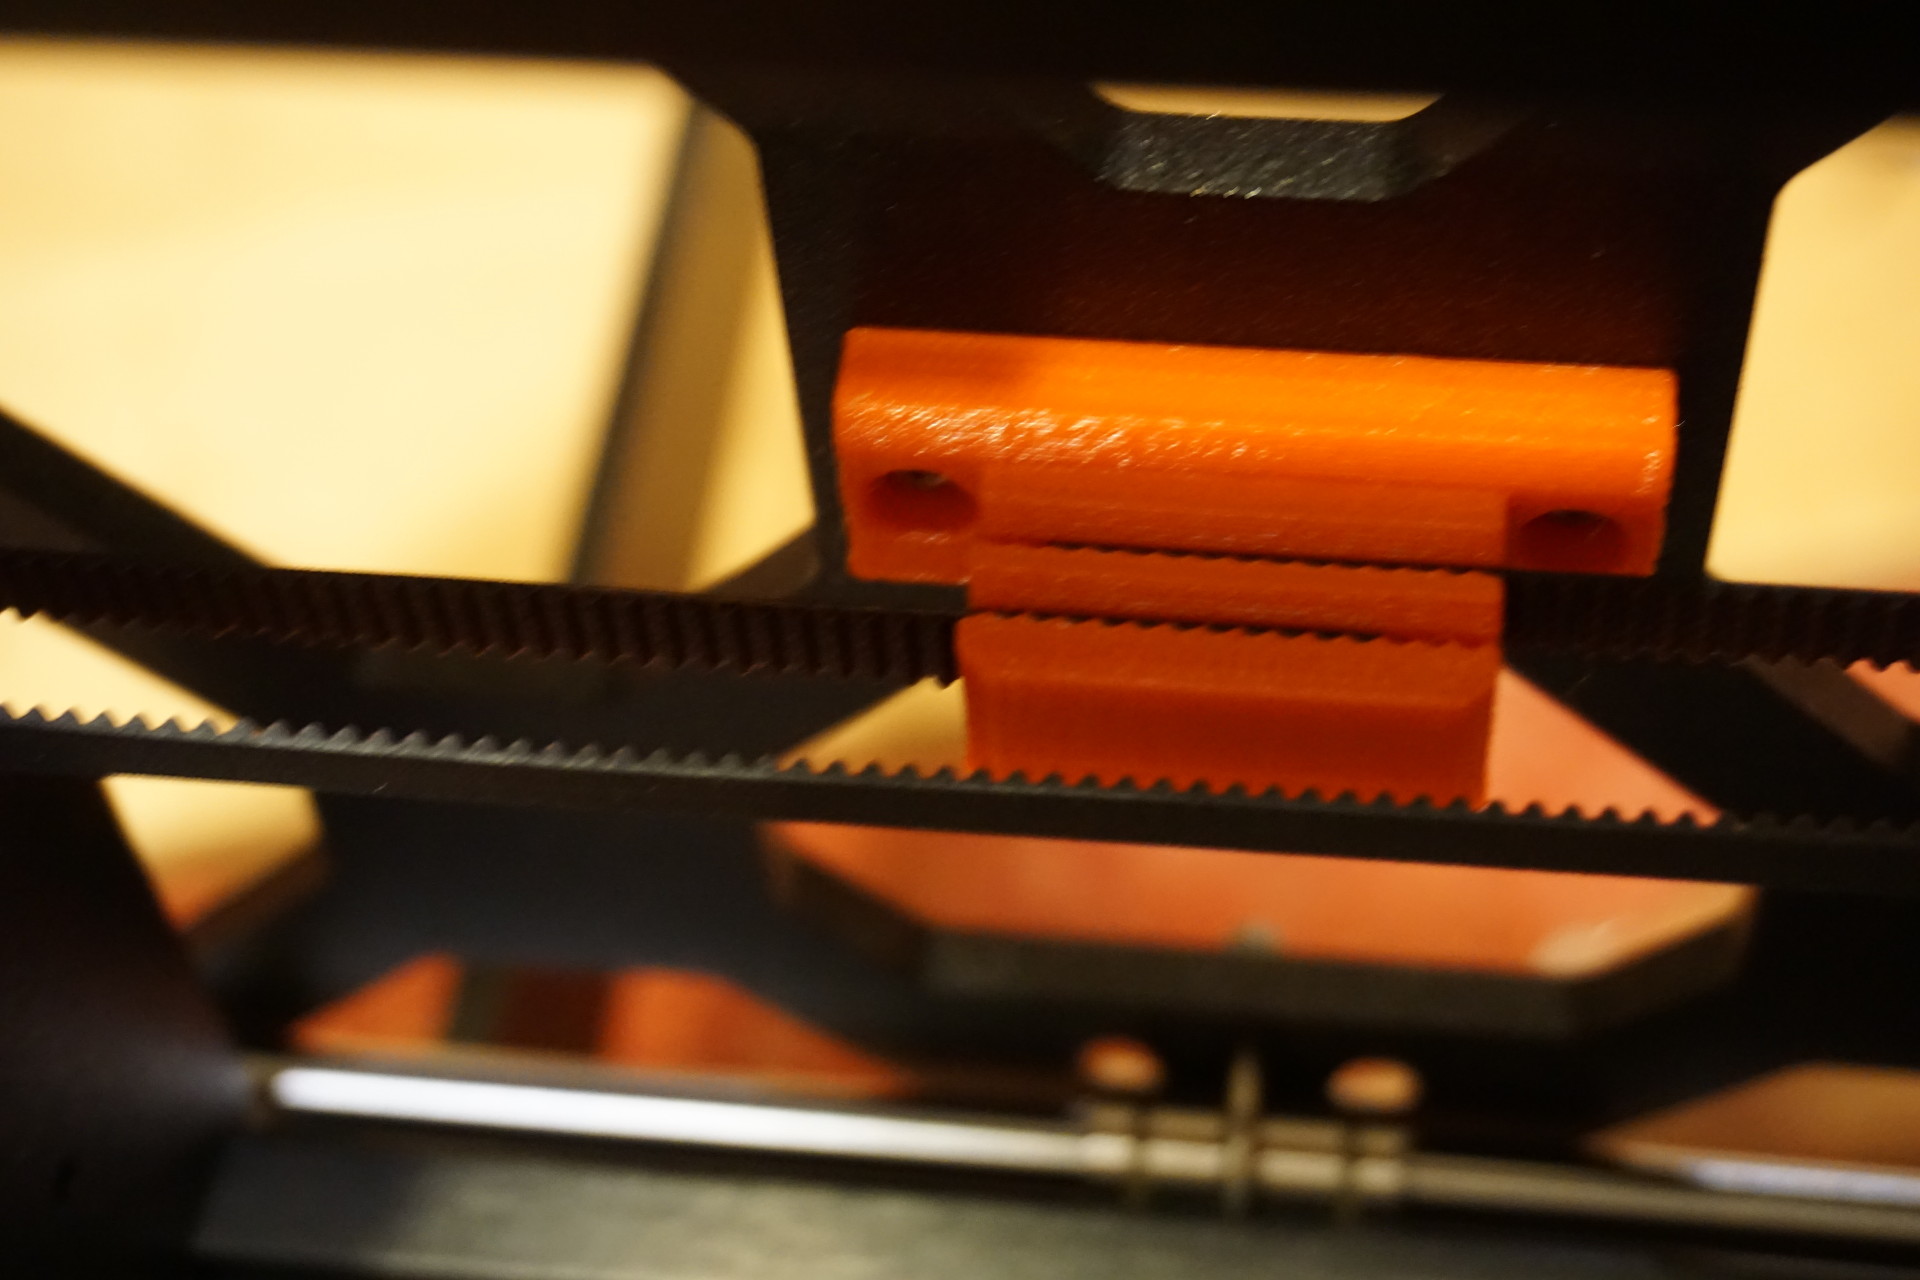
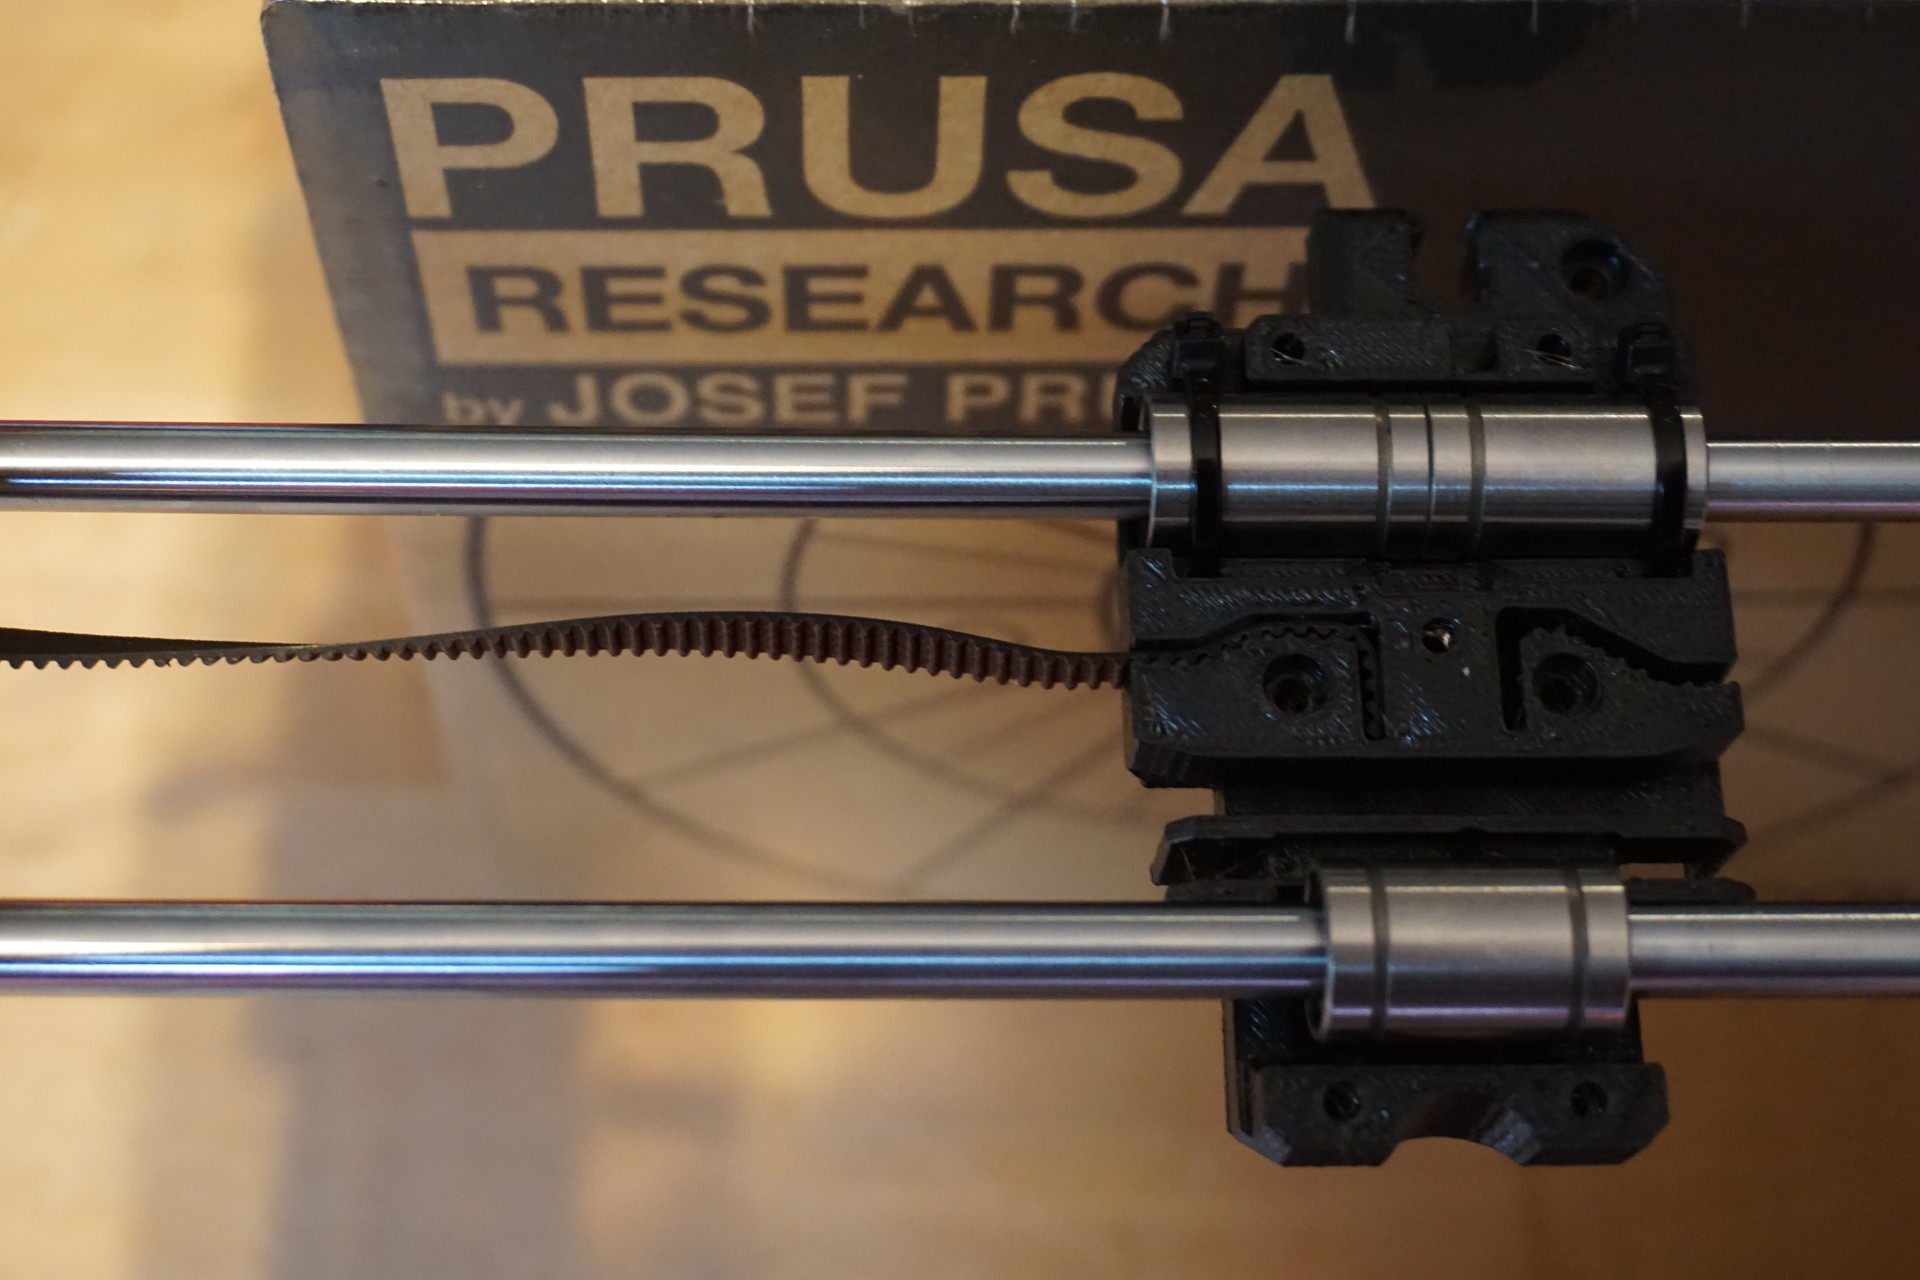
X-axis drive belt:
Filament idler:
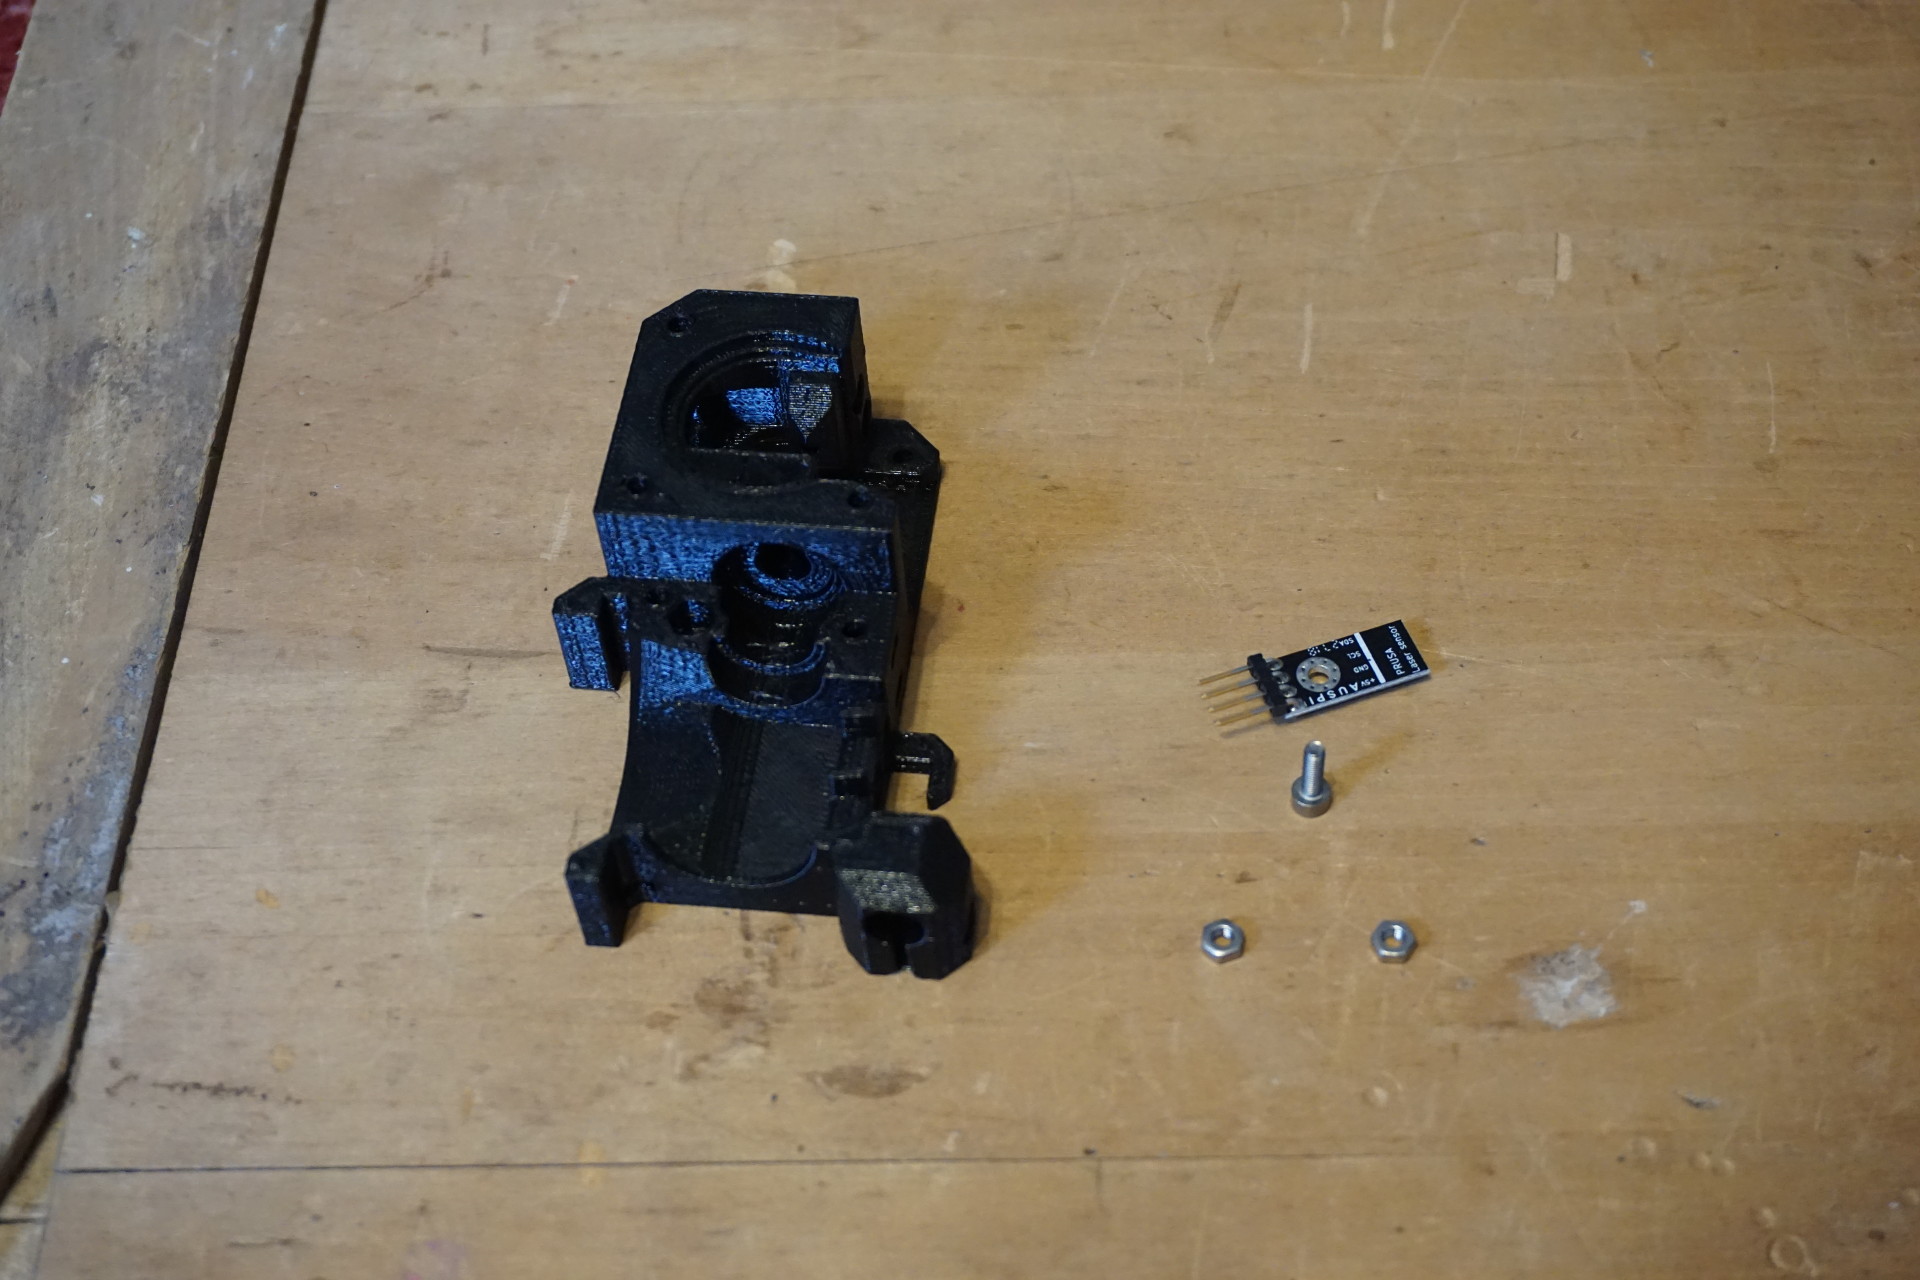
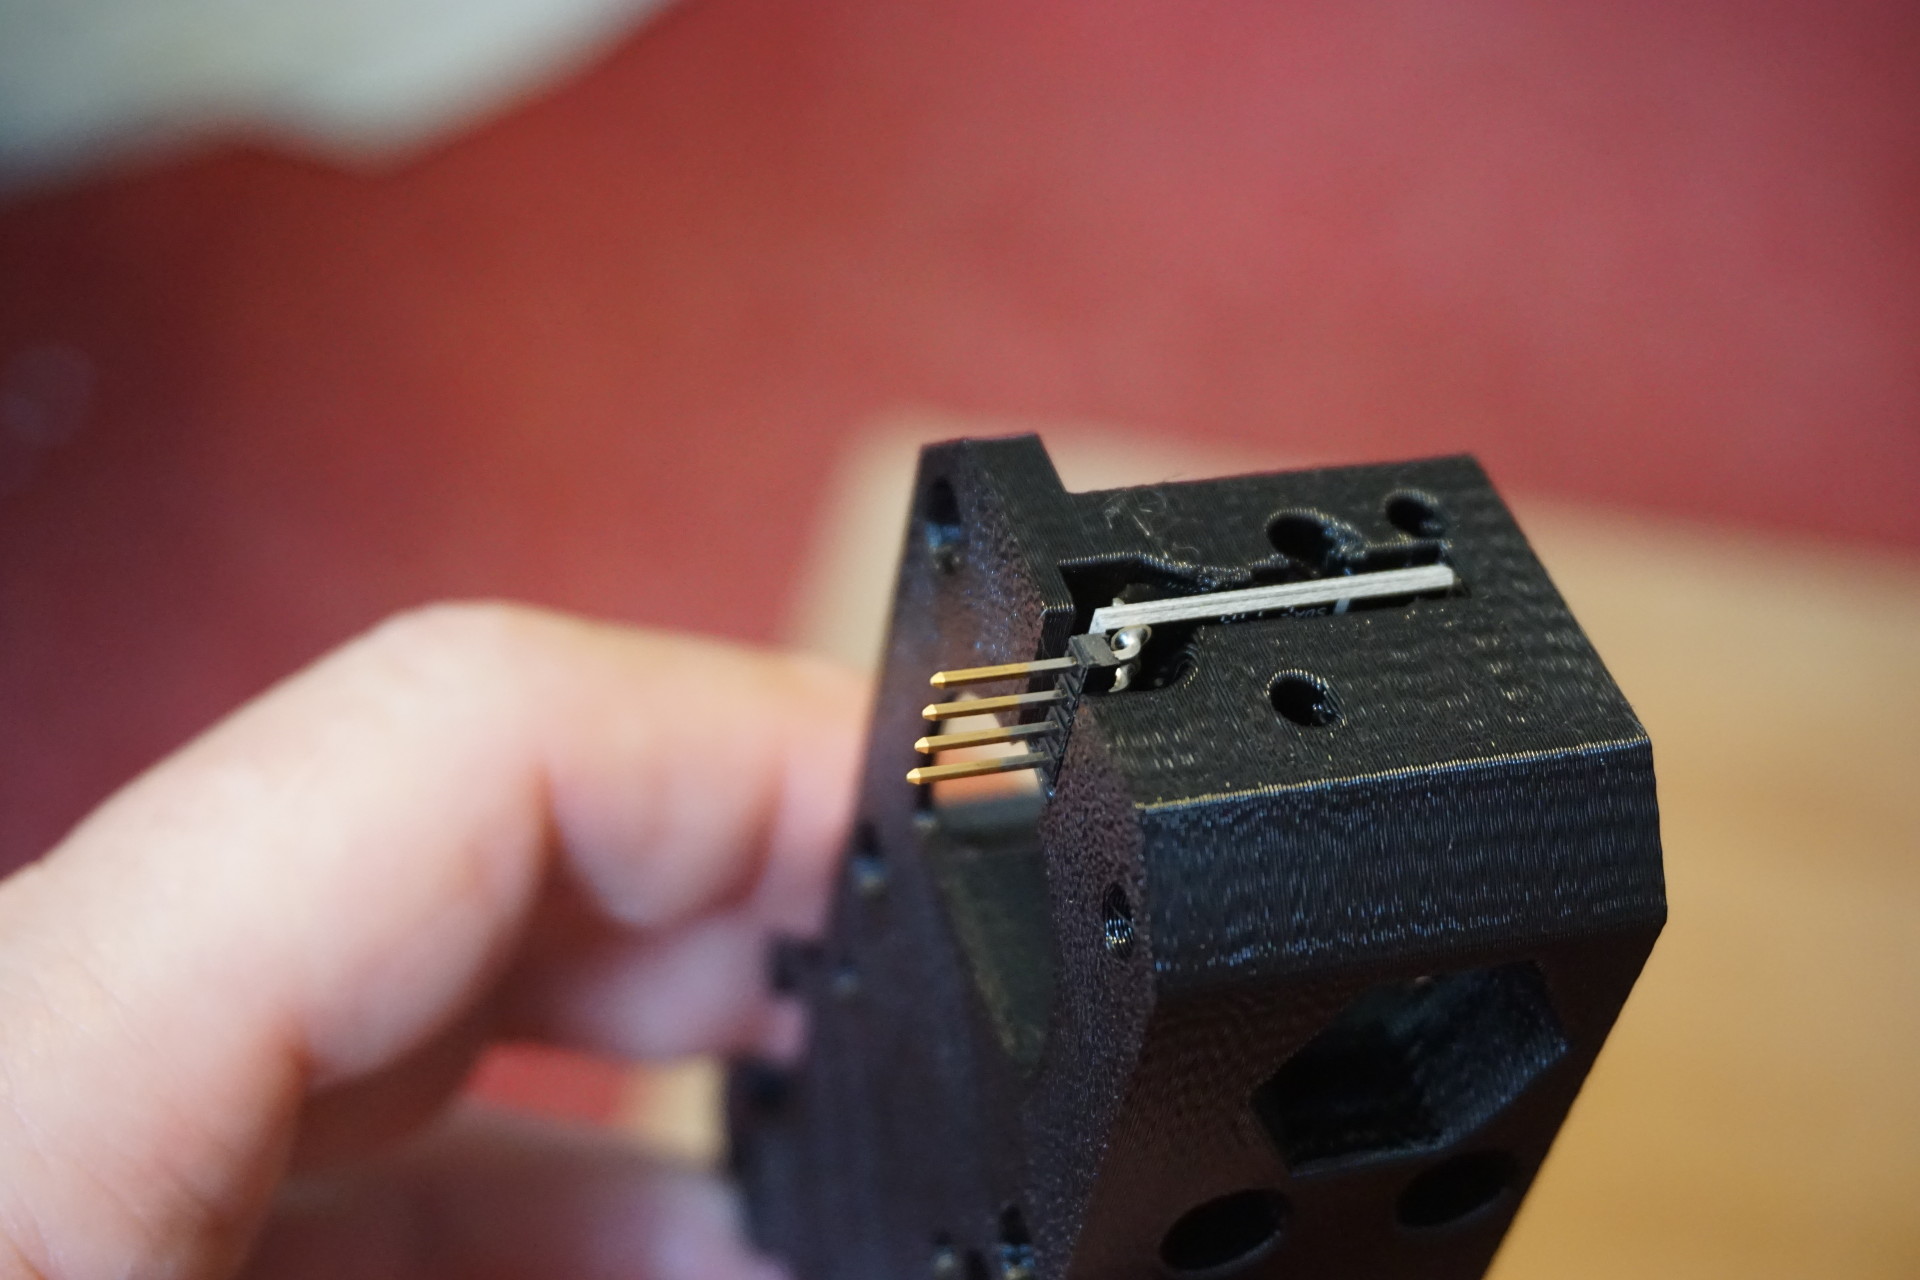
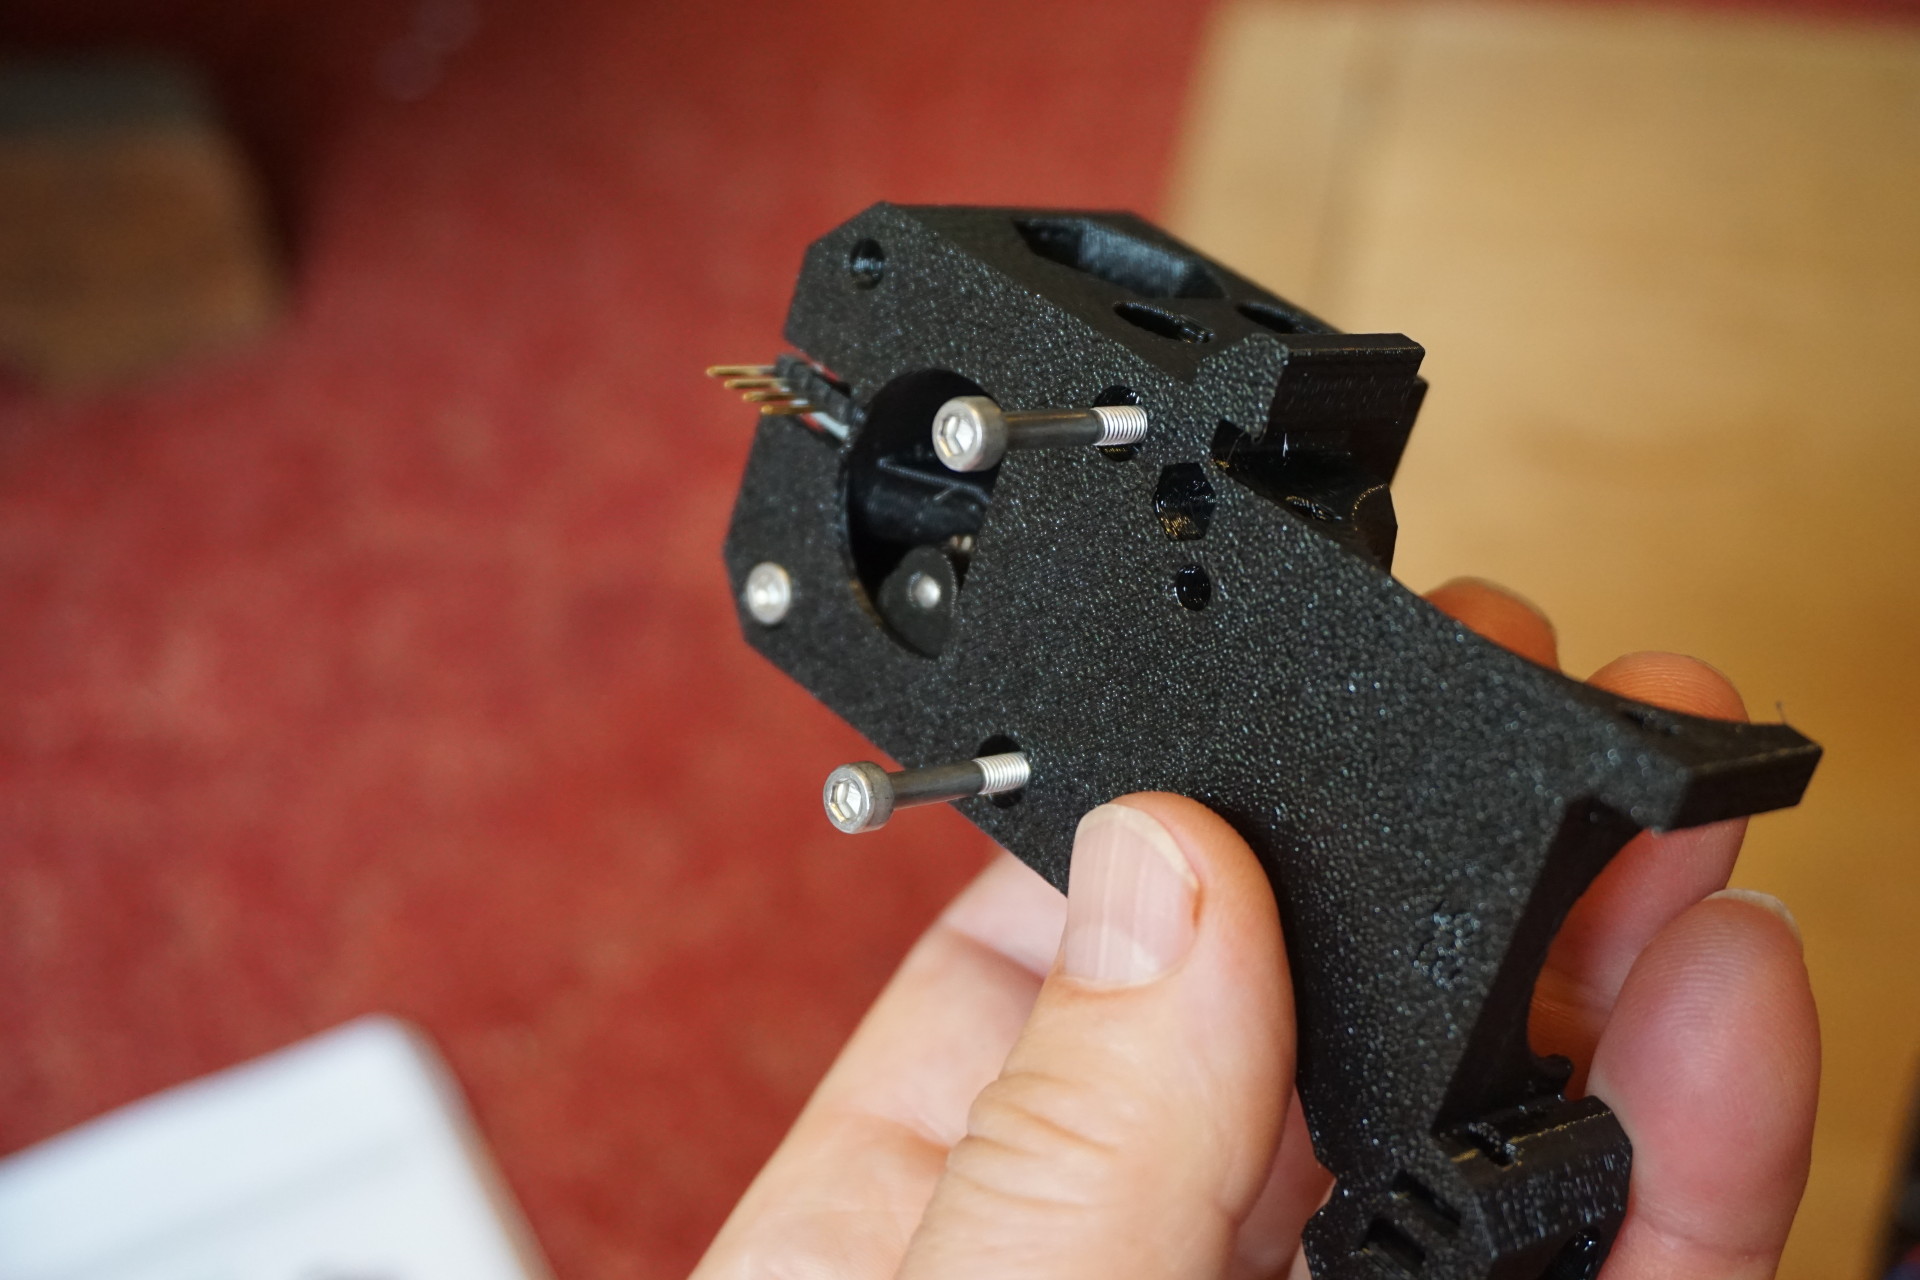
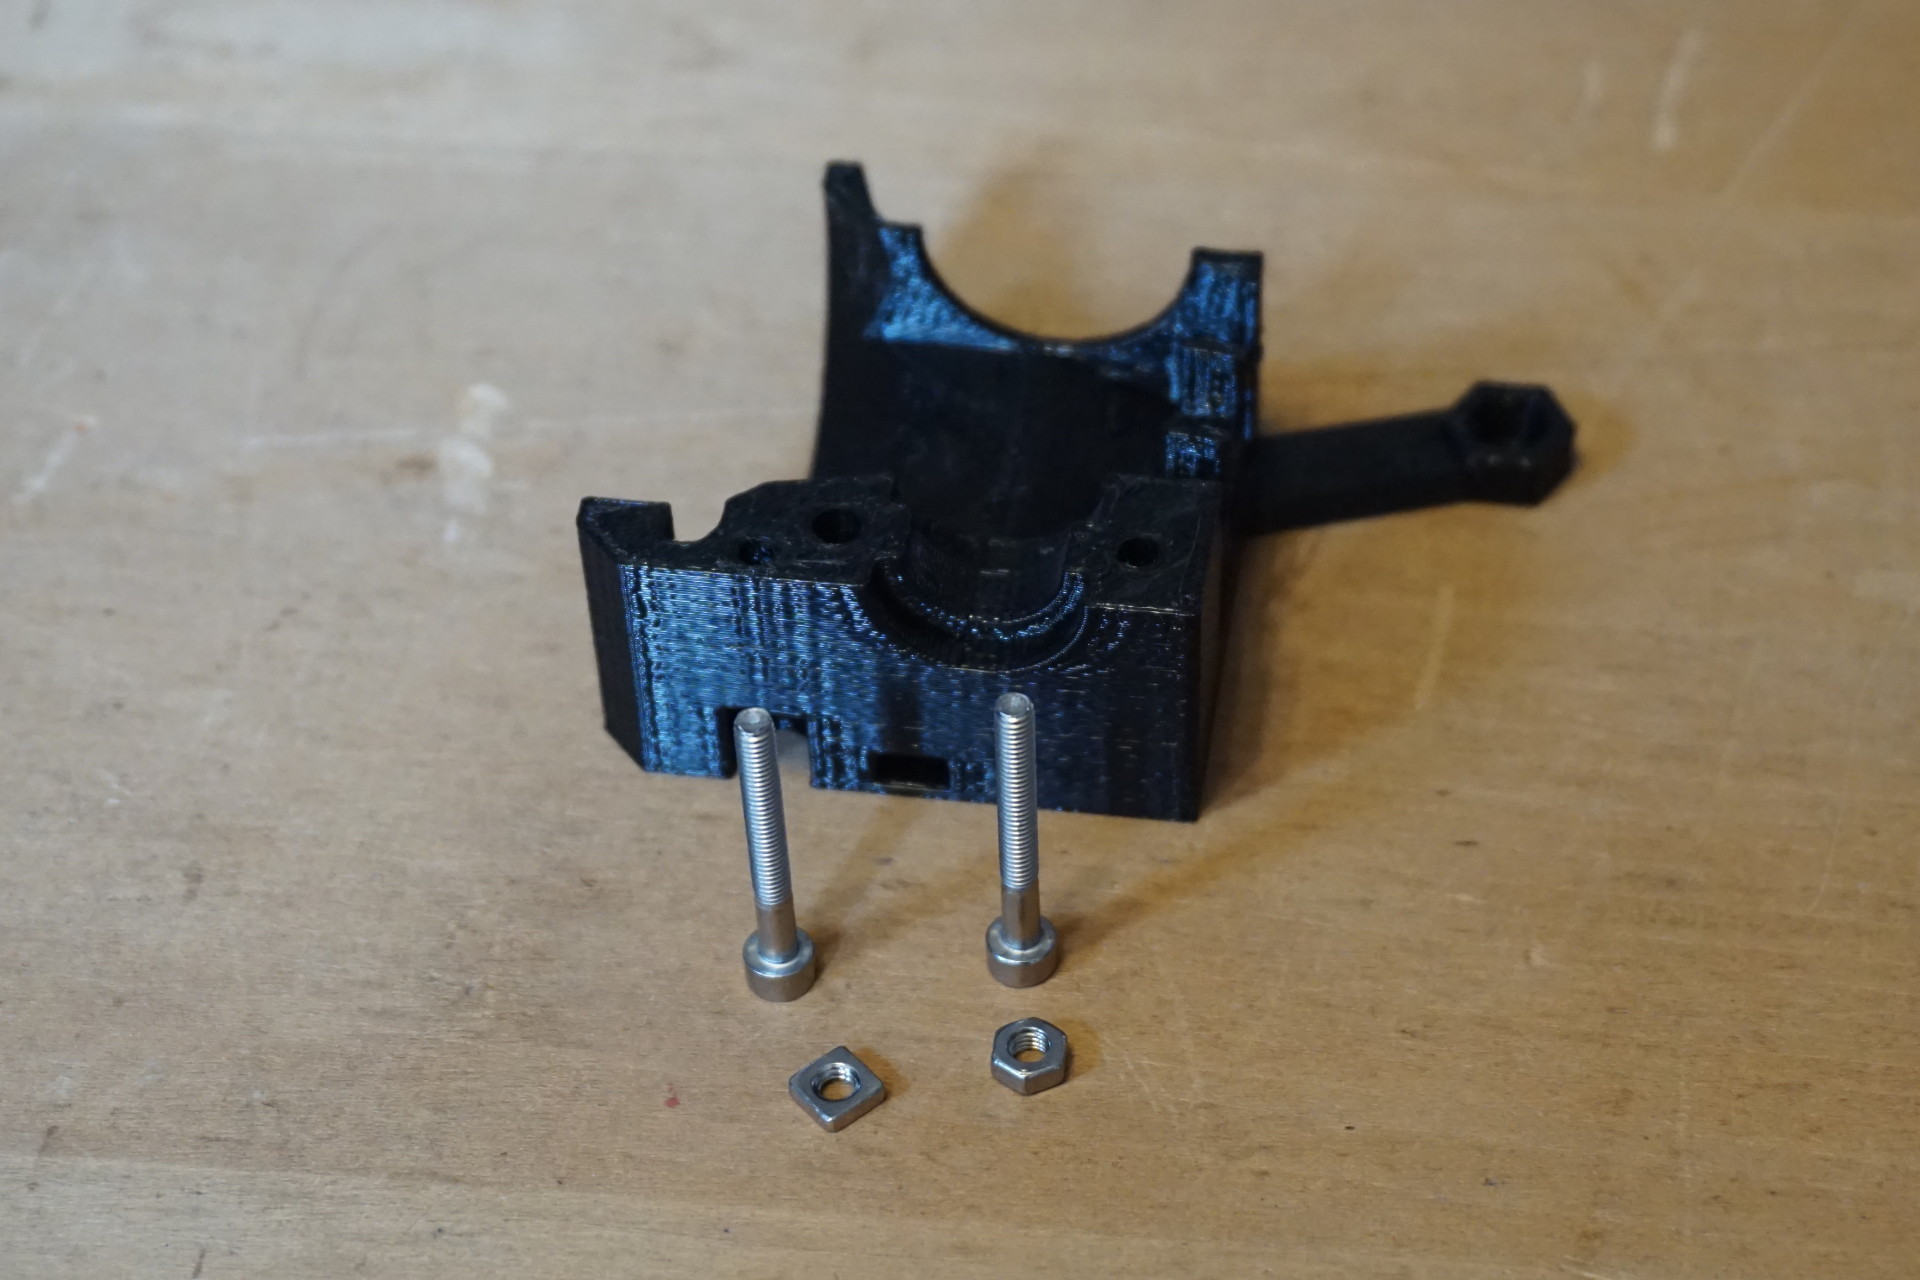
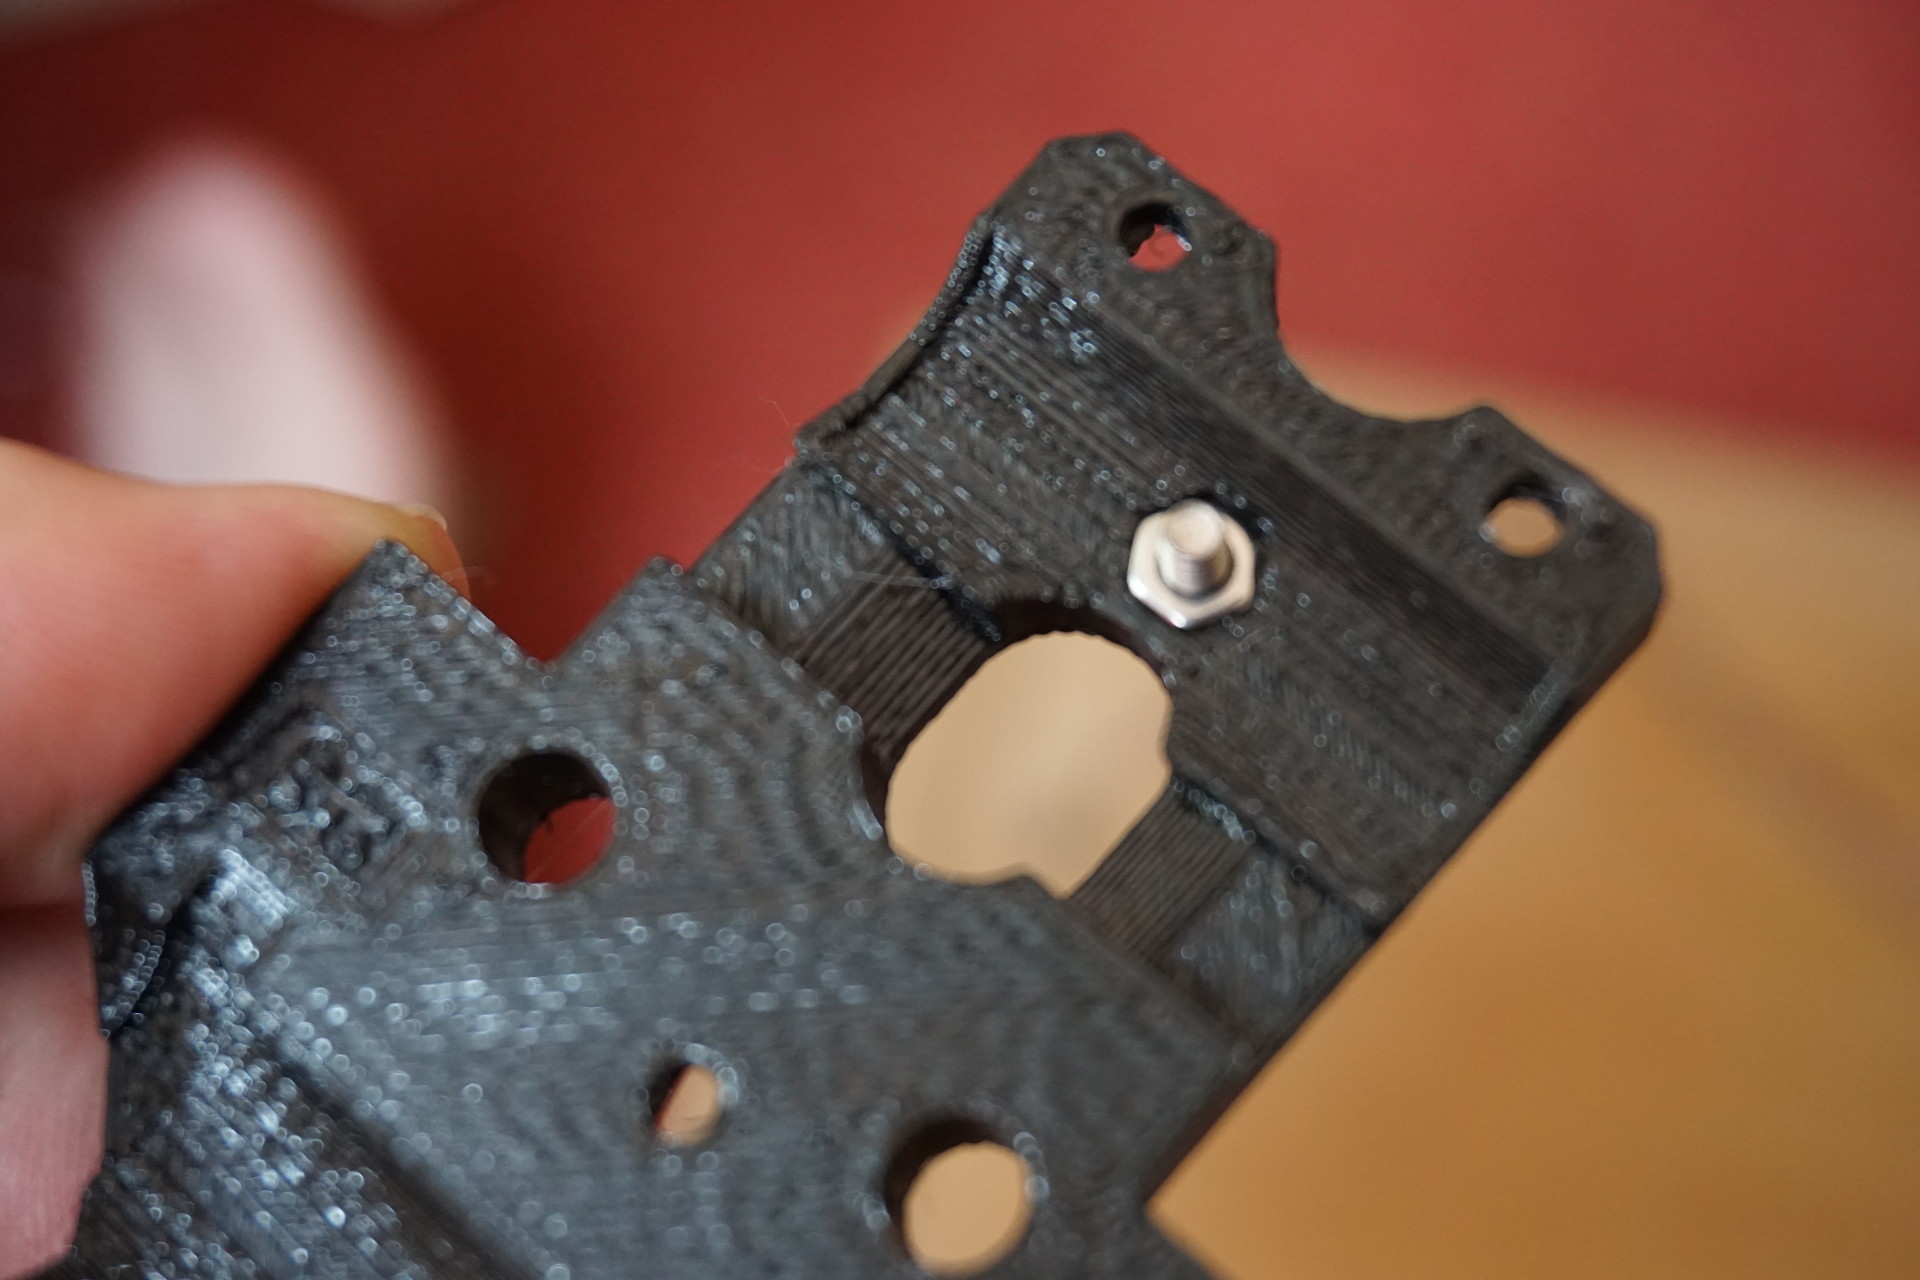
Extruder mount and filament sensor:
Attach idler:
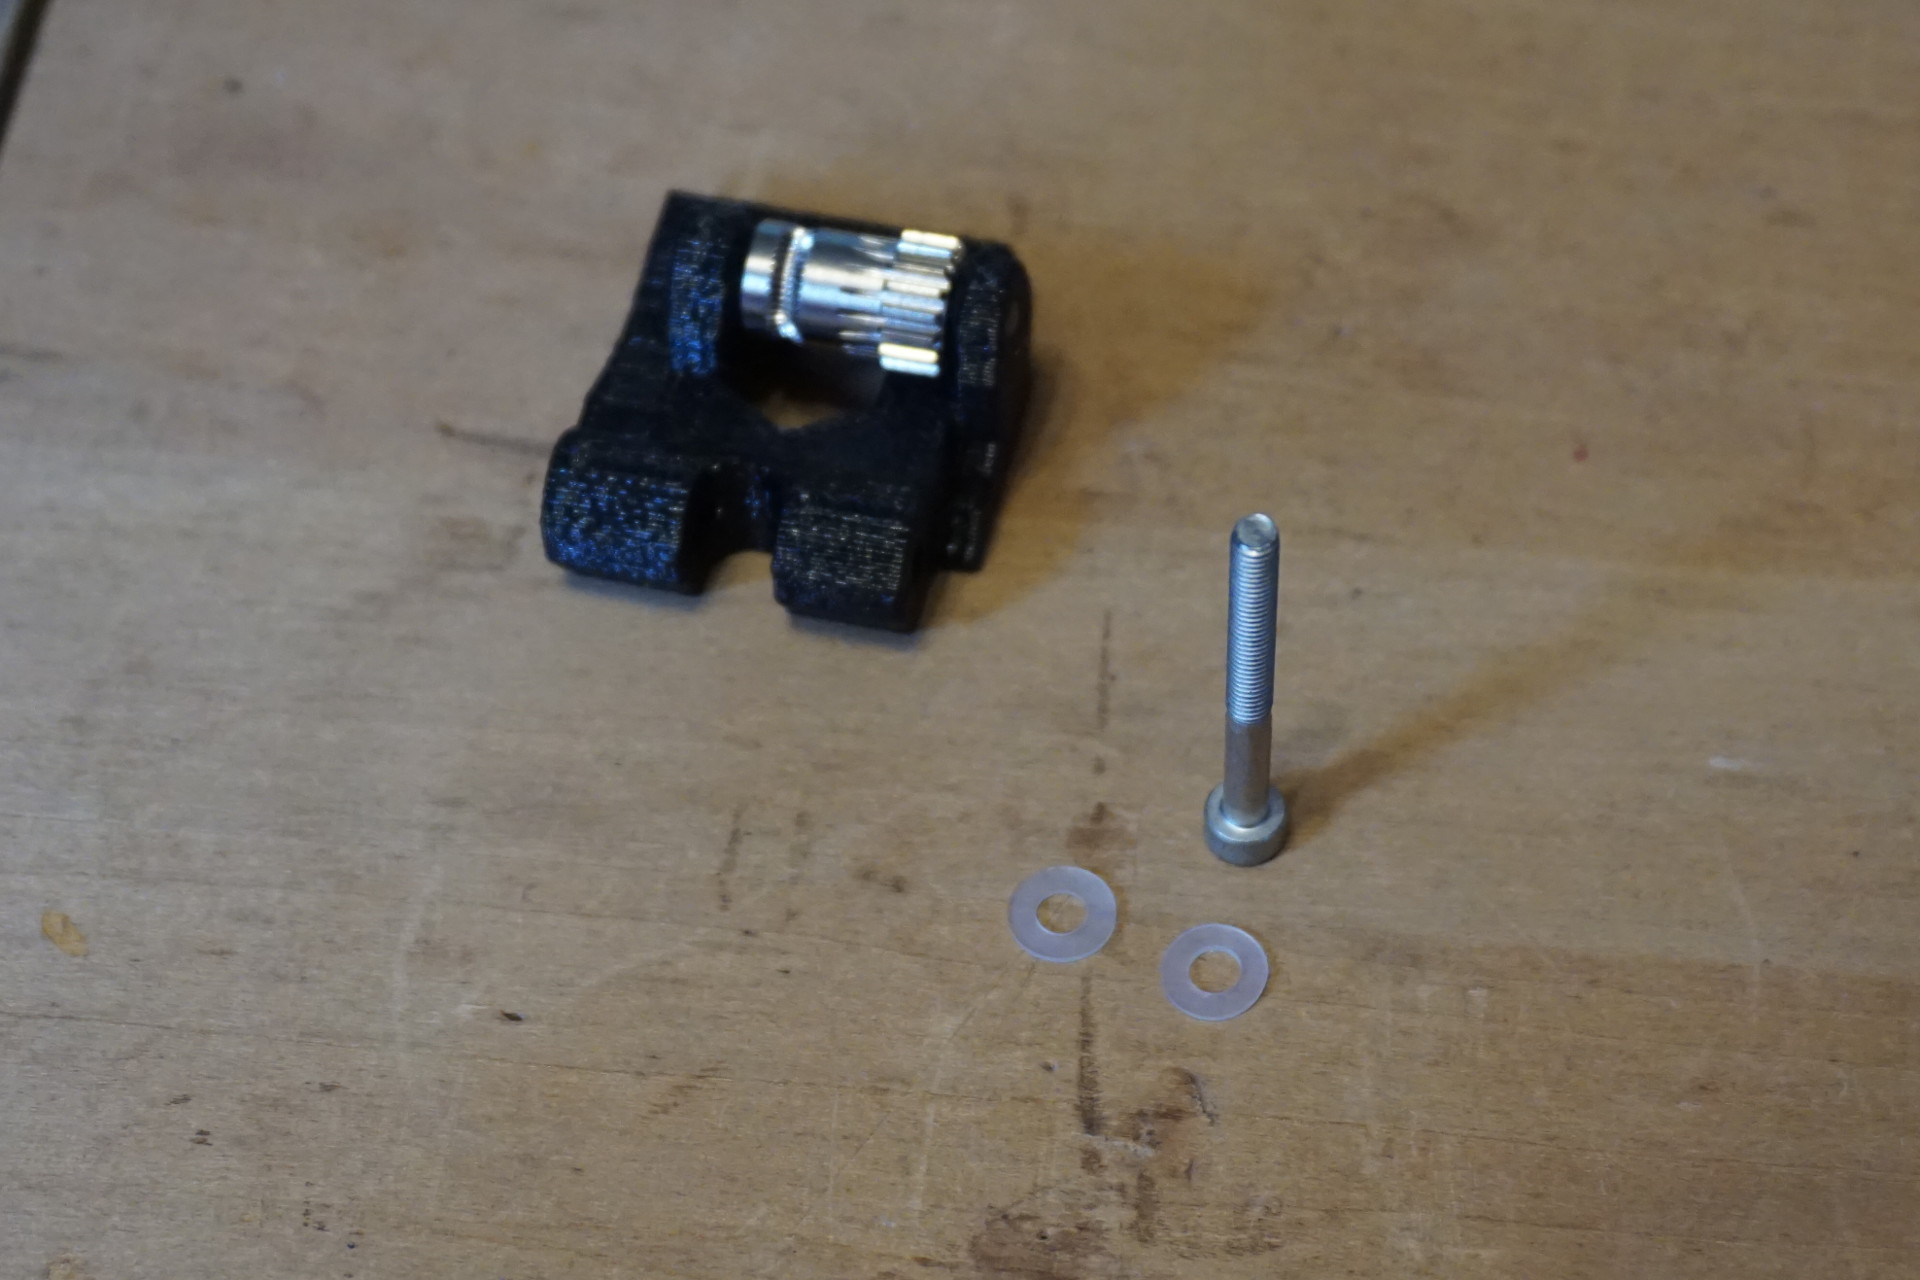
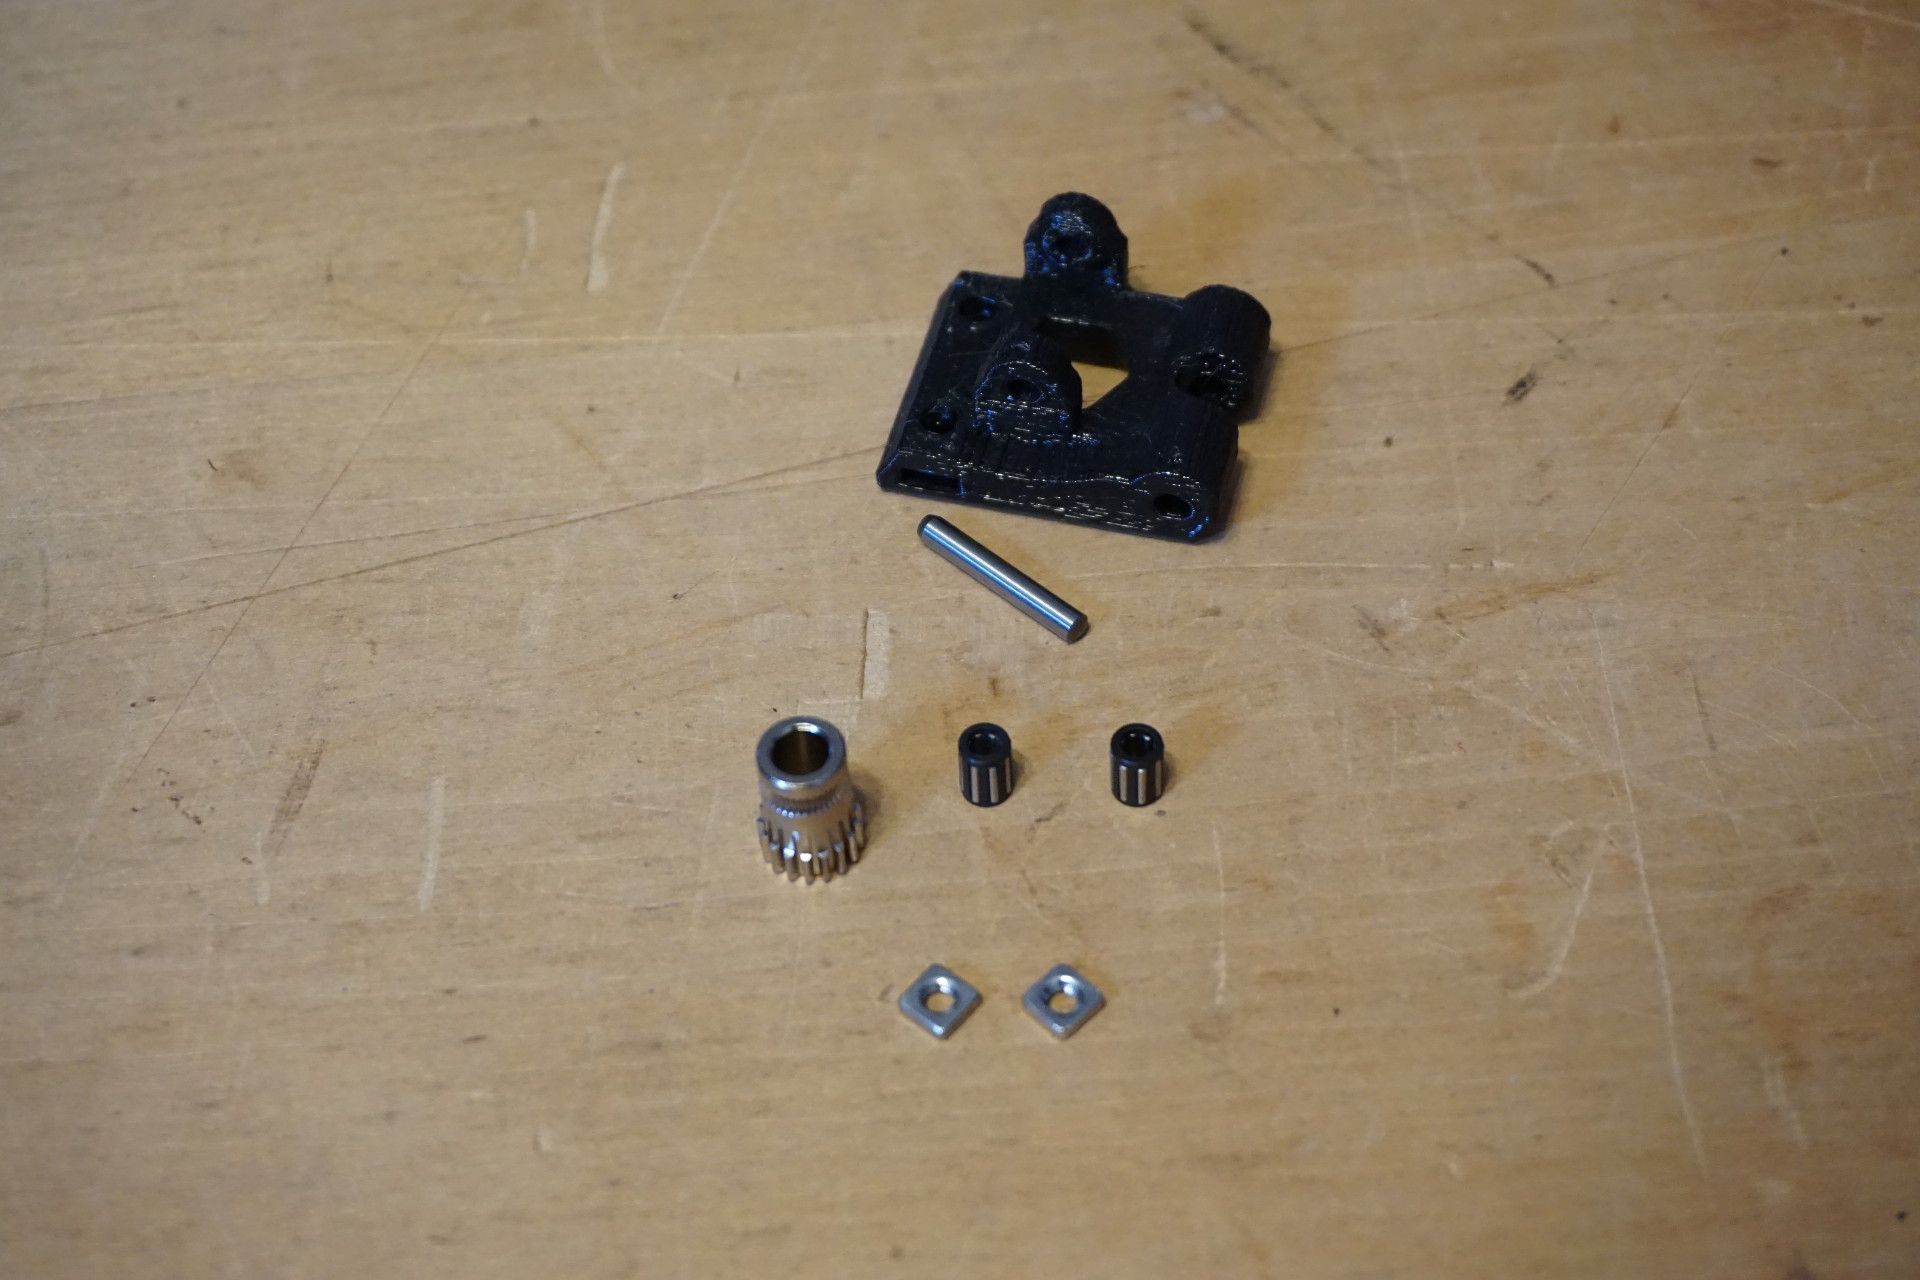
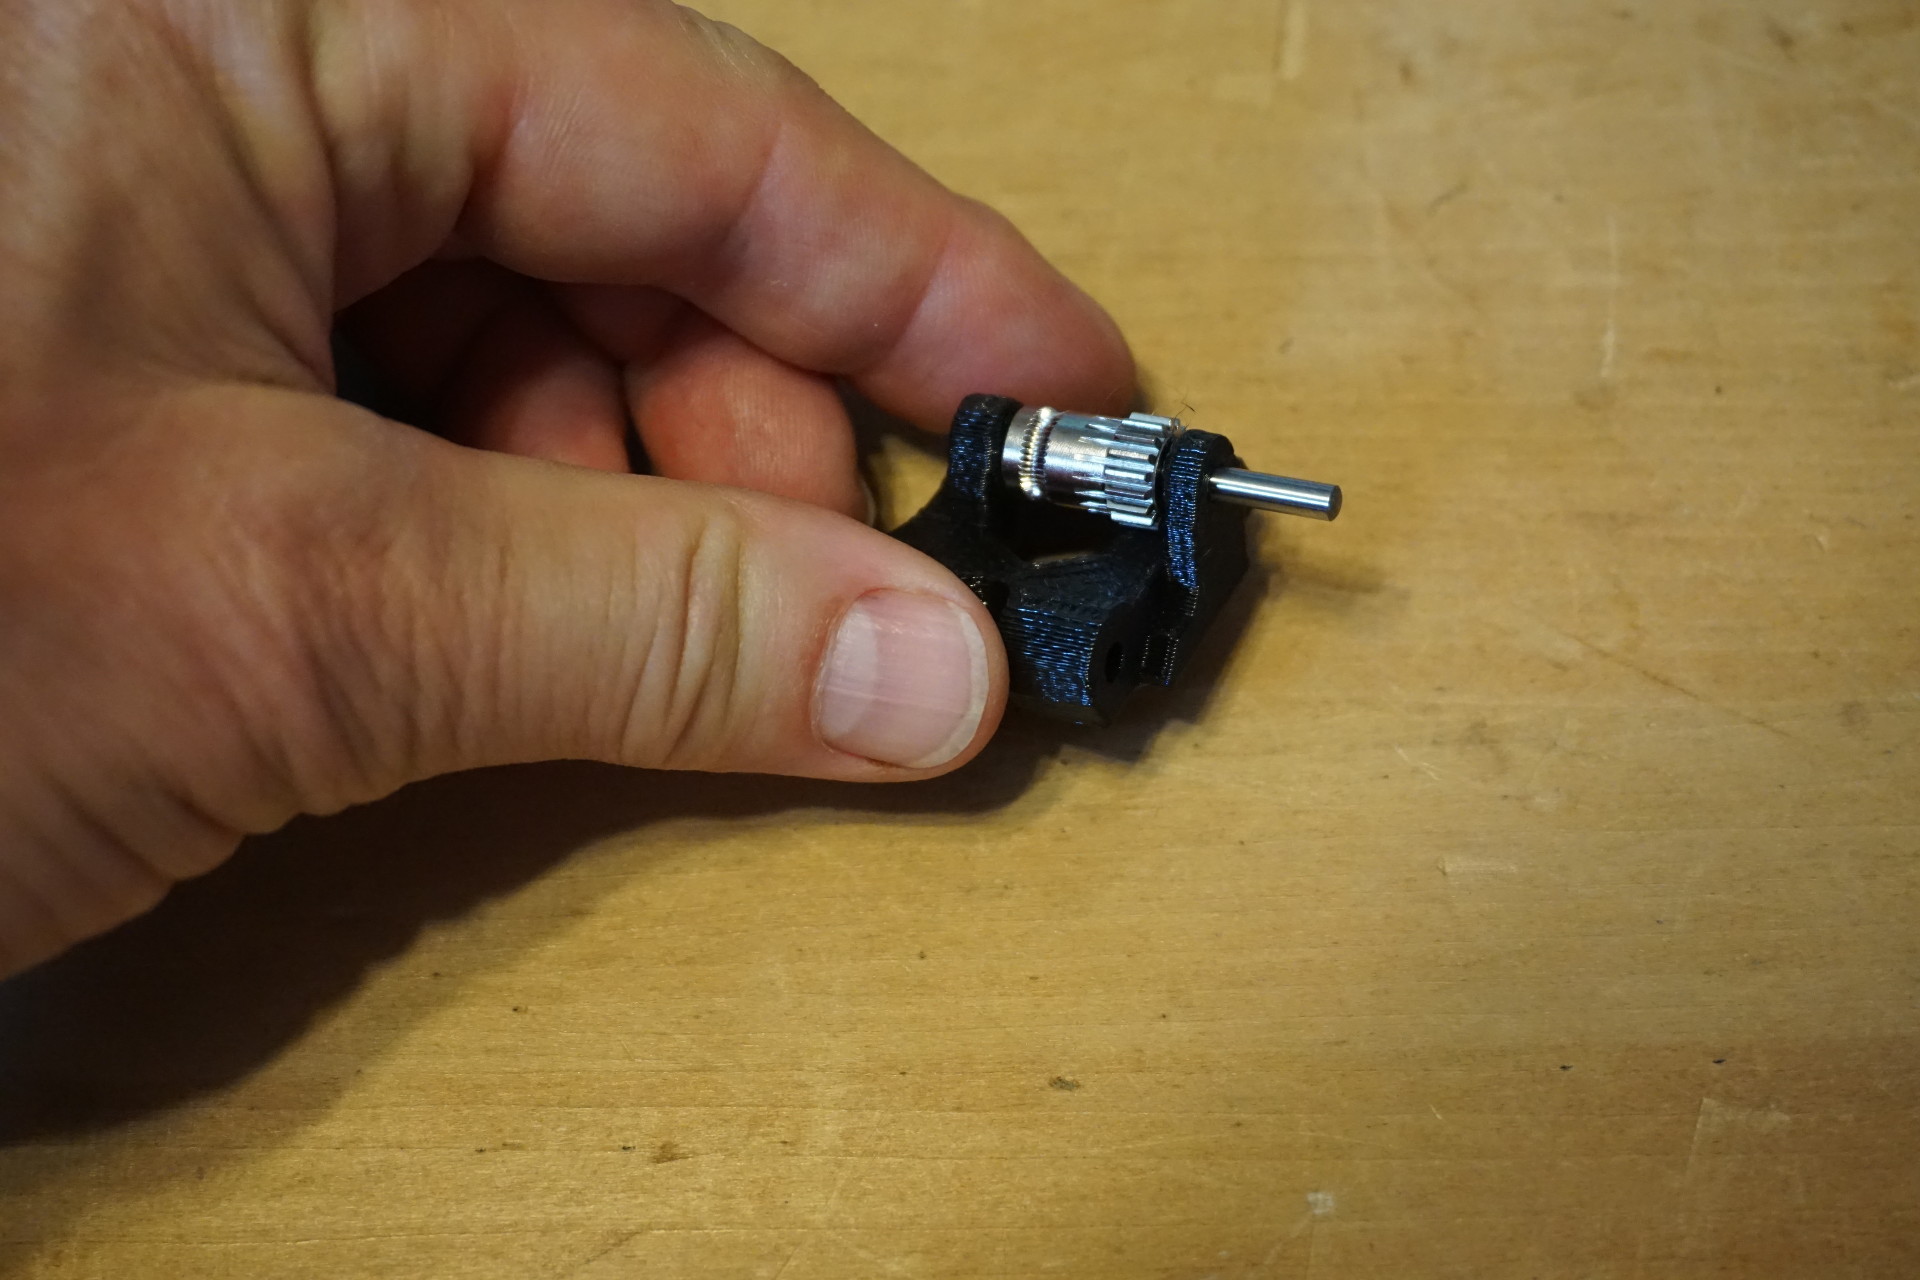
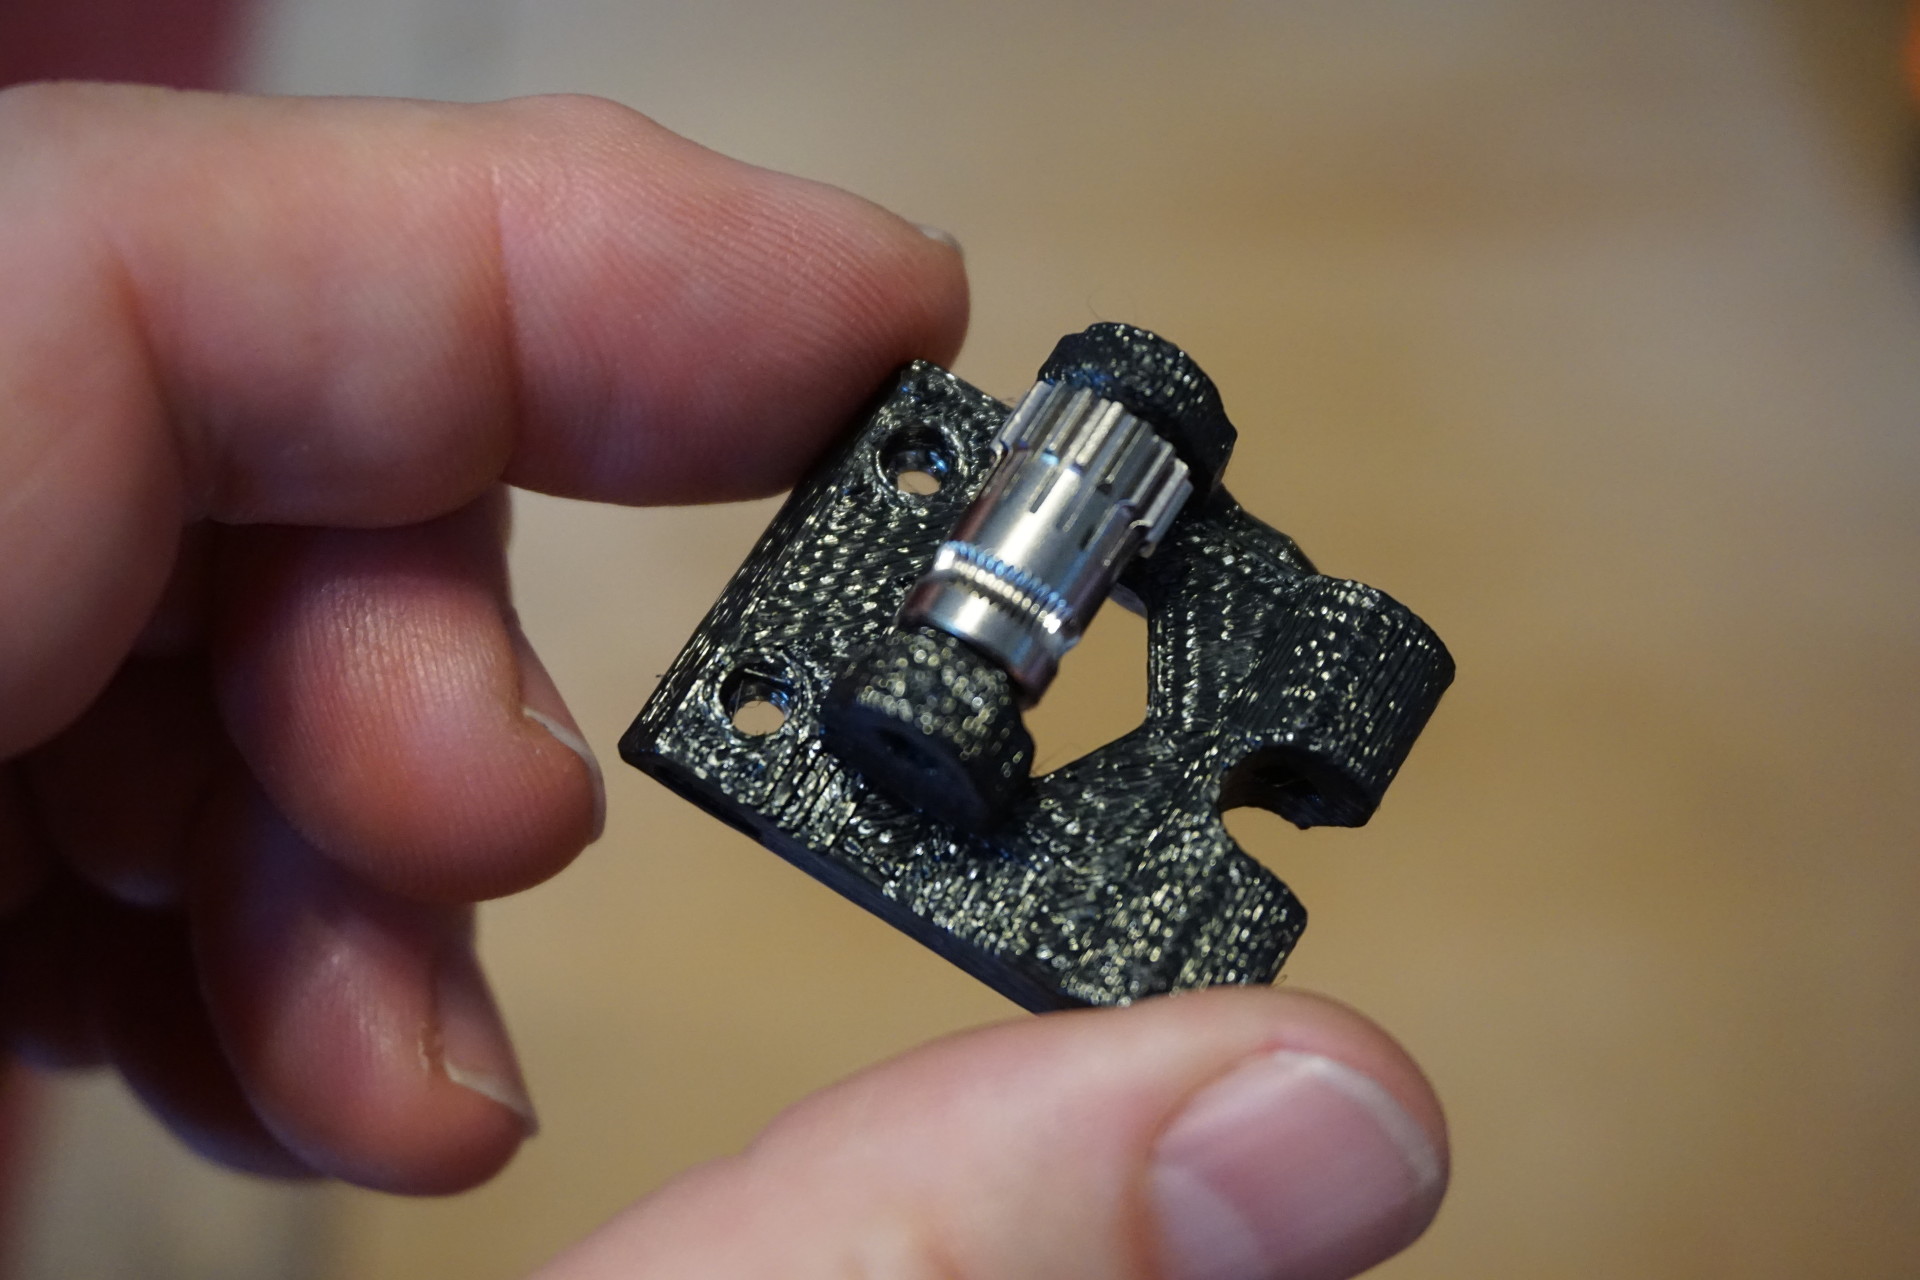
Filament drive/gear (extruder motor pulley):
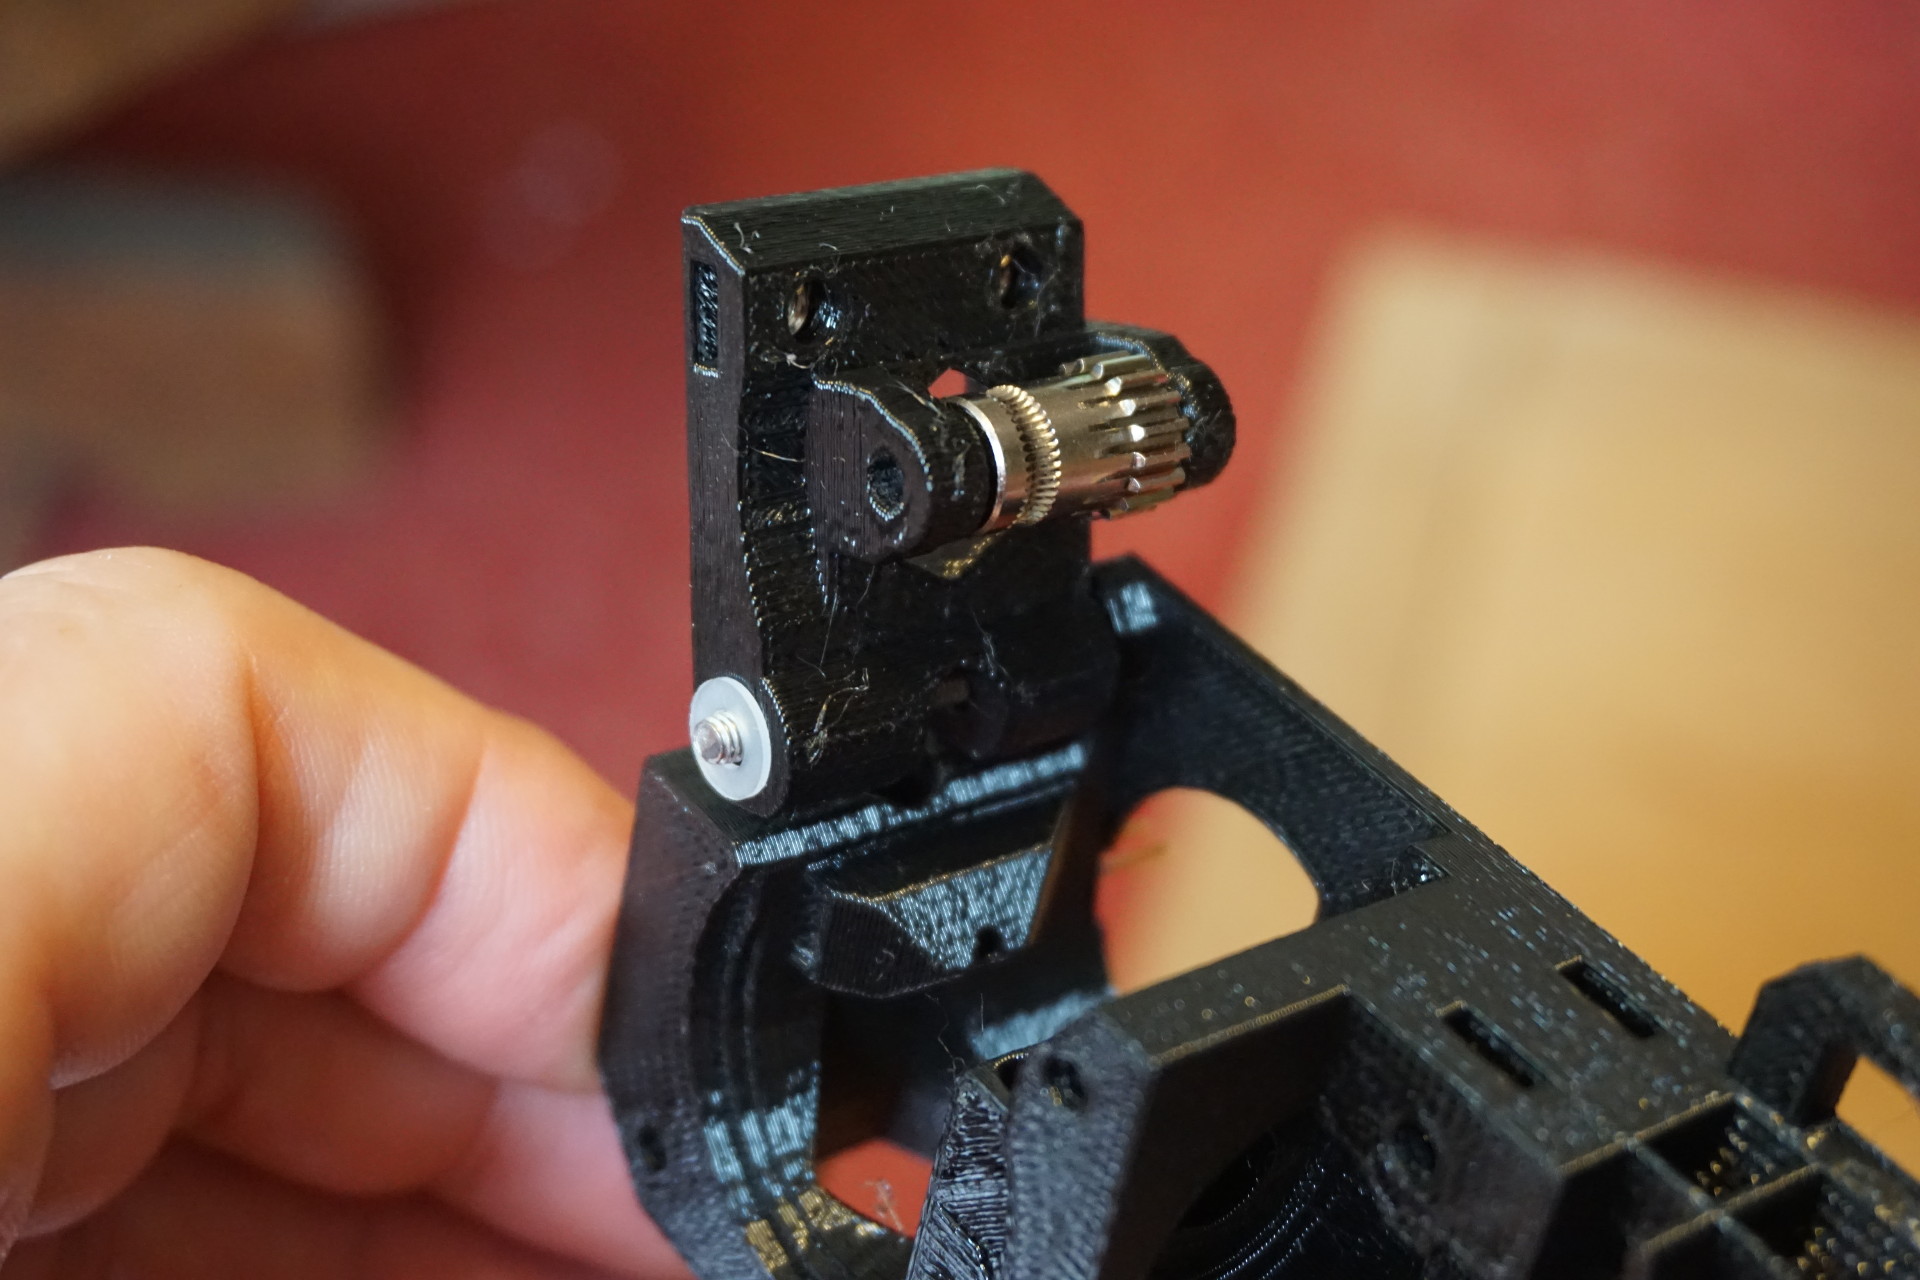
Mounting filament drive:
Filament idler tension:
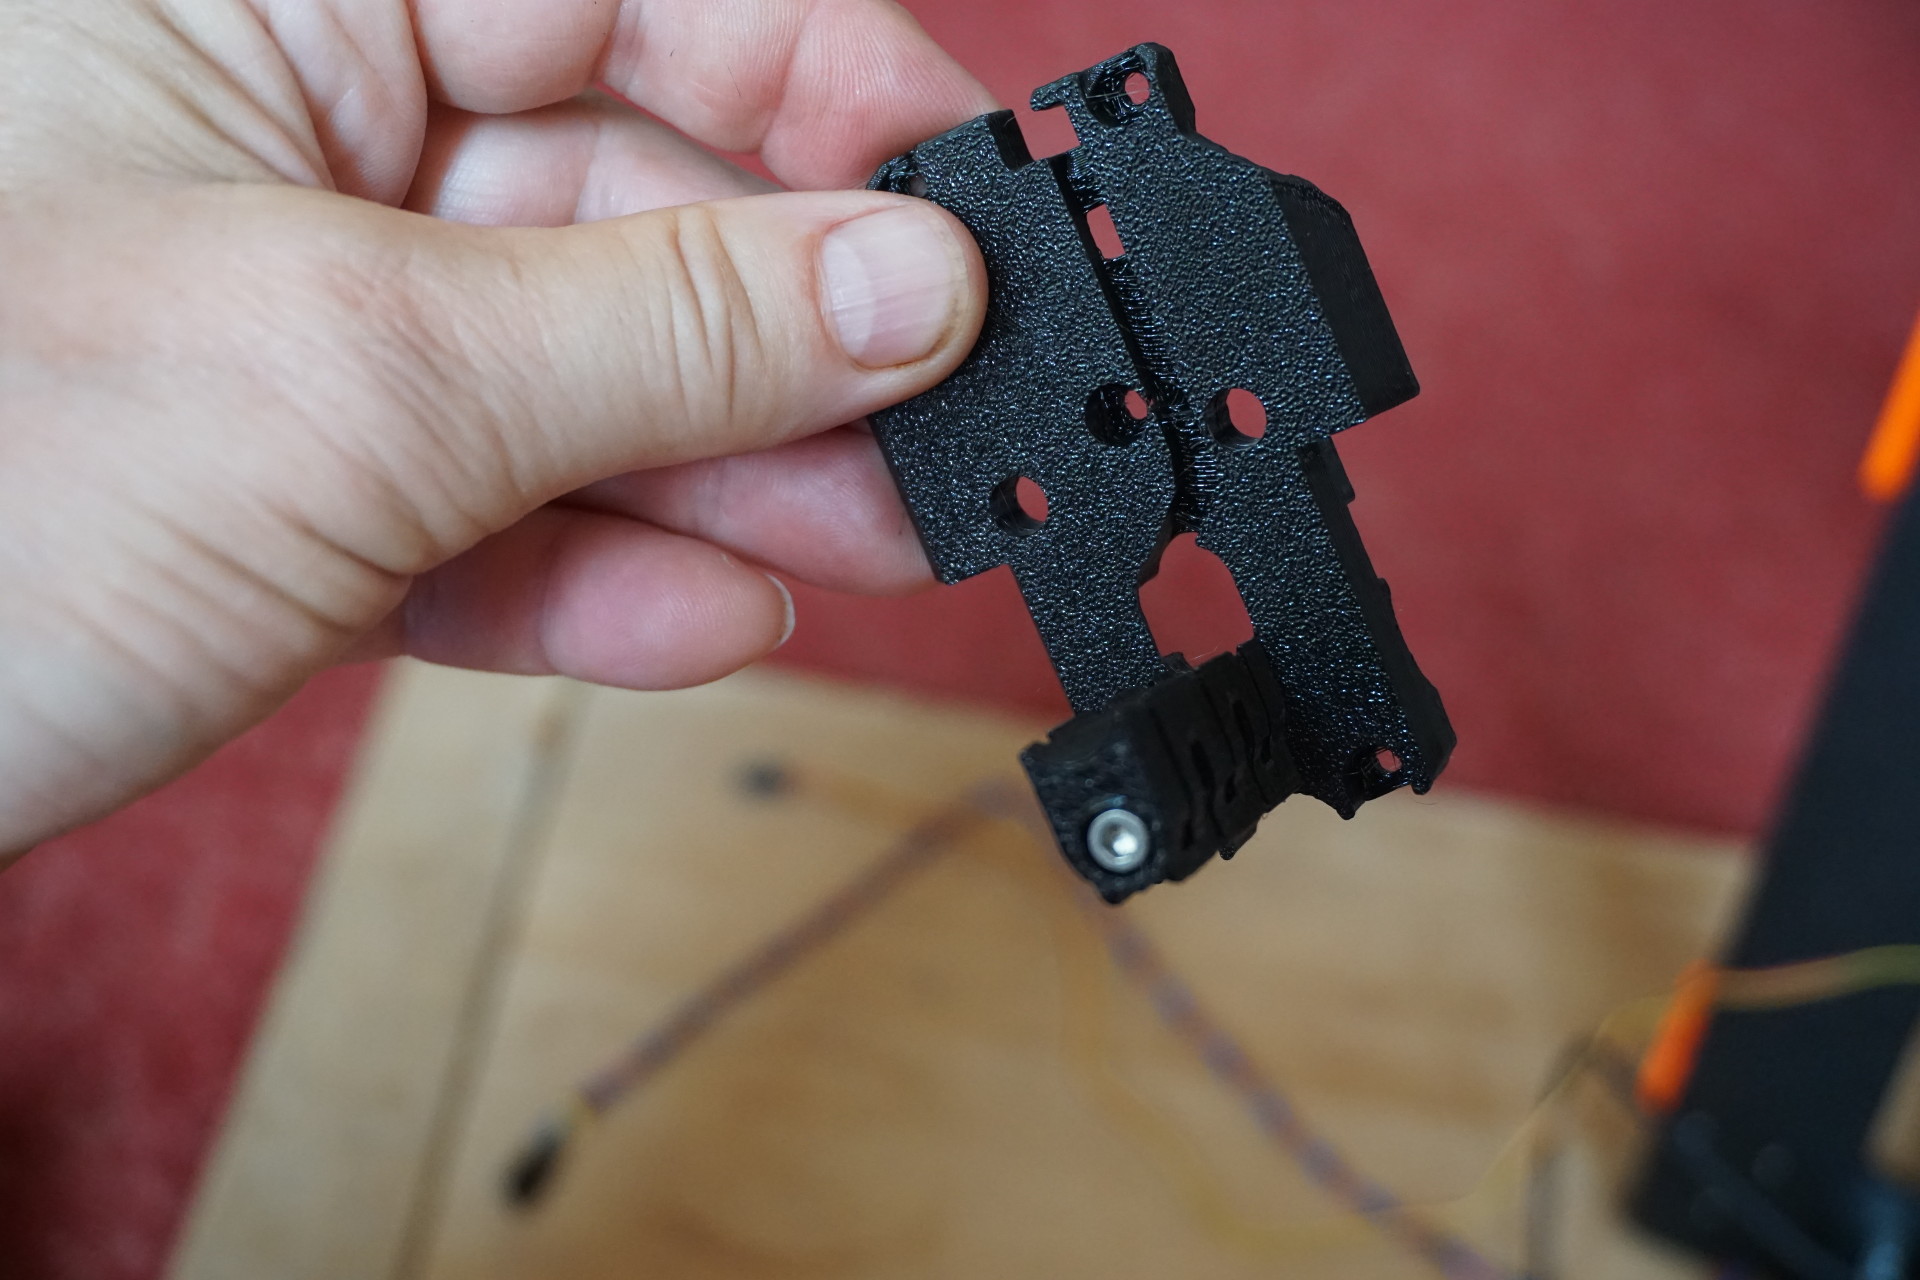
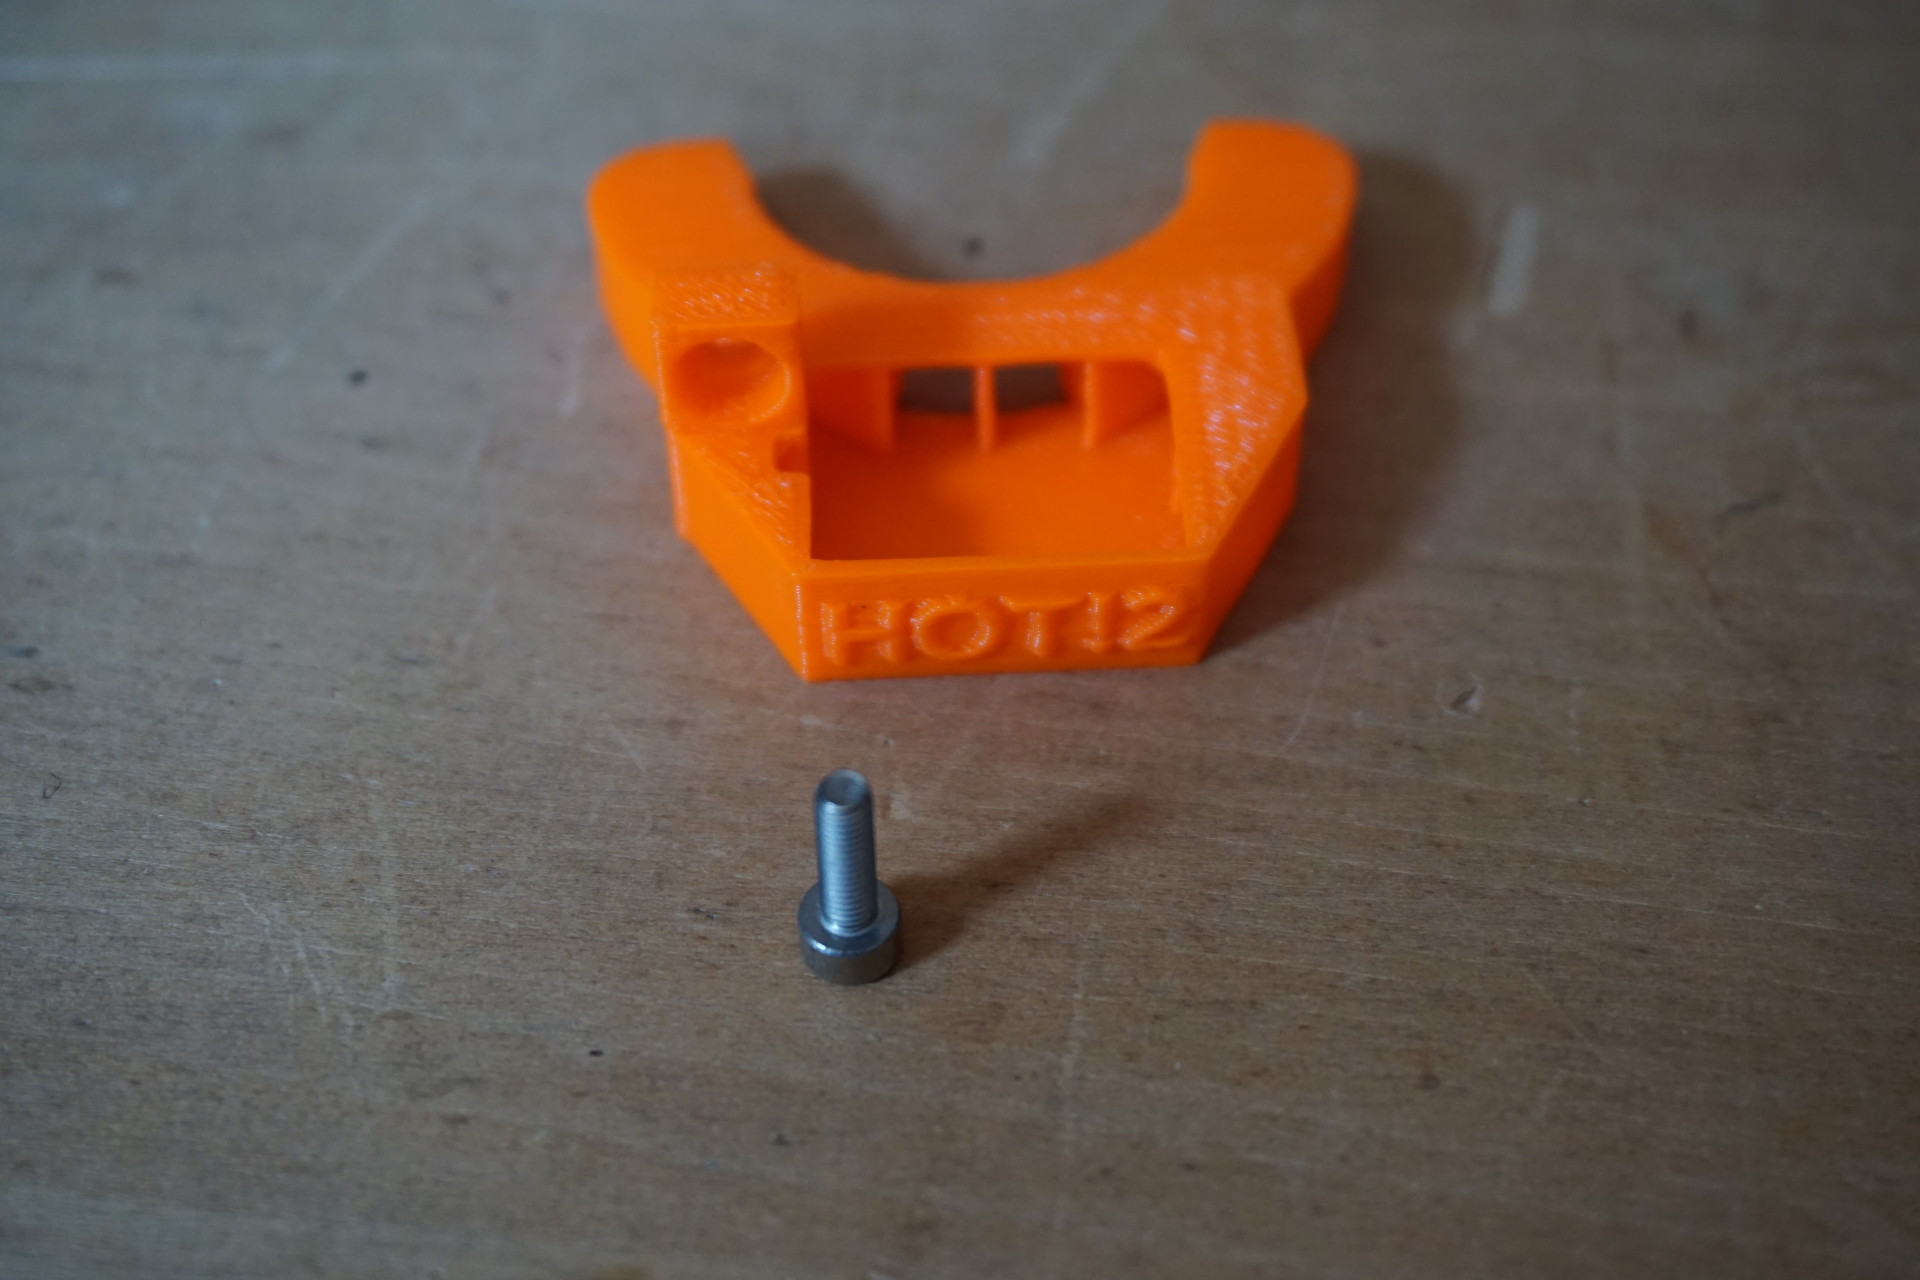
Extruder cover:
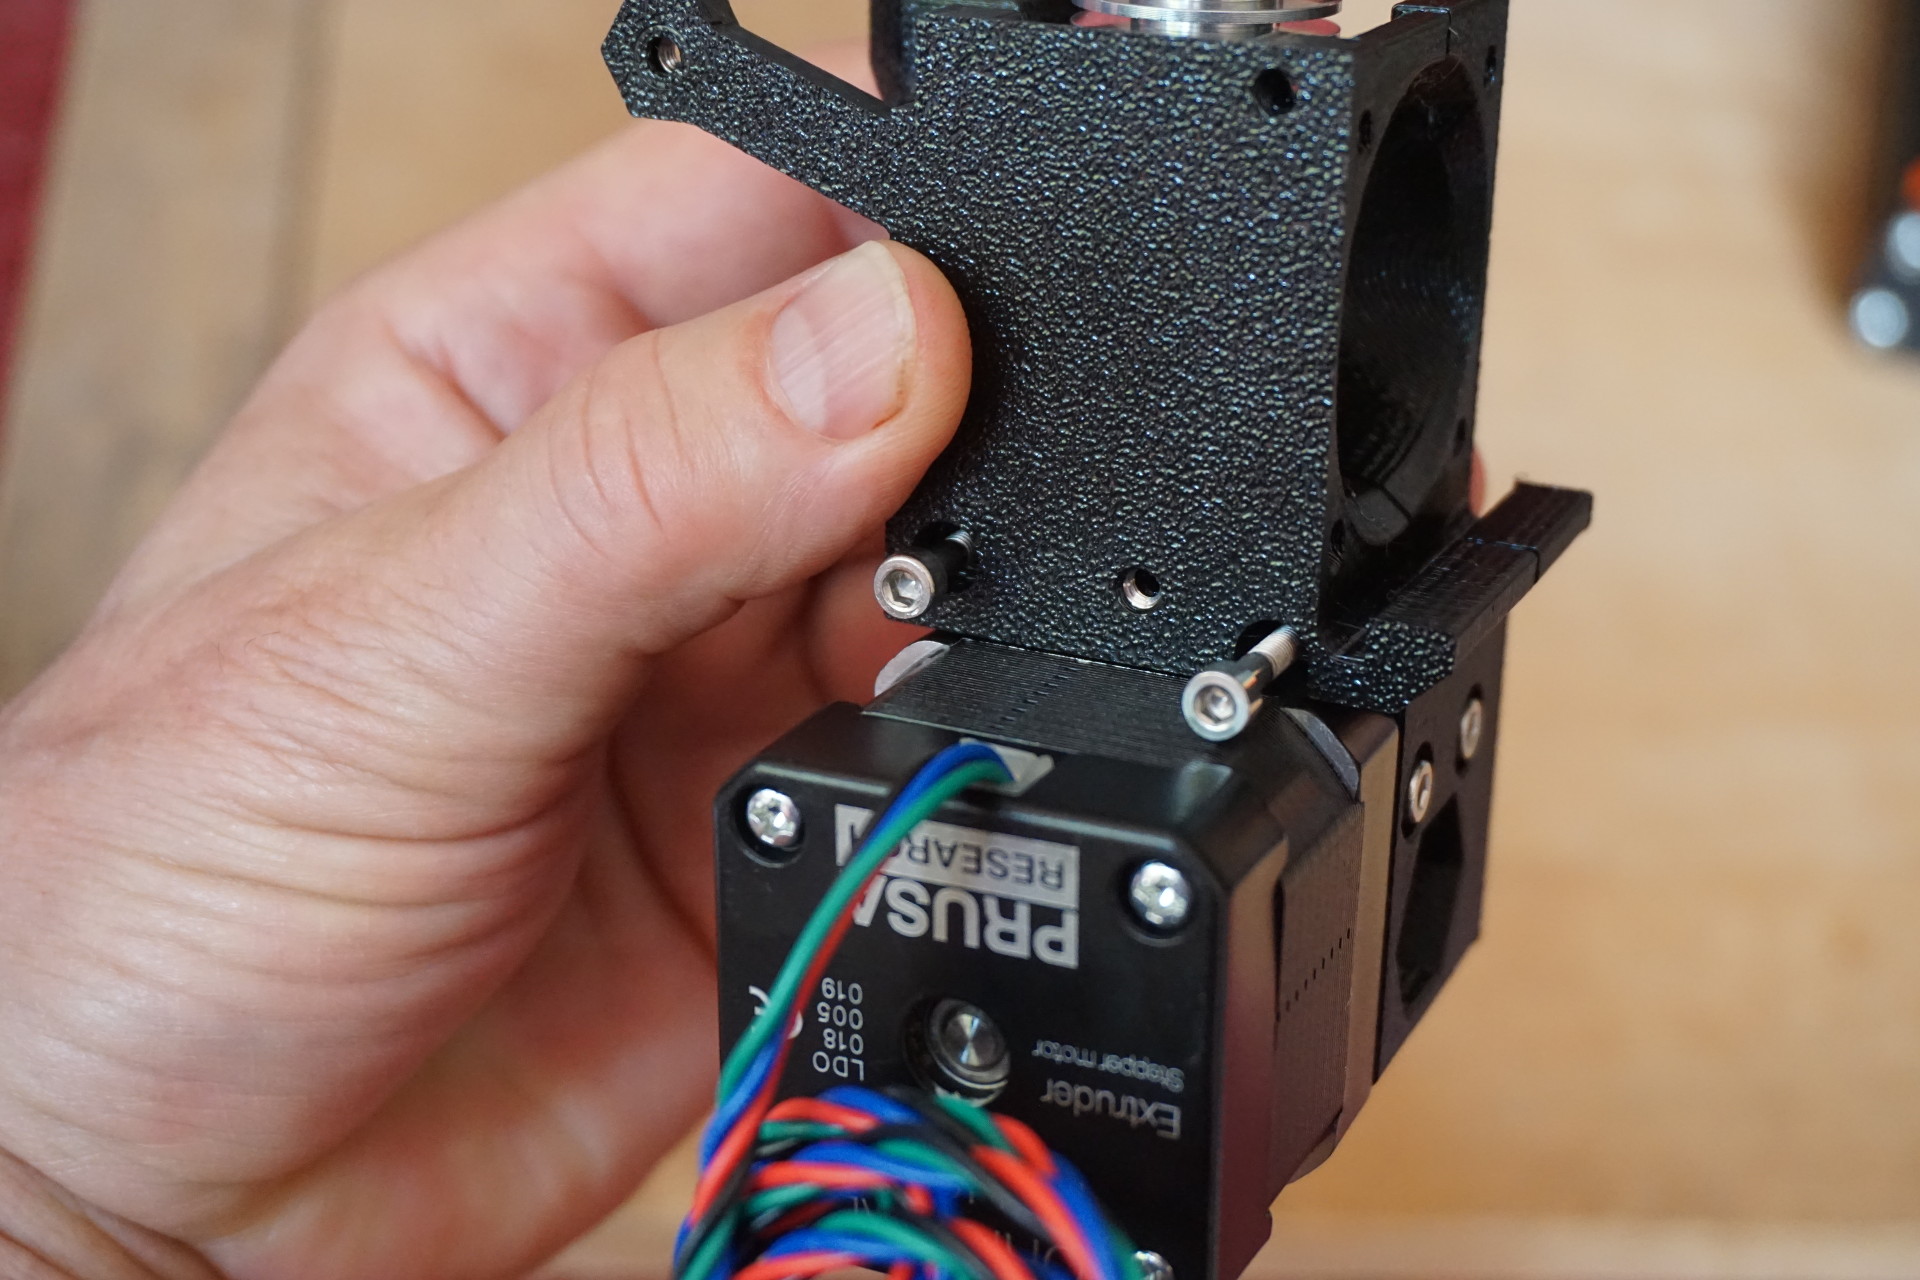
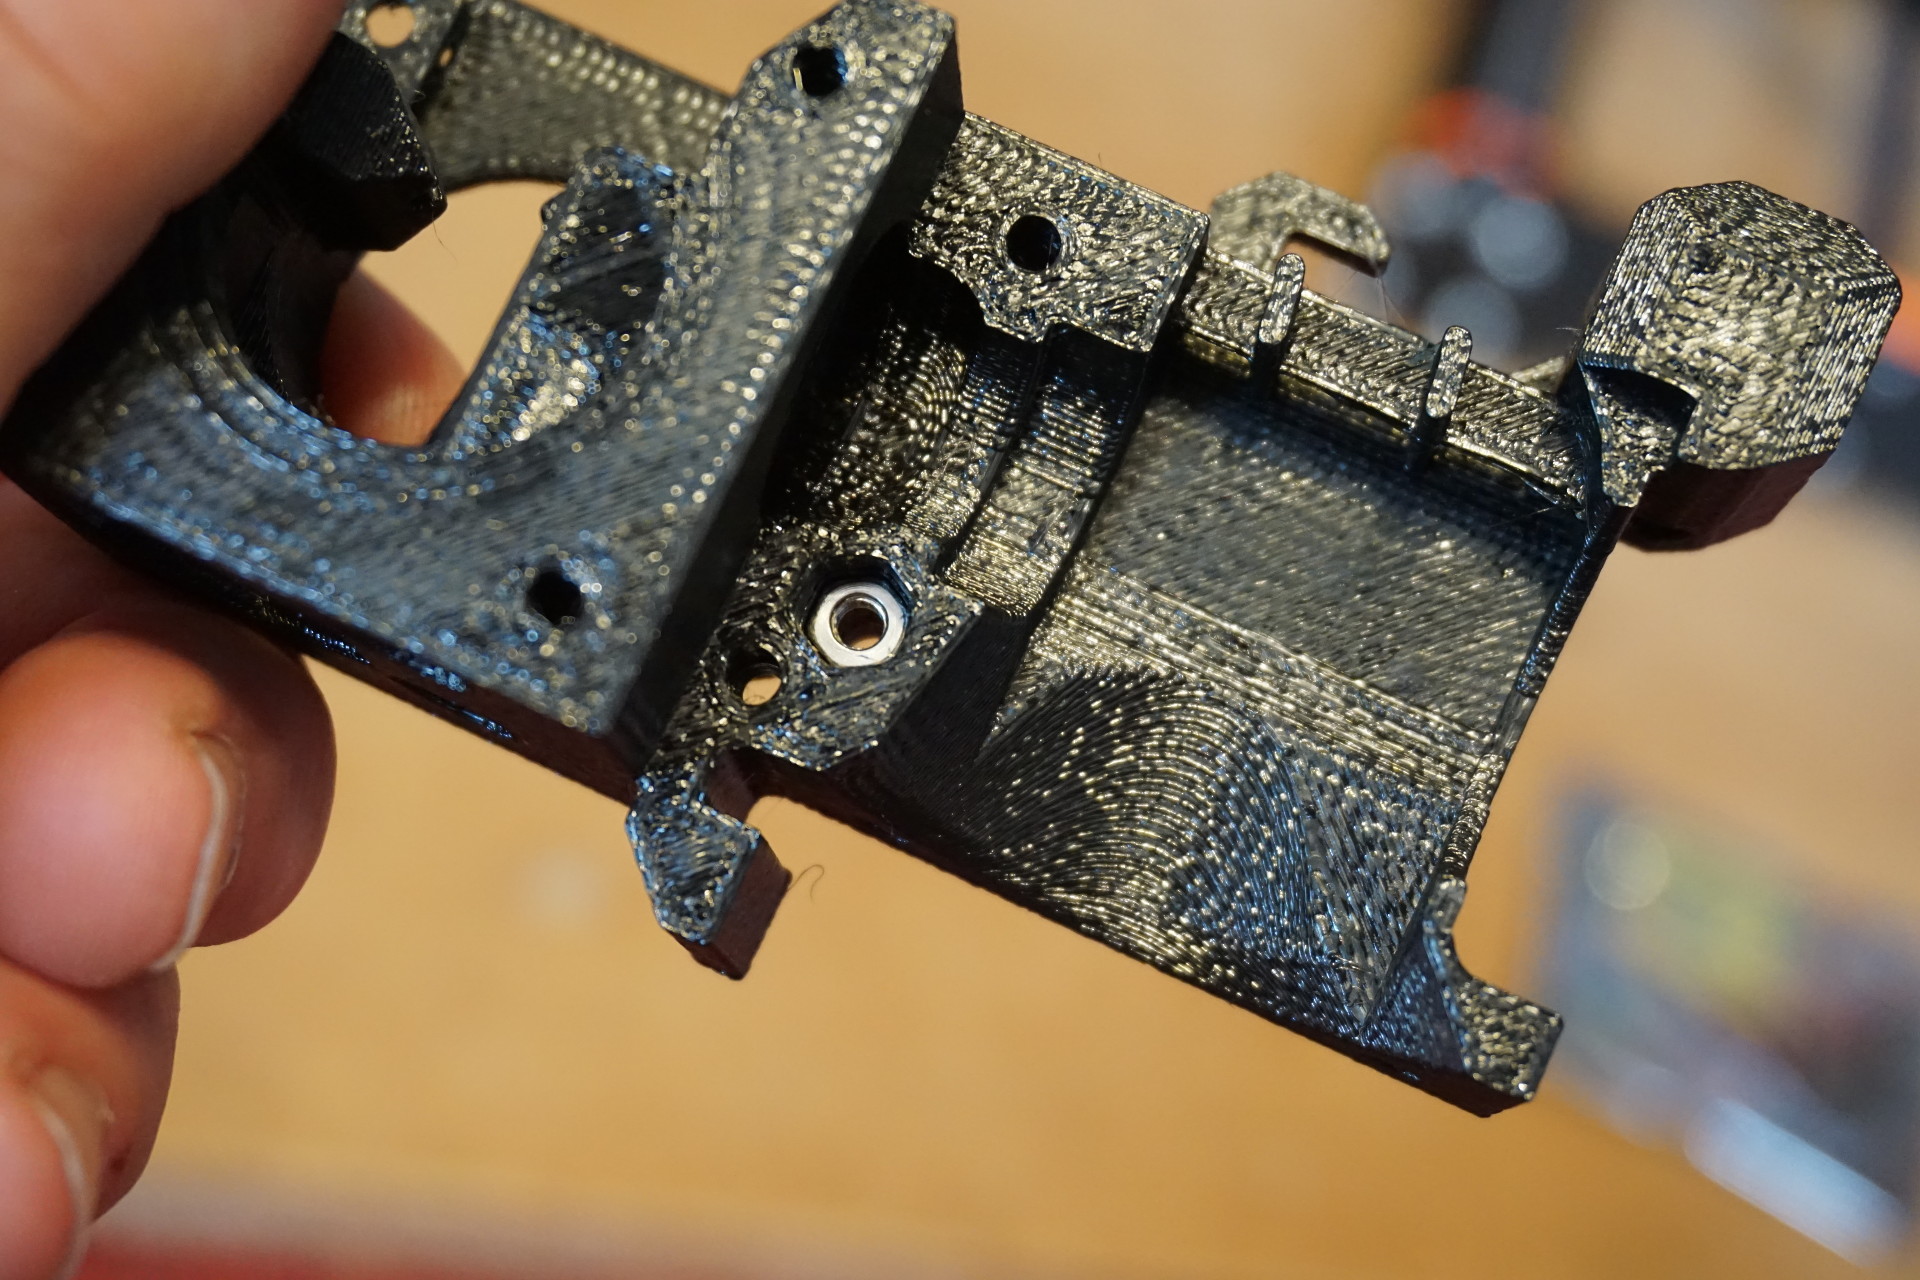
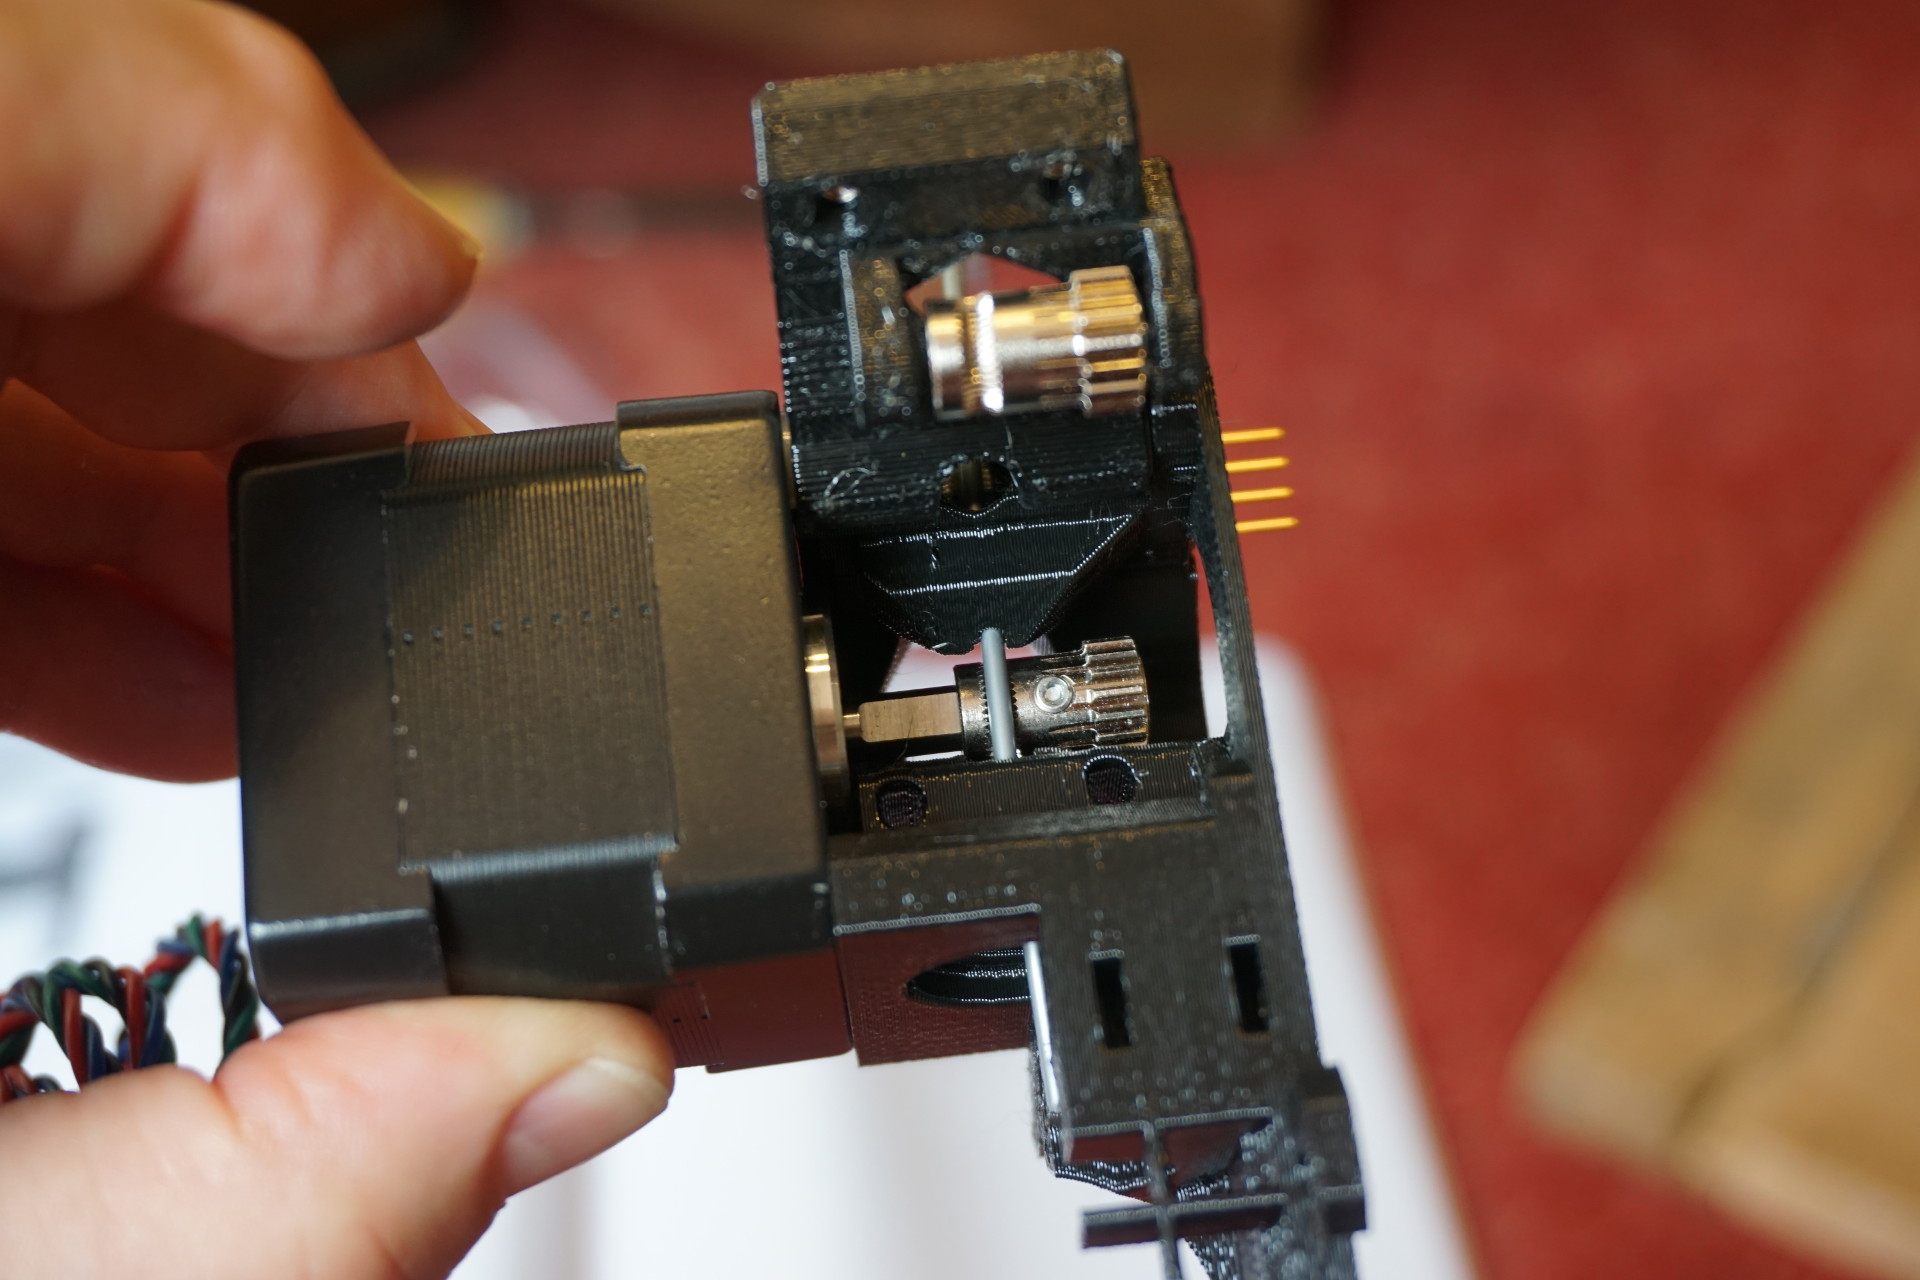
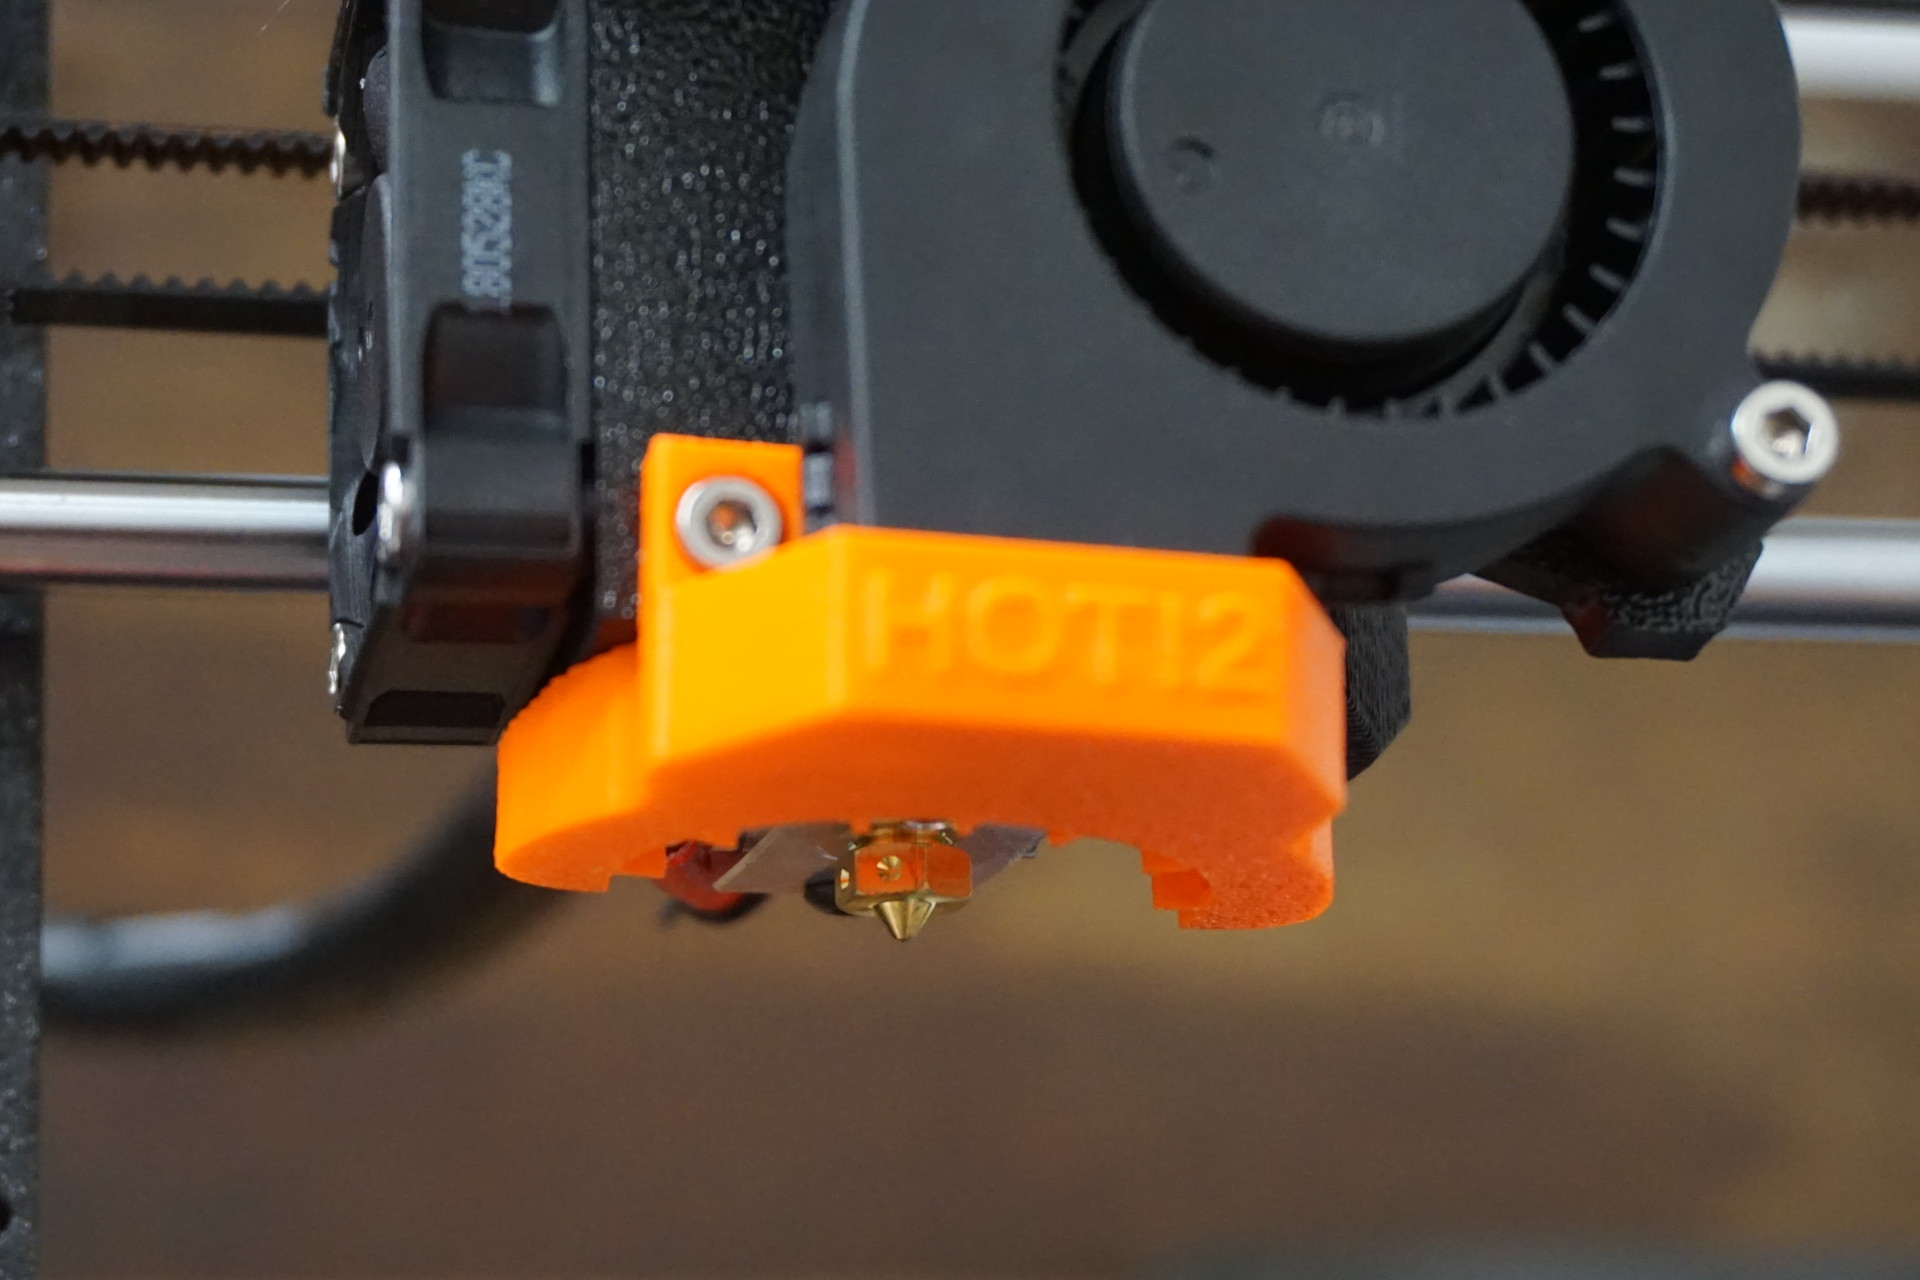
Warning! Some of the following photos show the extruder not properly placed in
its mount:

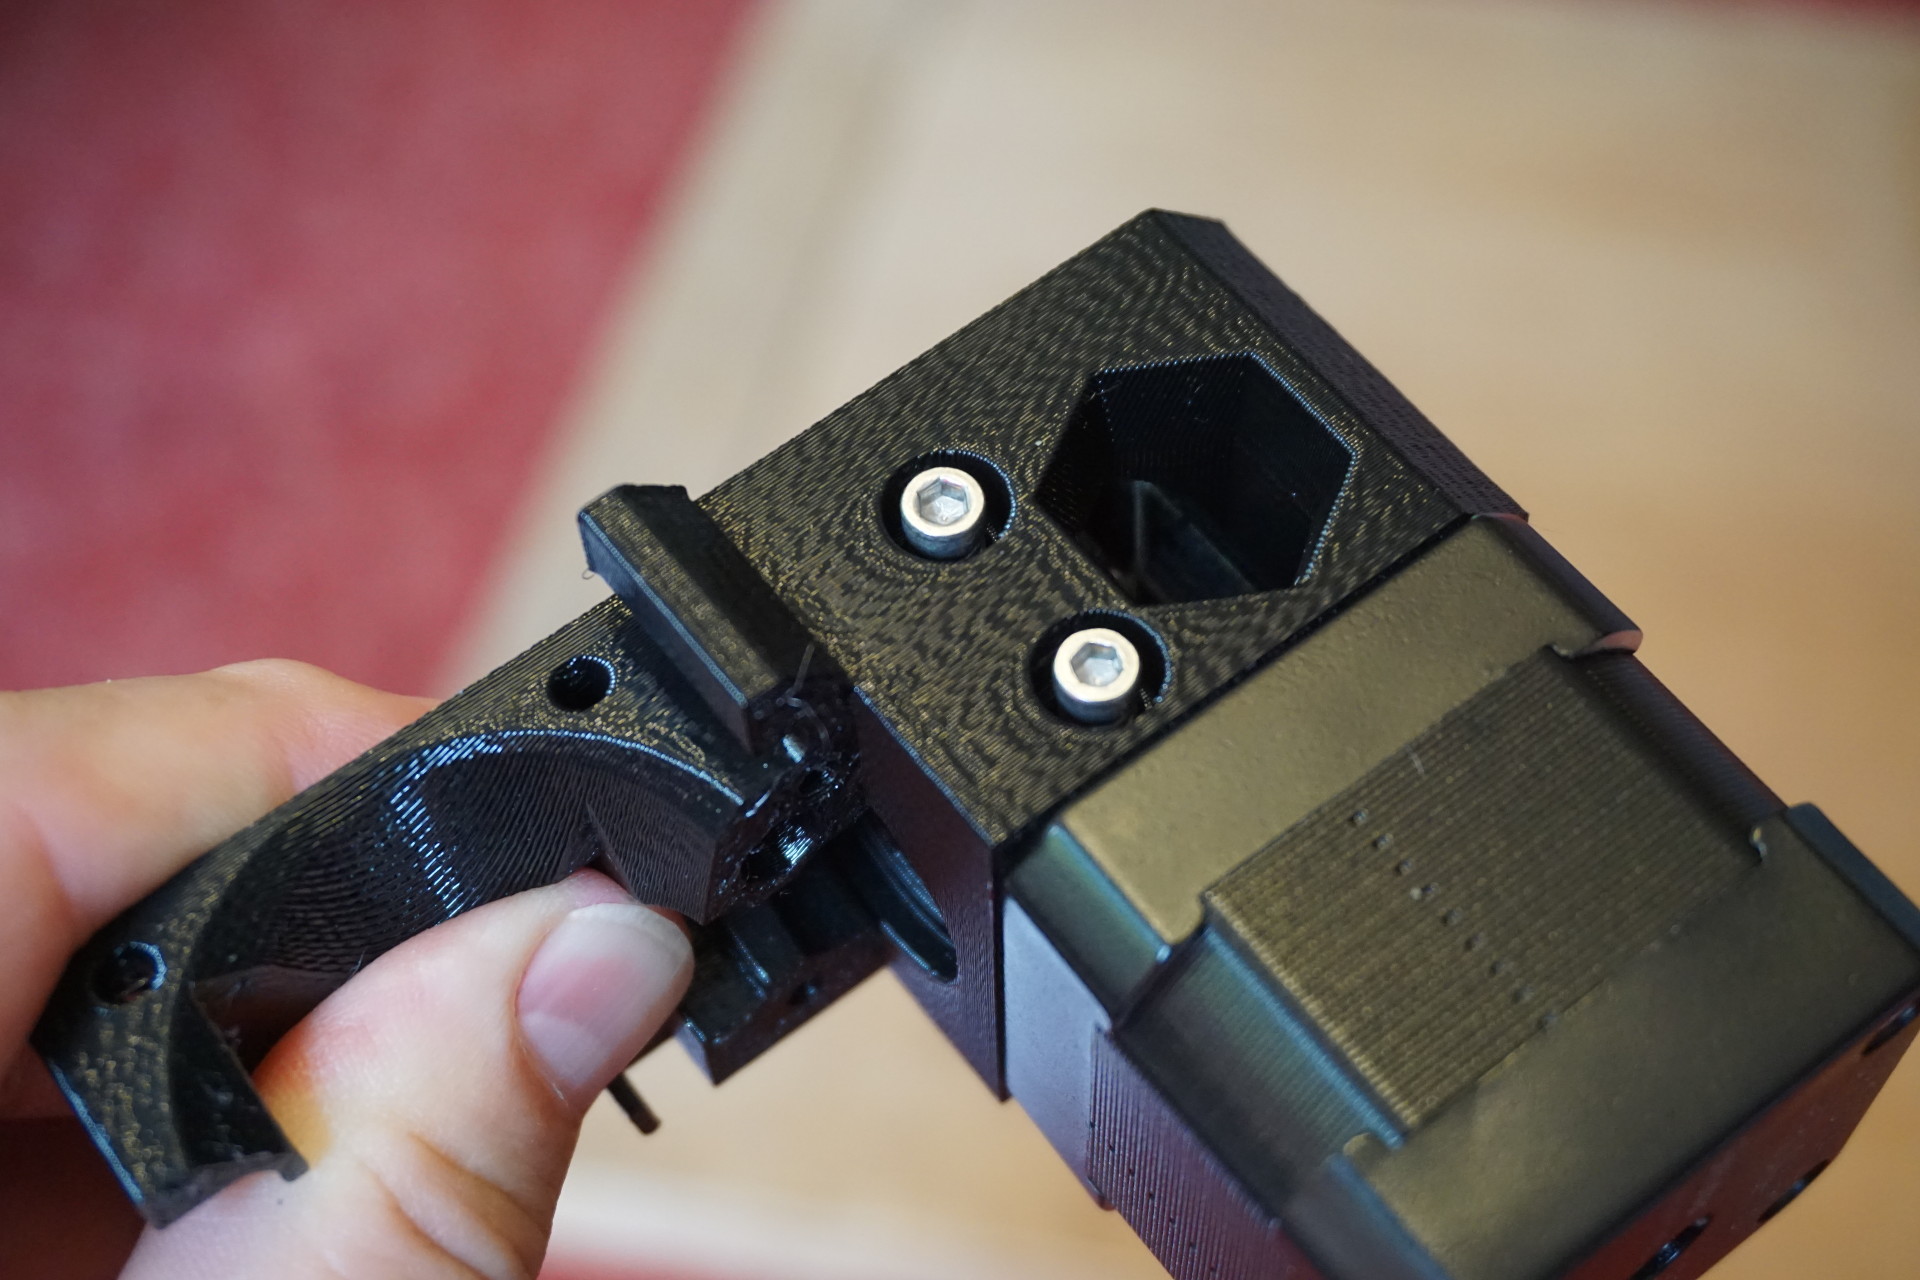
This is incorrect:
This is correct:
Fans:
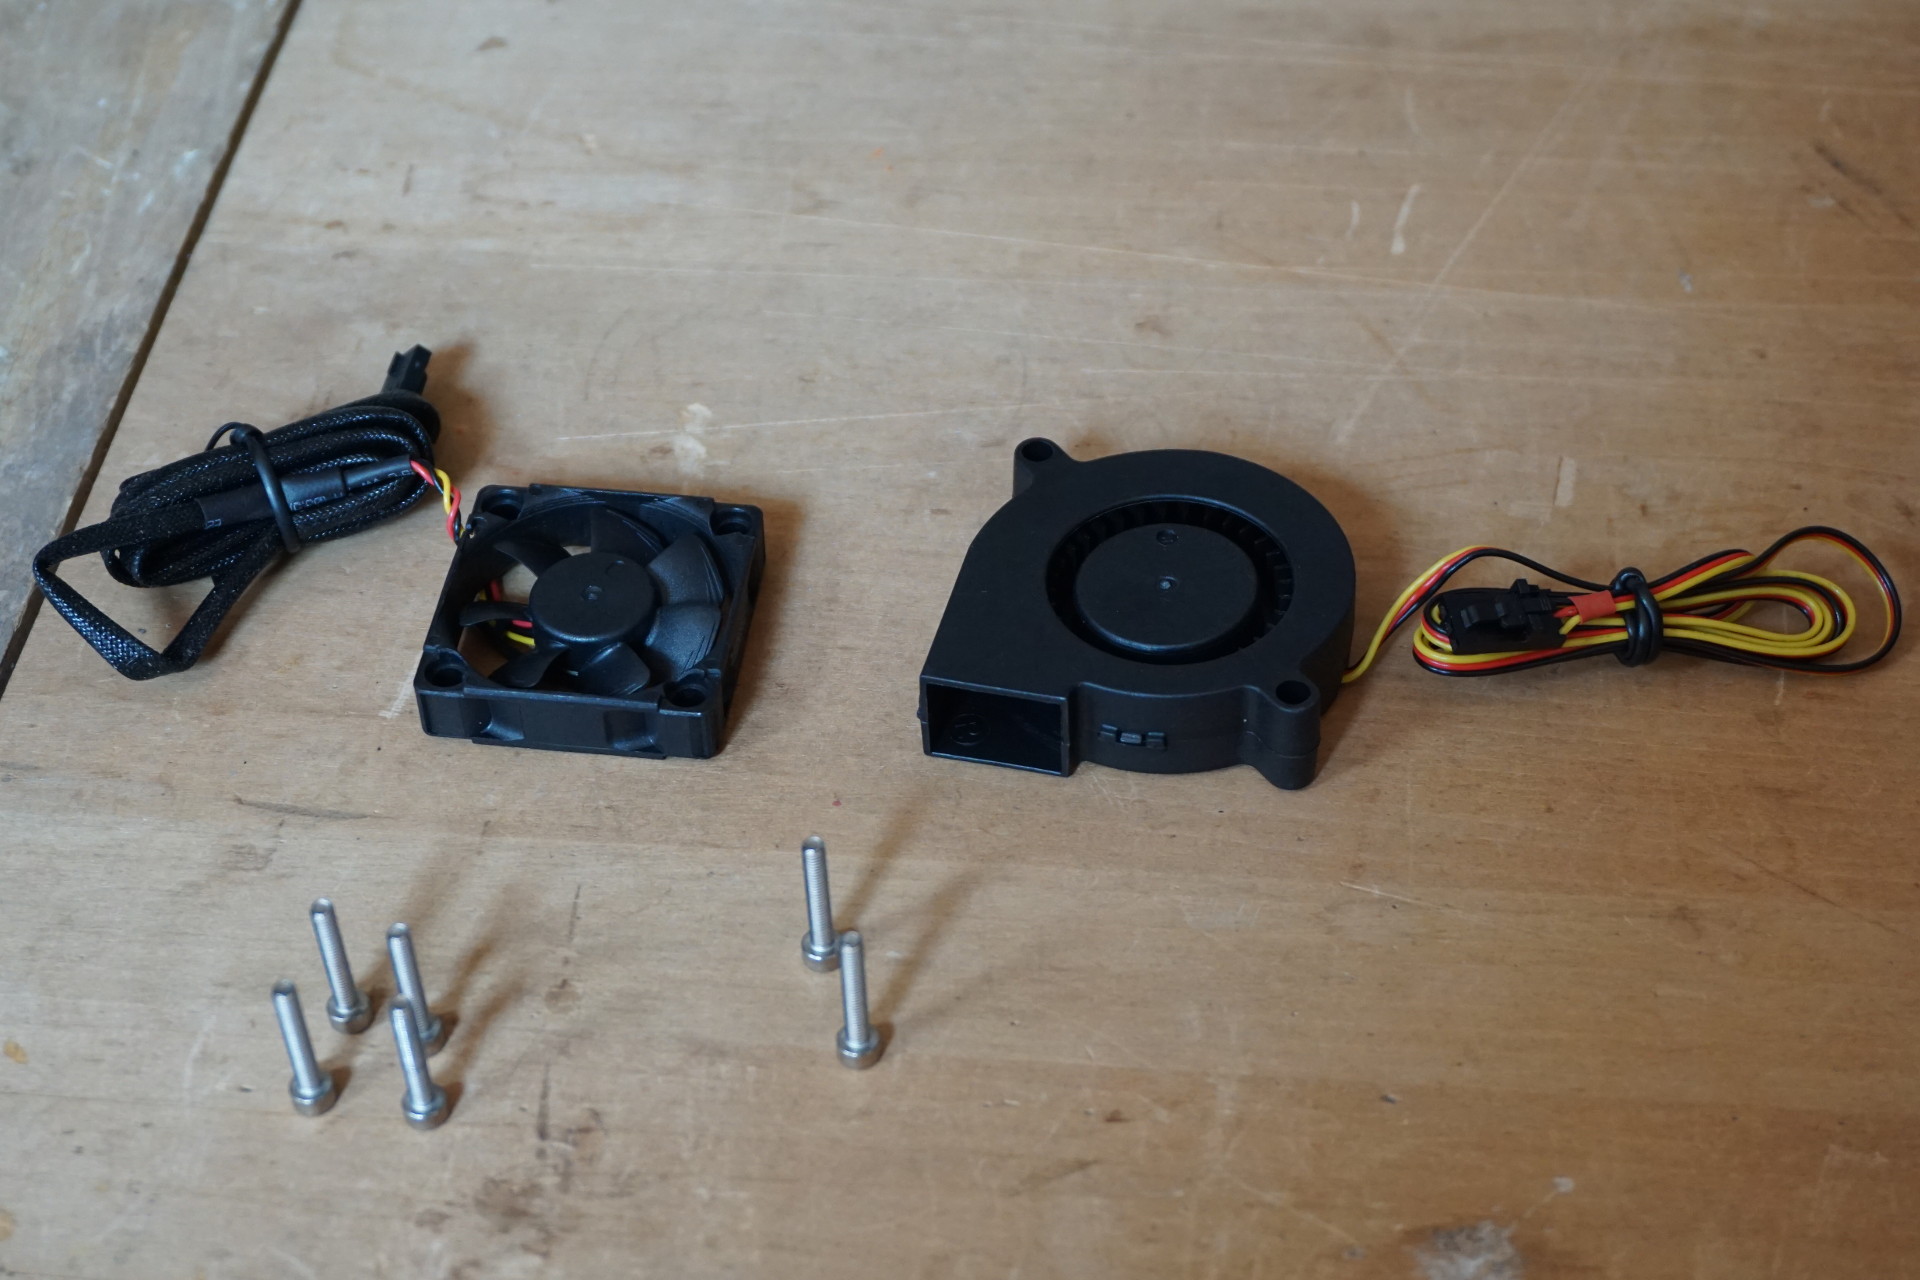
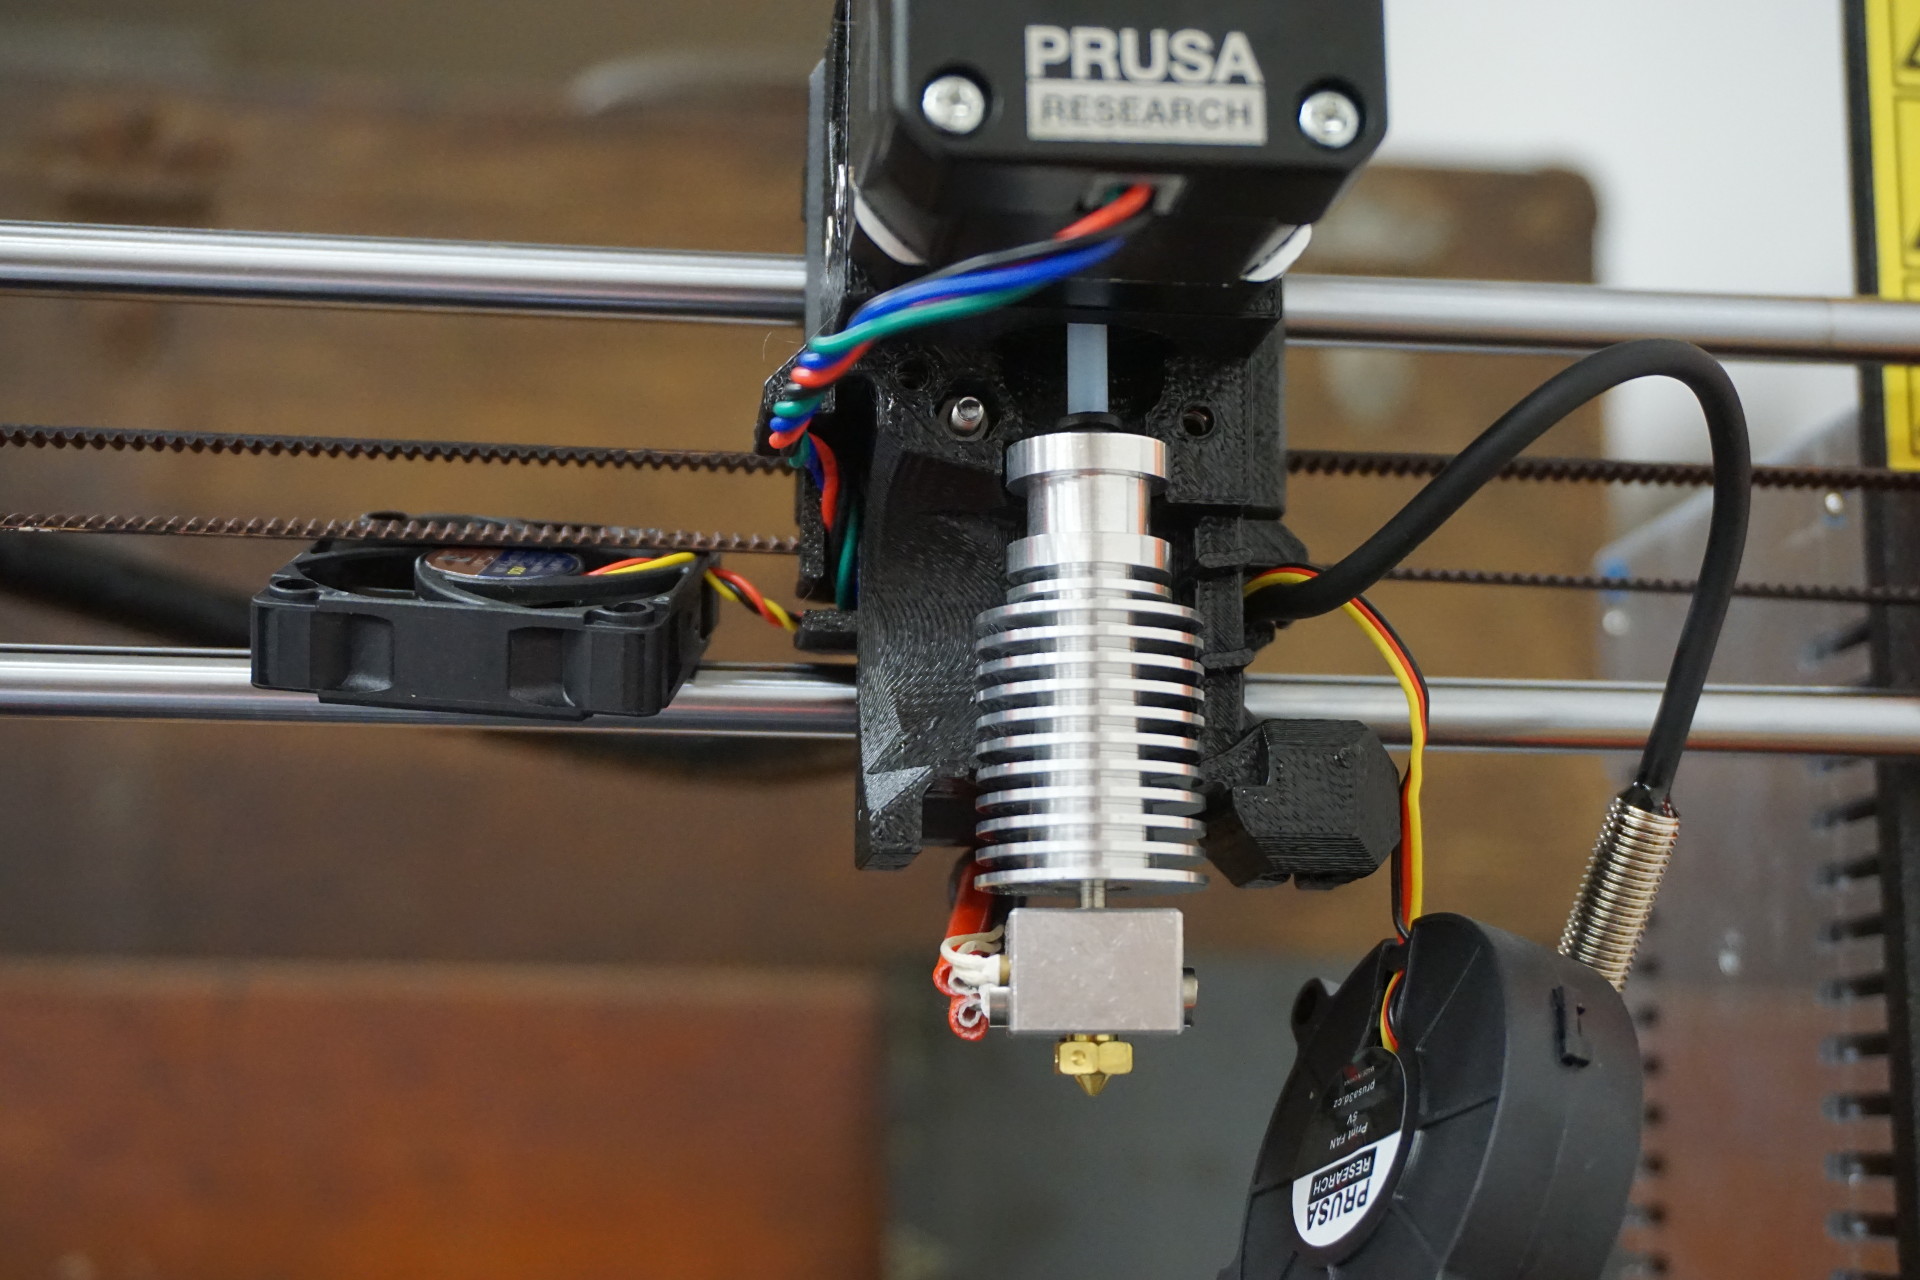
Extruder cooling fan:

Part cooling fan (improperly seated extruder):
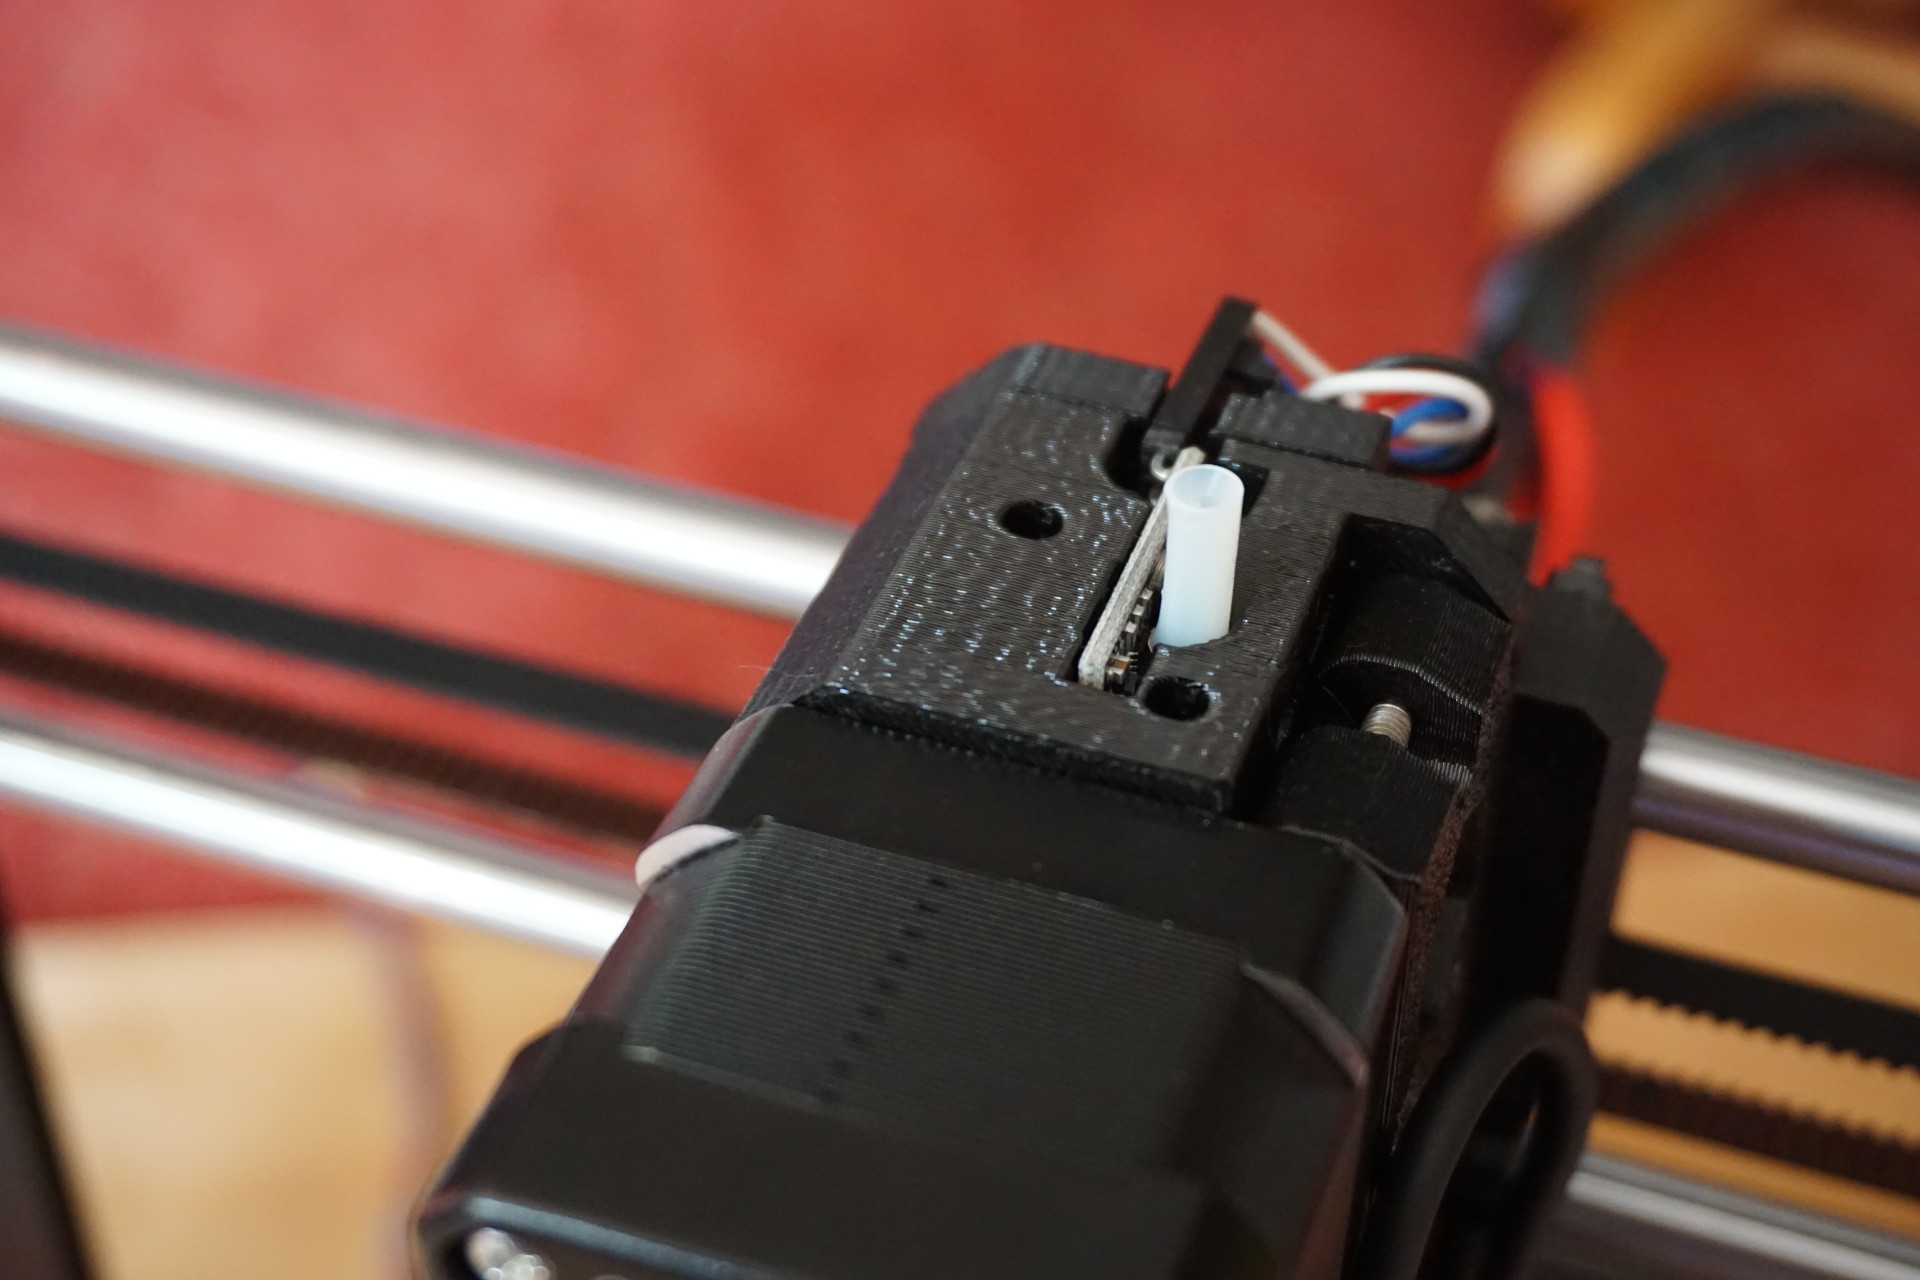
Bed leveling (PINDA) probe:

(improperly seated extruder:)

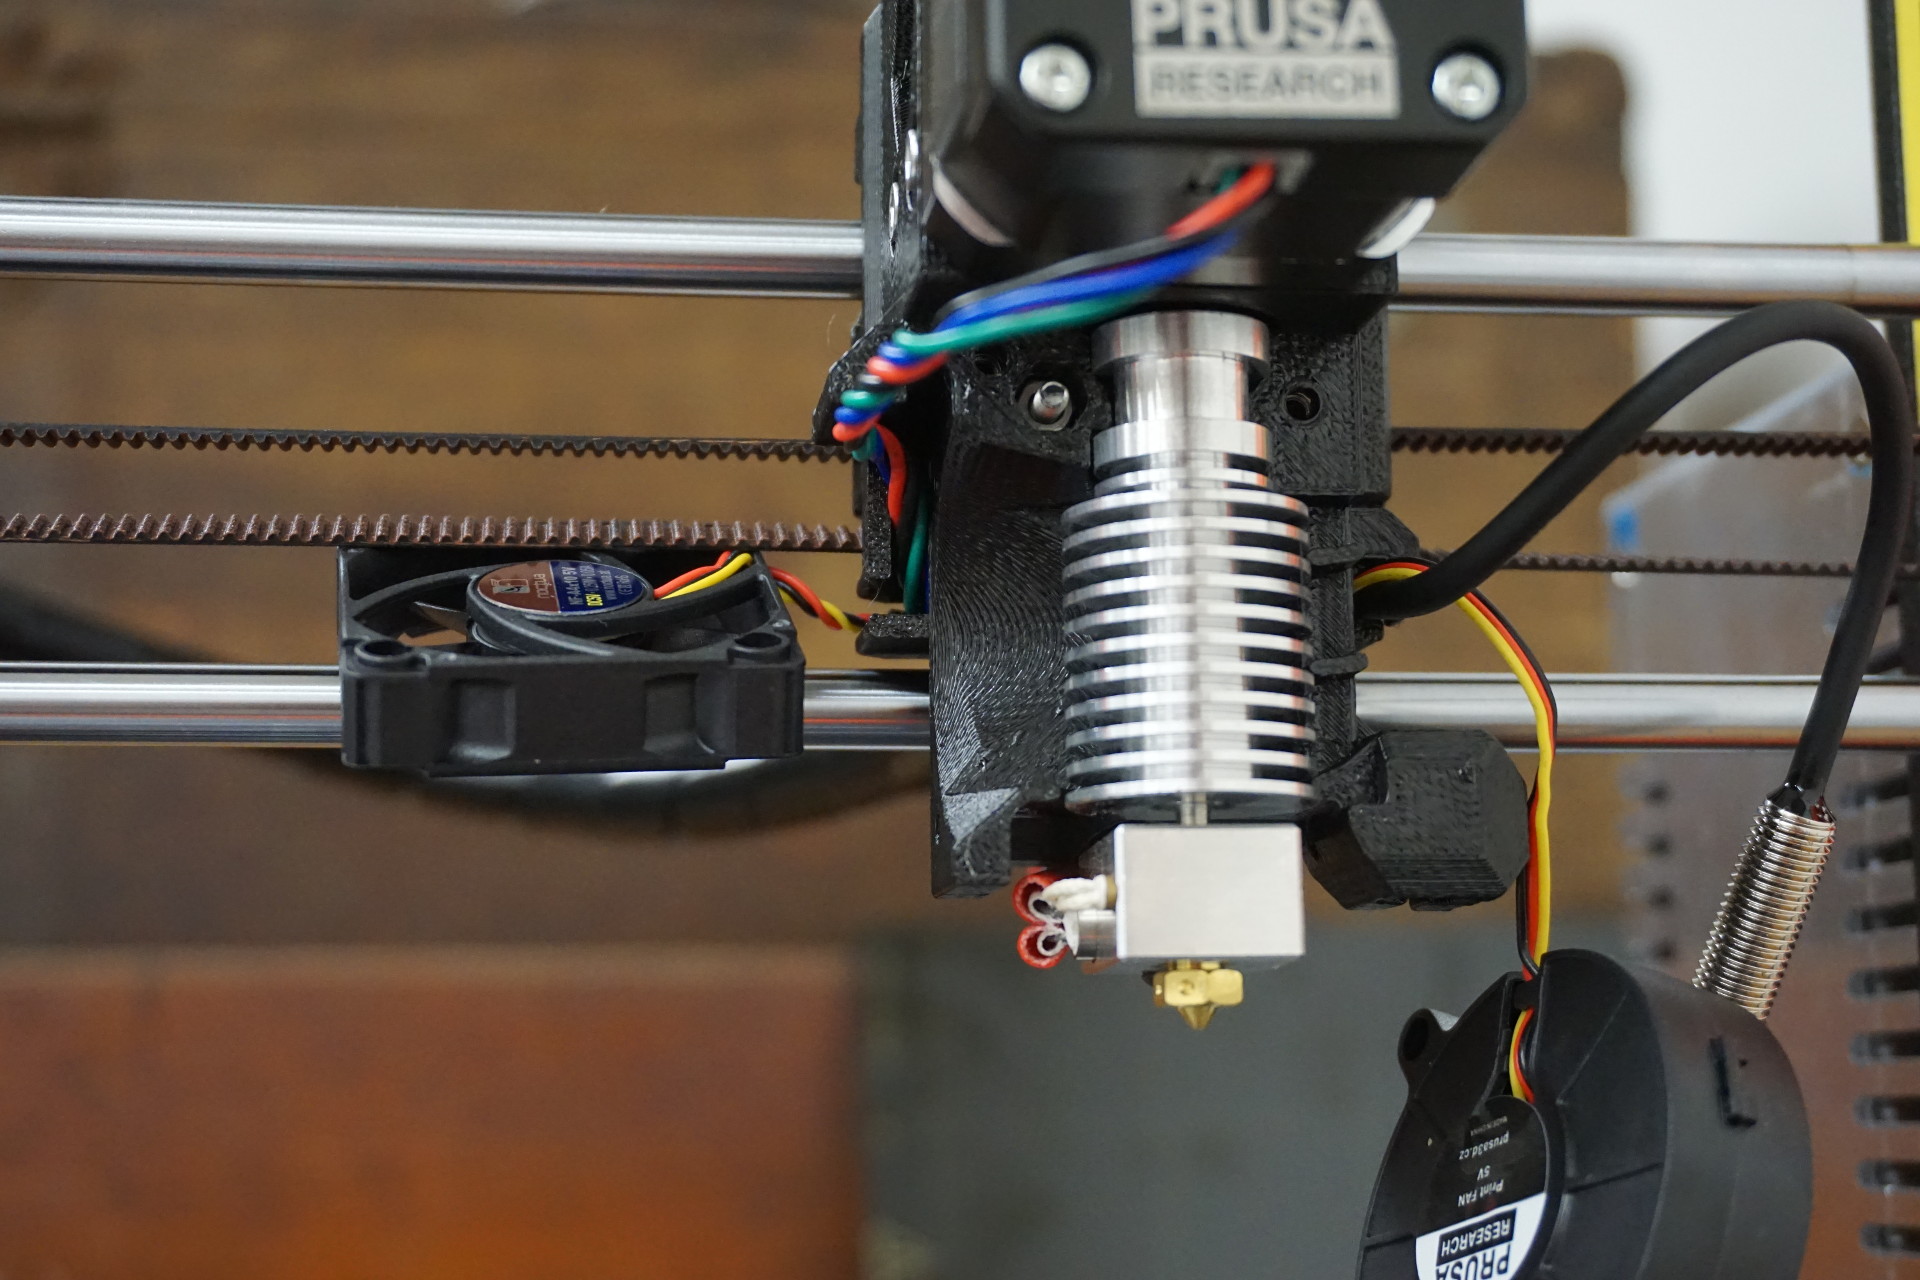
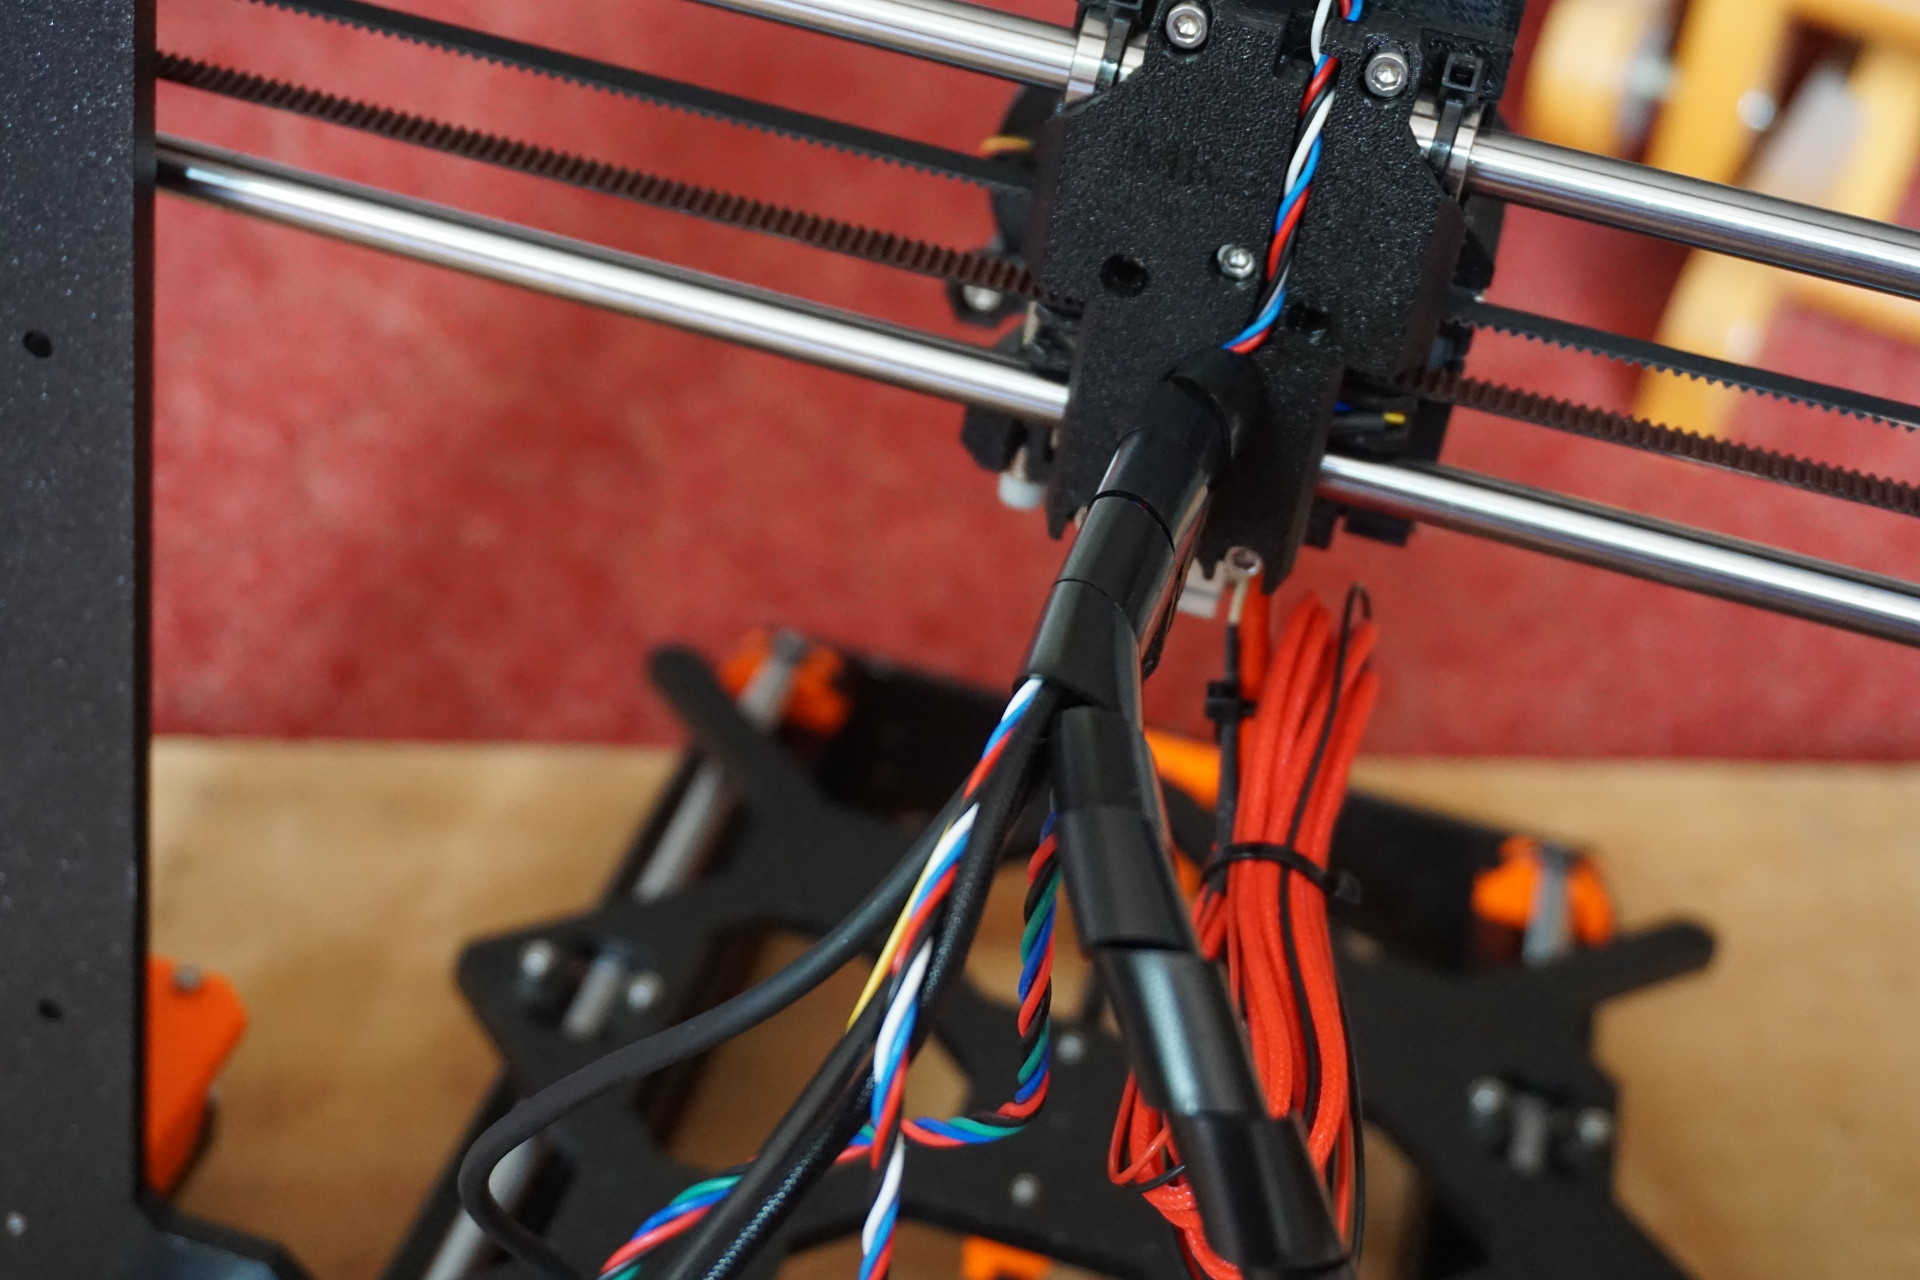
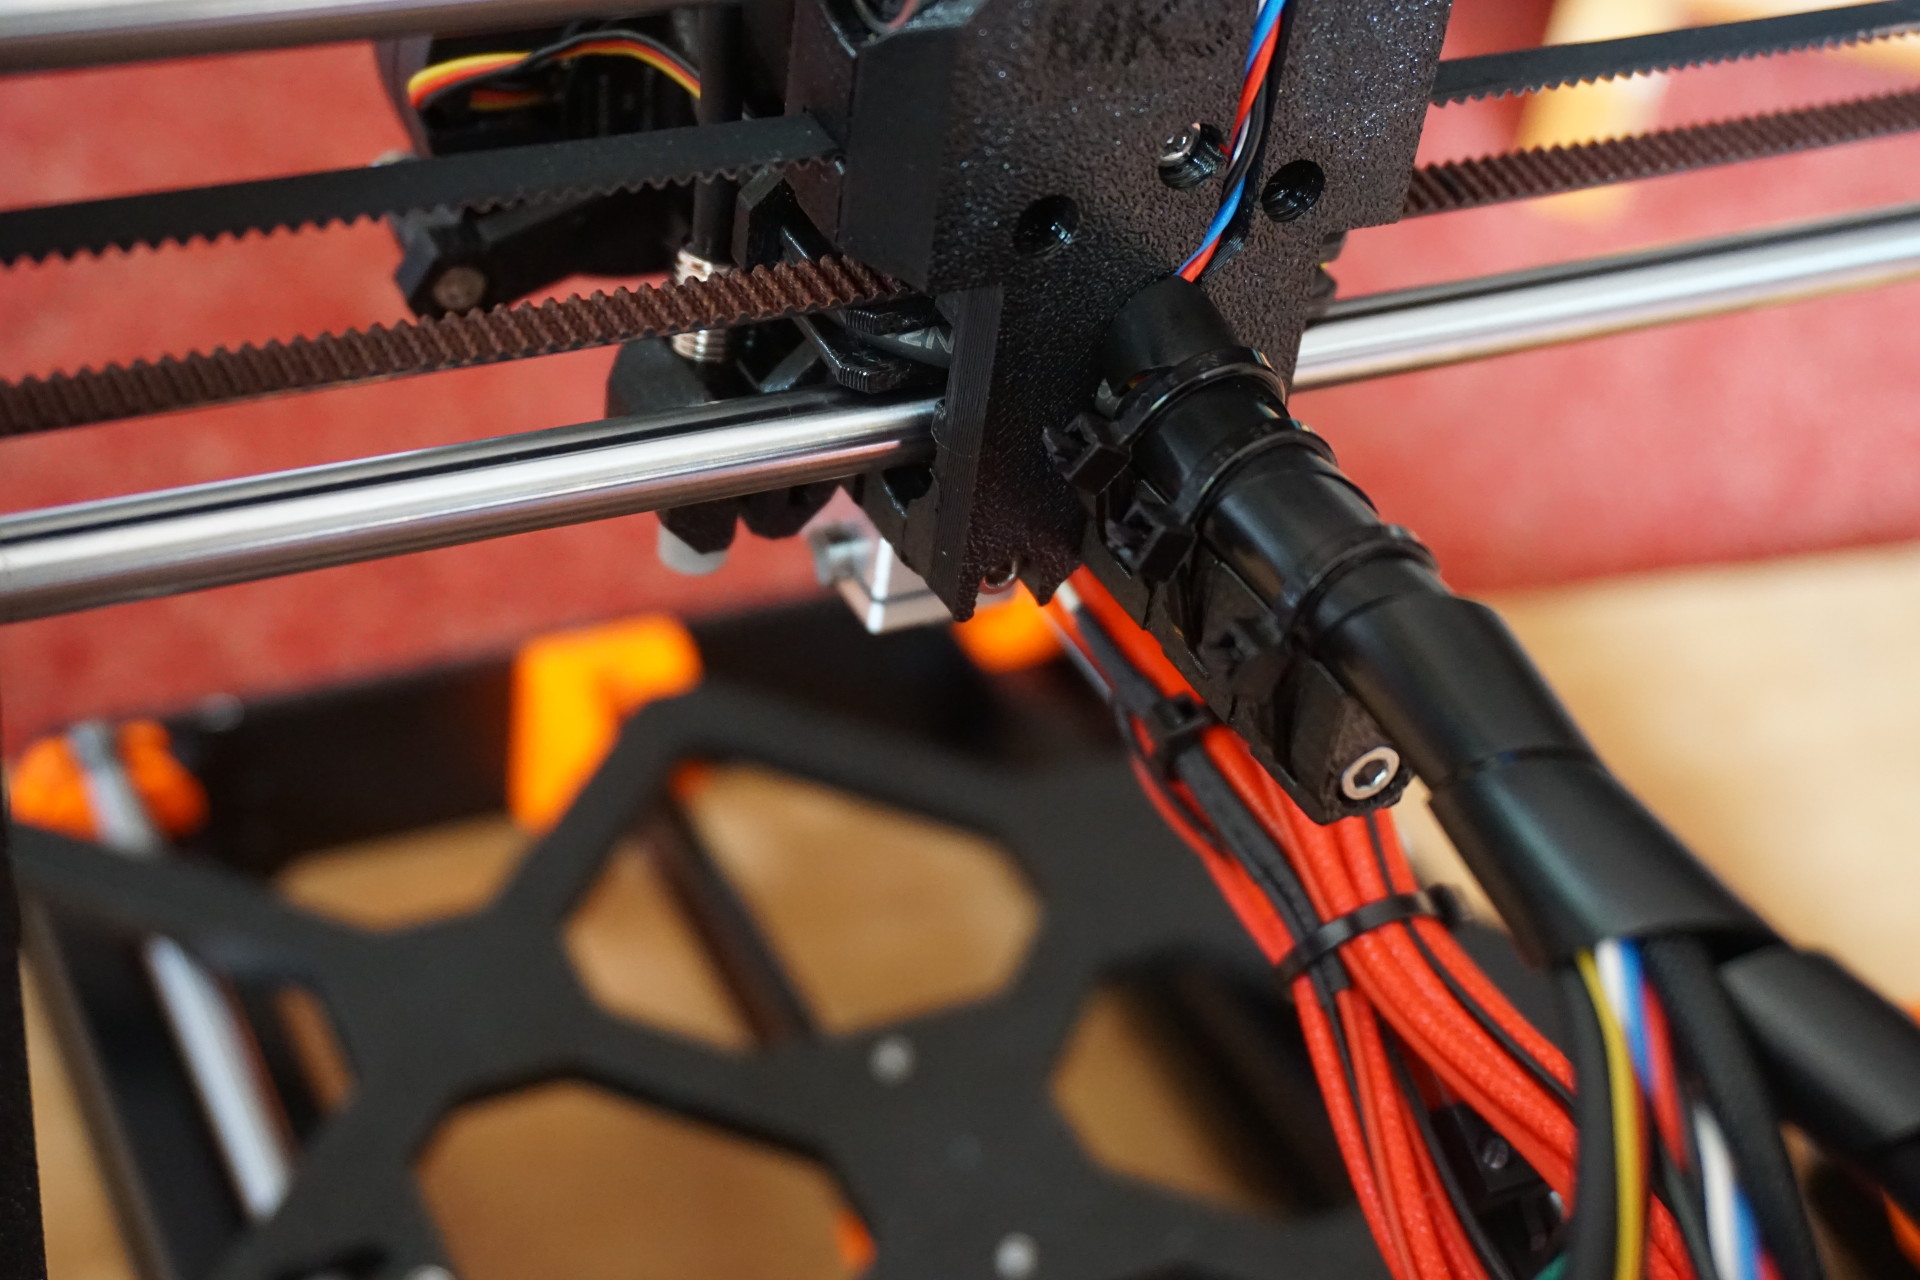
Hot-end cable routing:
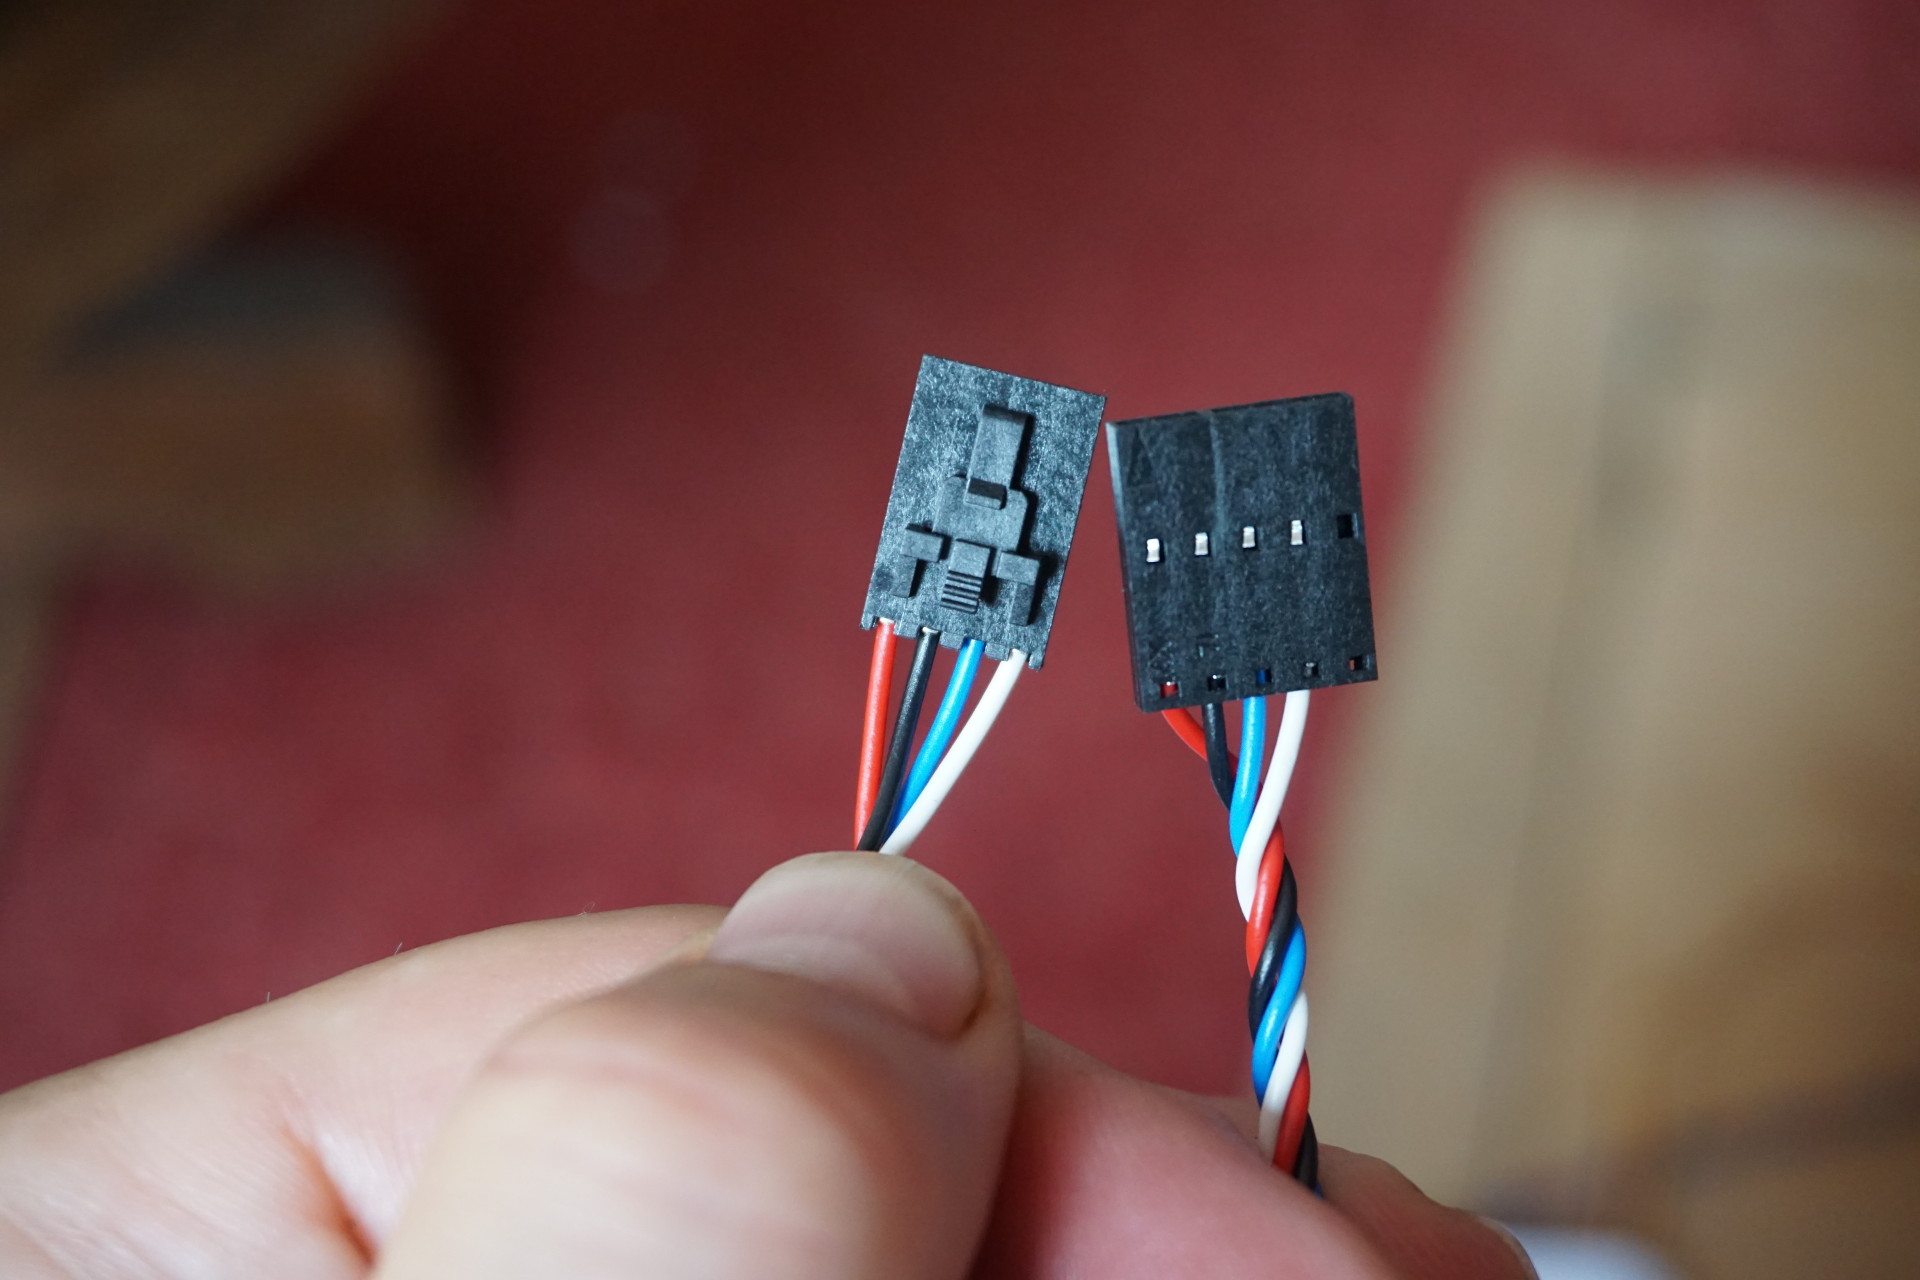
Filament sensor cable ends:
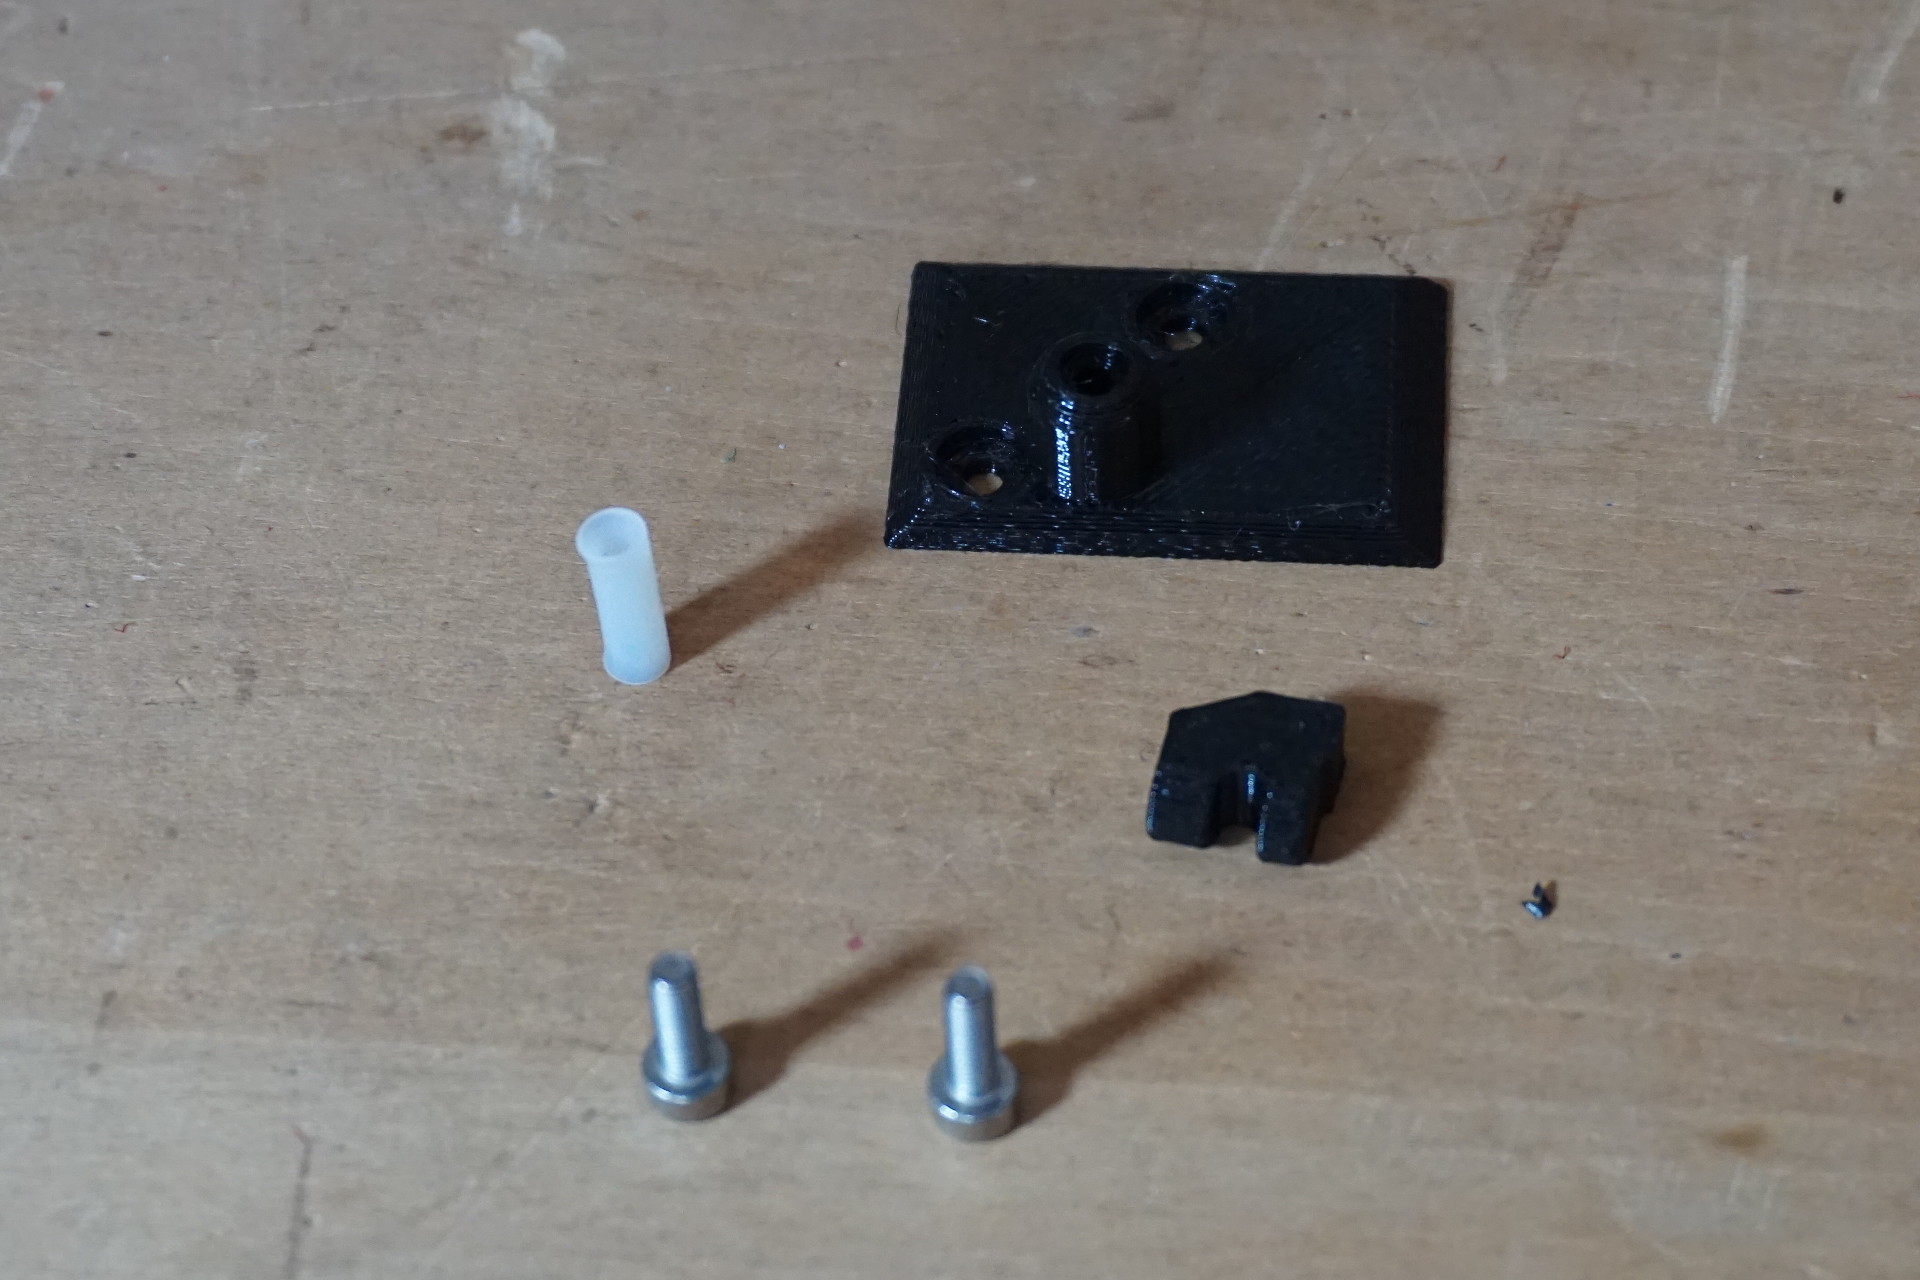
3mm nylon filament; stiffener for cable bundle:
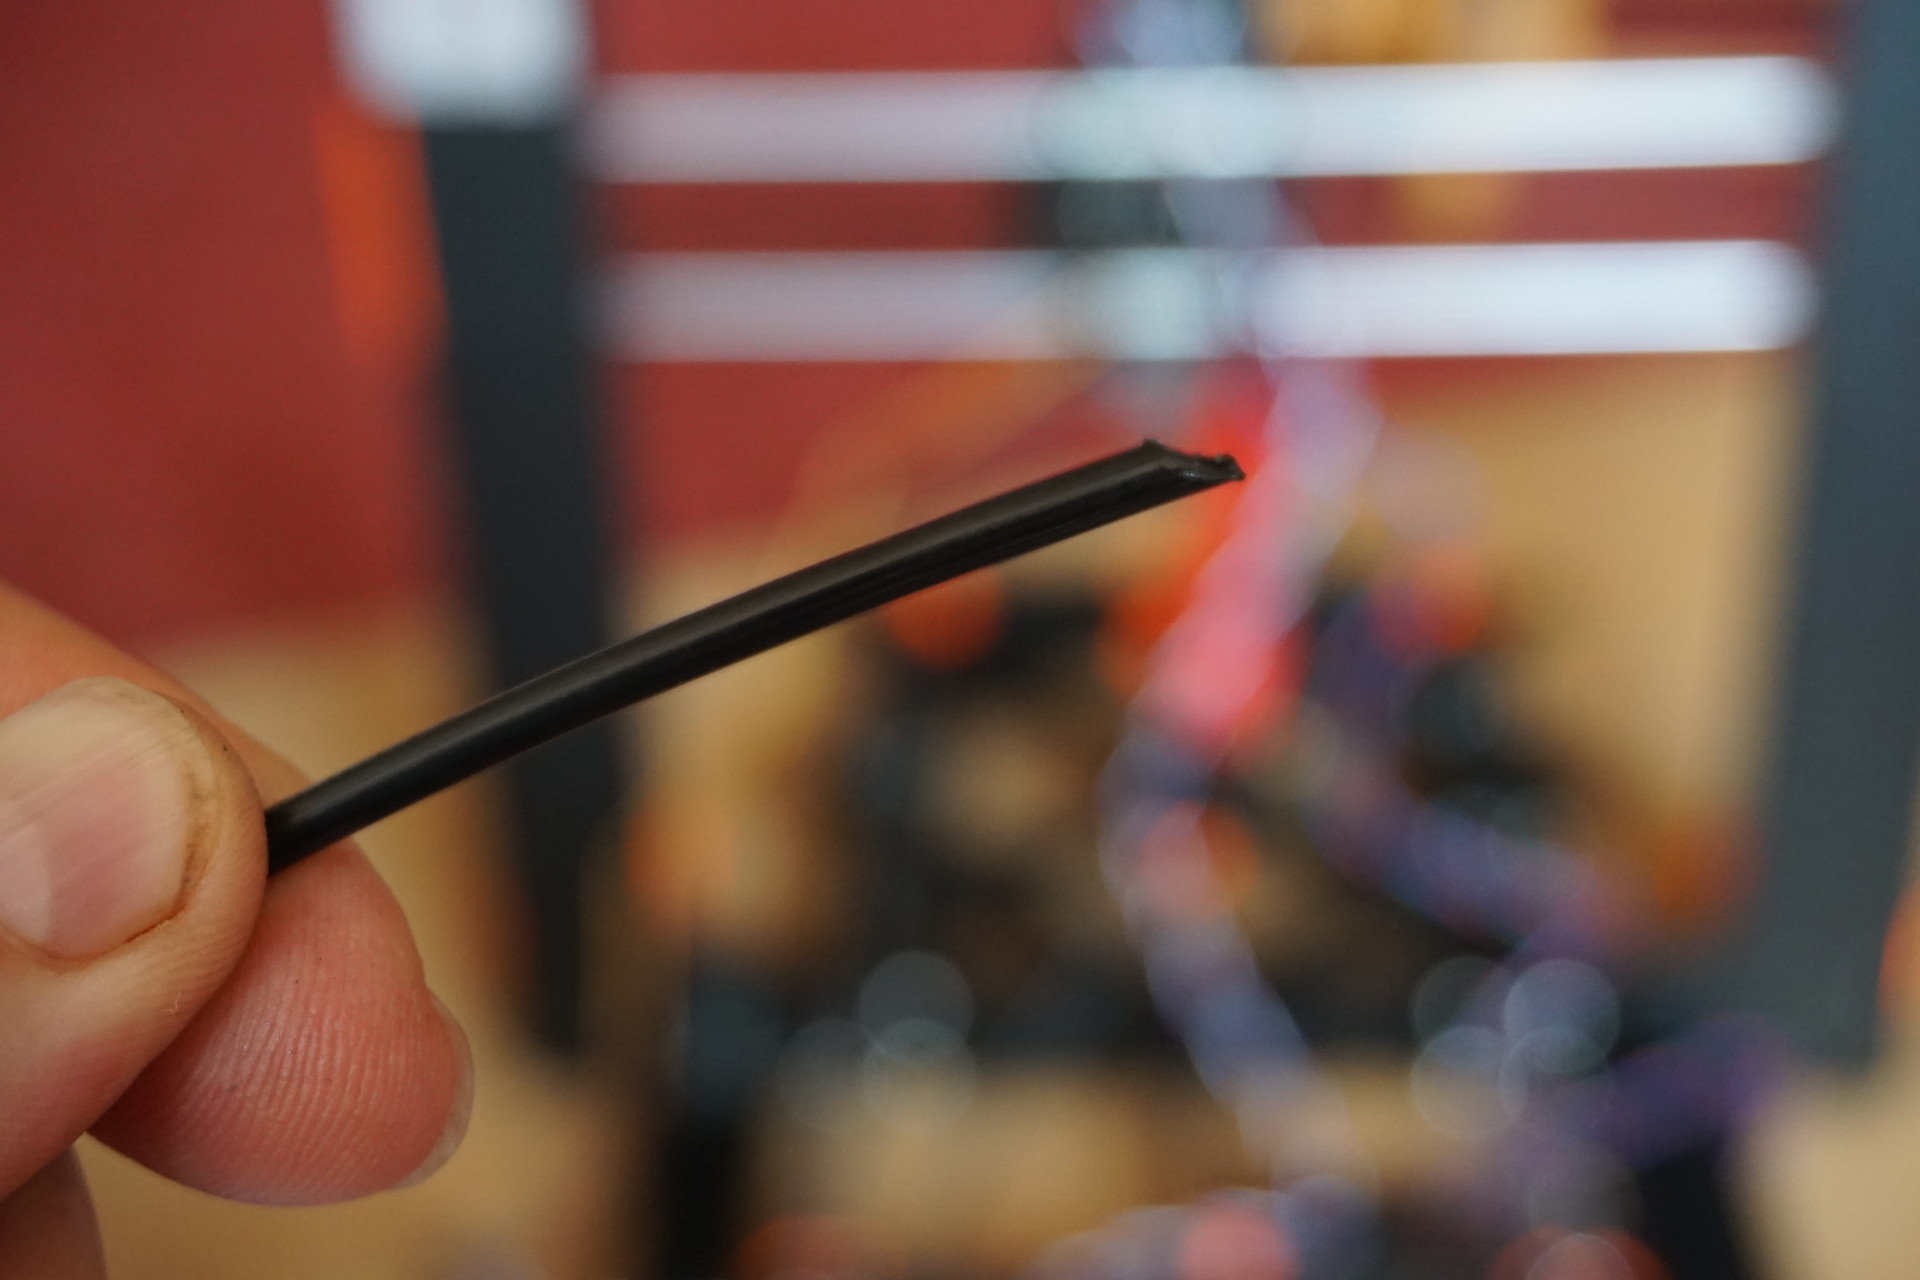
This is an interference fit. It may require filing the stiffener down or drilling the the hole out a bit.
Don't overdo it.
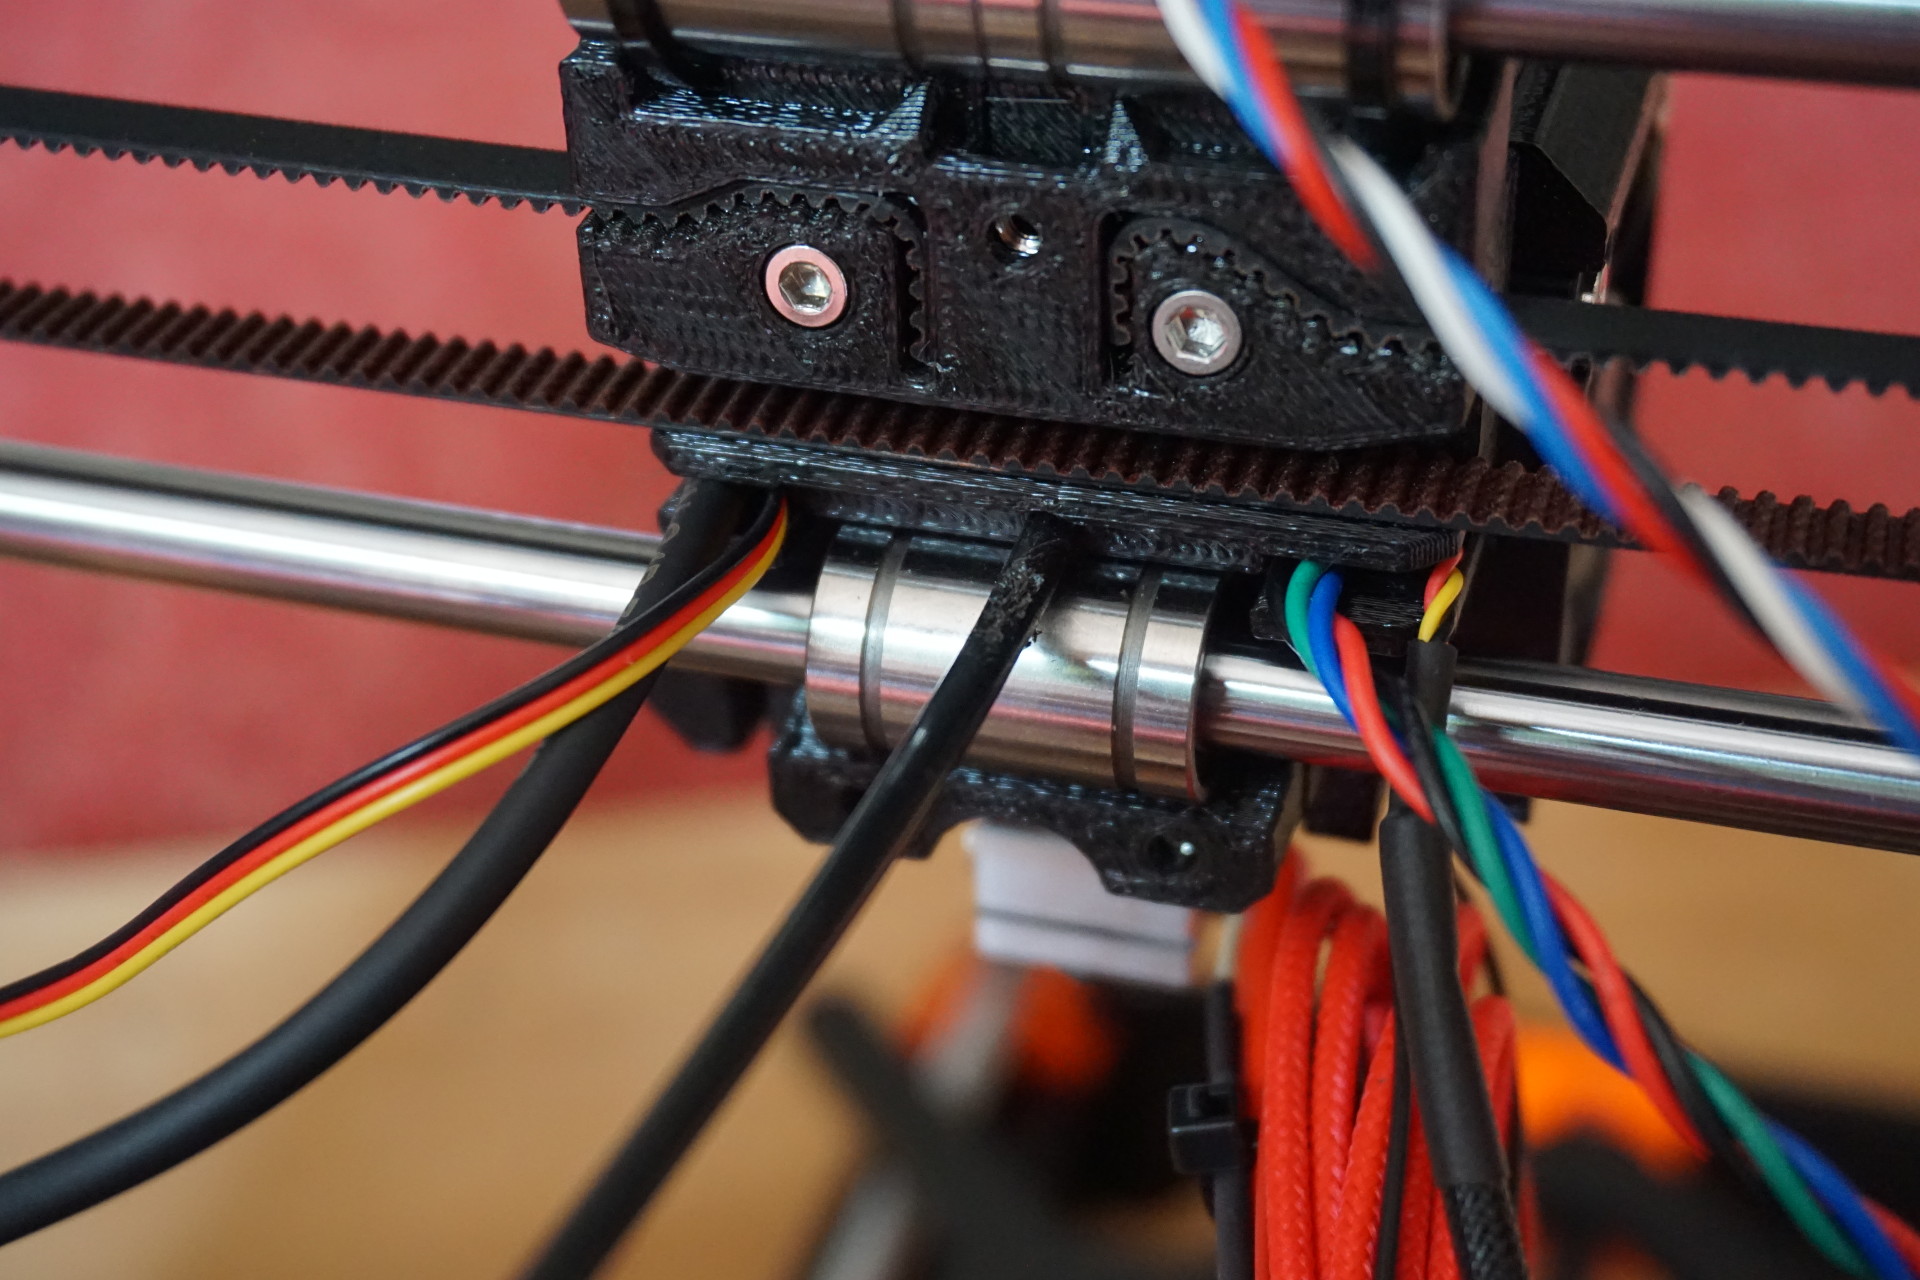
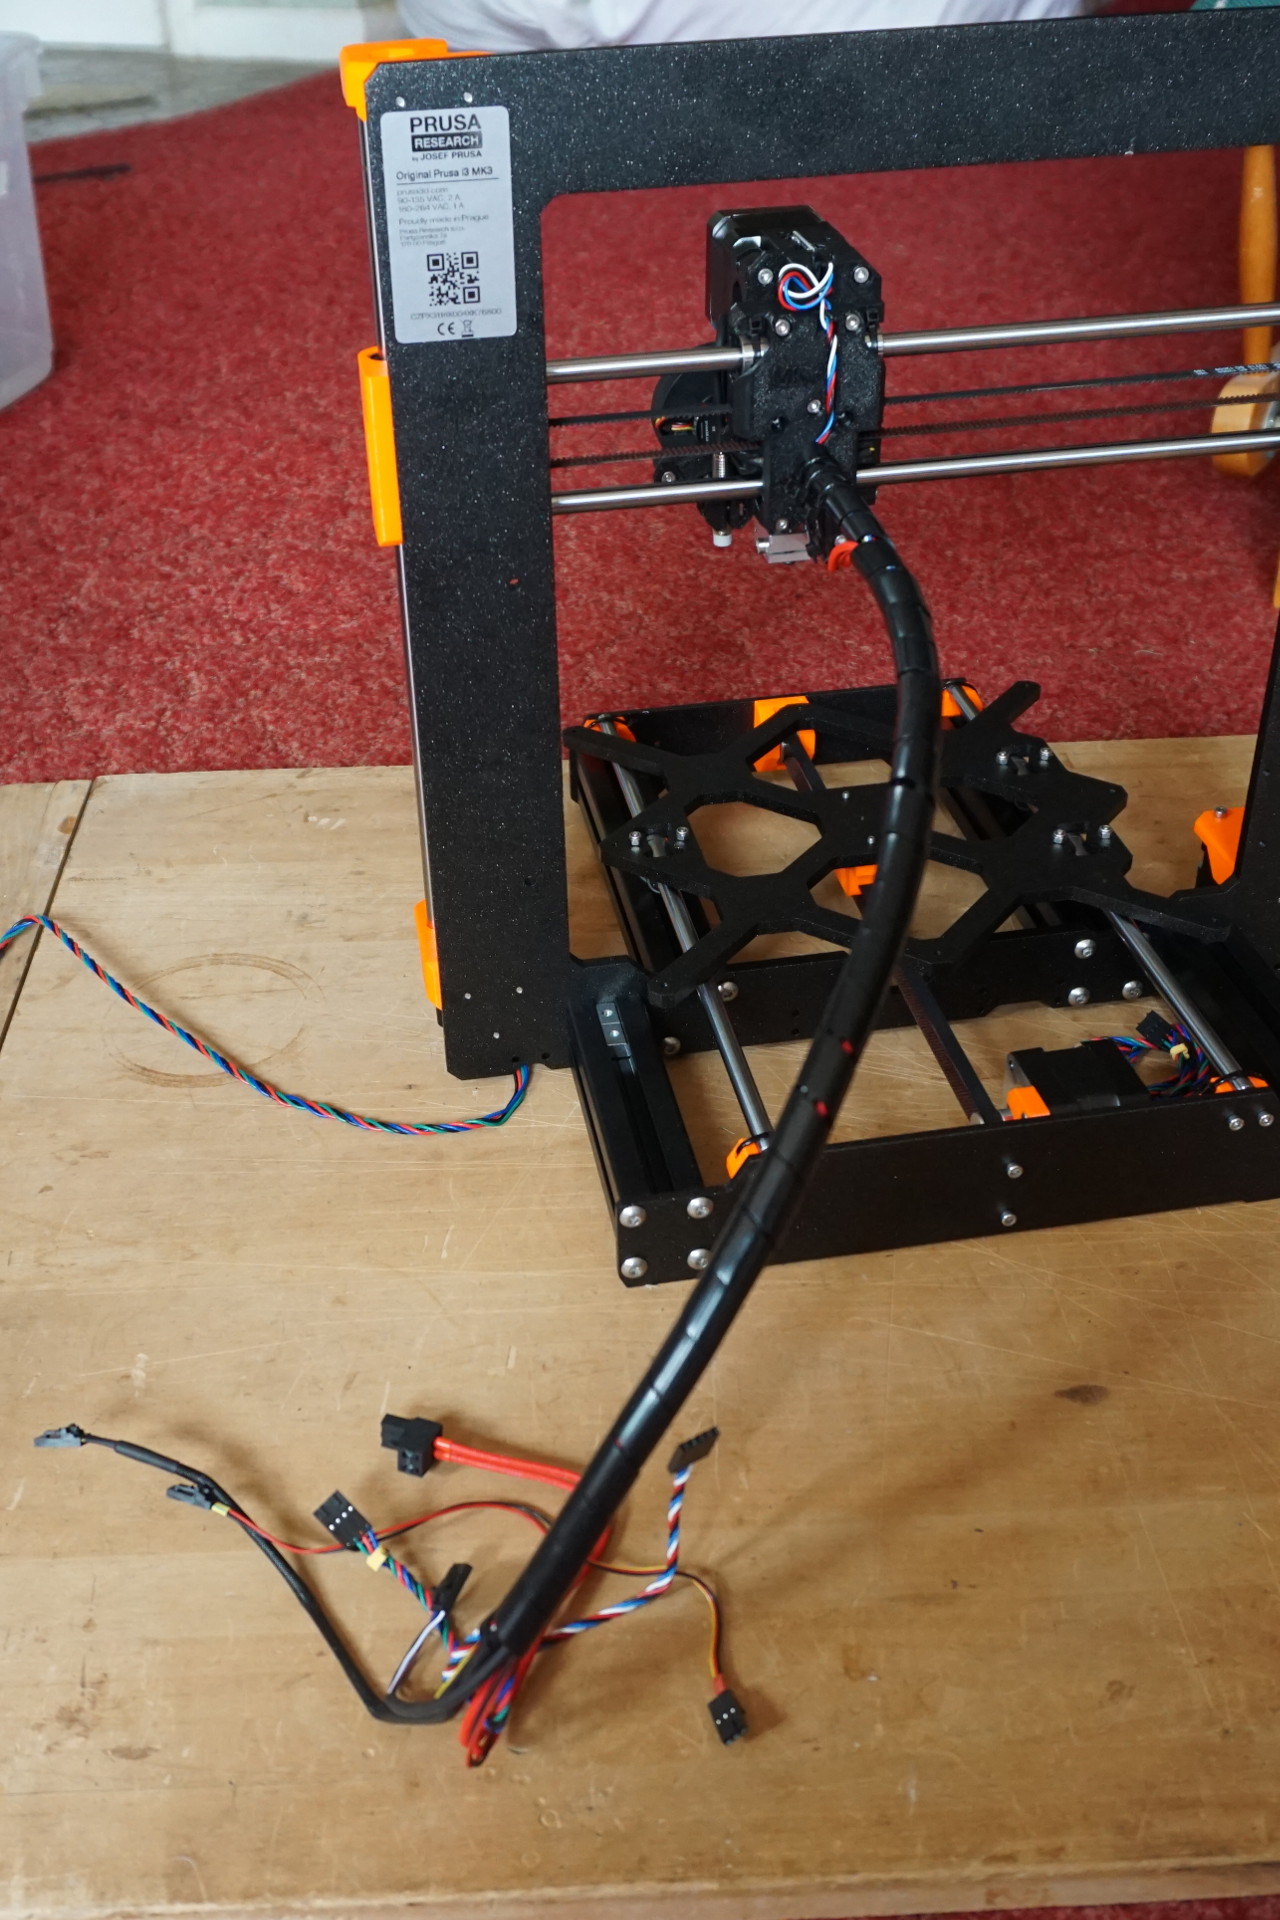
X-carriage back:

Spiral cable wrap:
PTFE tube and filament sensor cover:
Part fan nozzle:
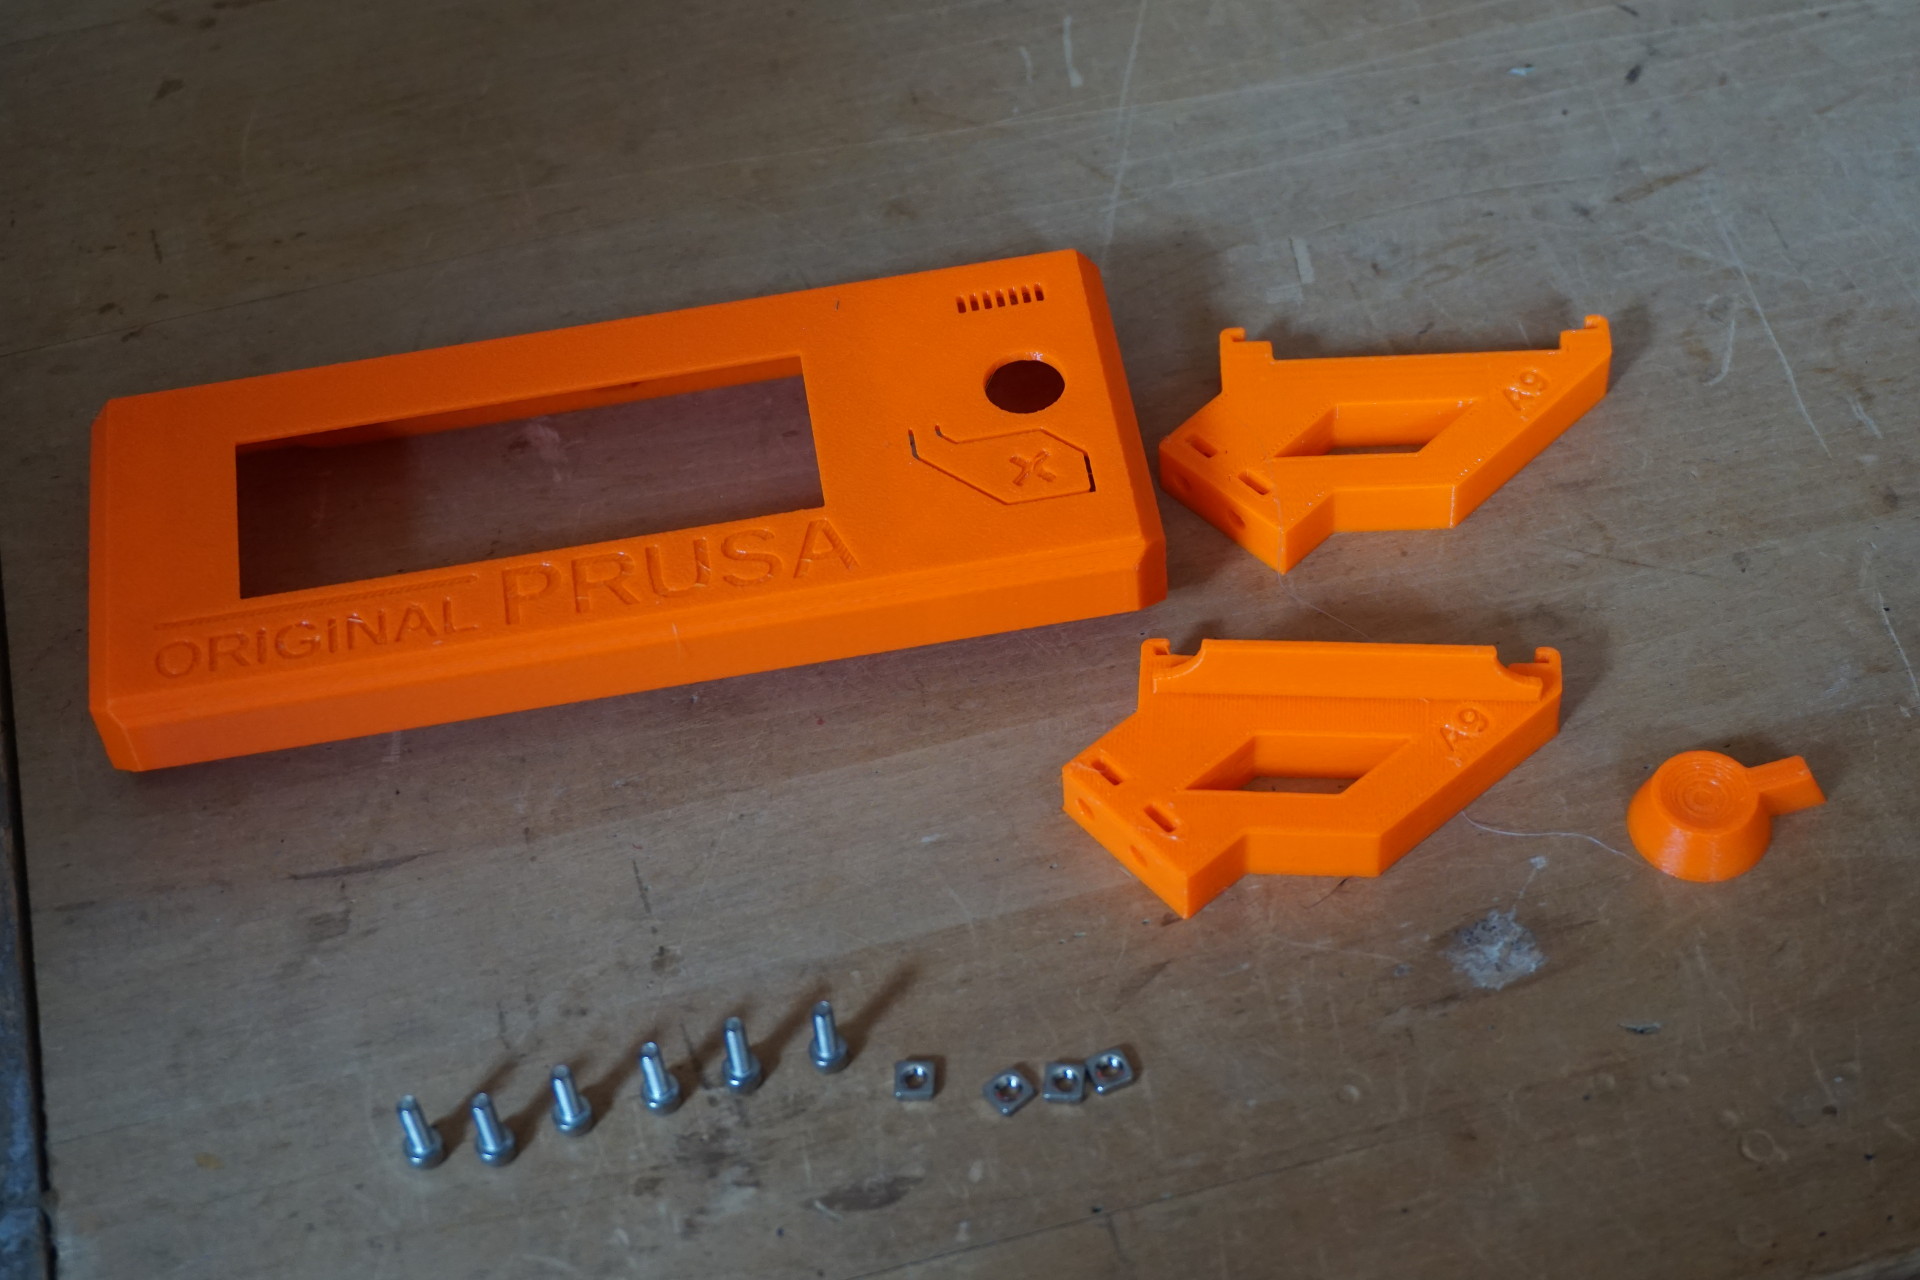
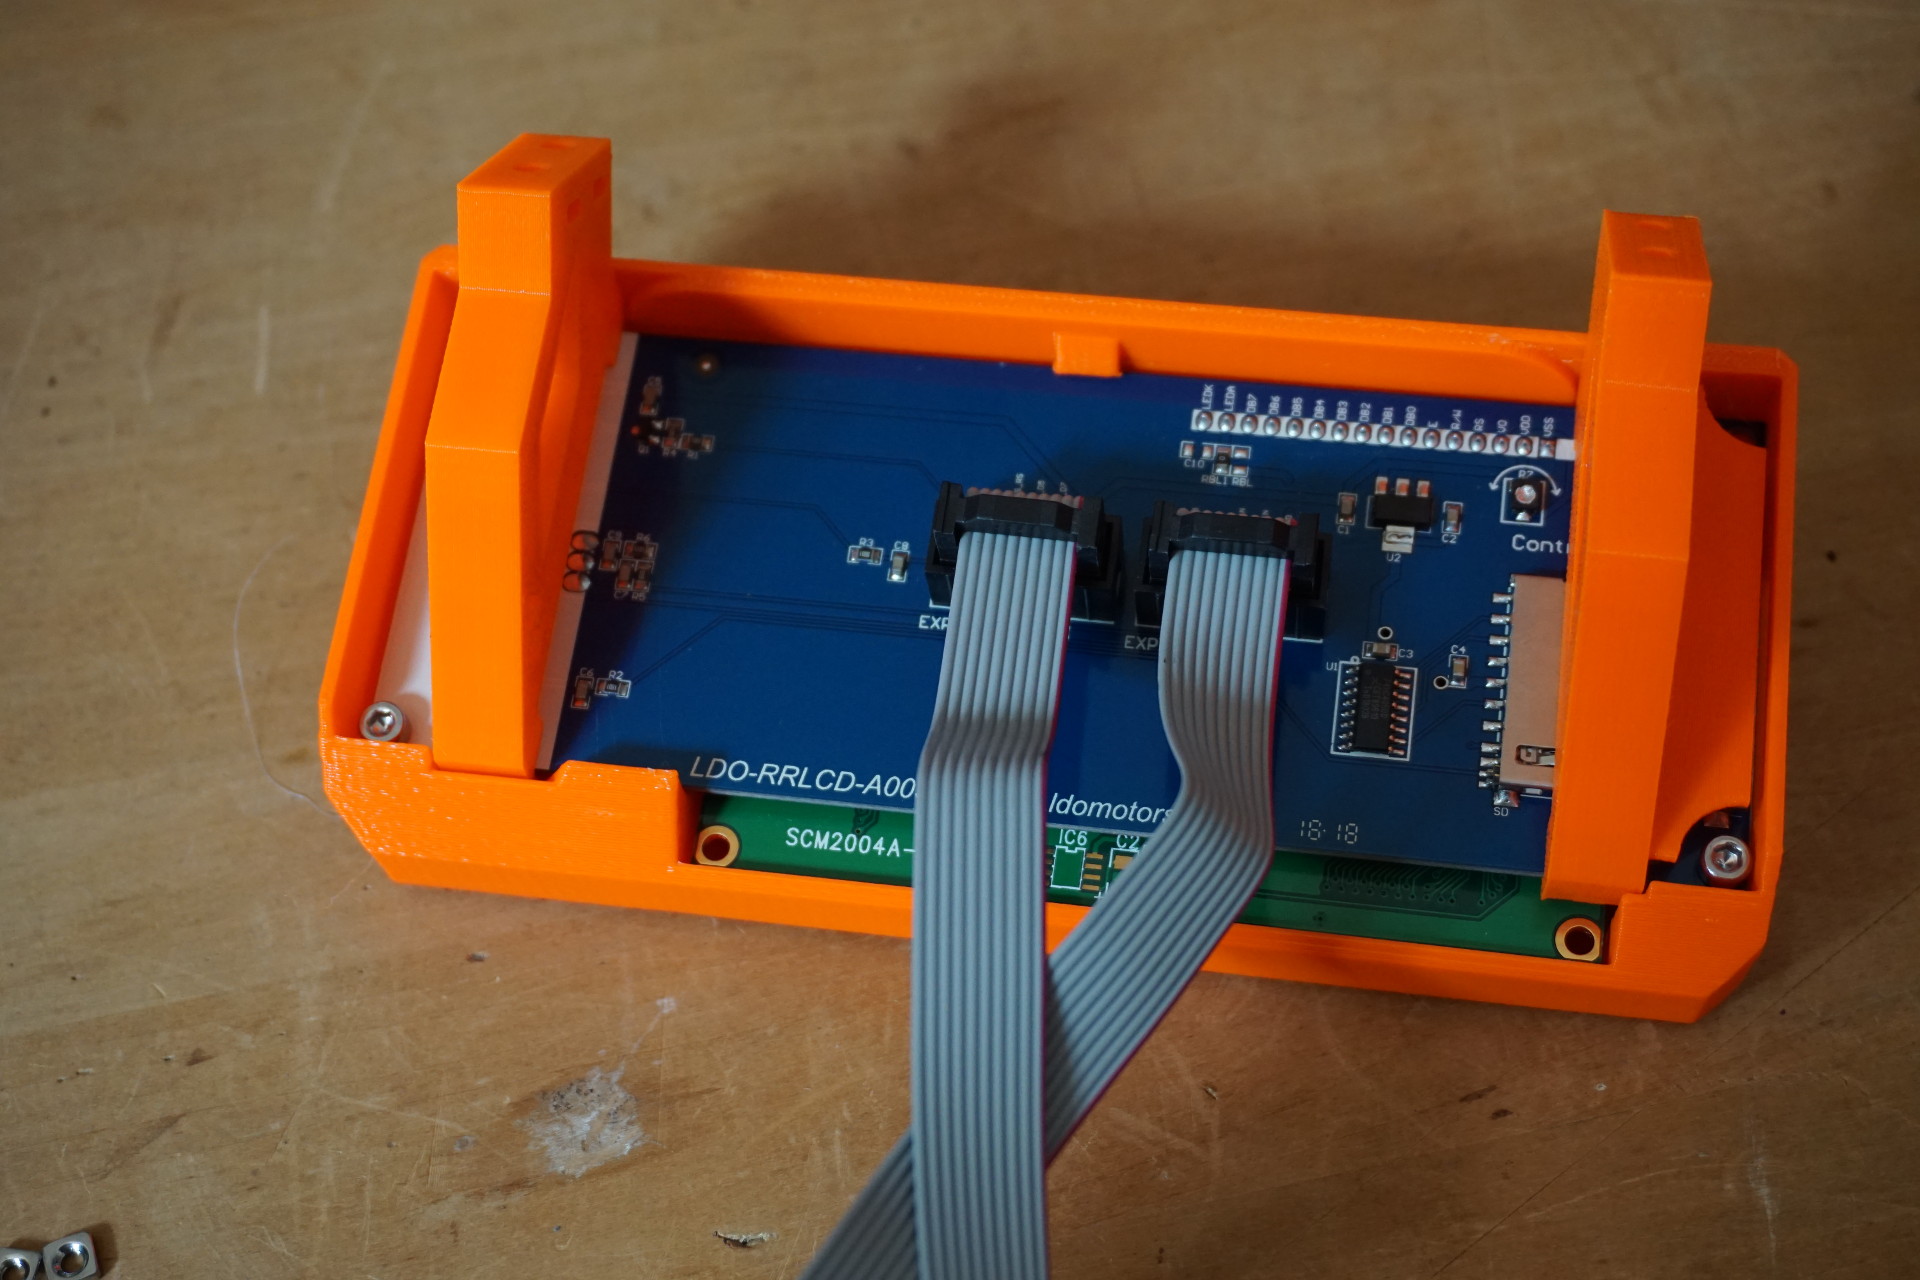
Control panel:
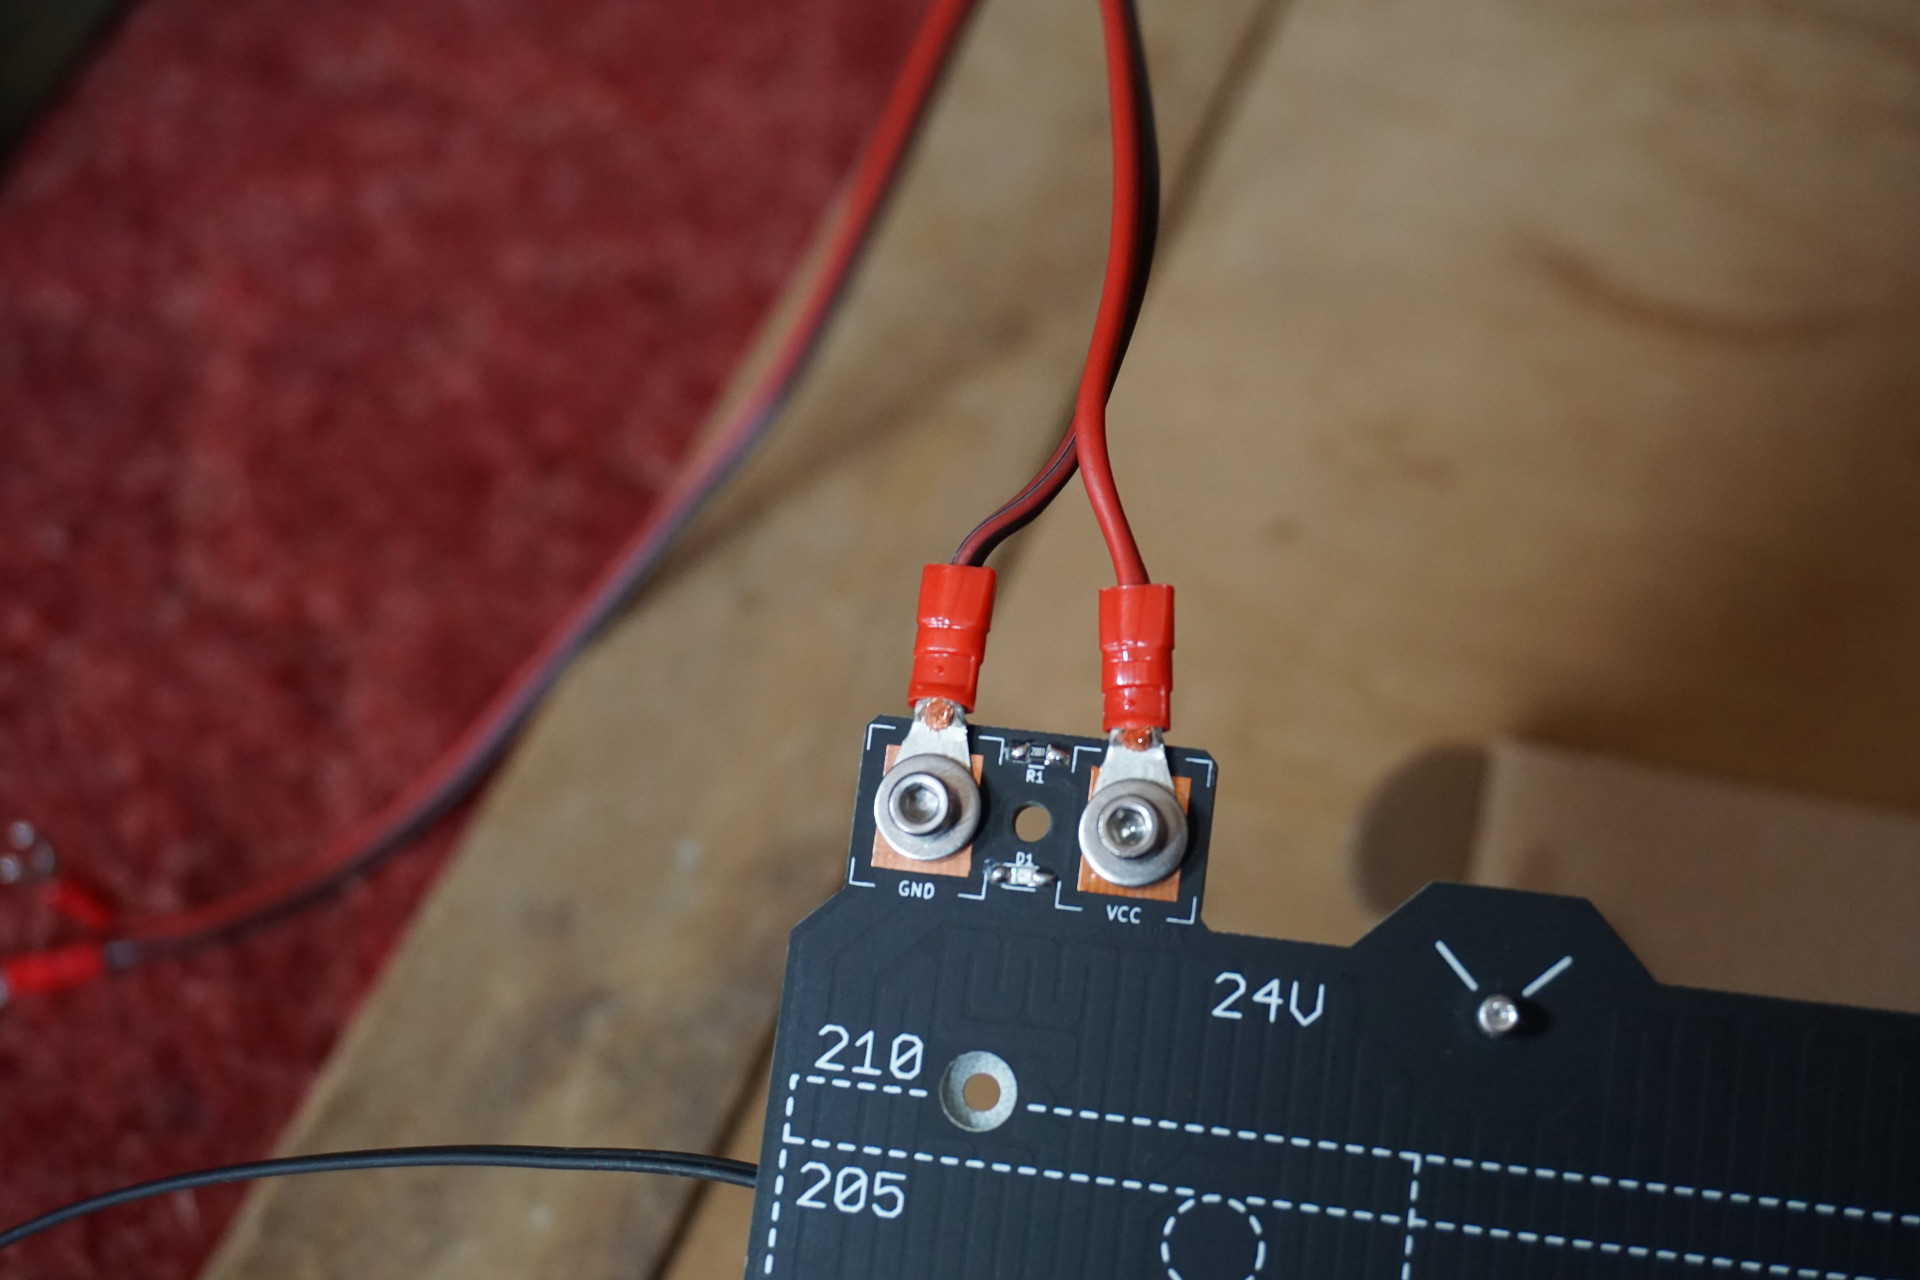
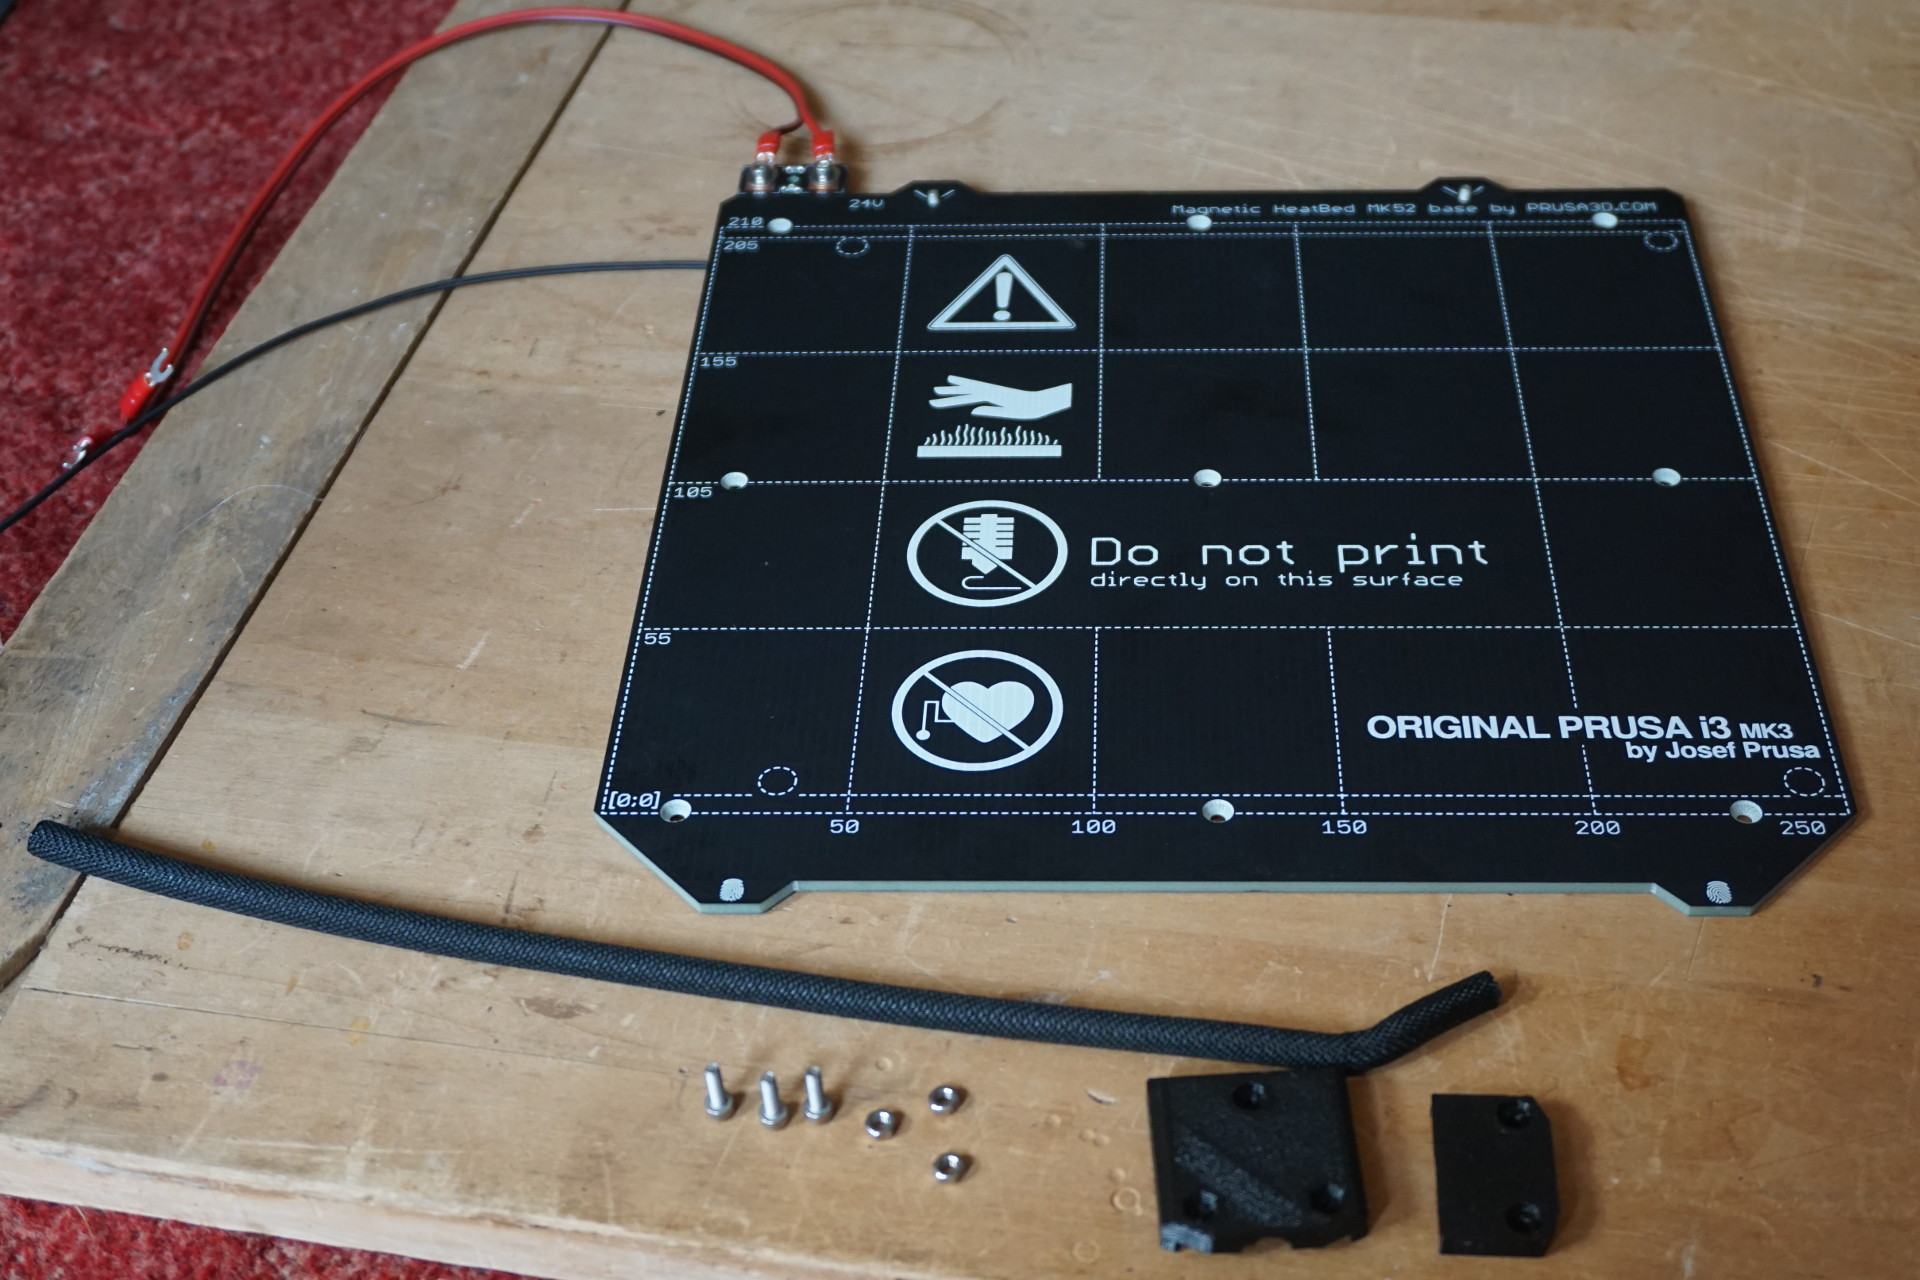
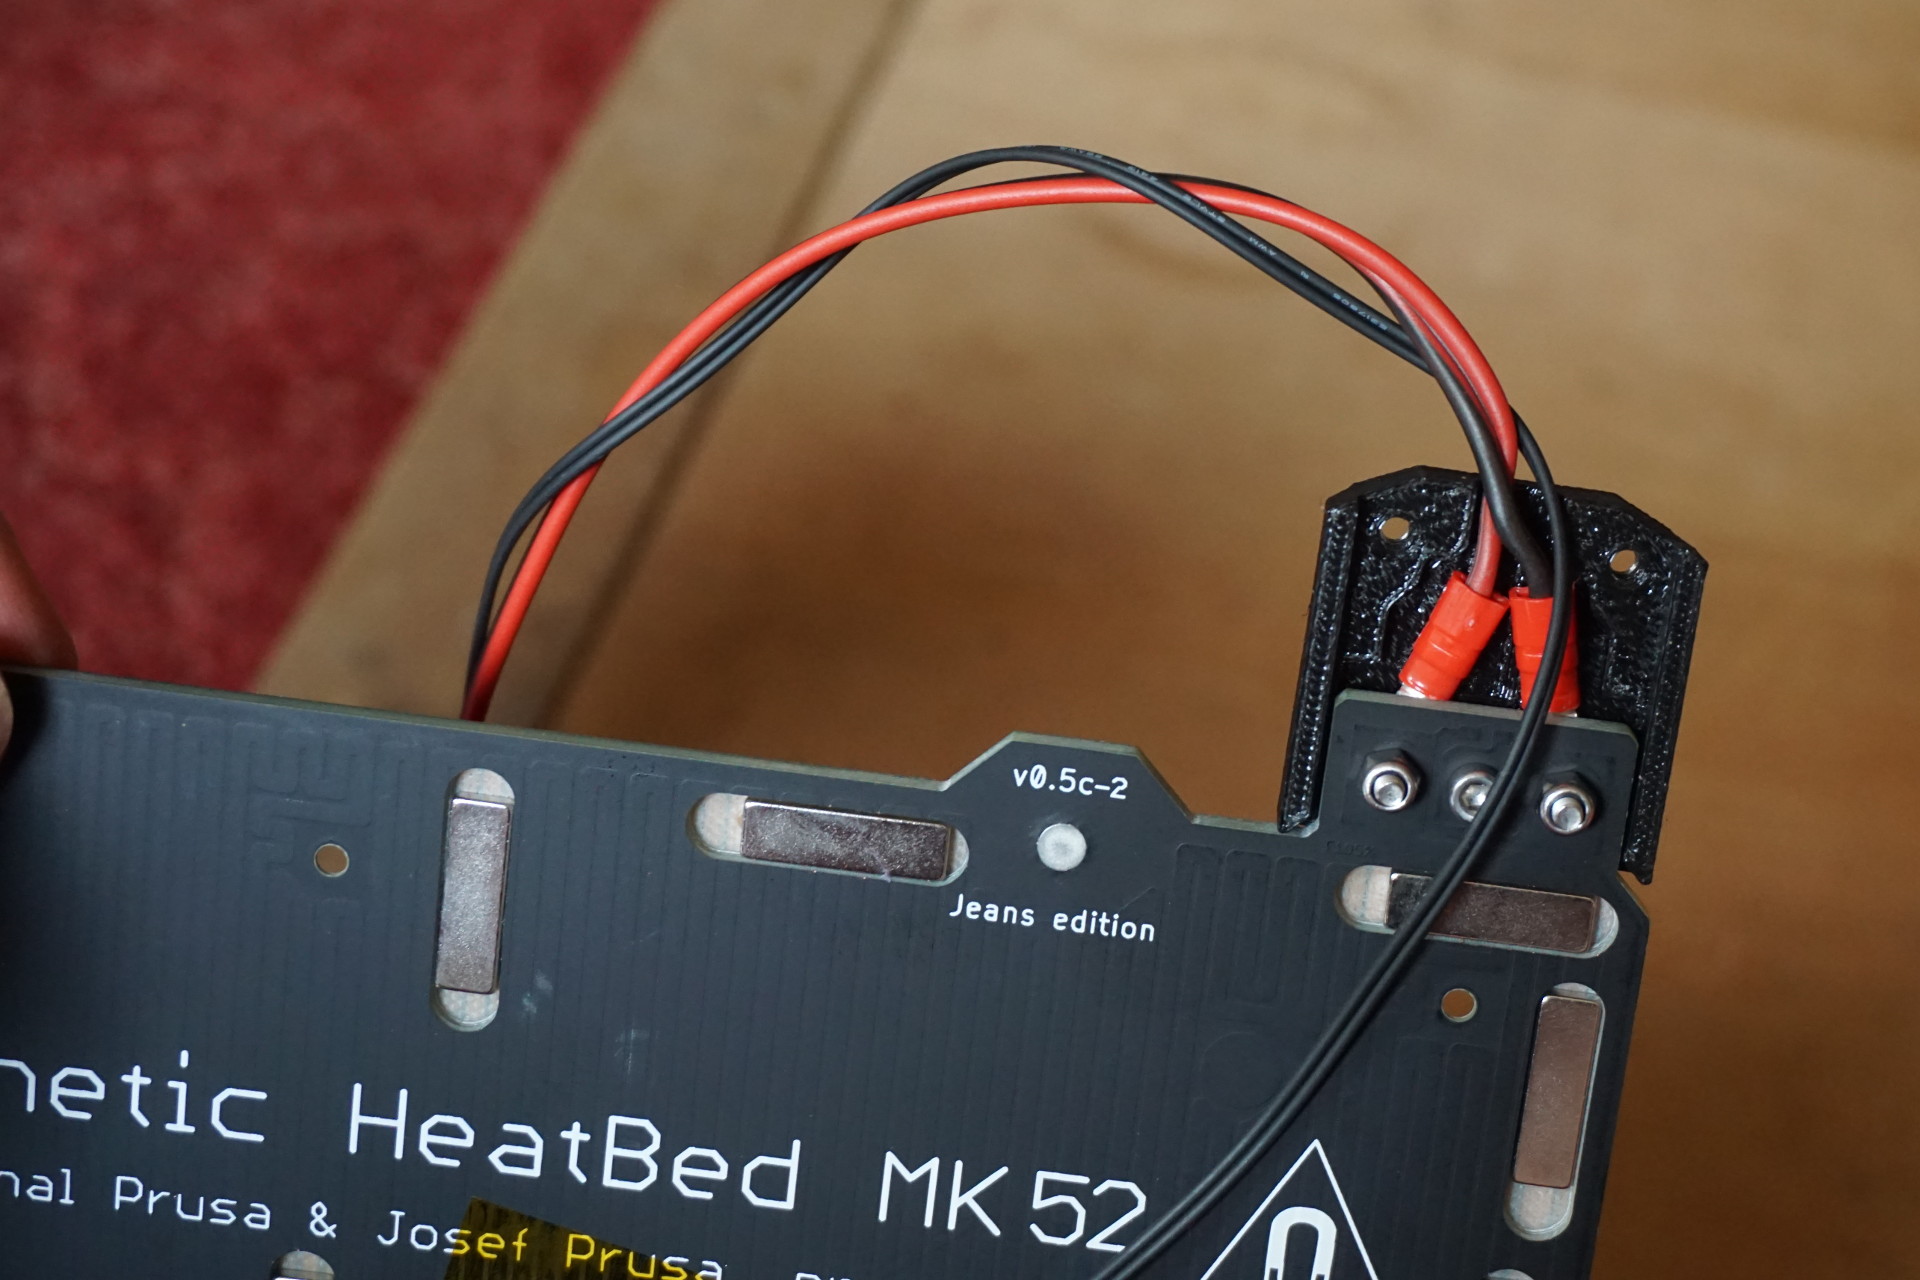
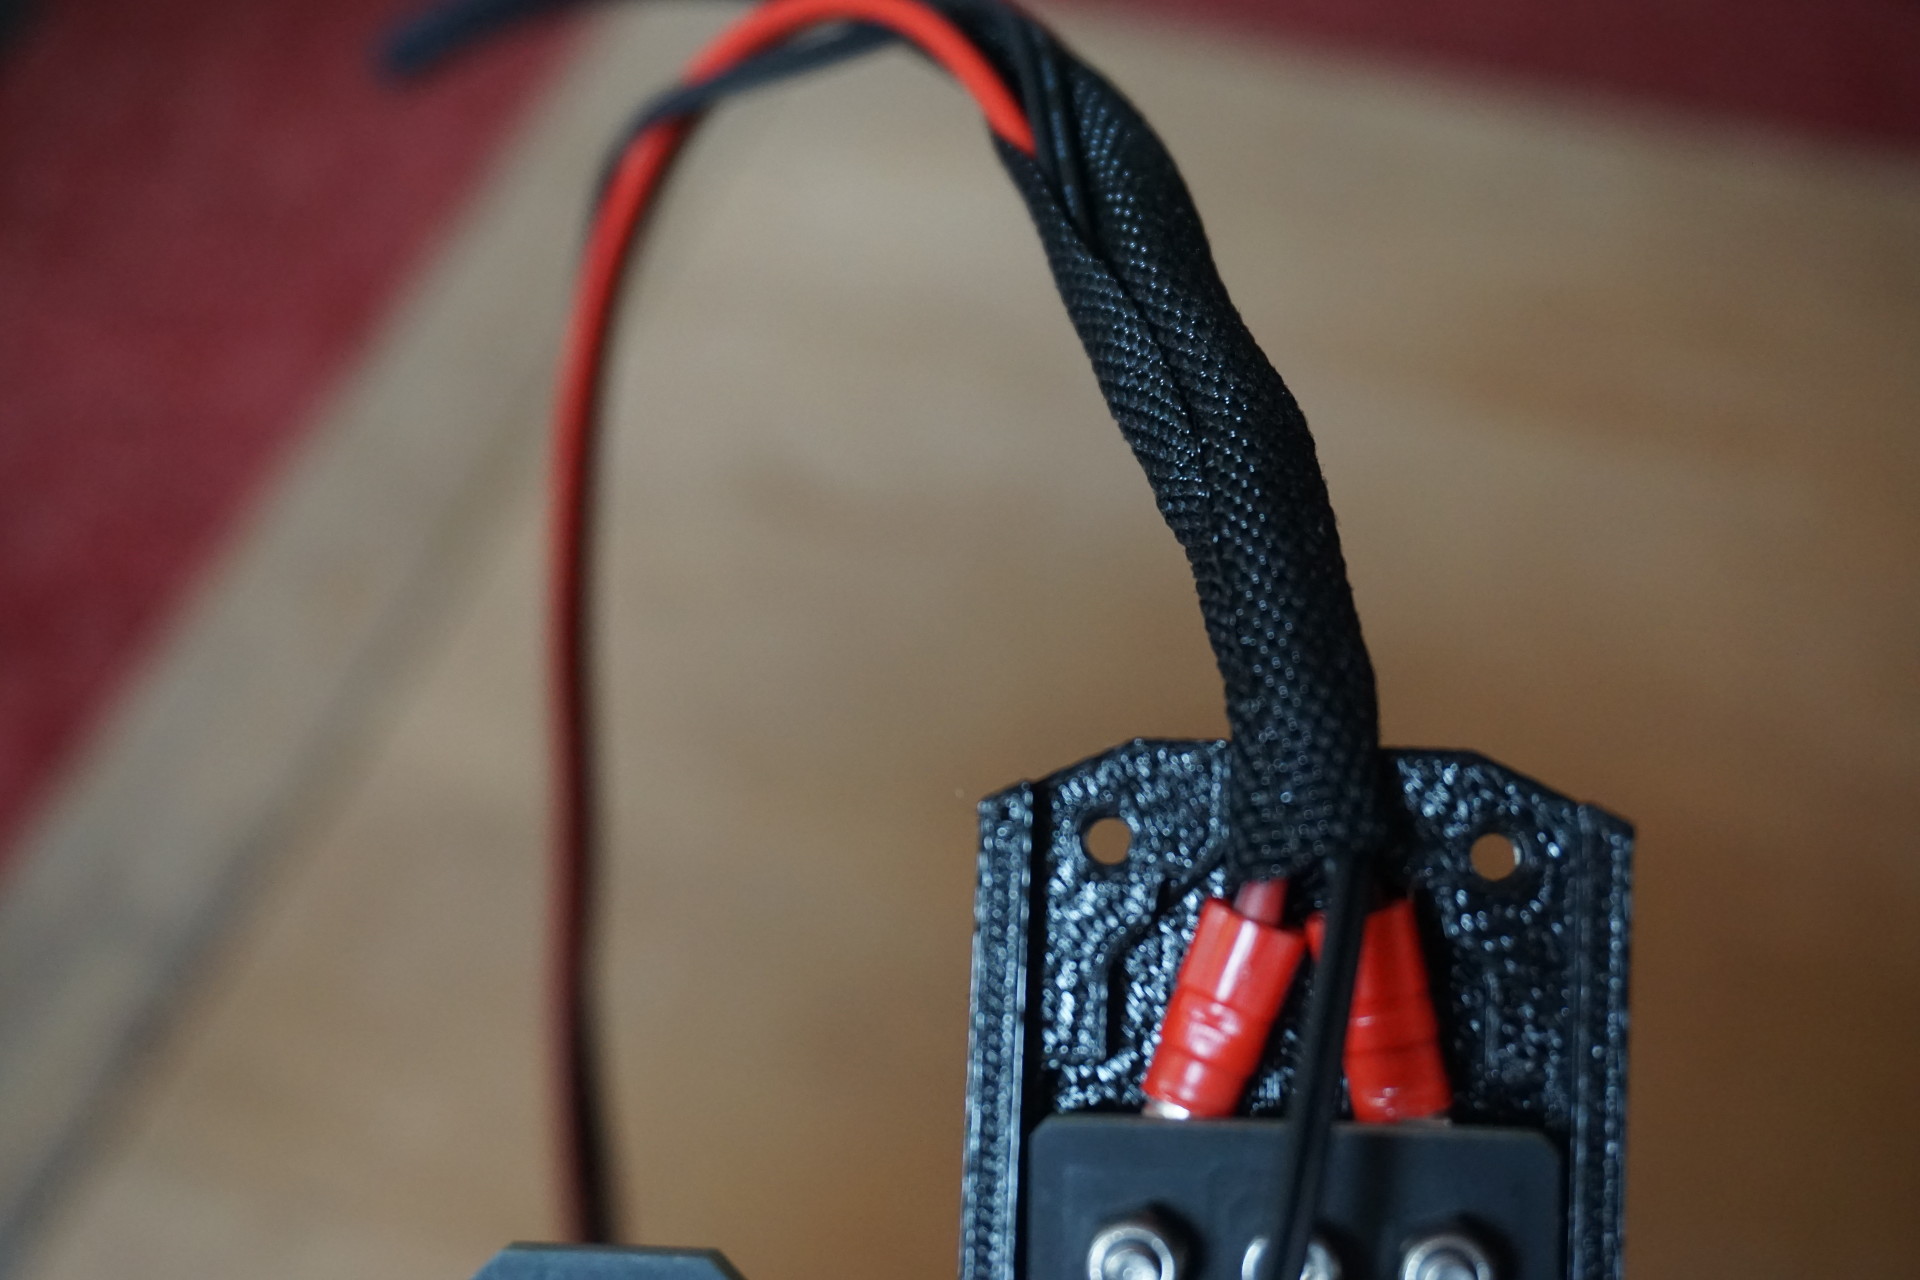
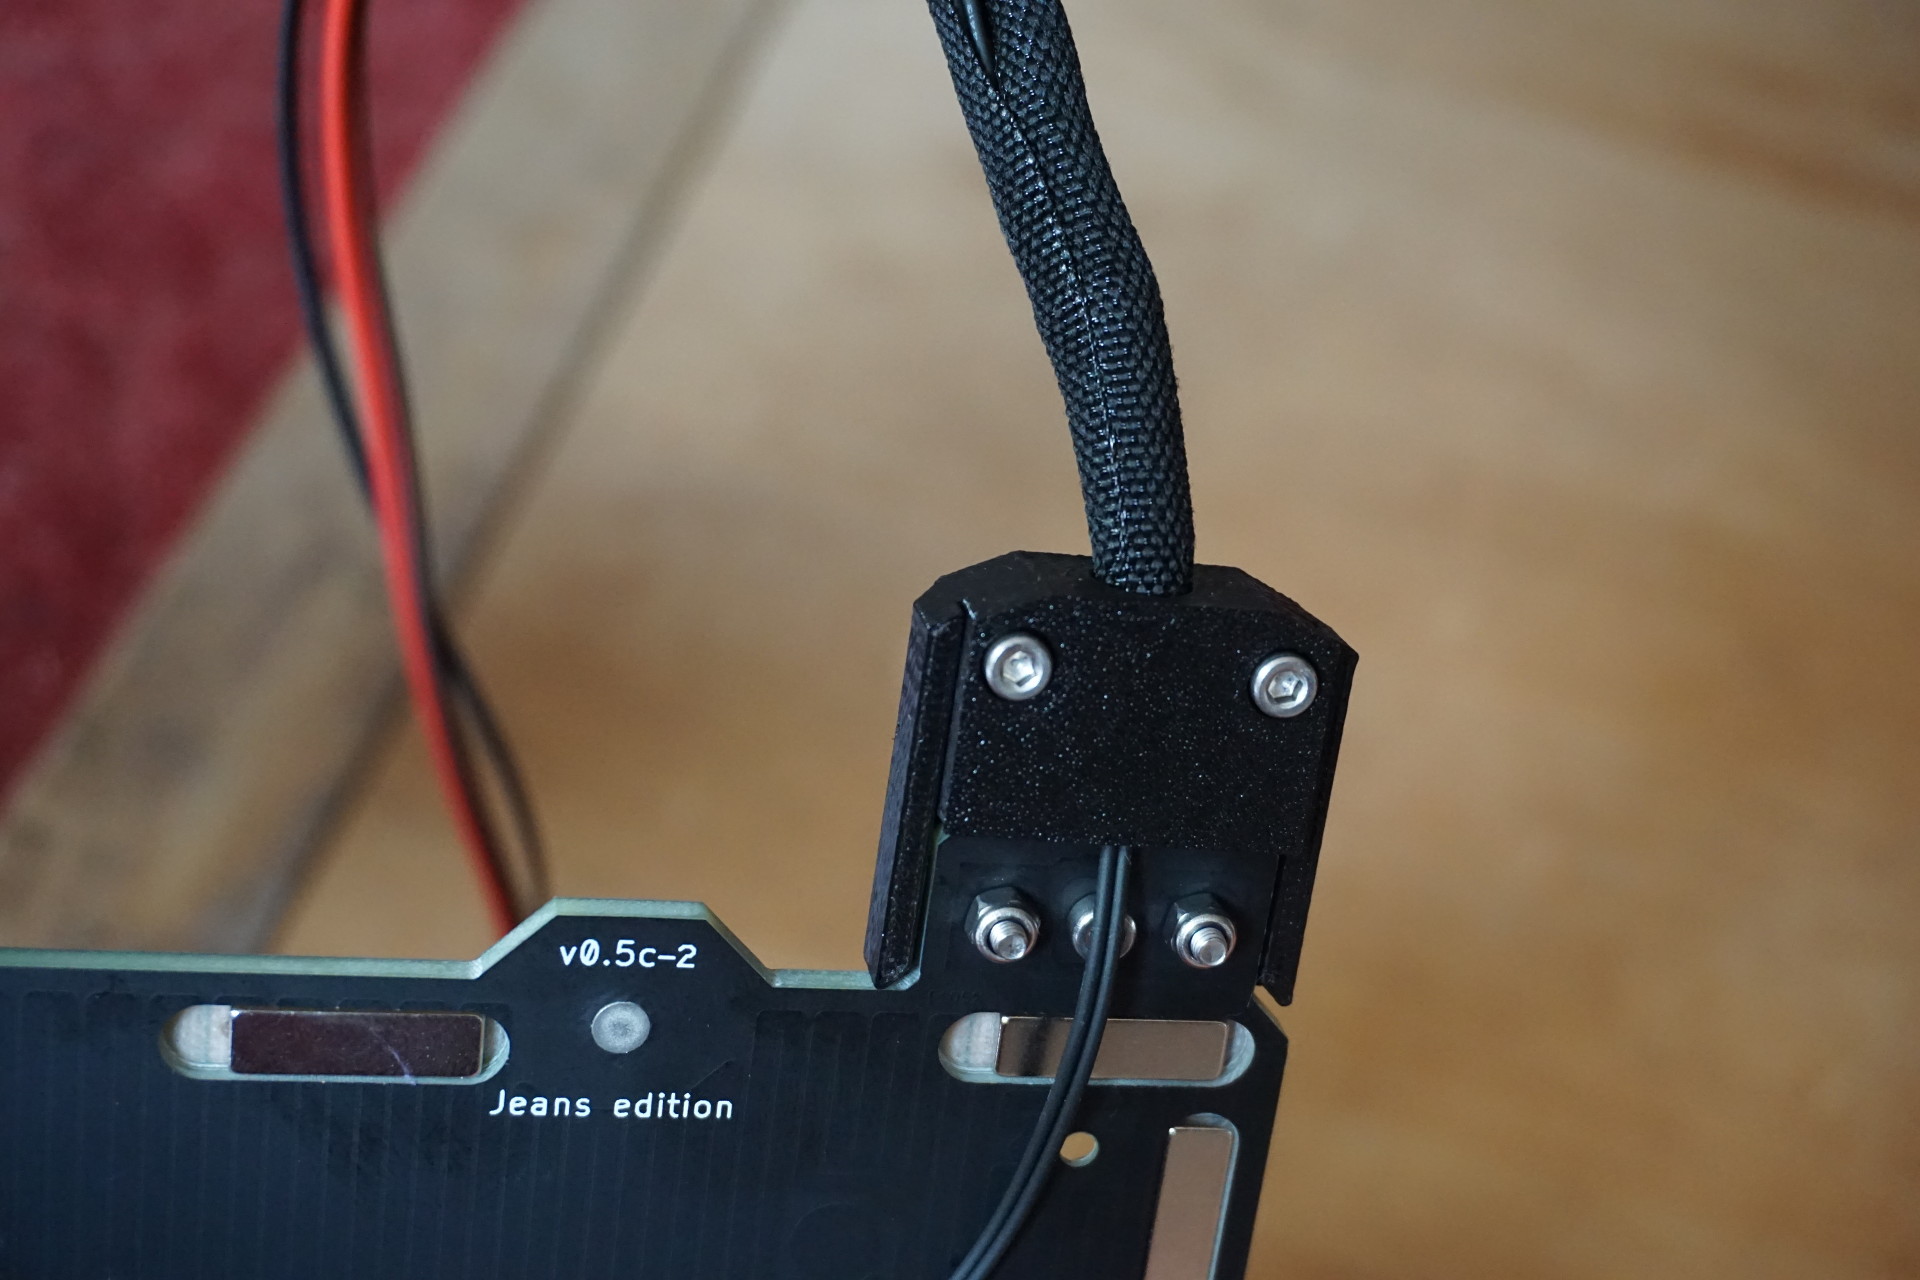
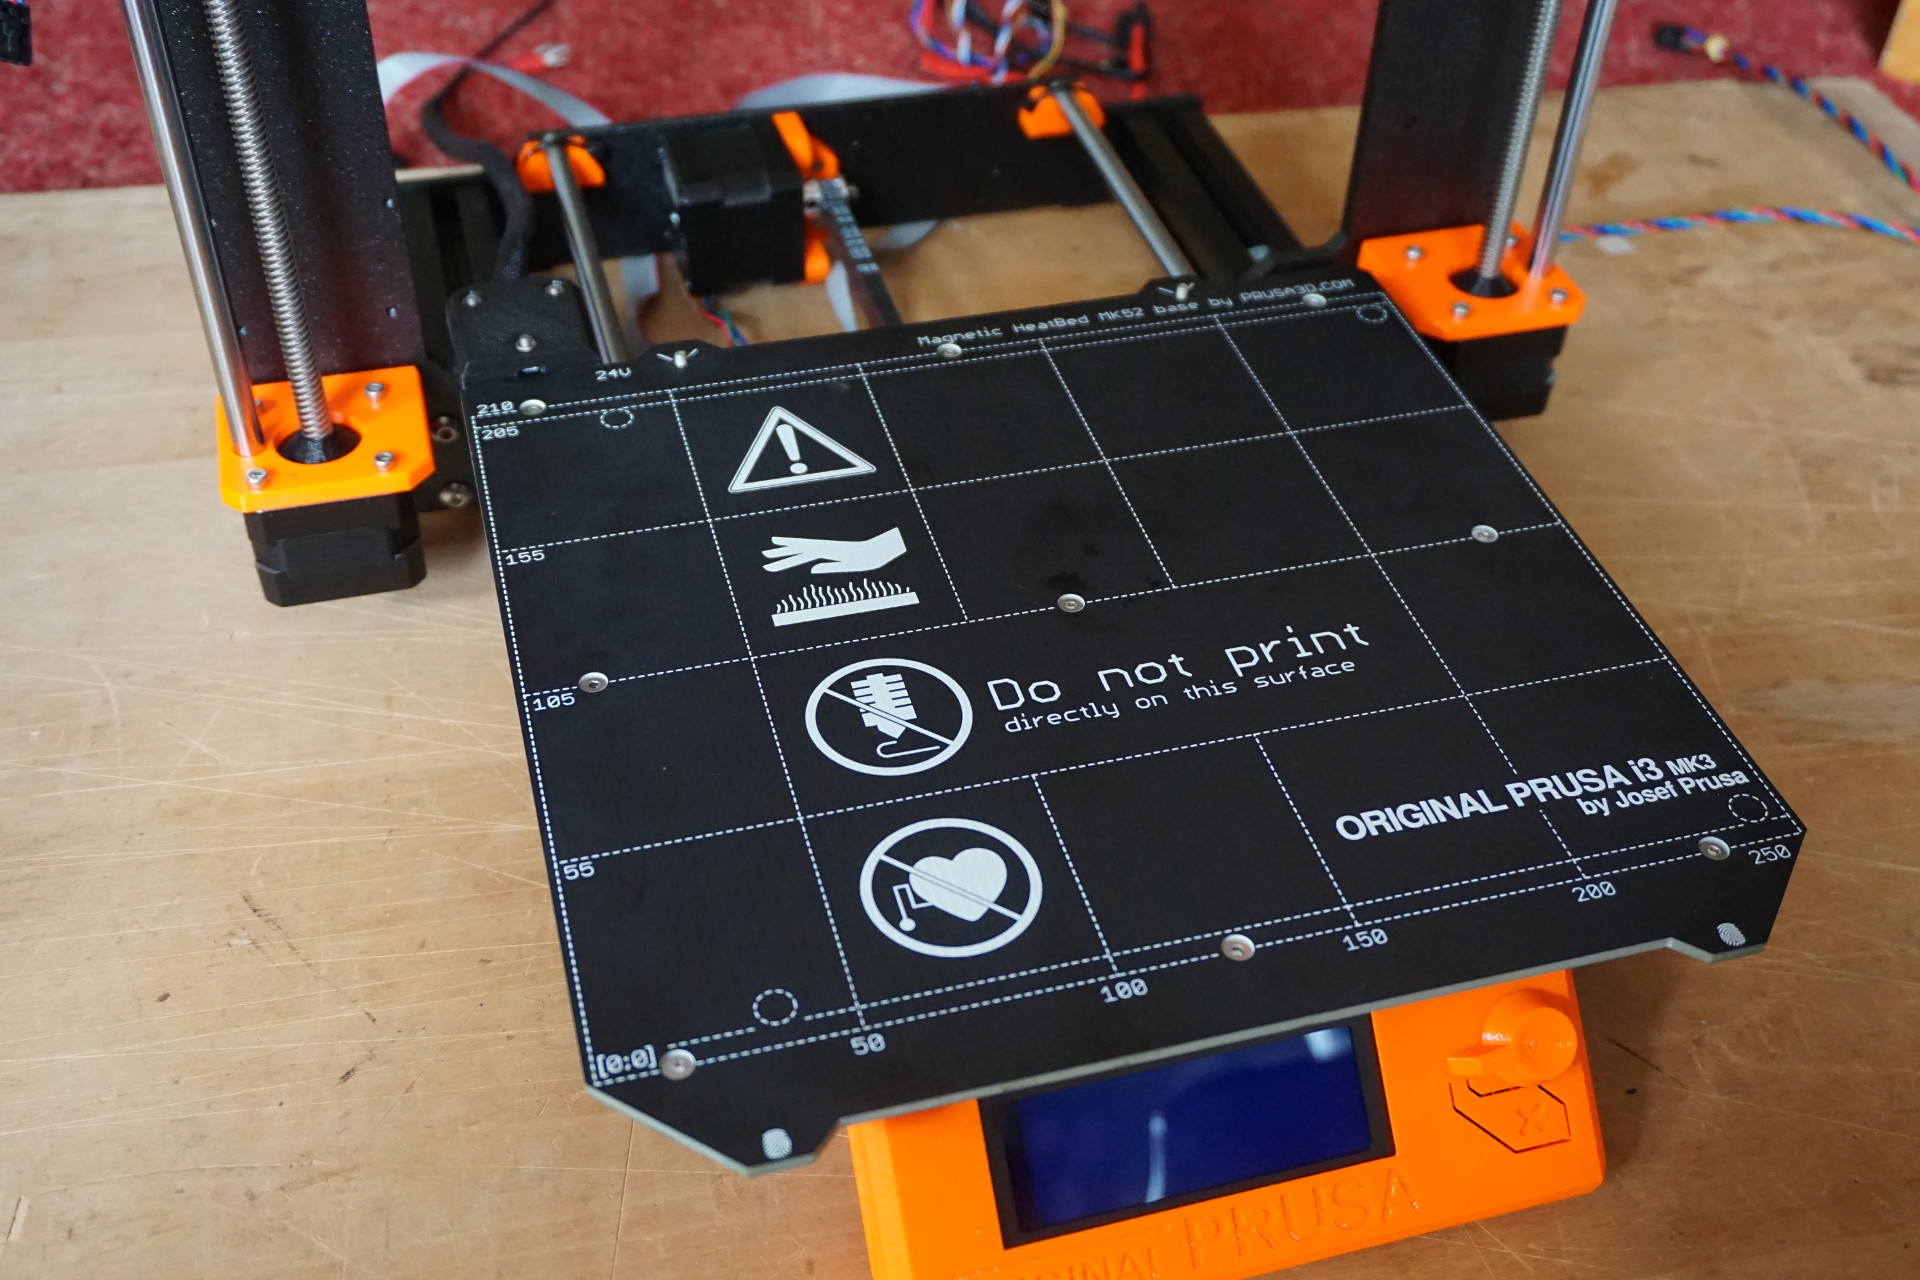
Heatbed and cables:
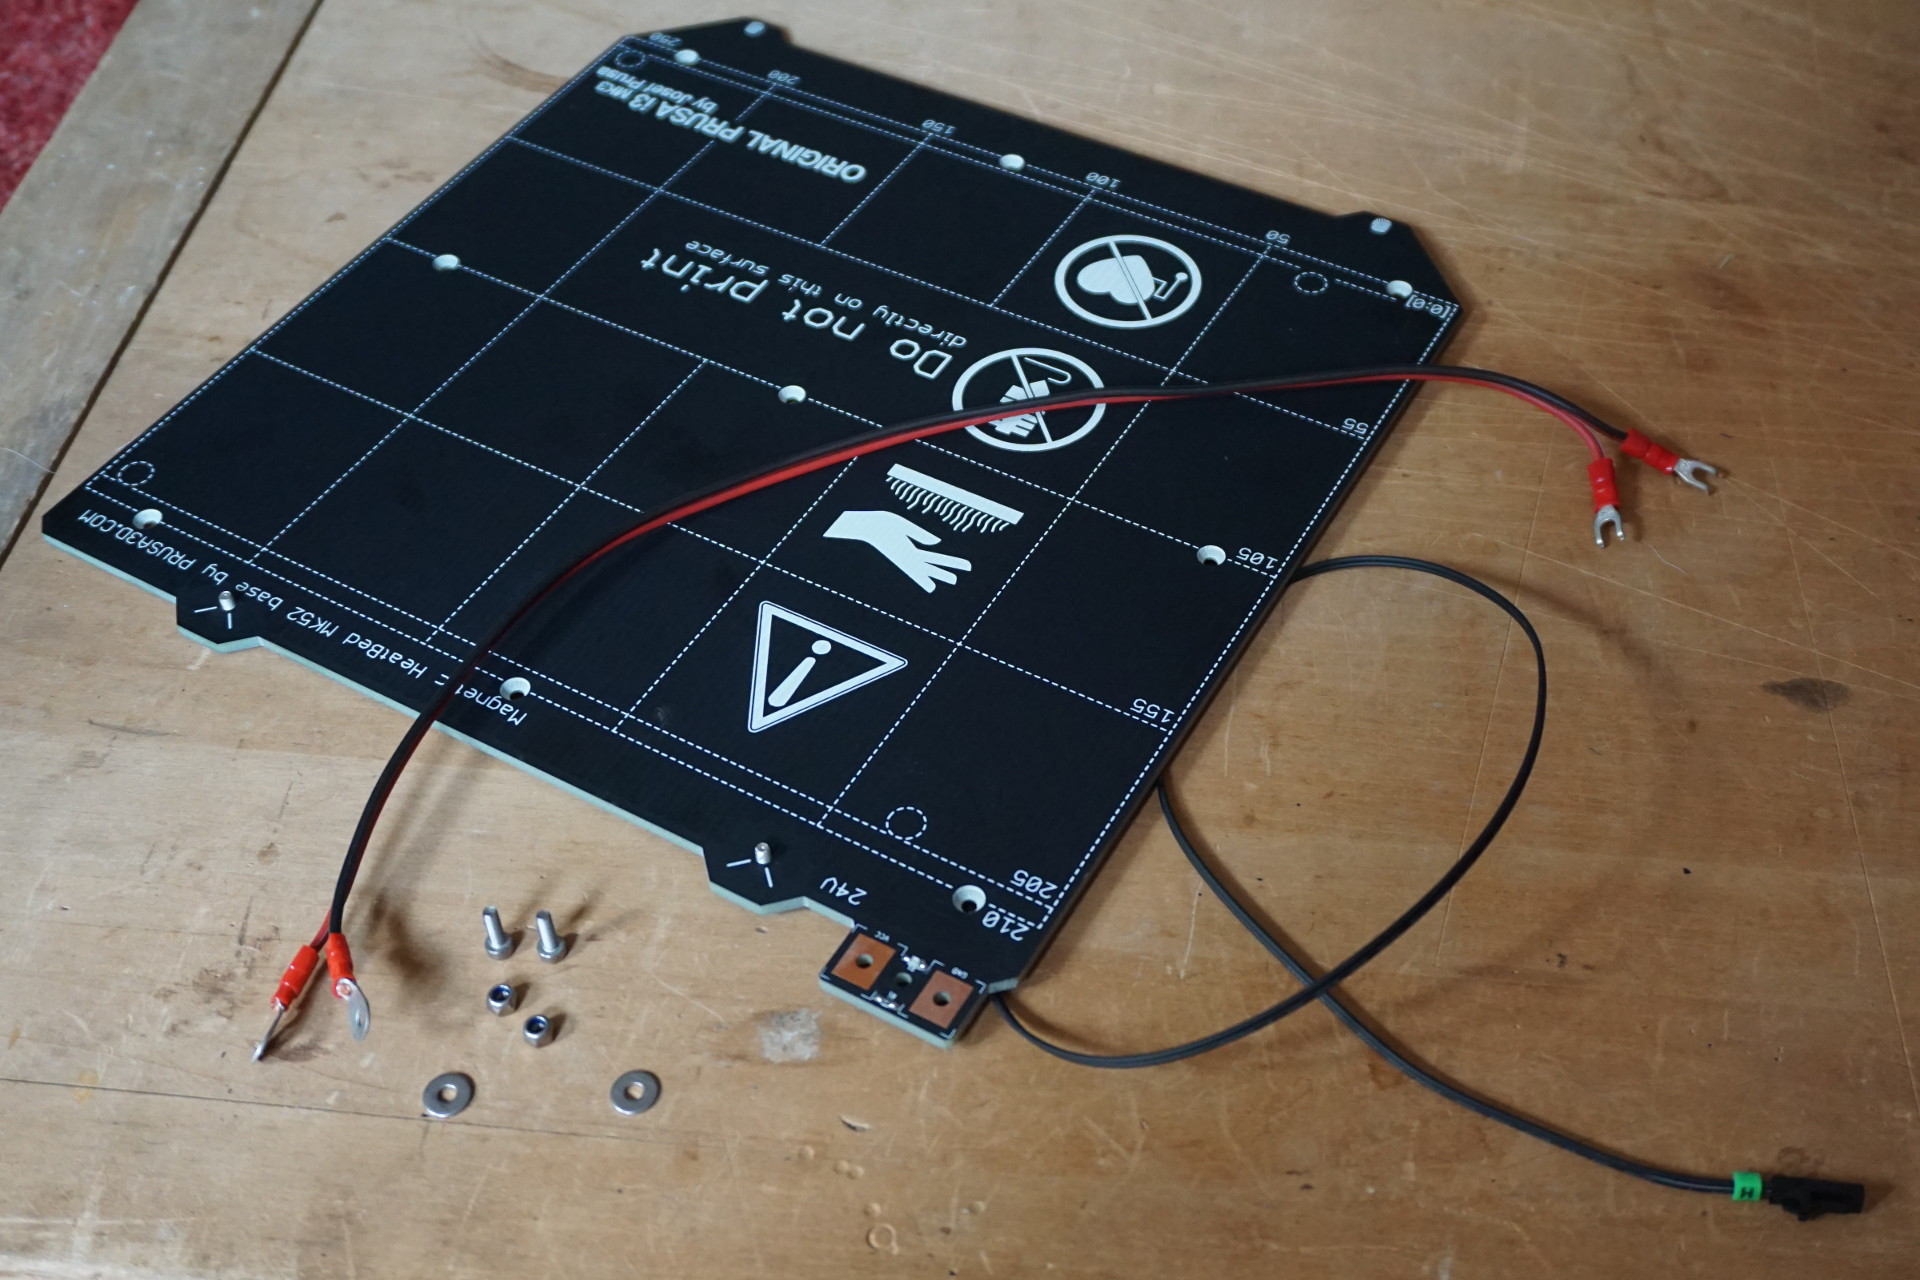
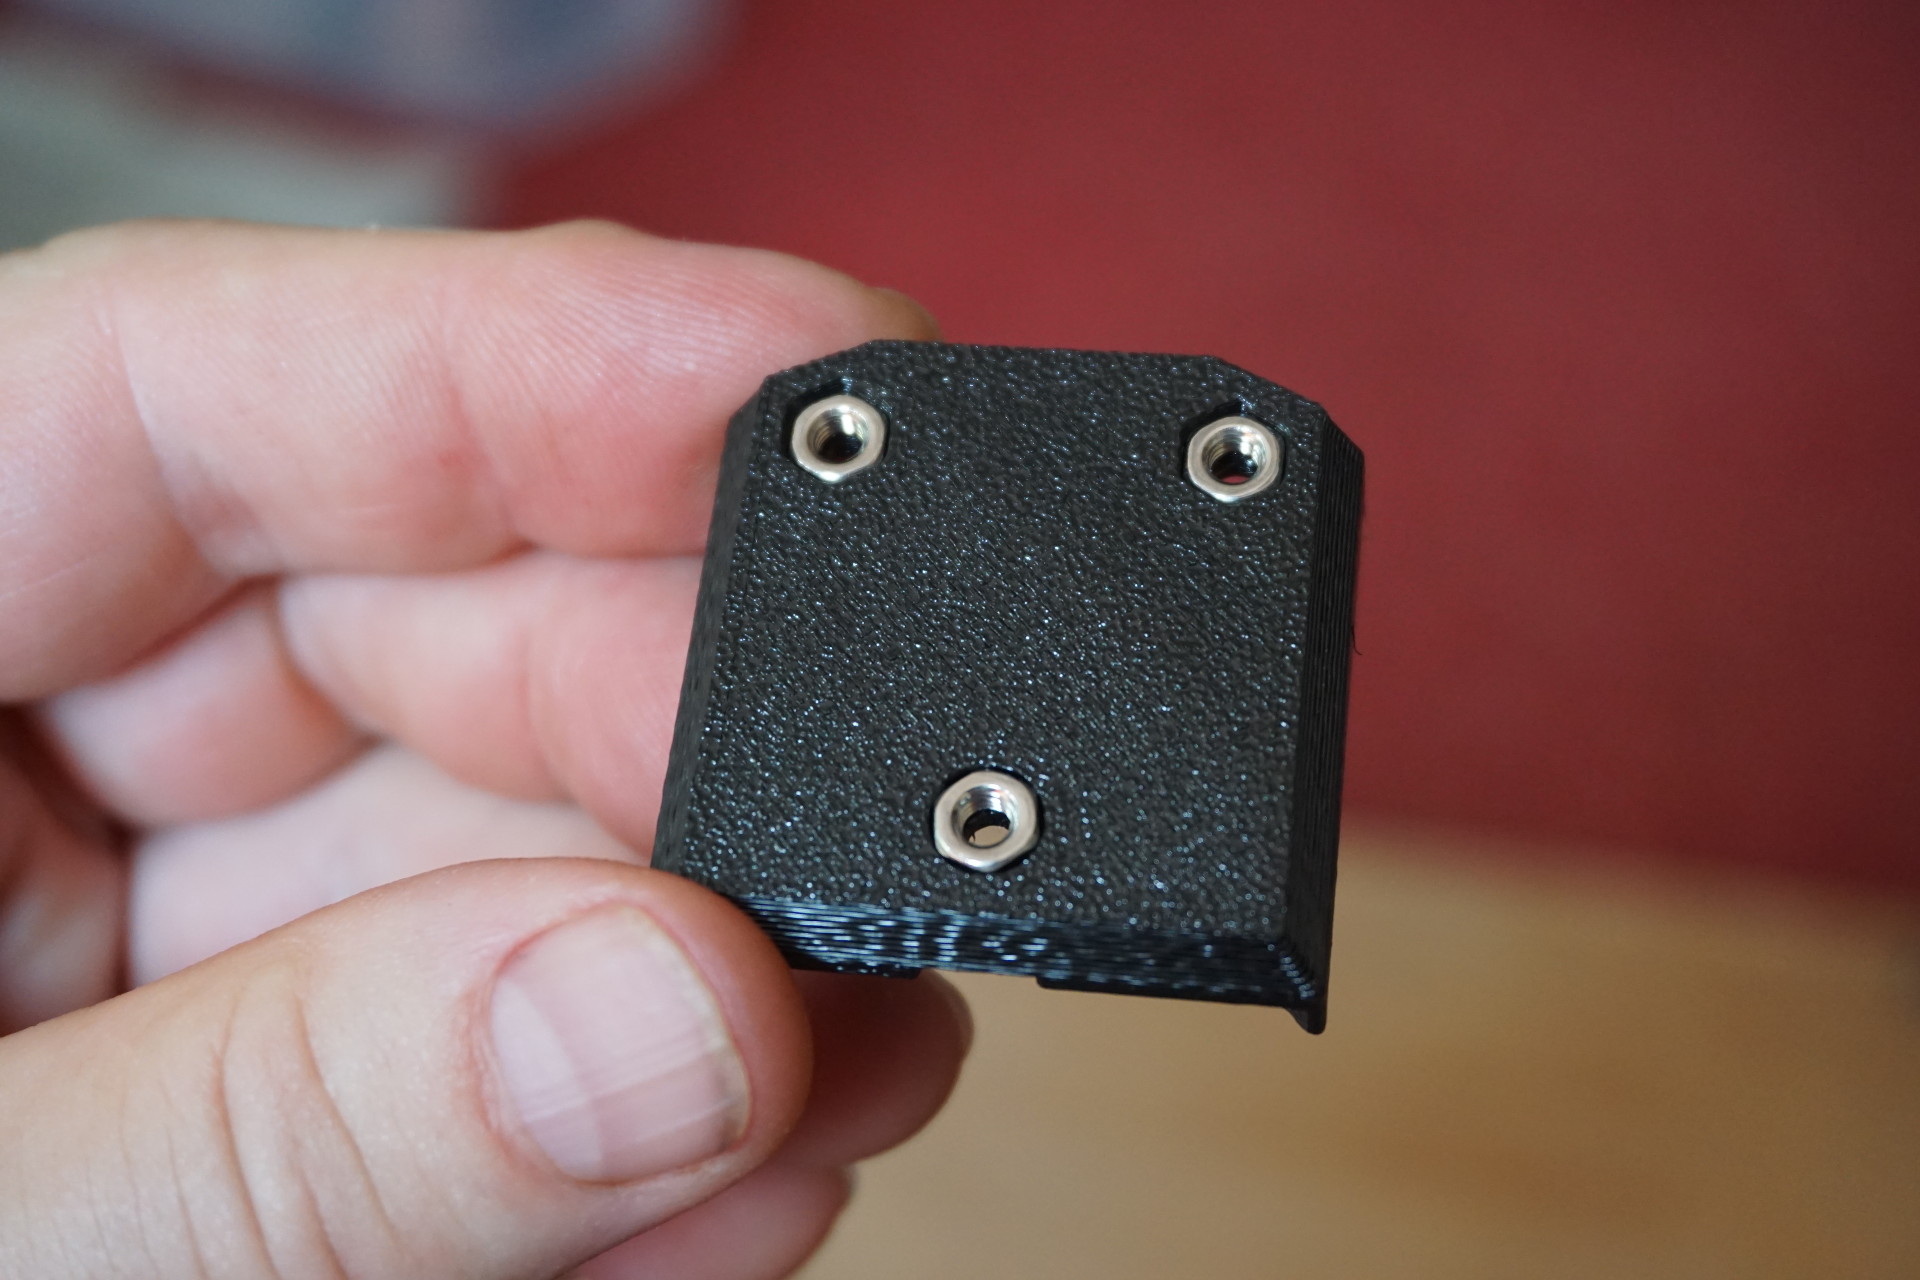
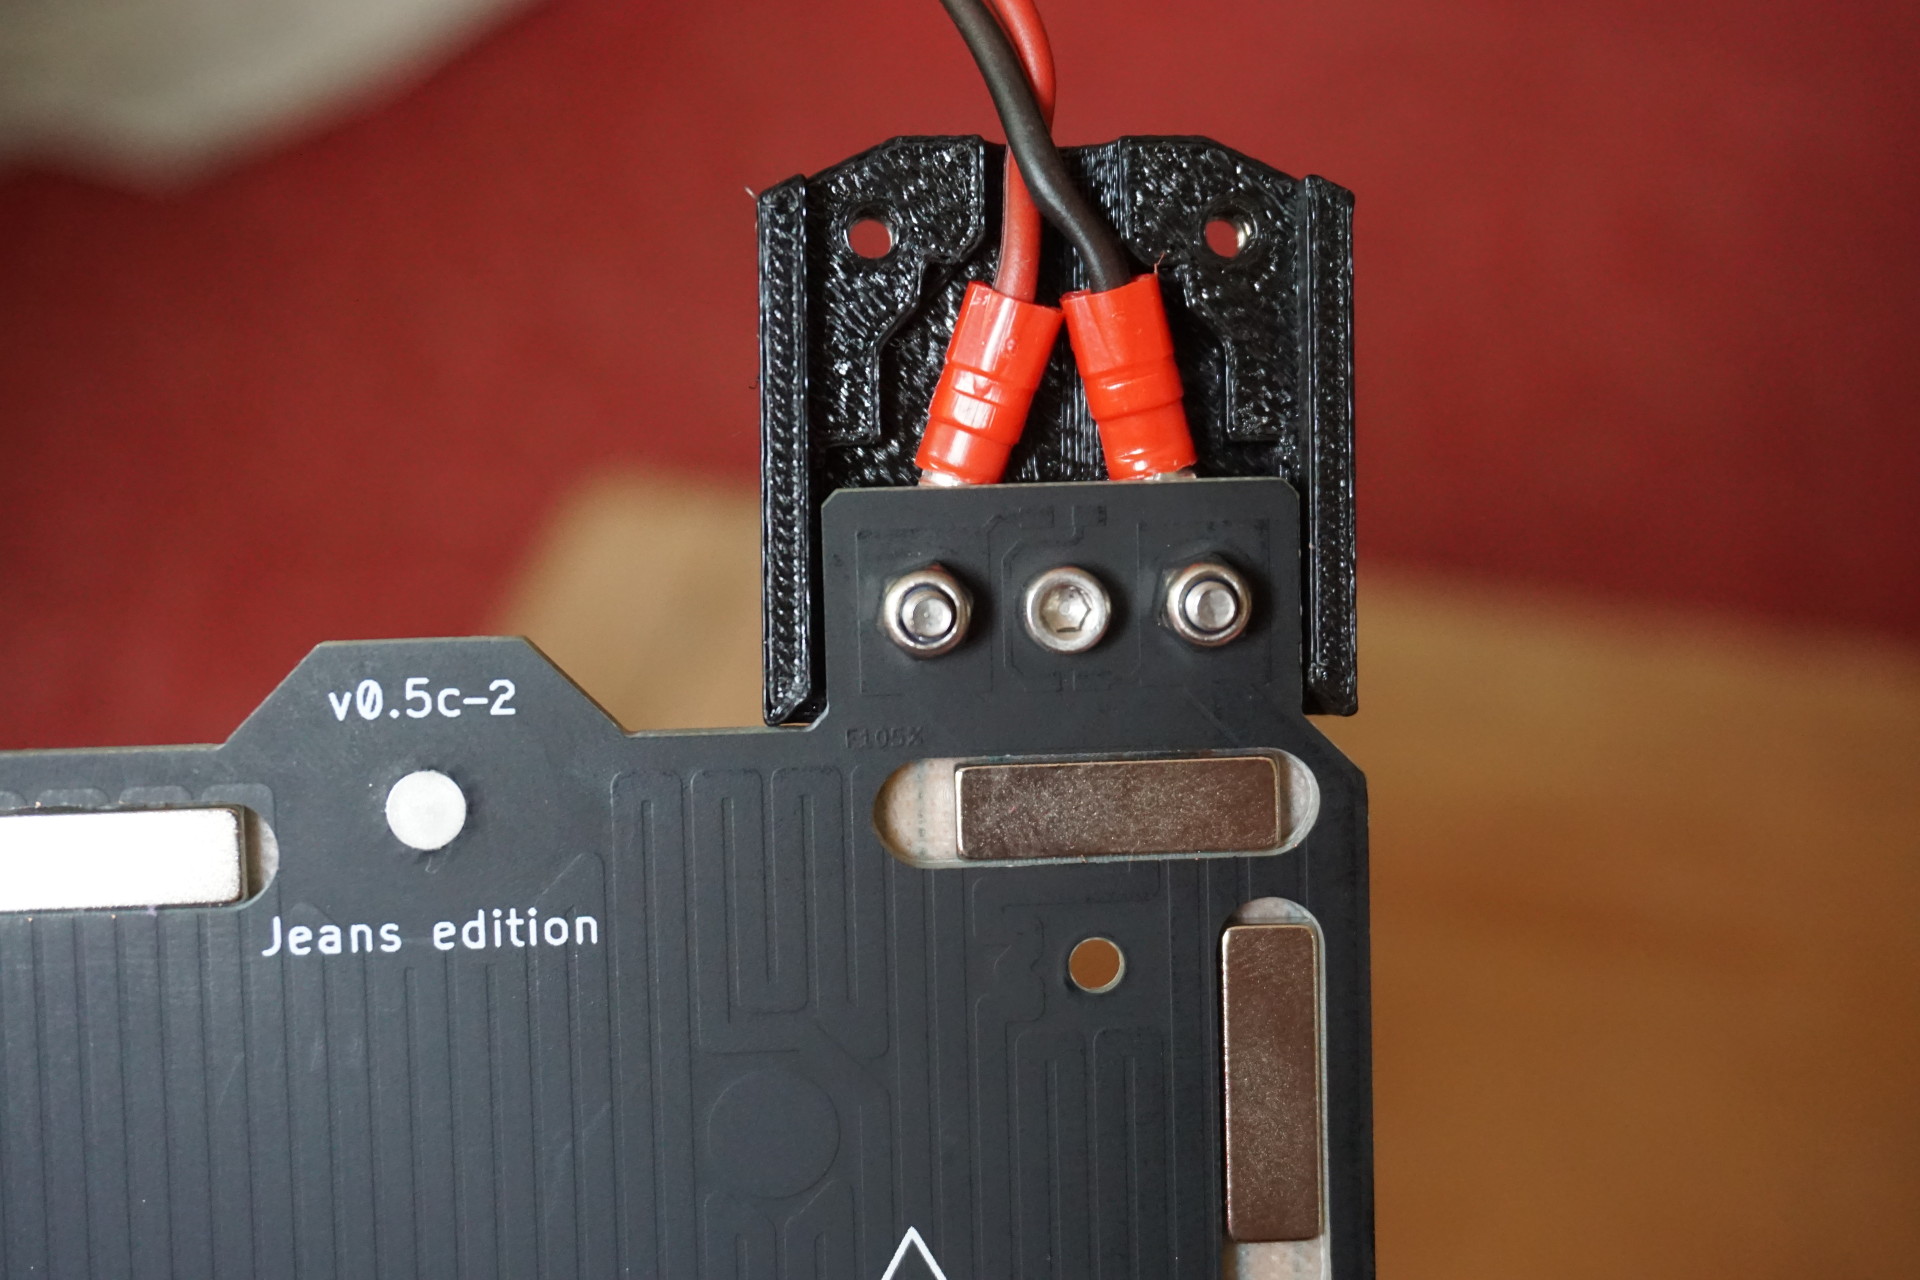
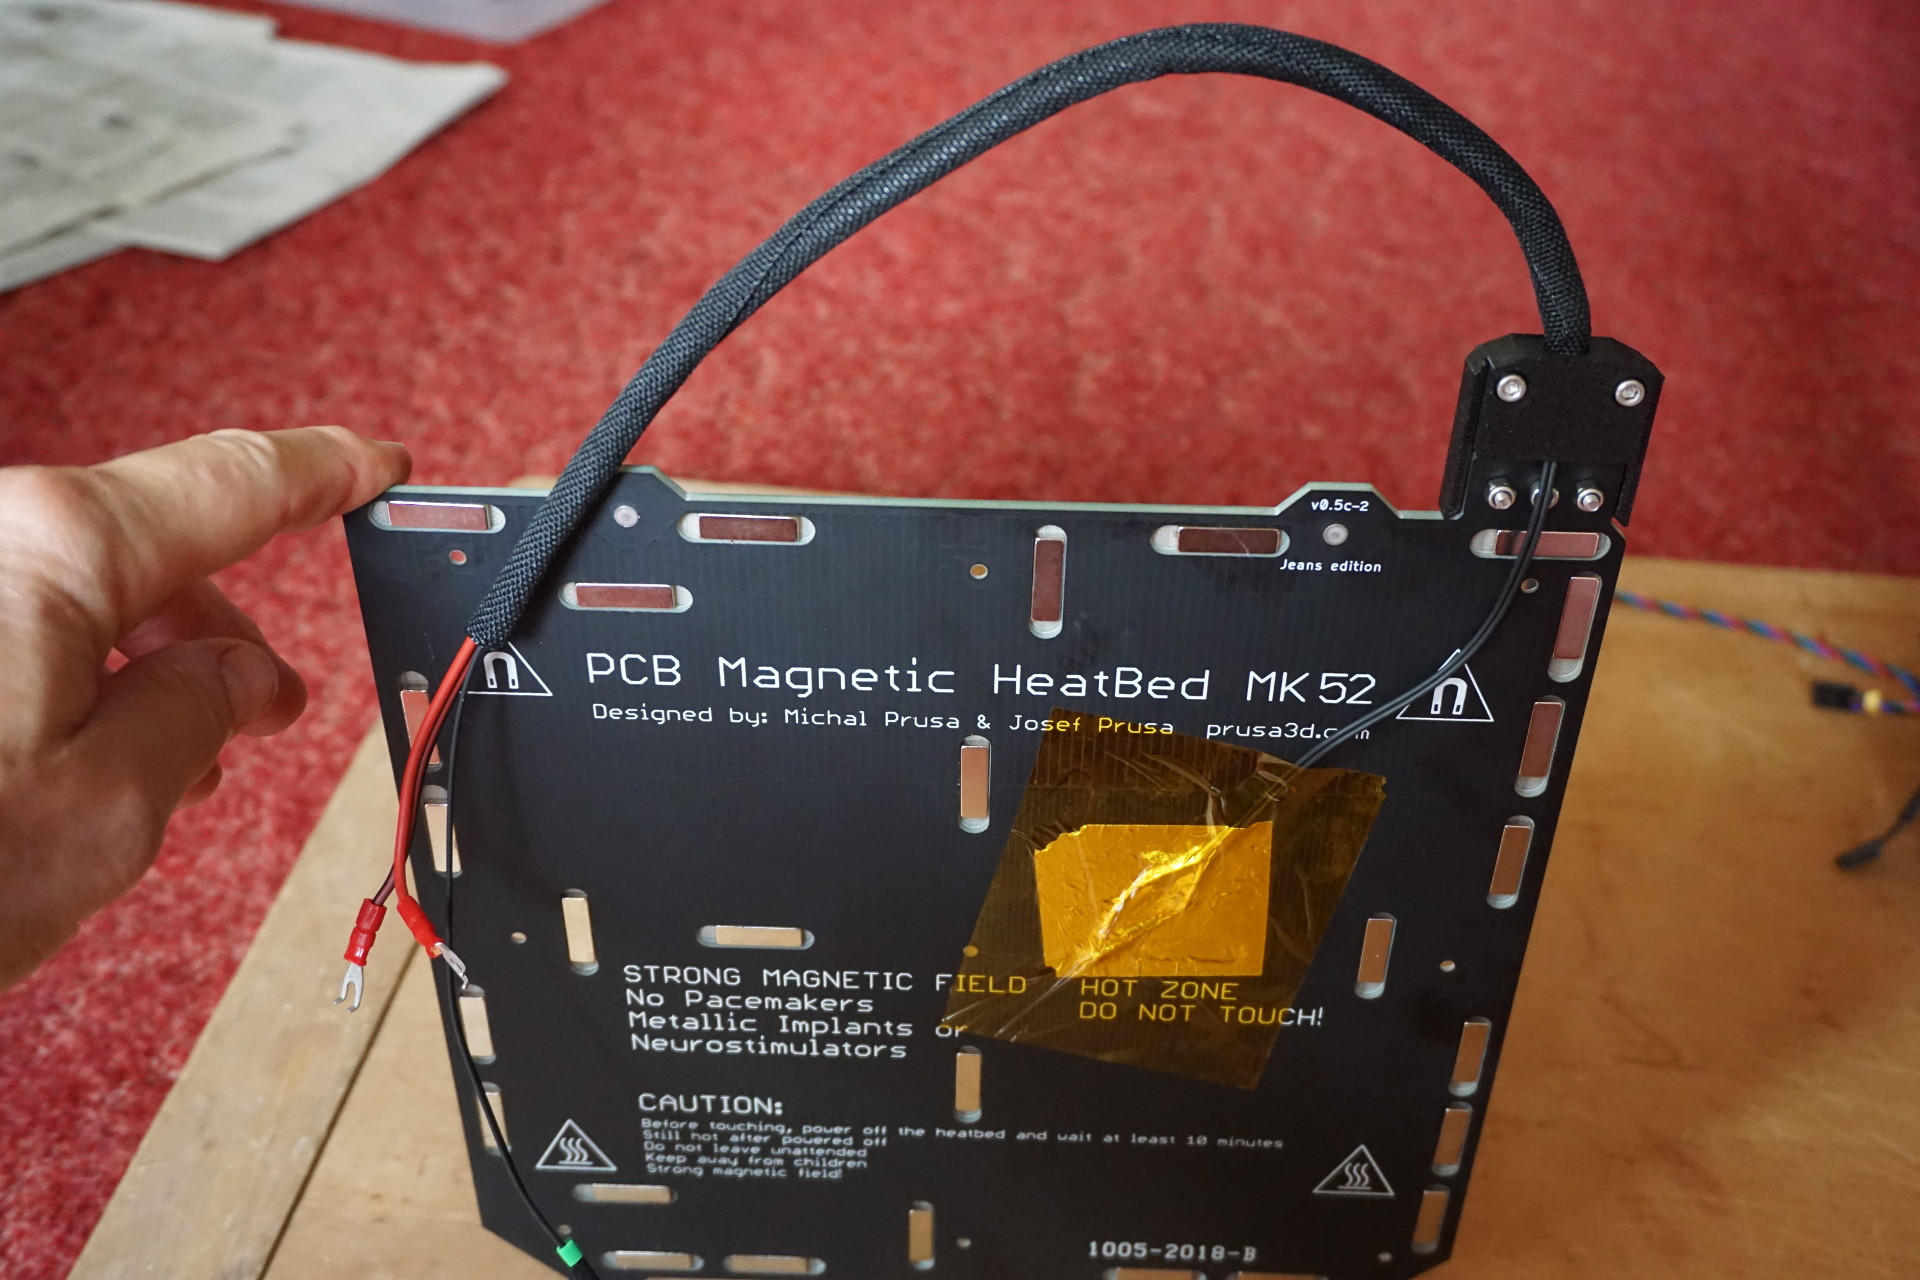
Mounting the headbed:

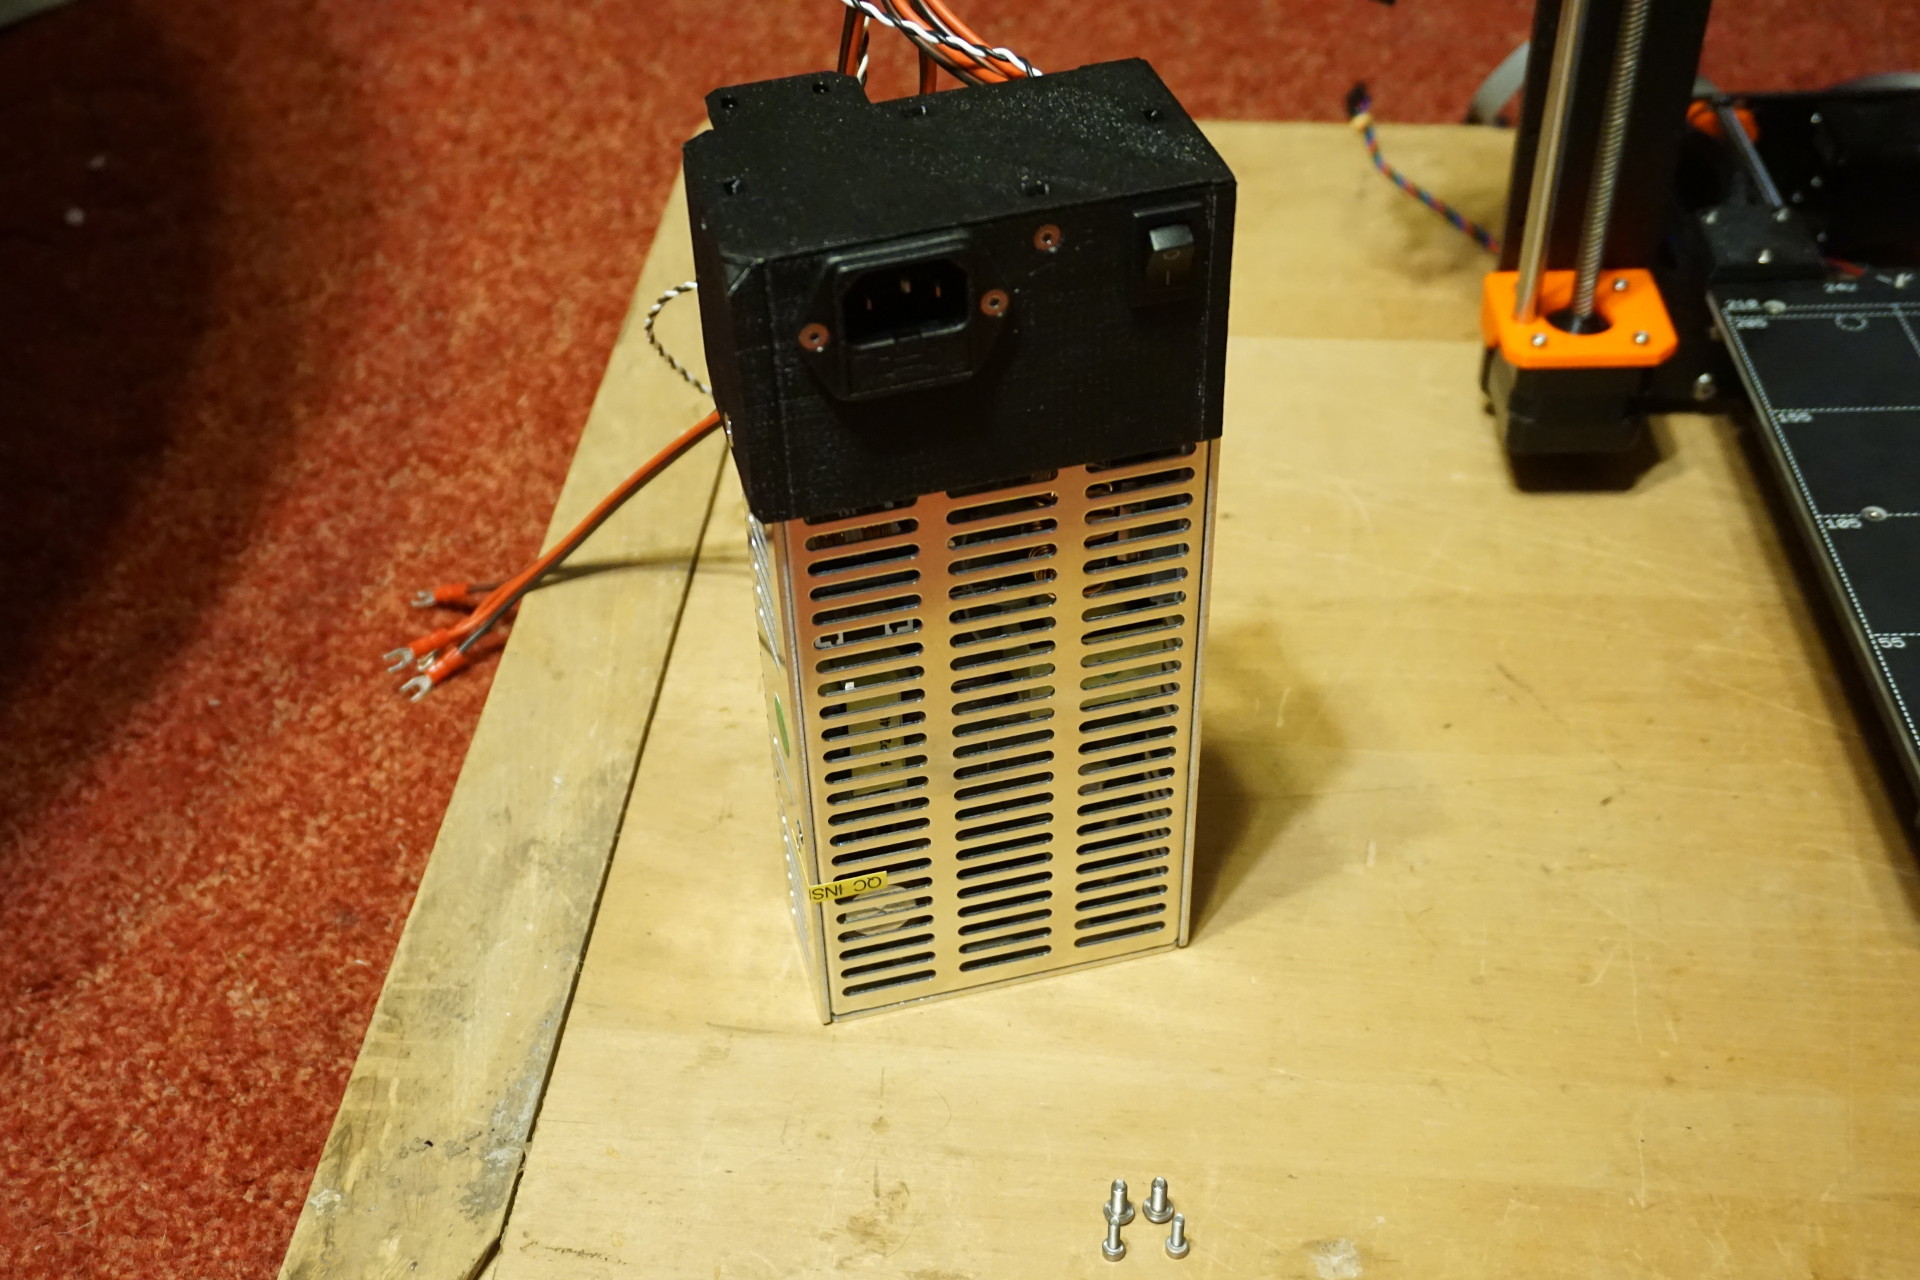
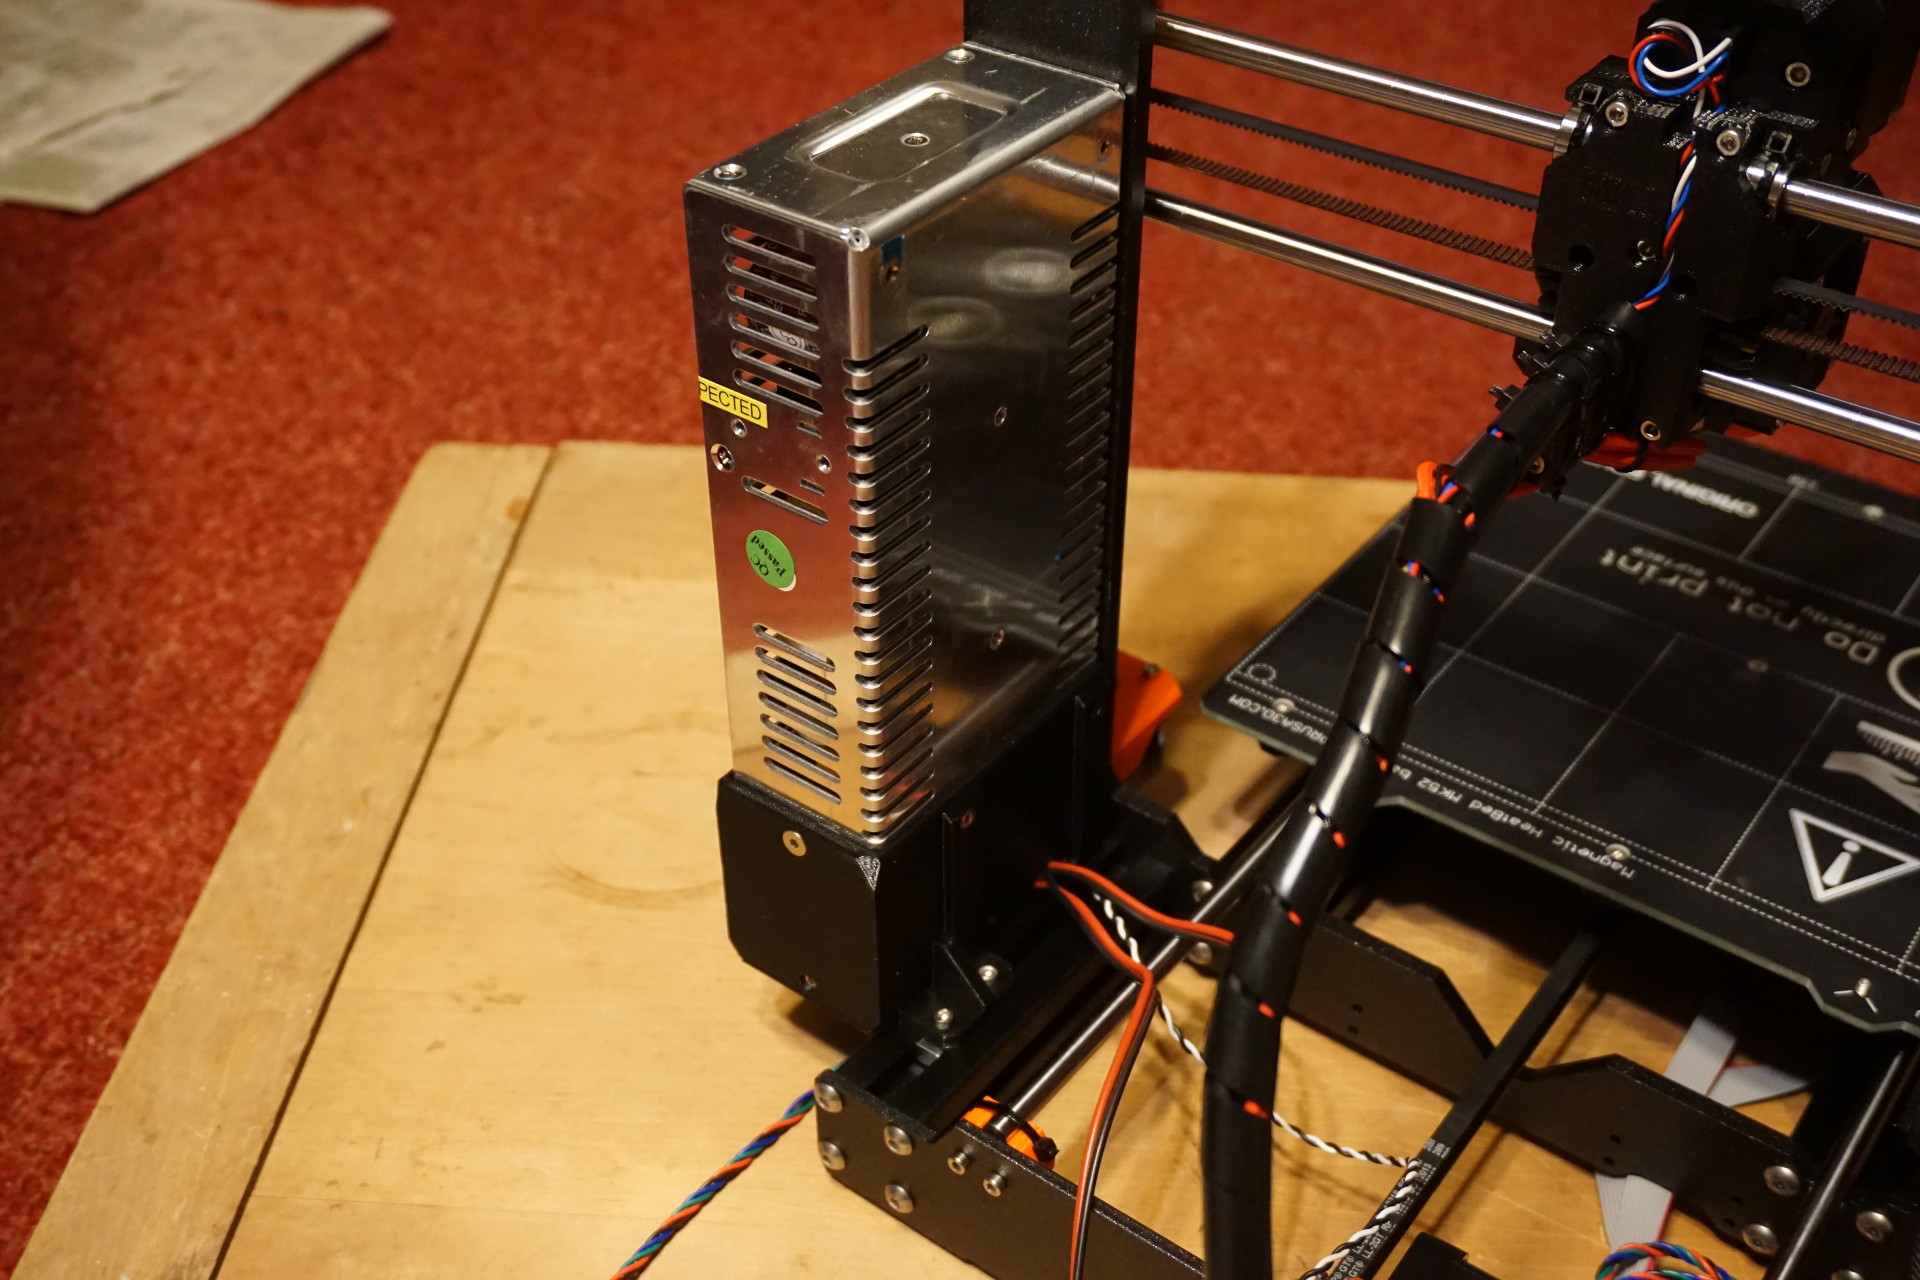
Mounting the power supply:
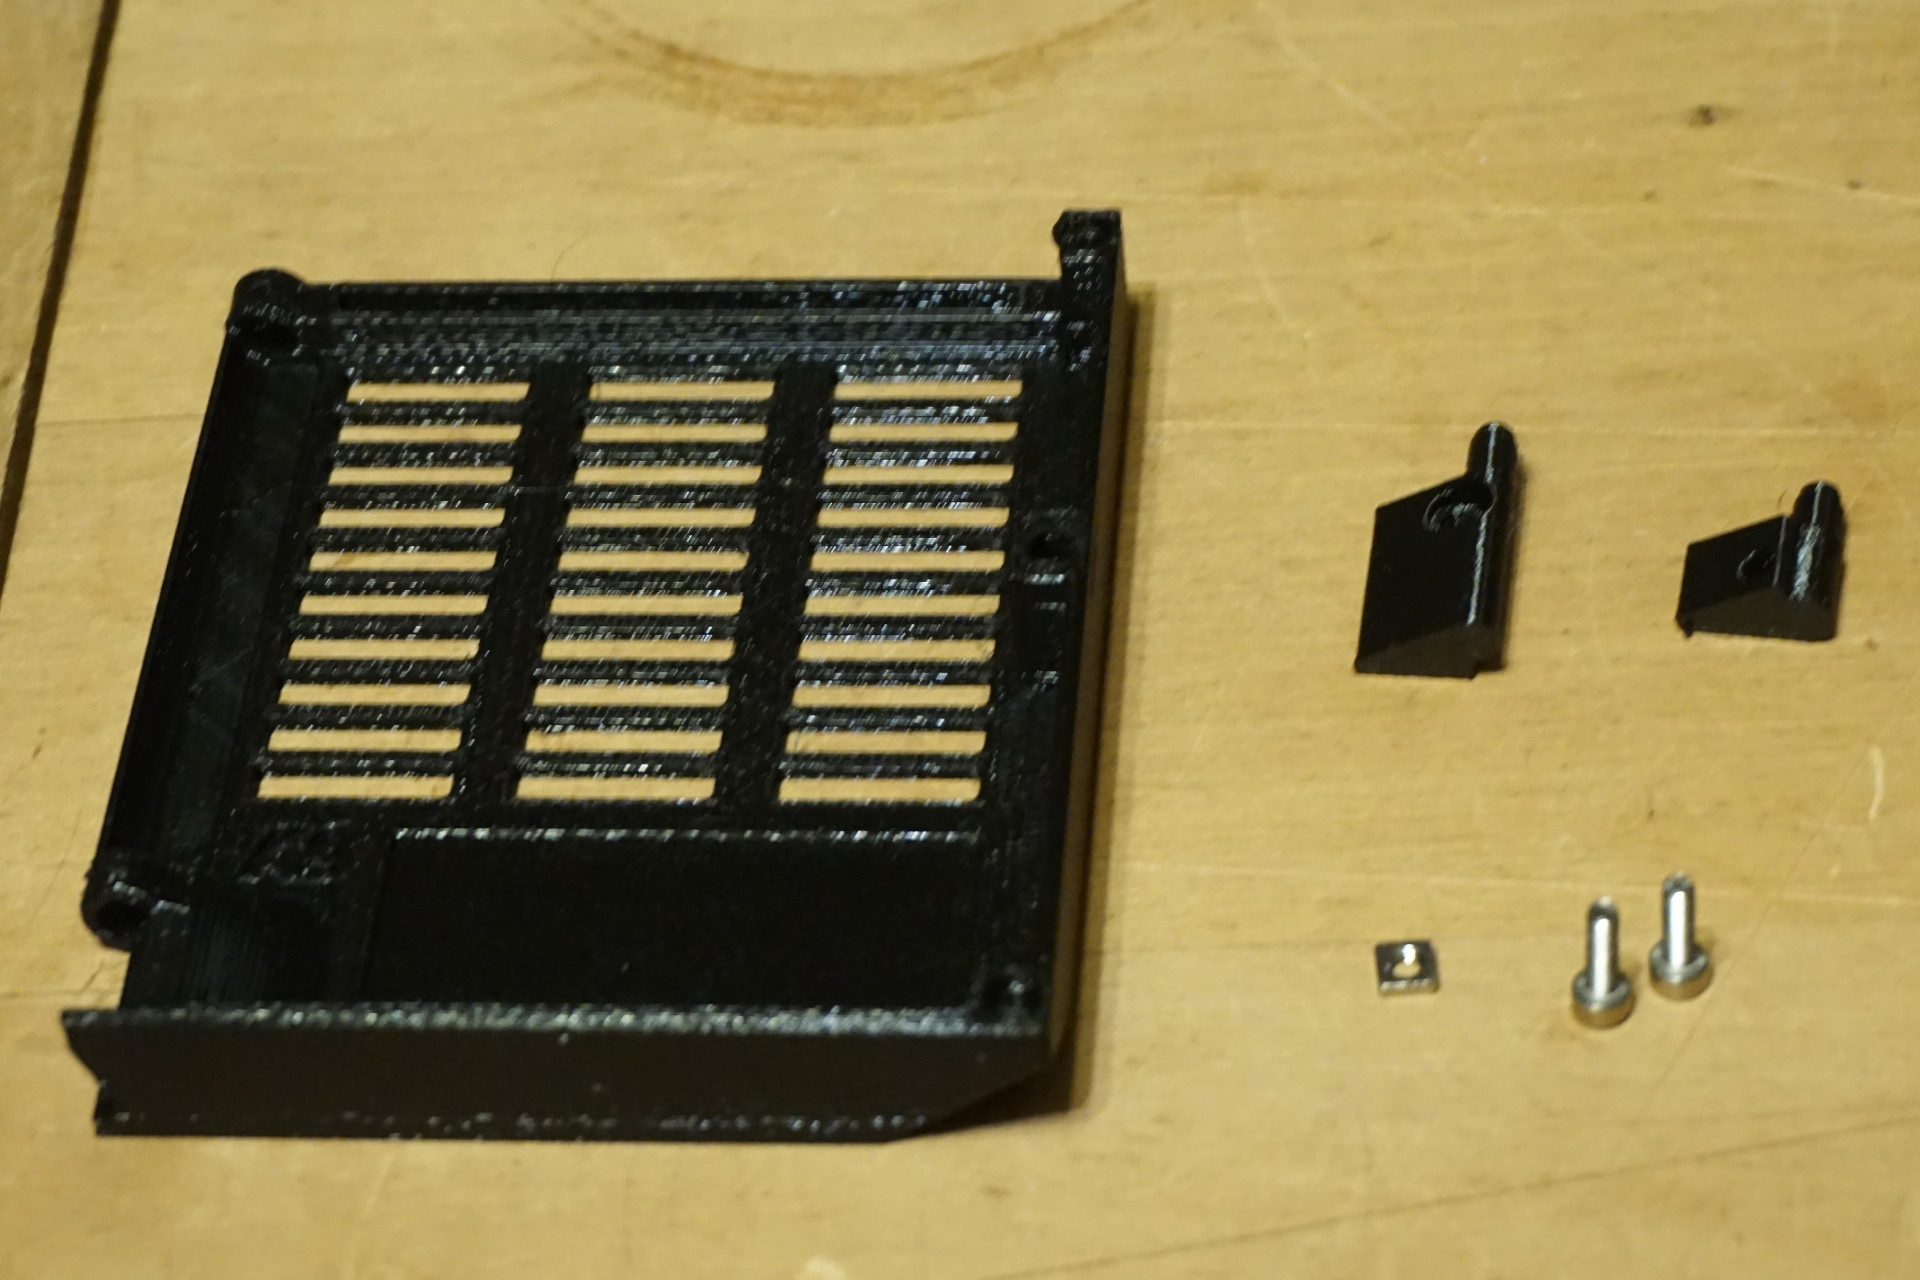
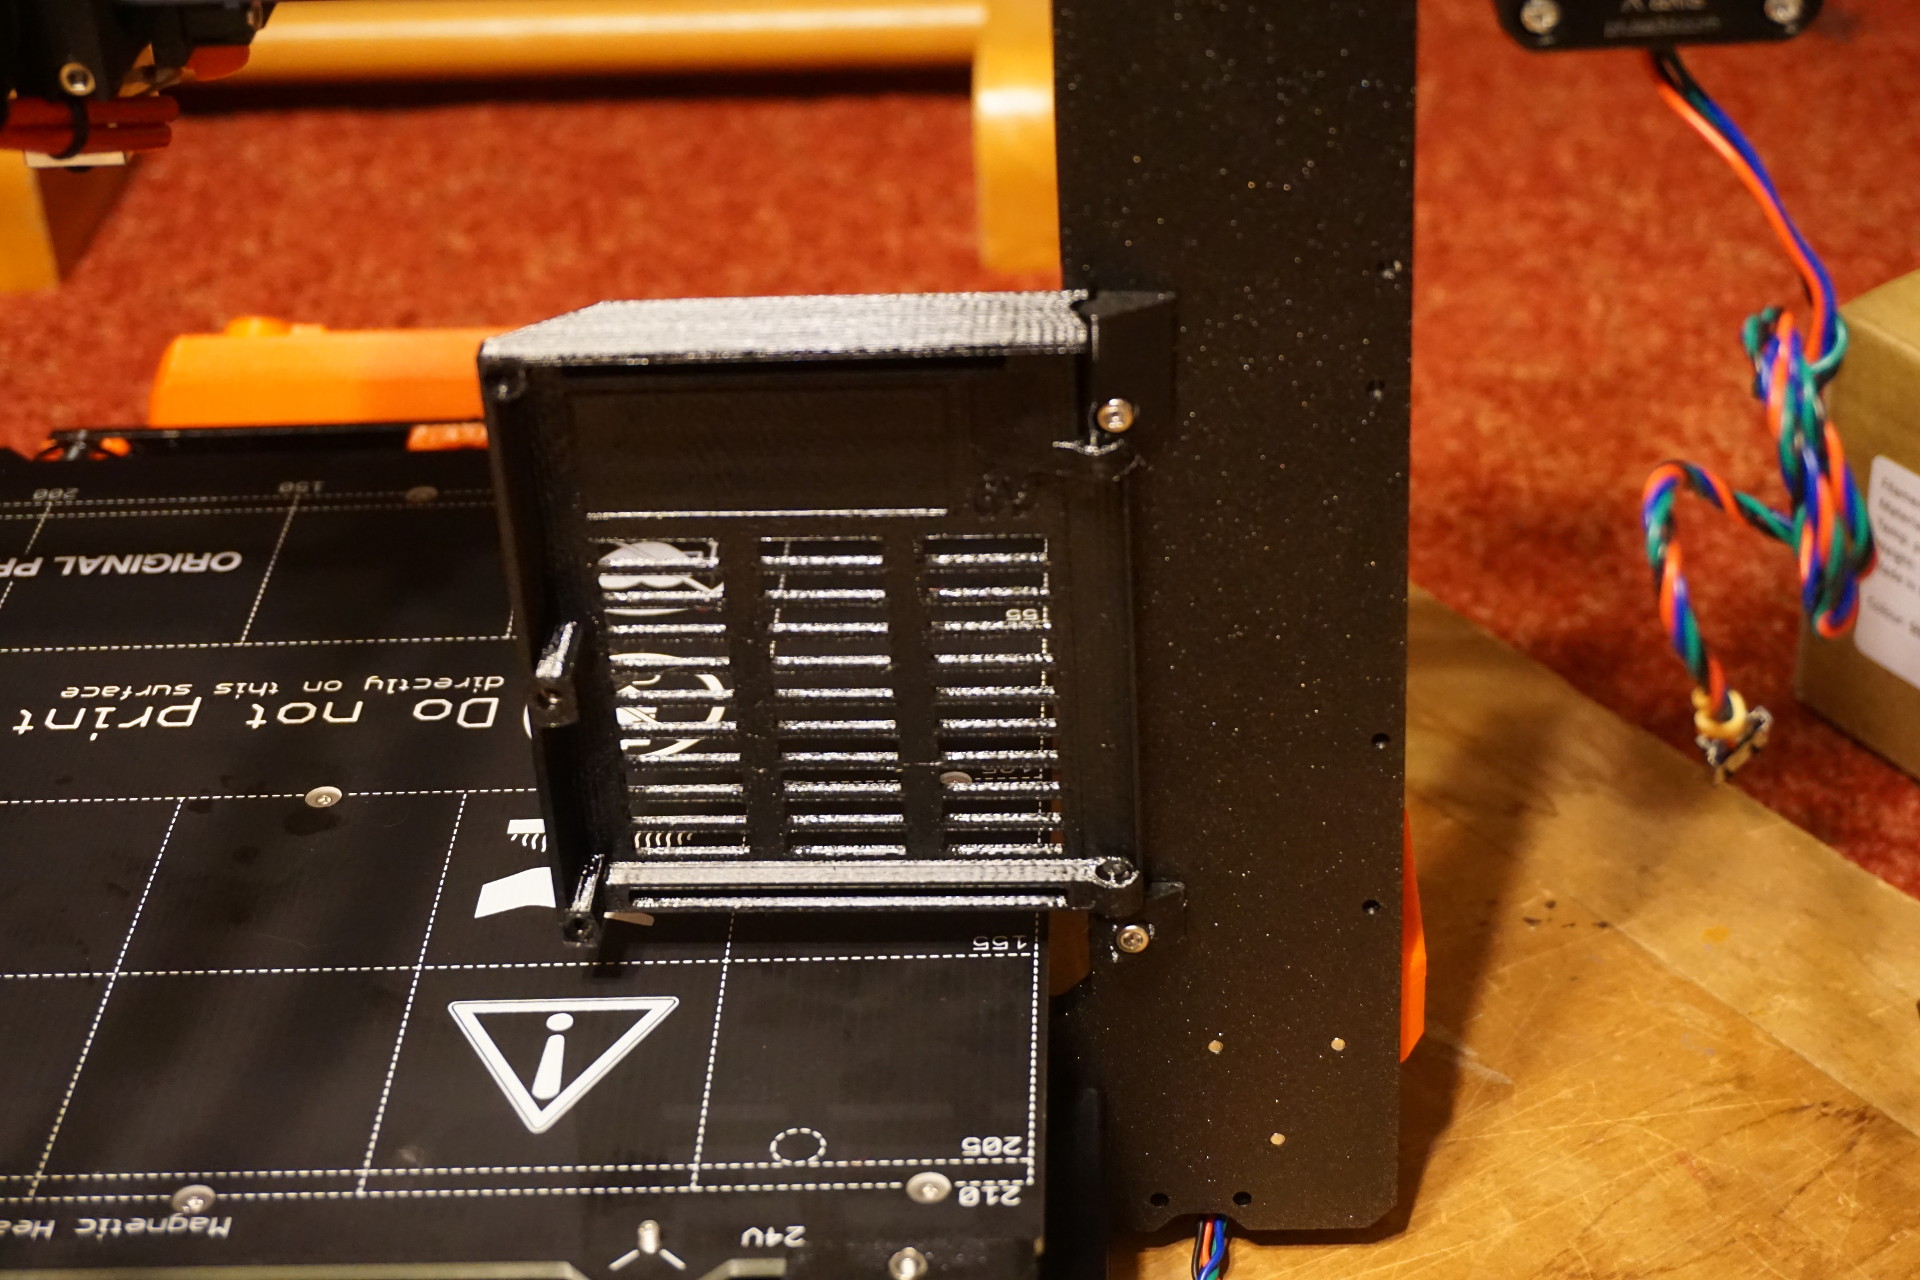
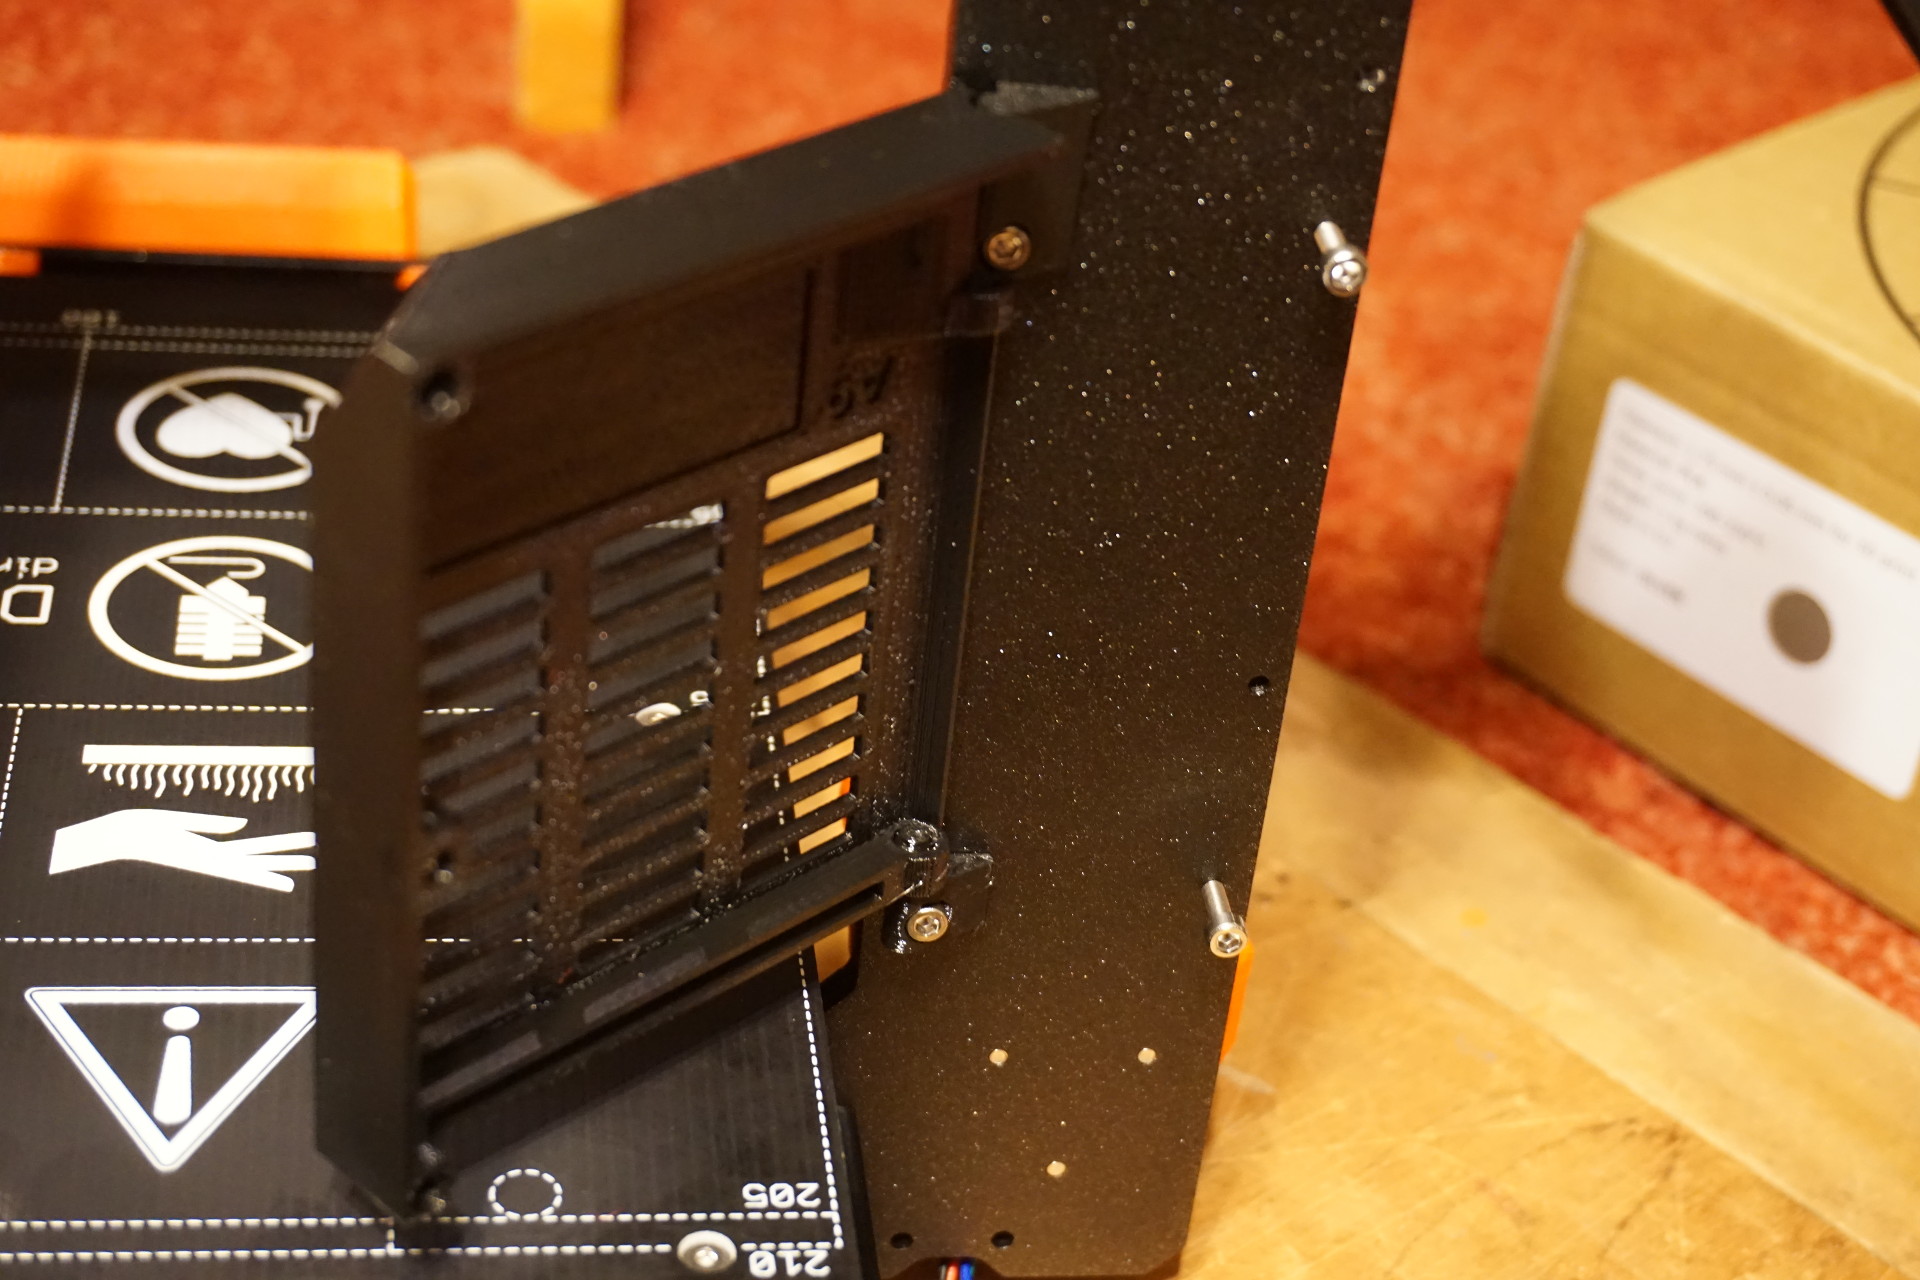
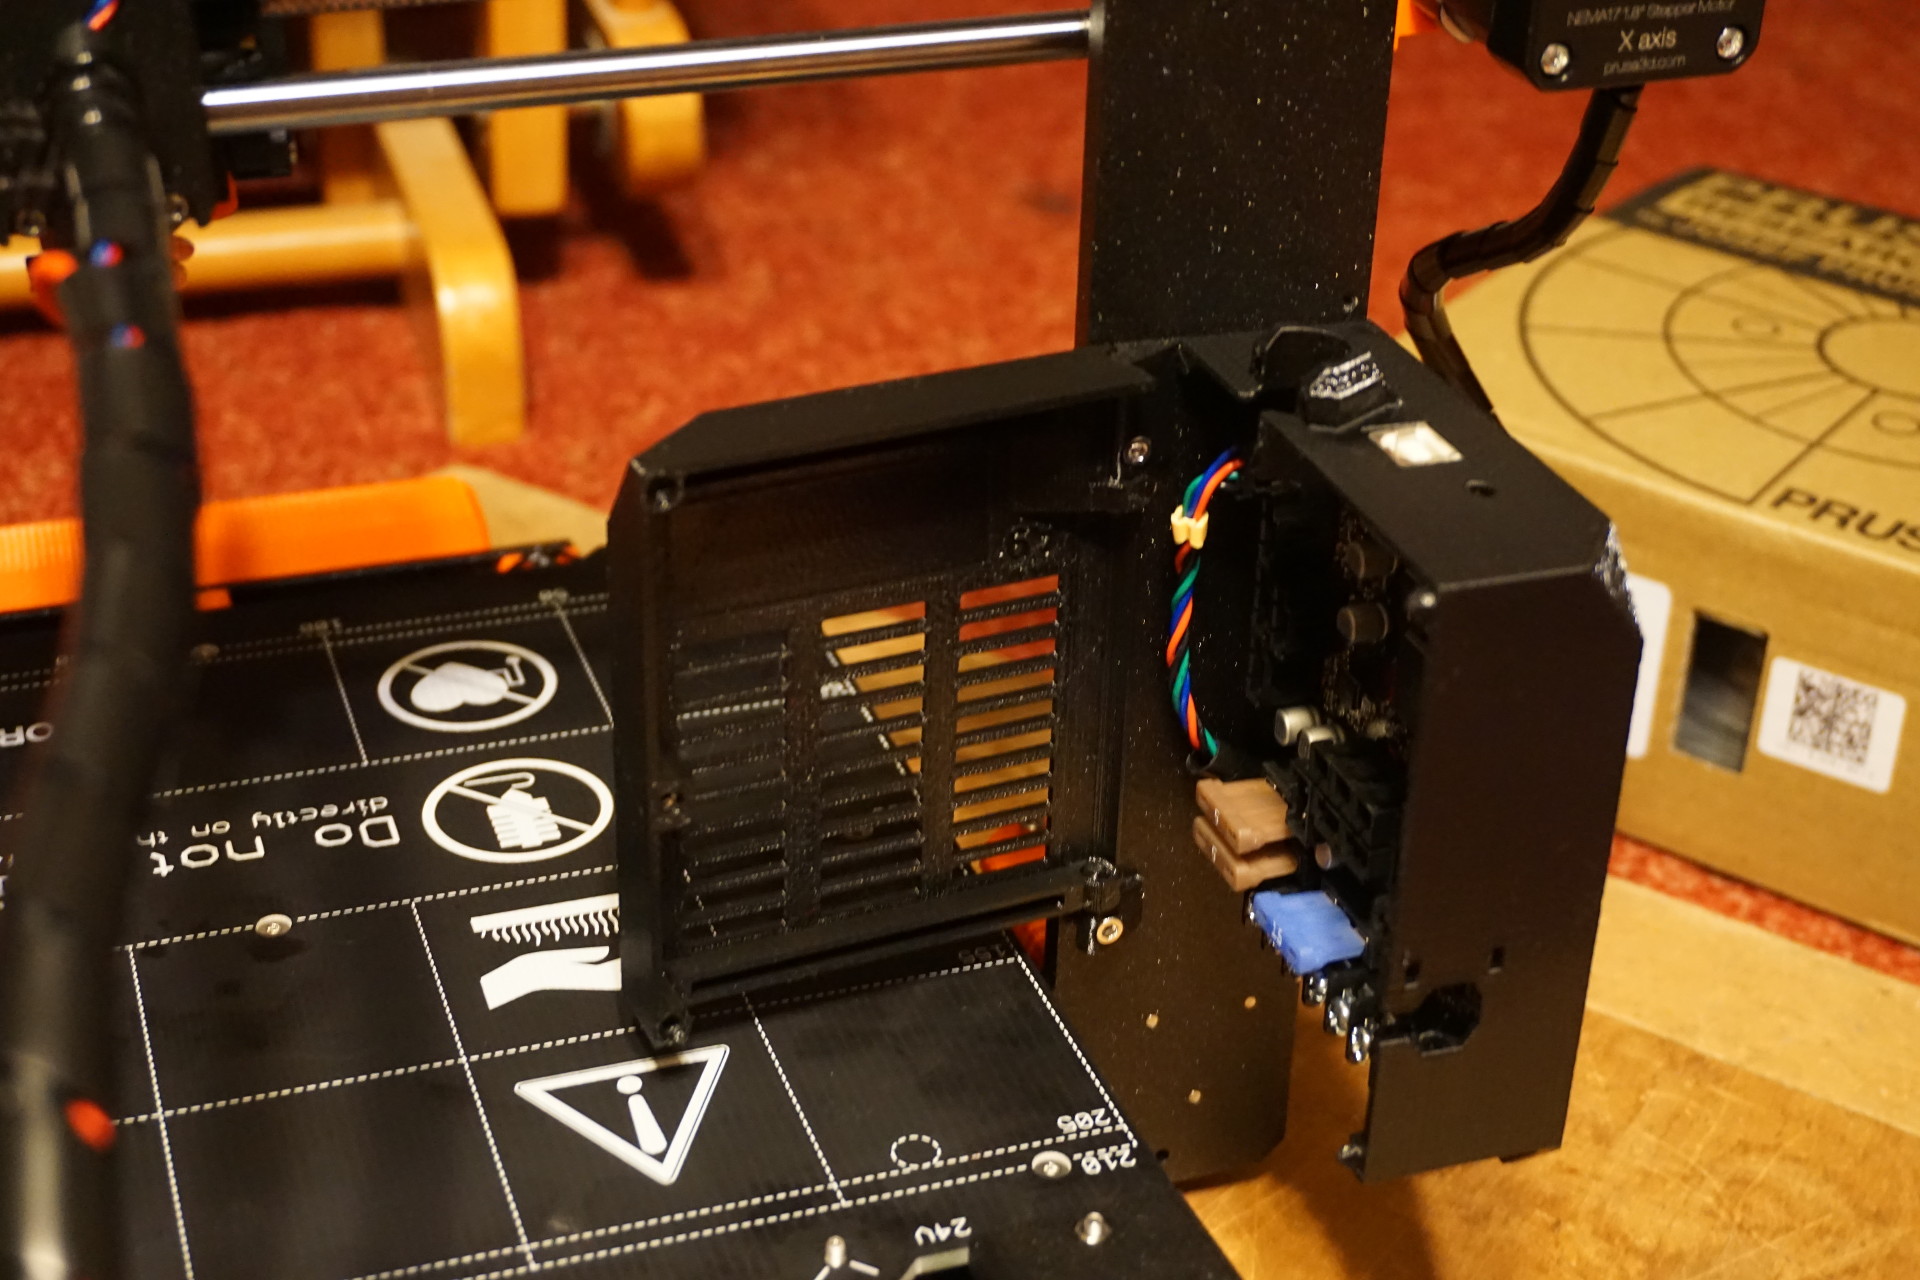
RAMBo cover door:
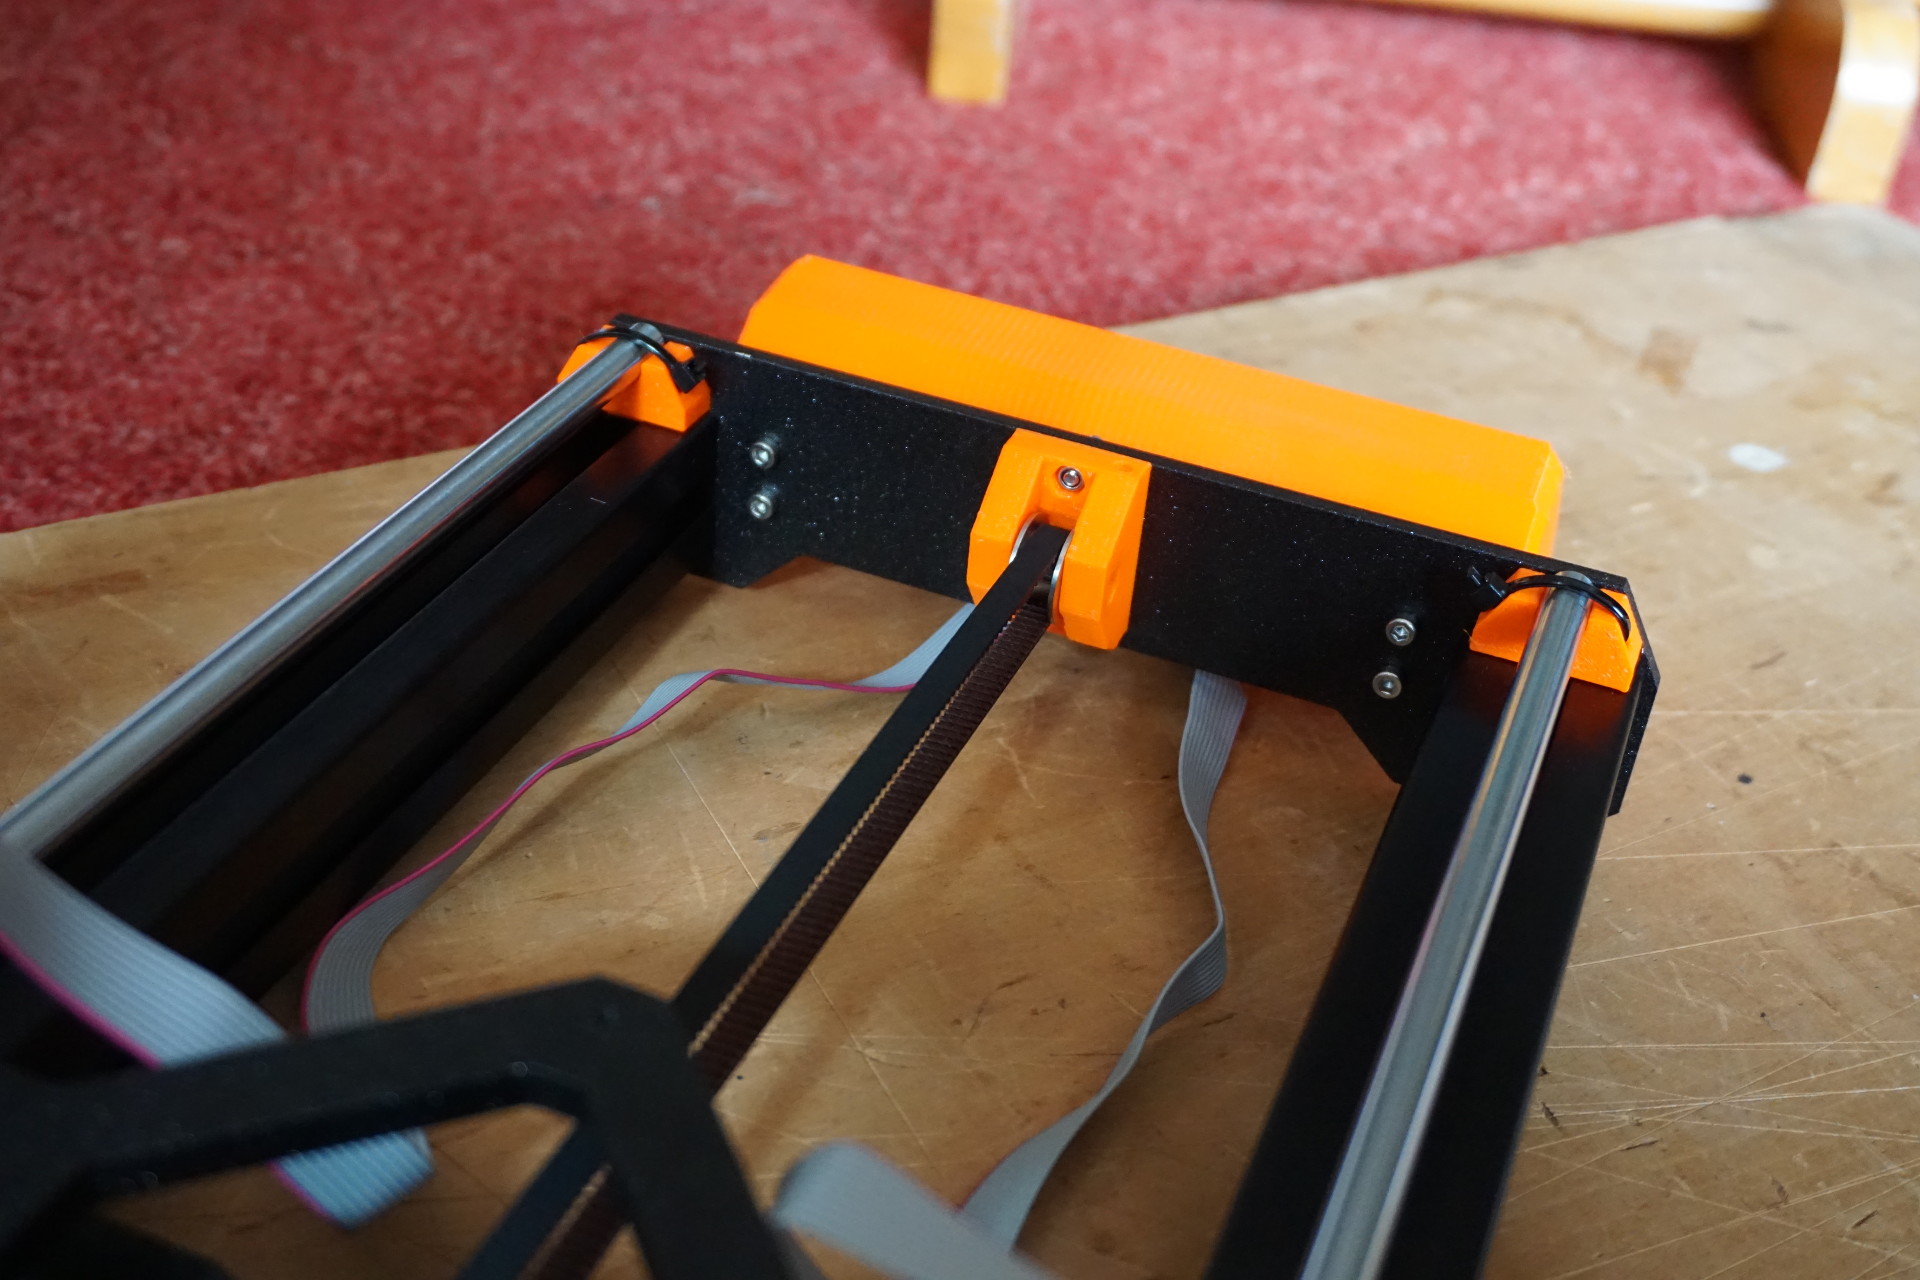
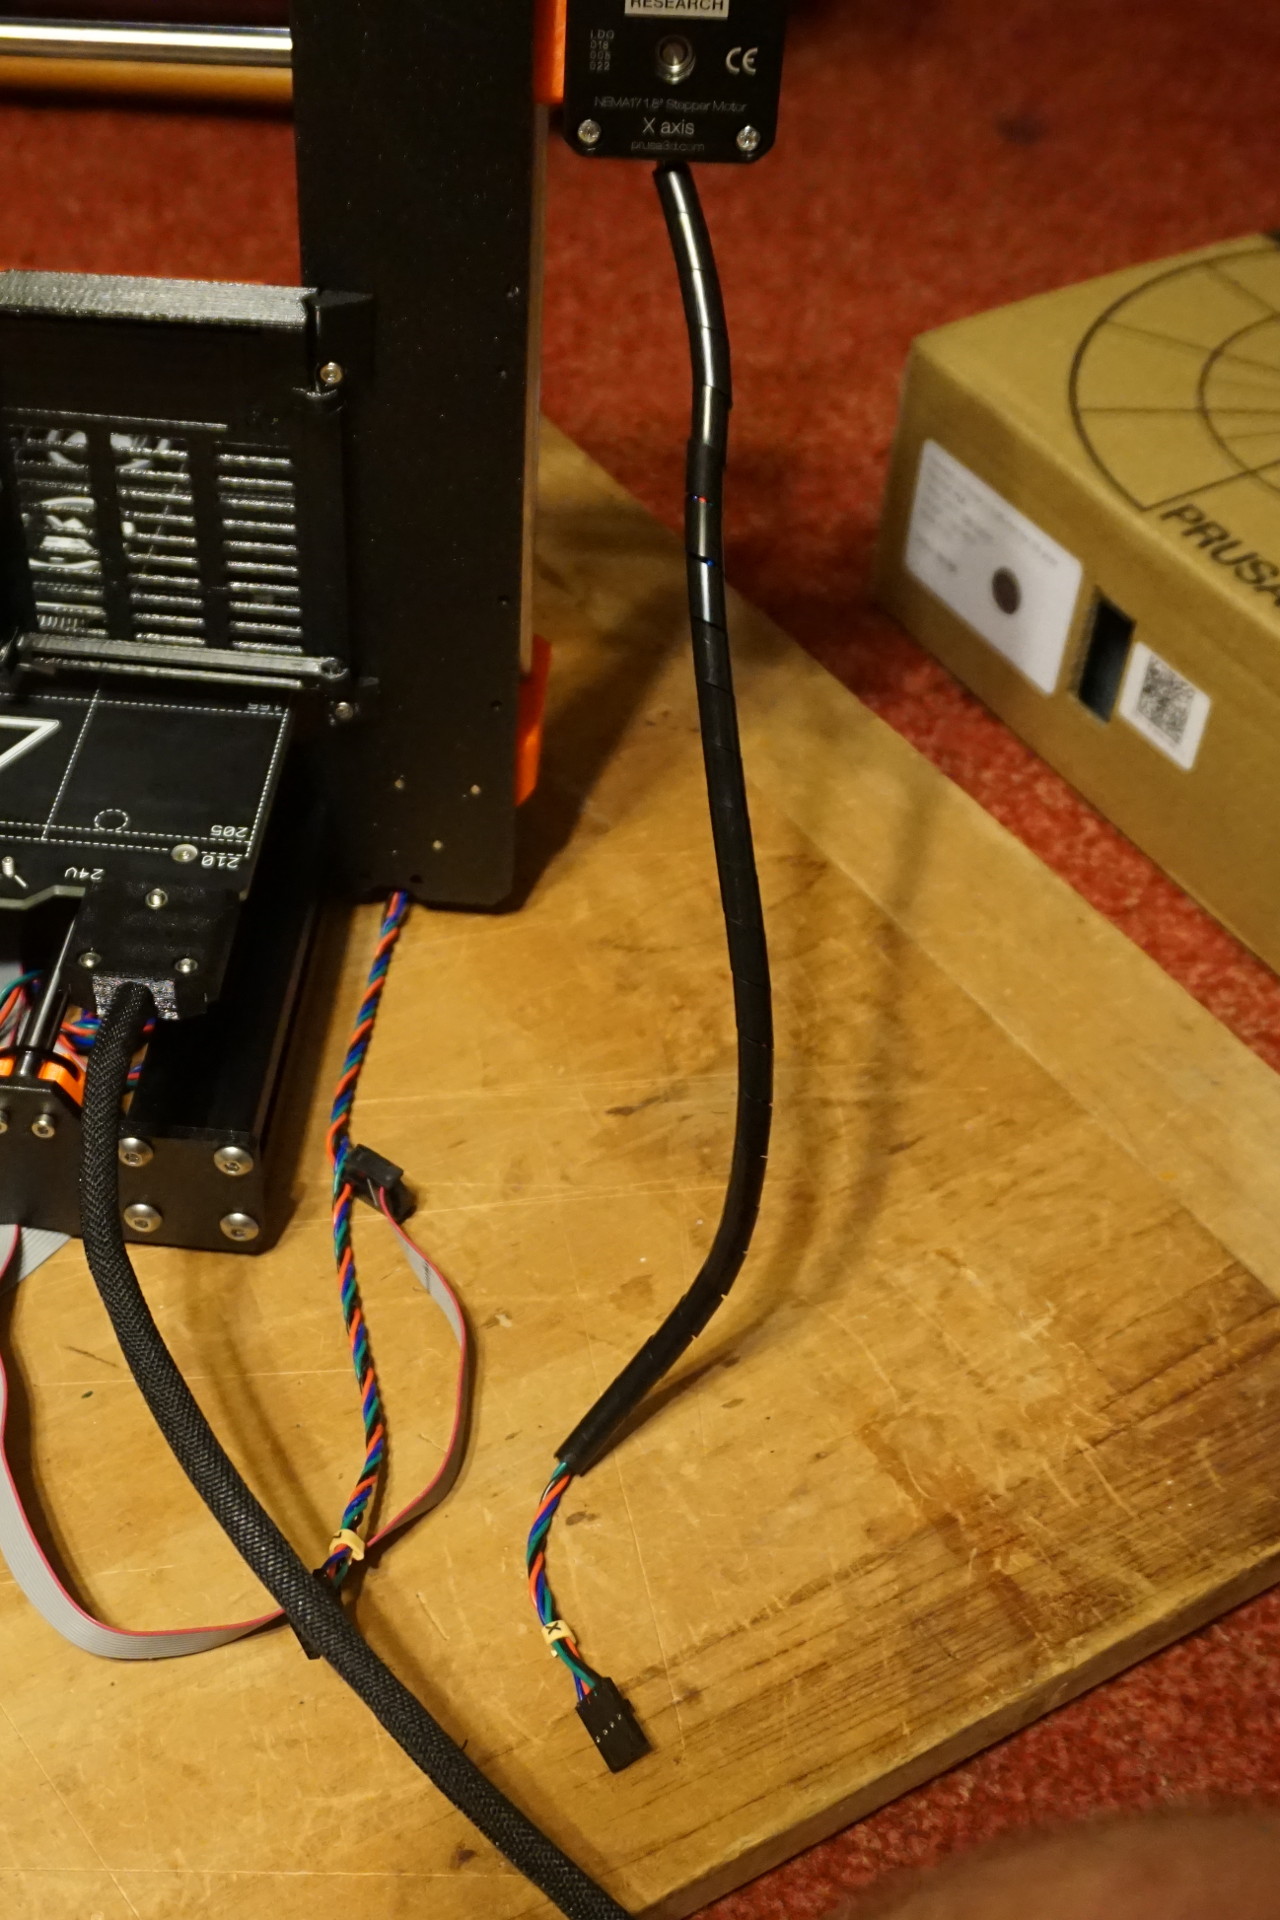
X-axis cable wrap:
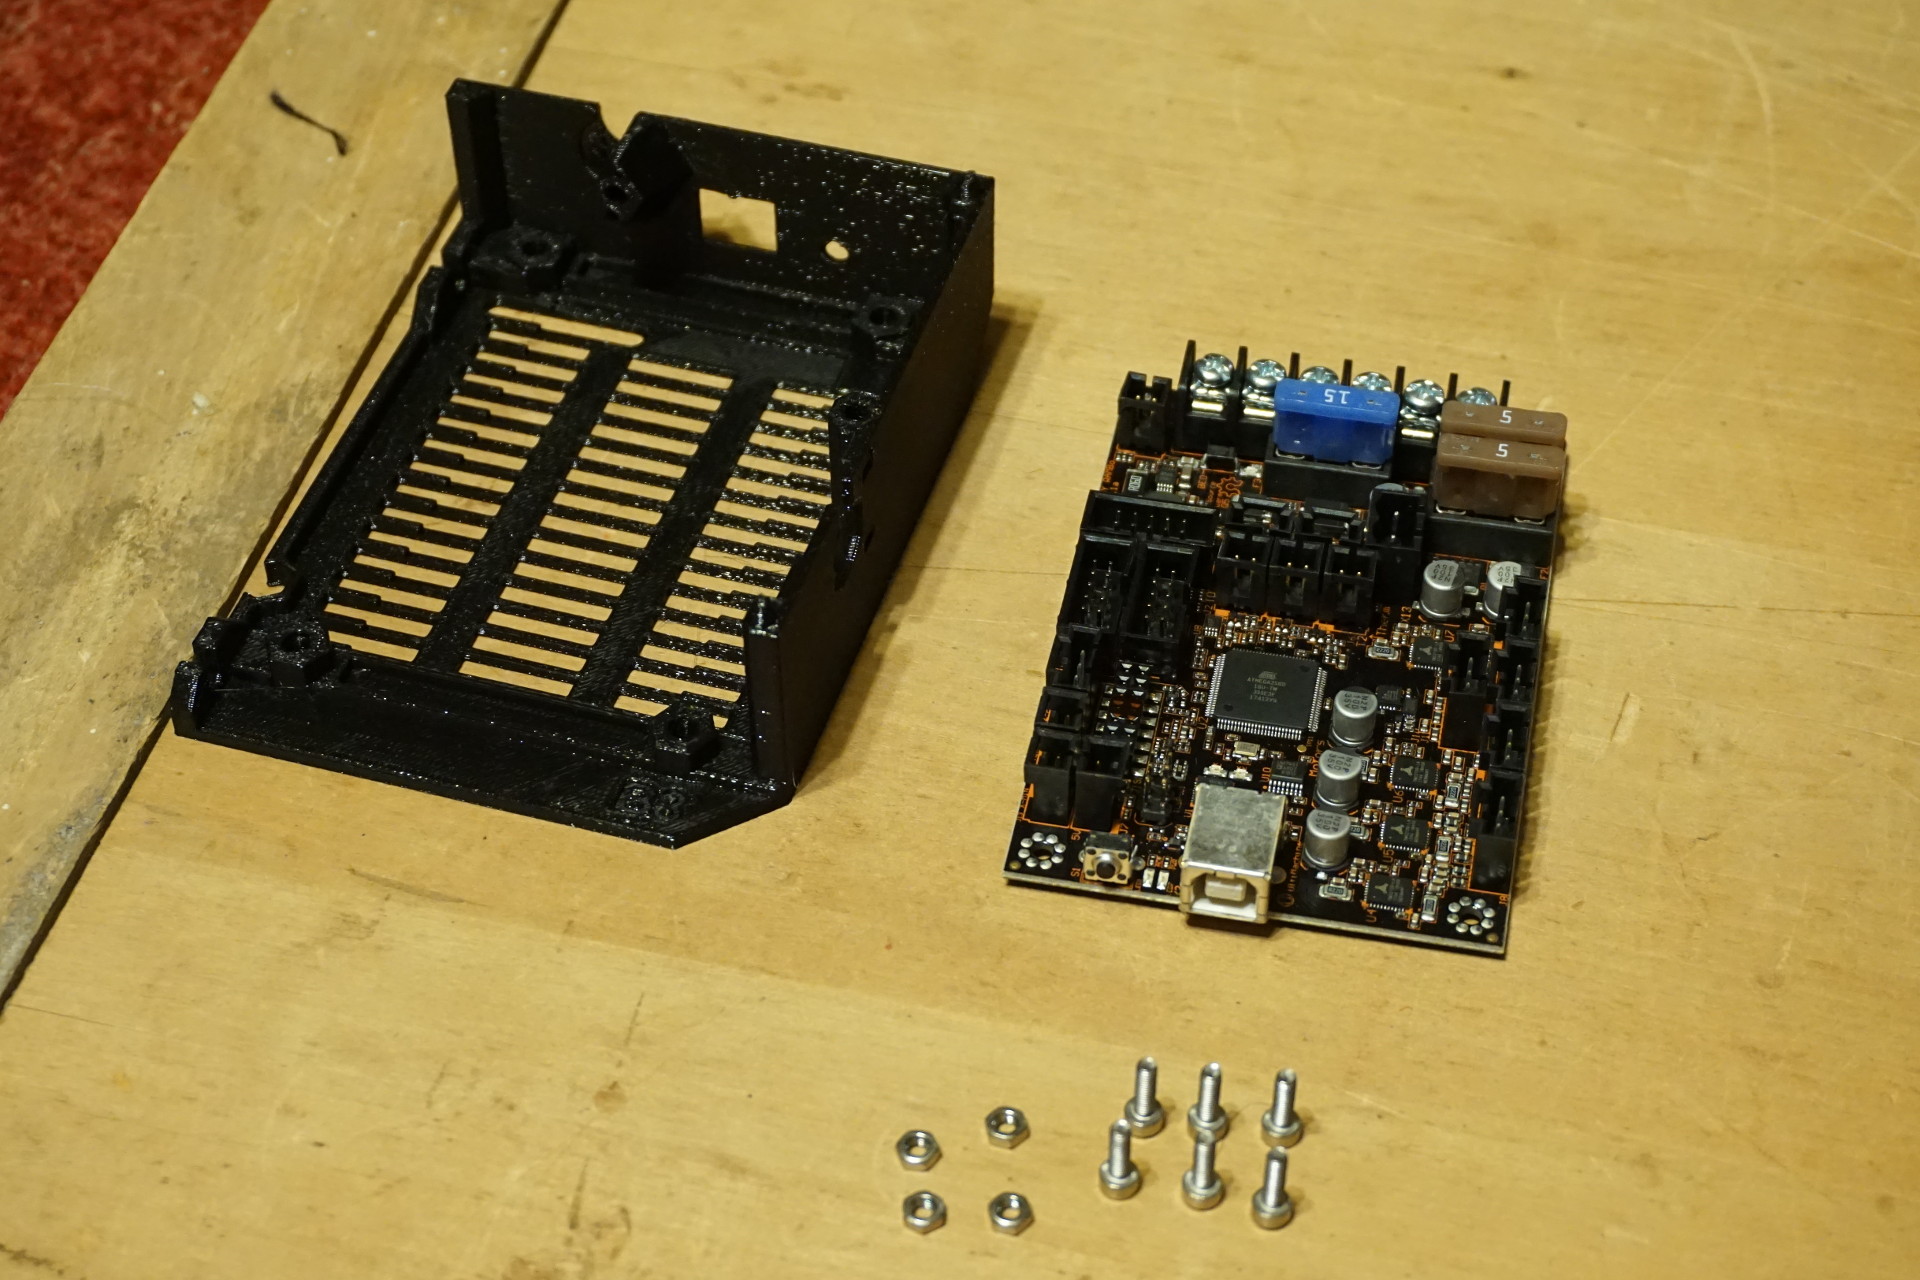
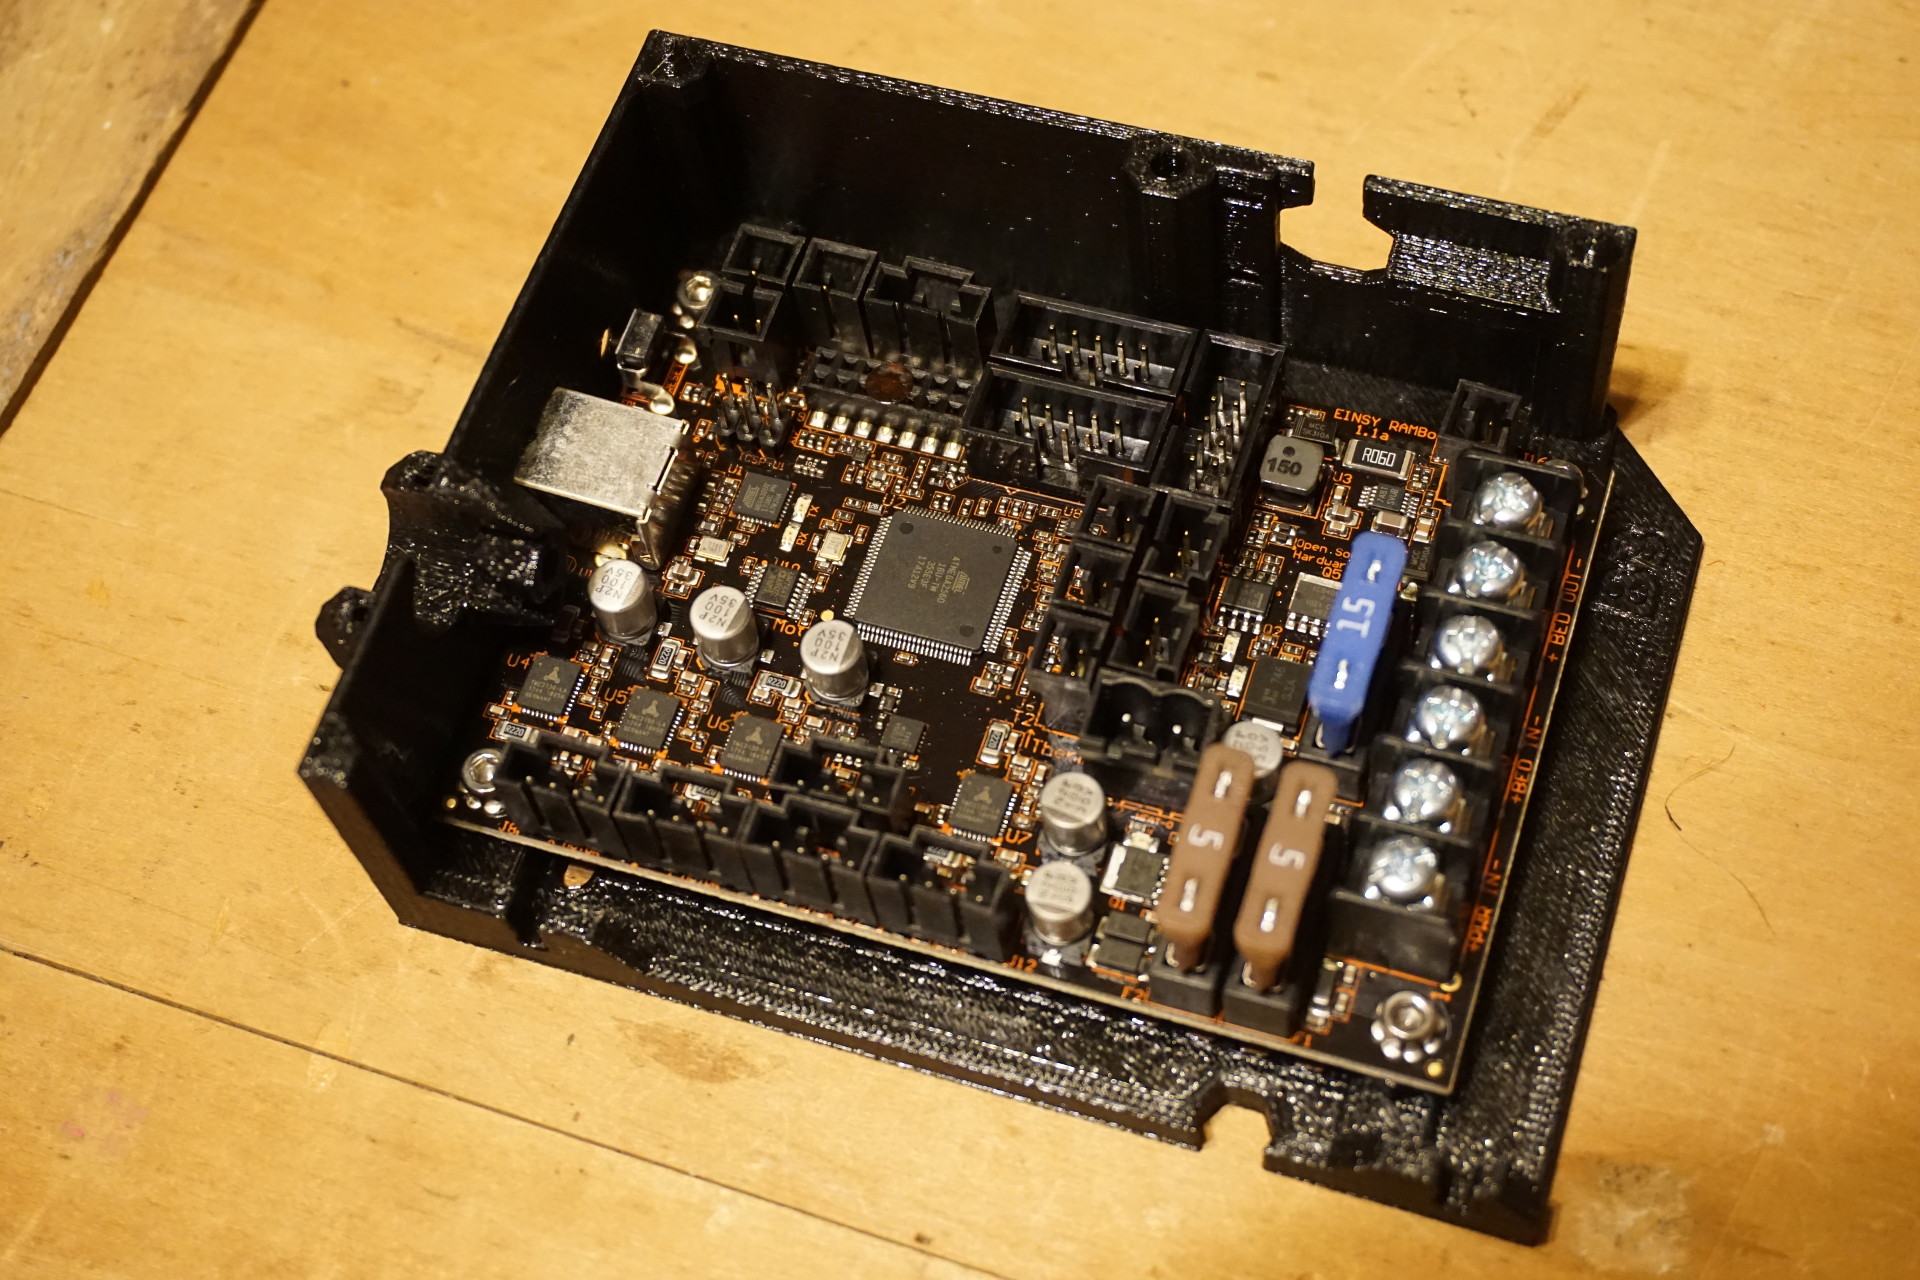
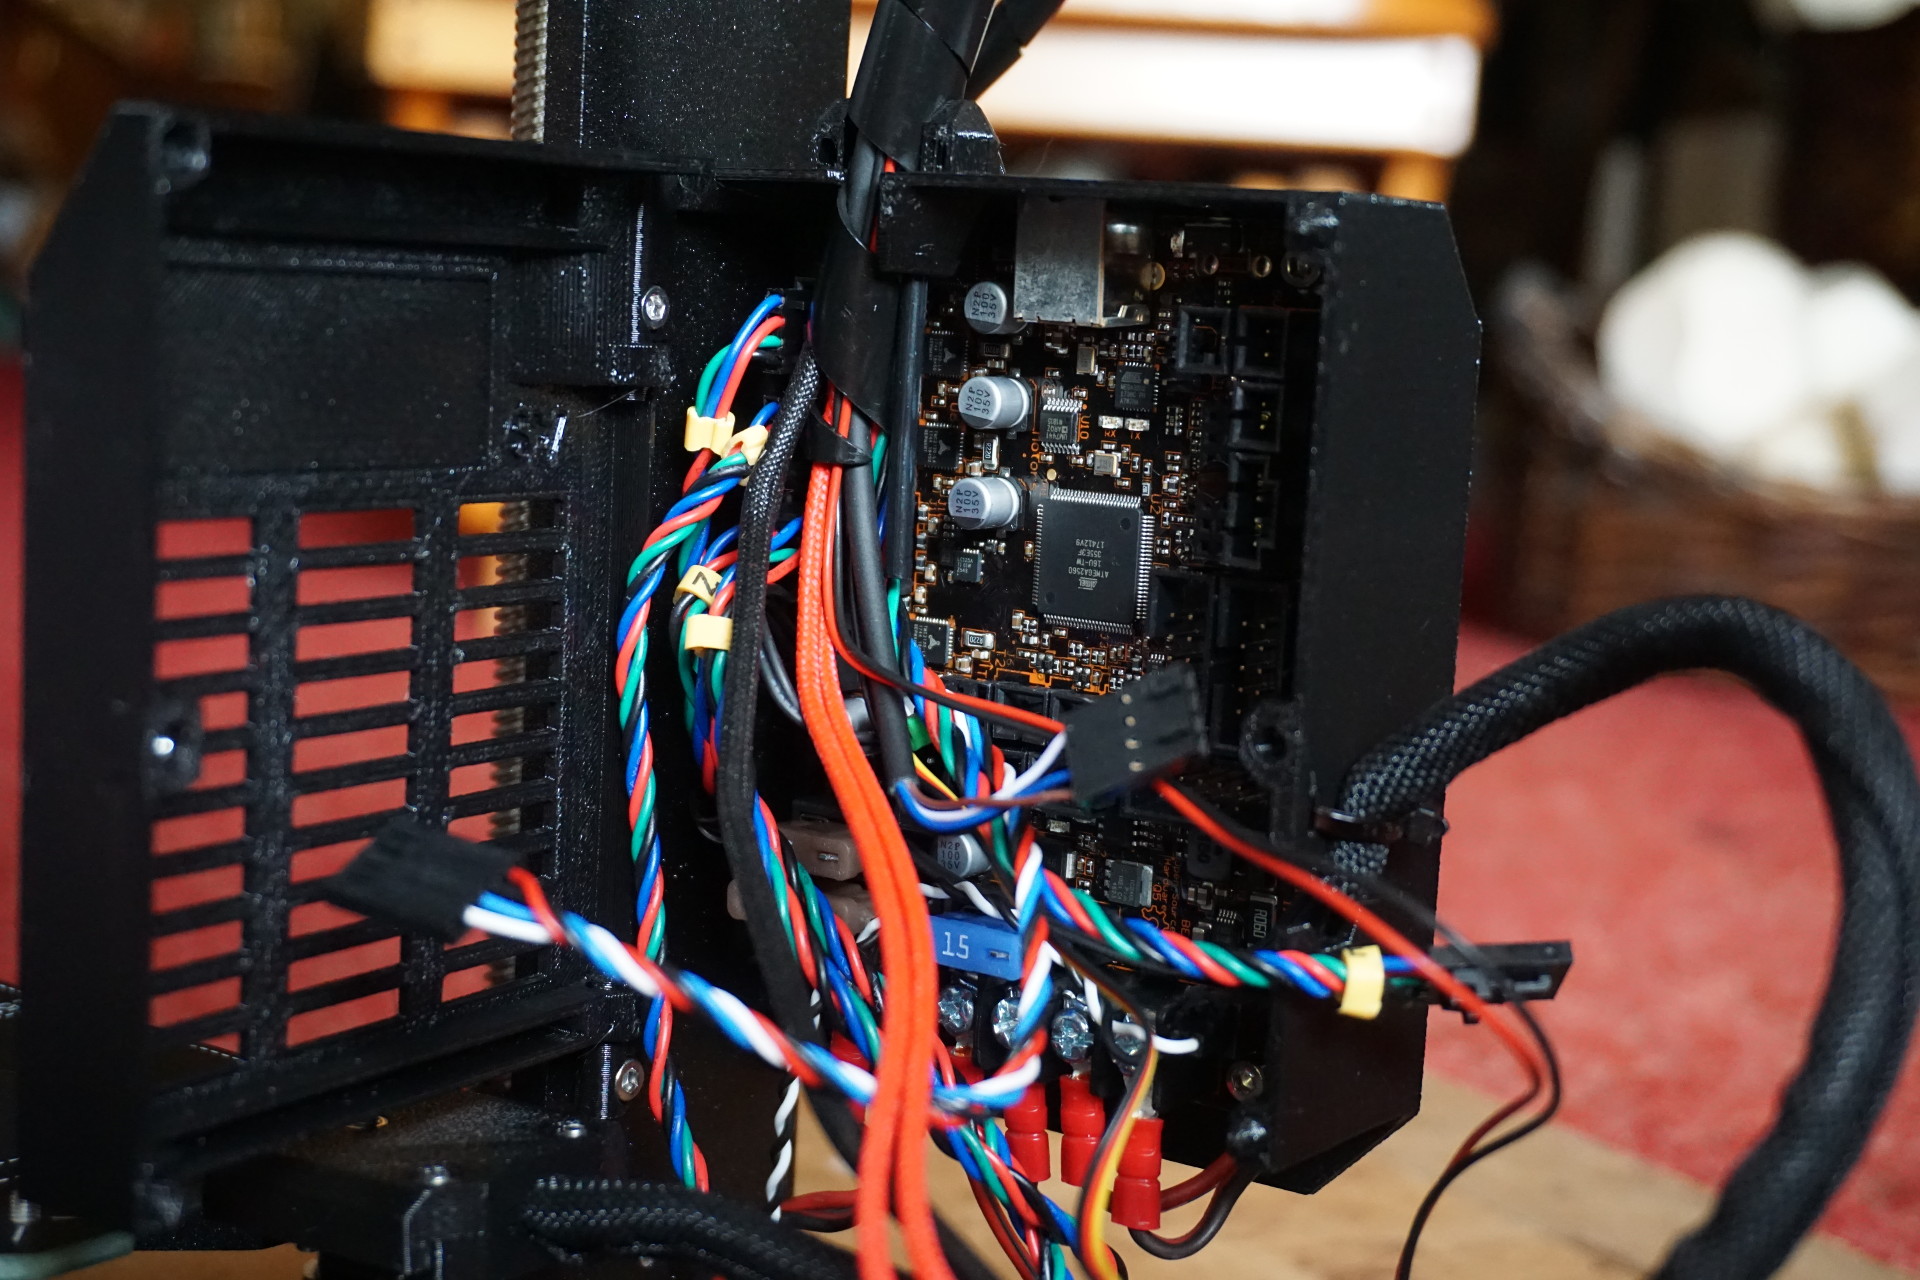
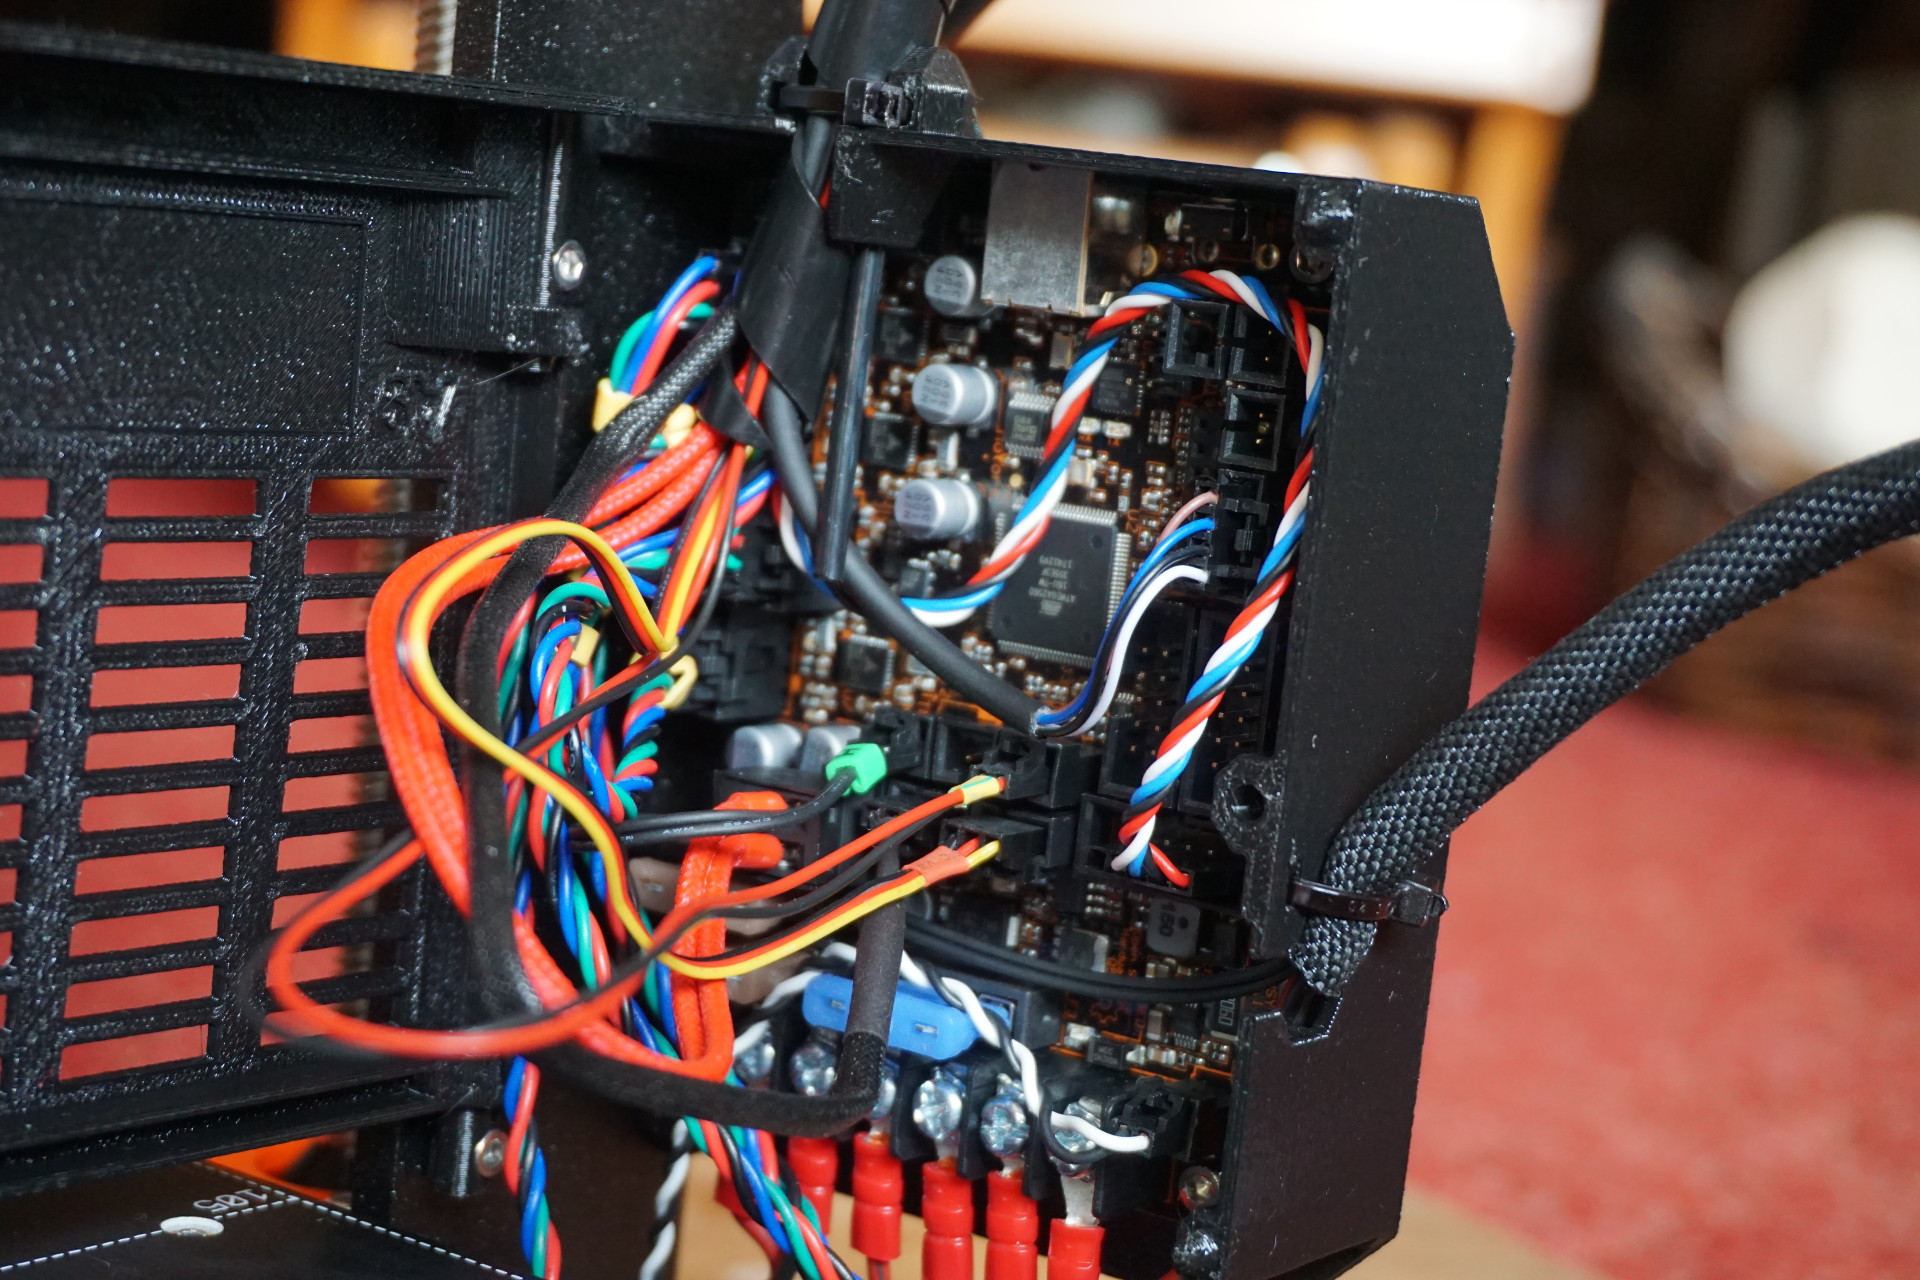
RAMBo and cover:
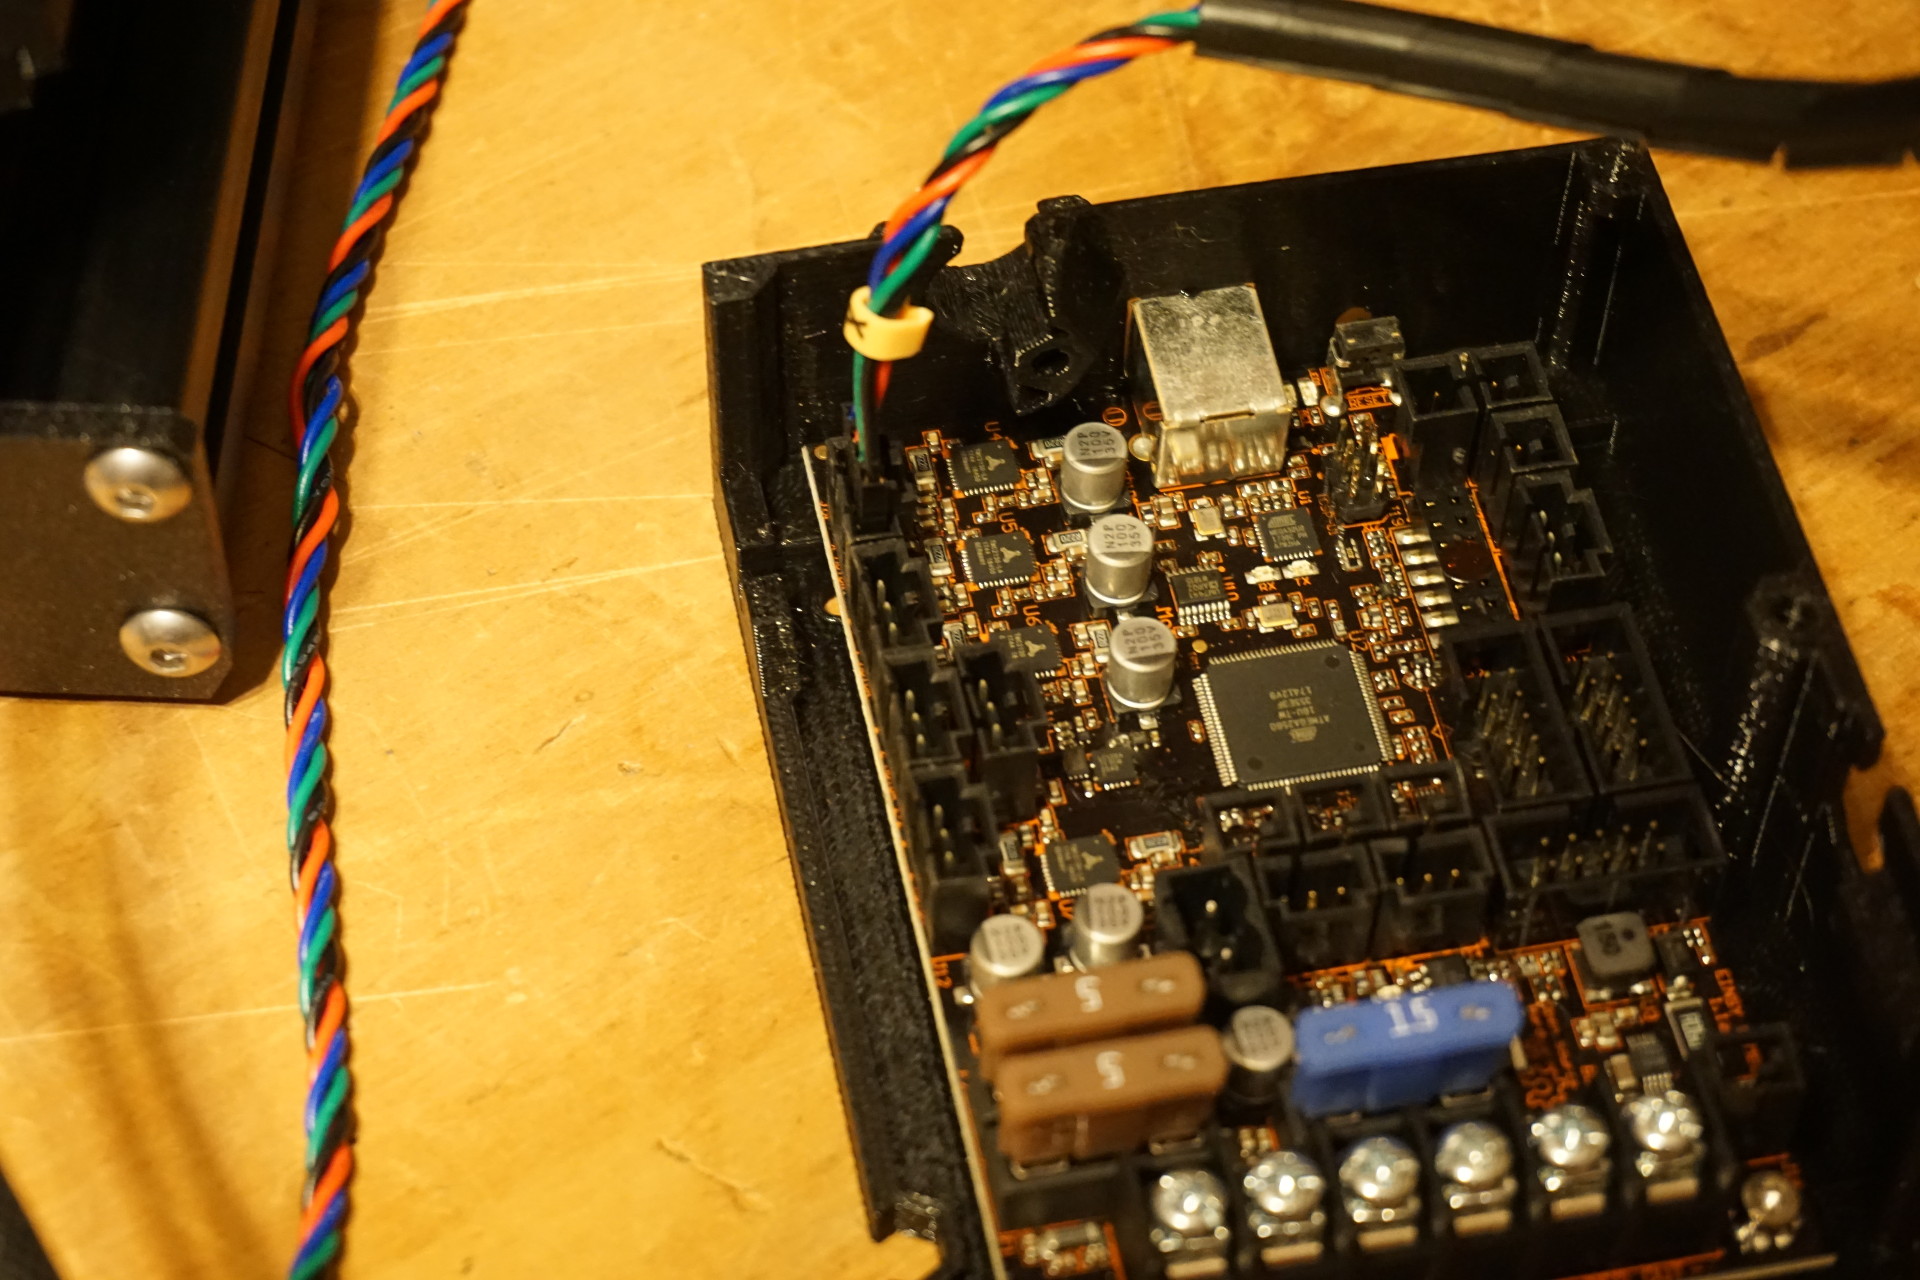
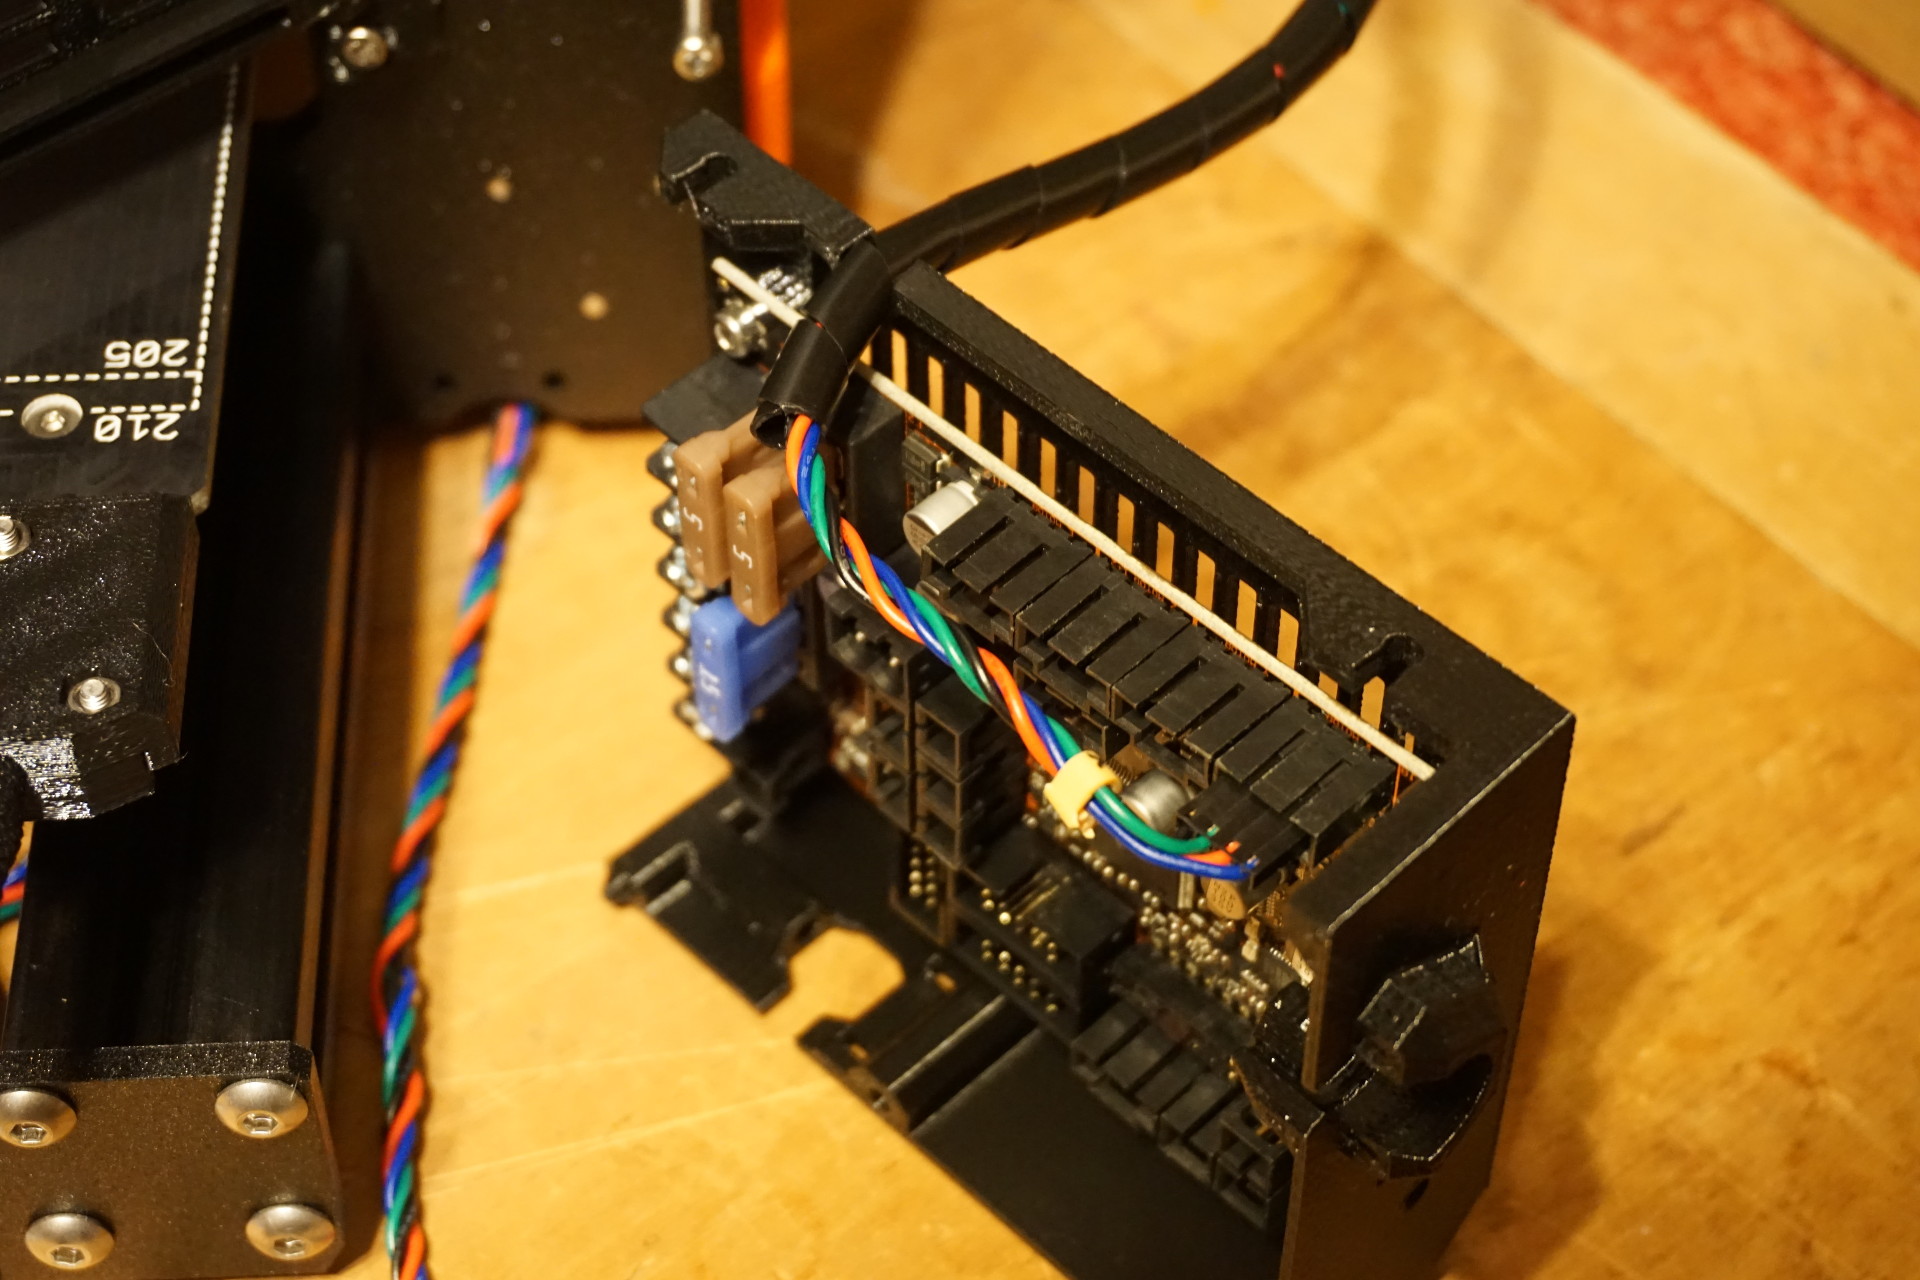
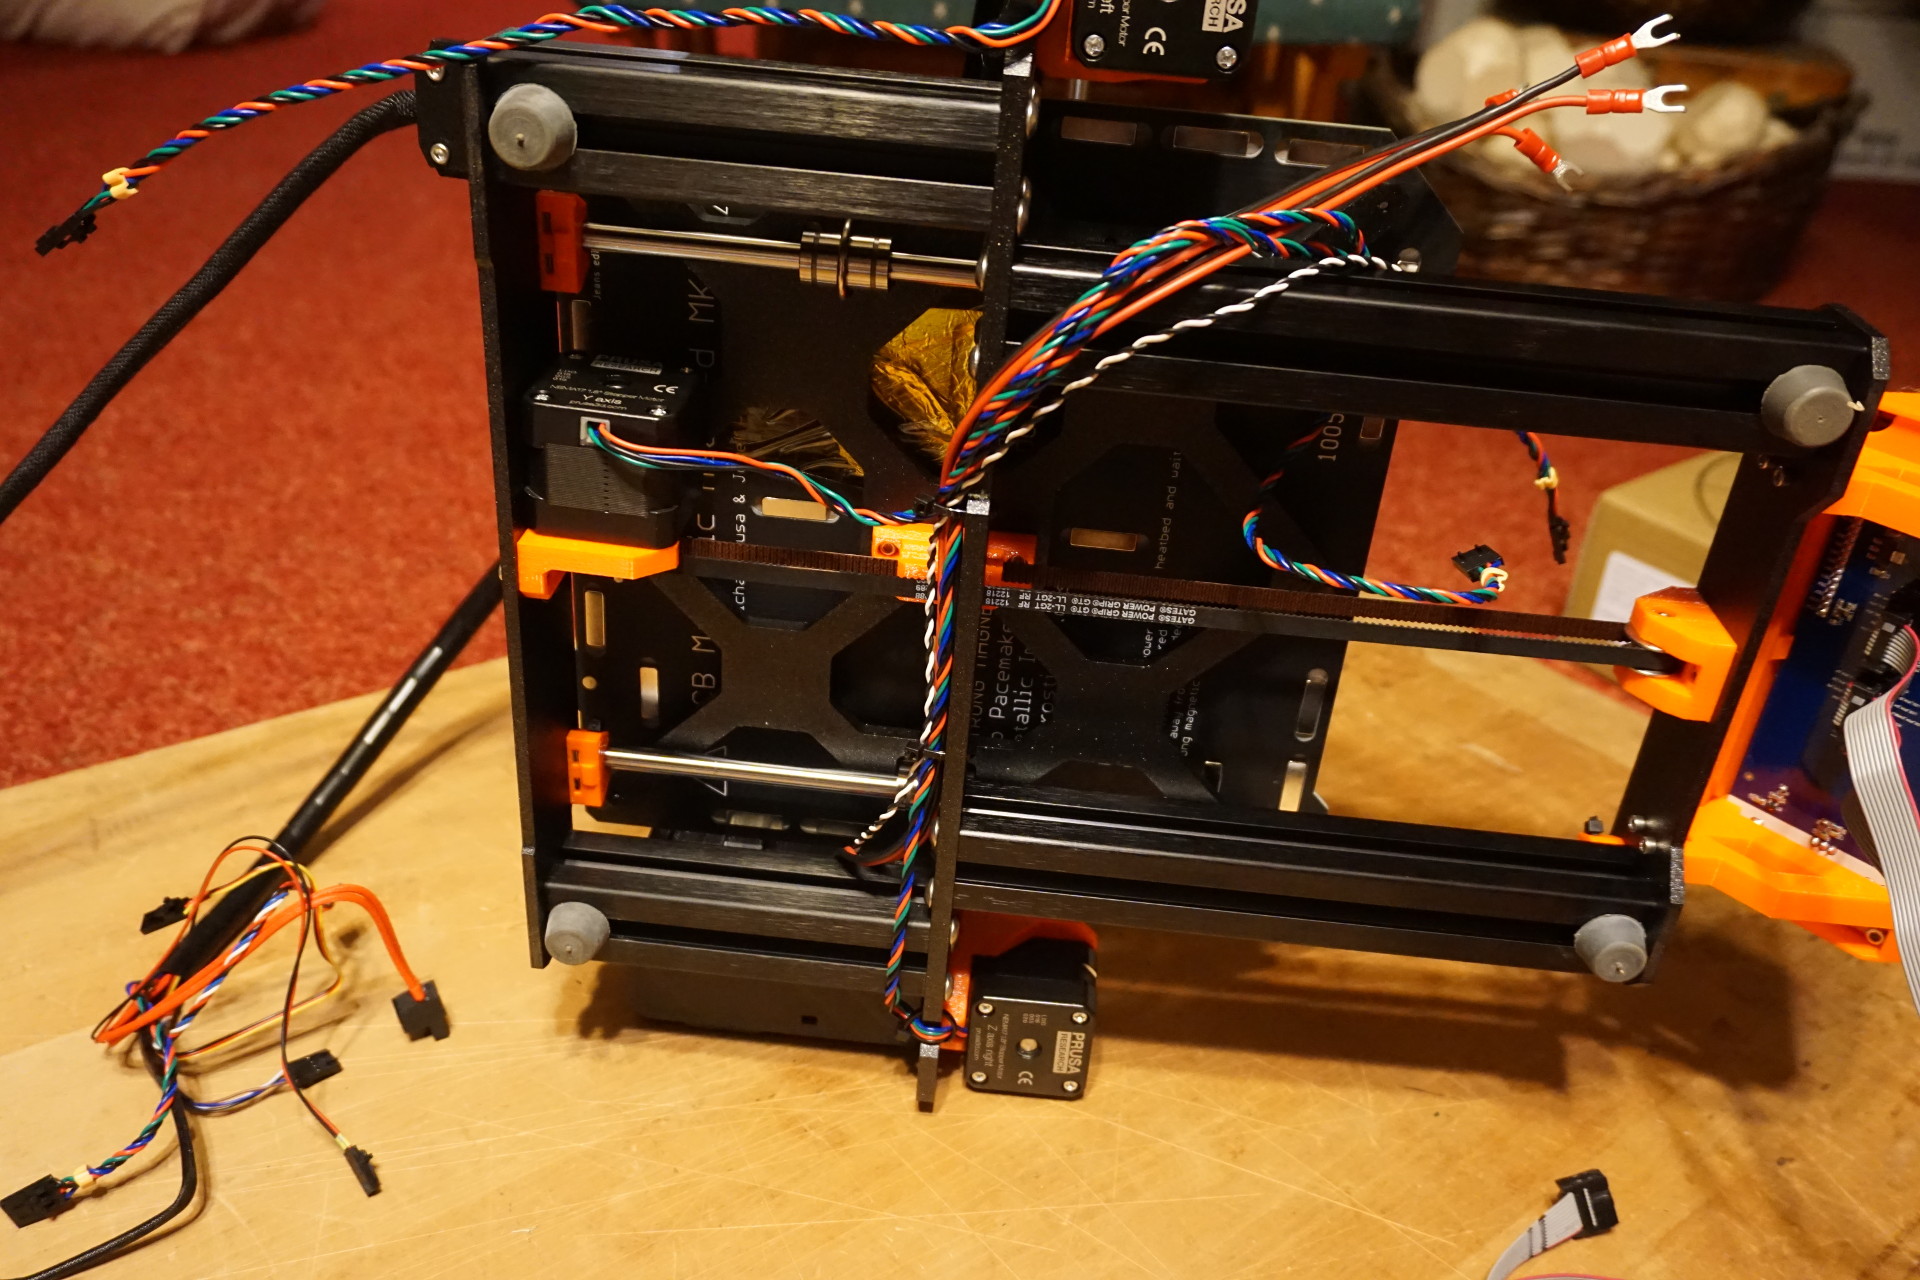
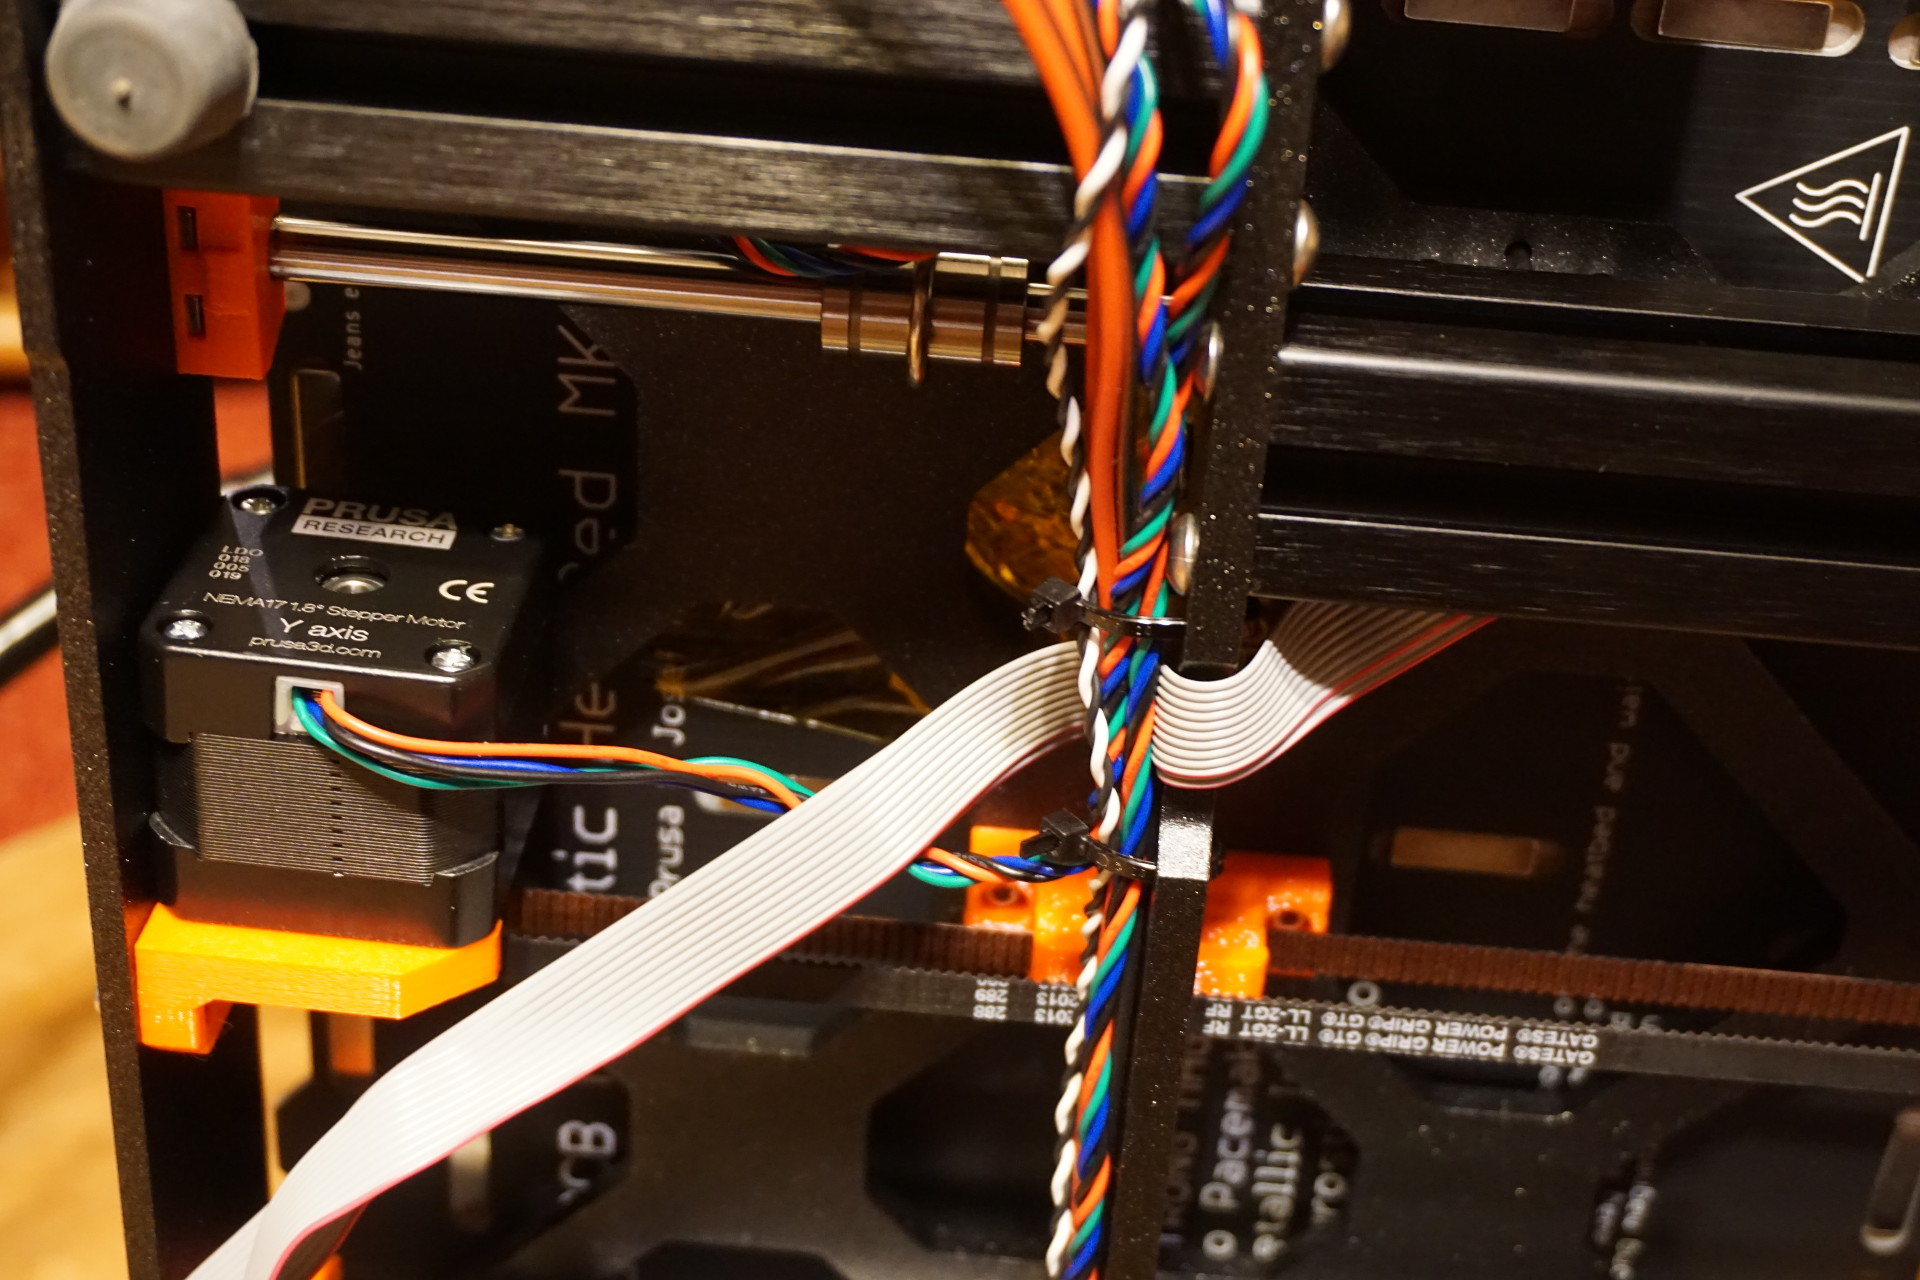
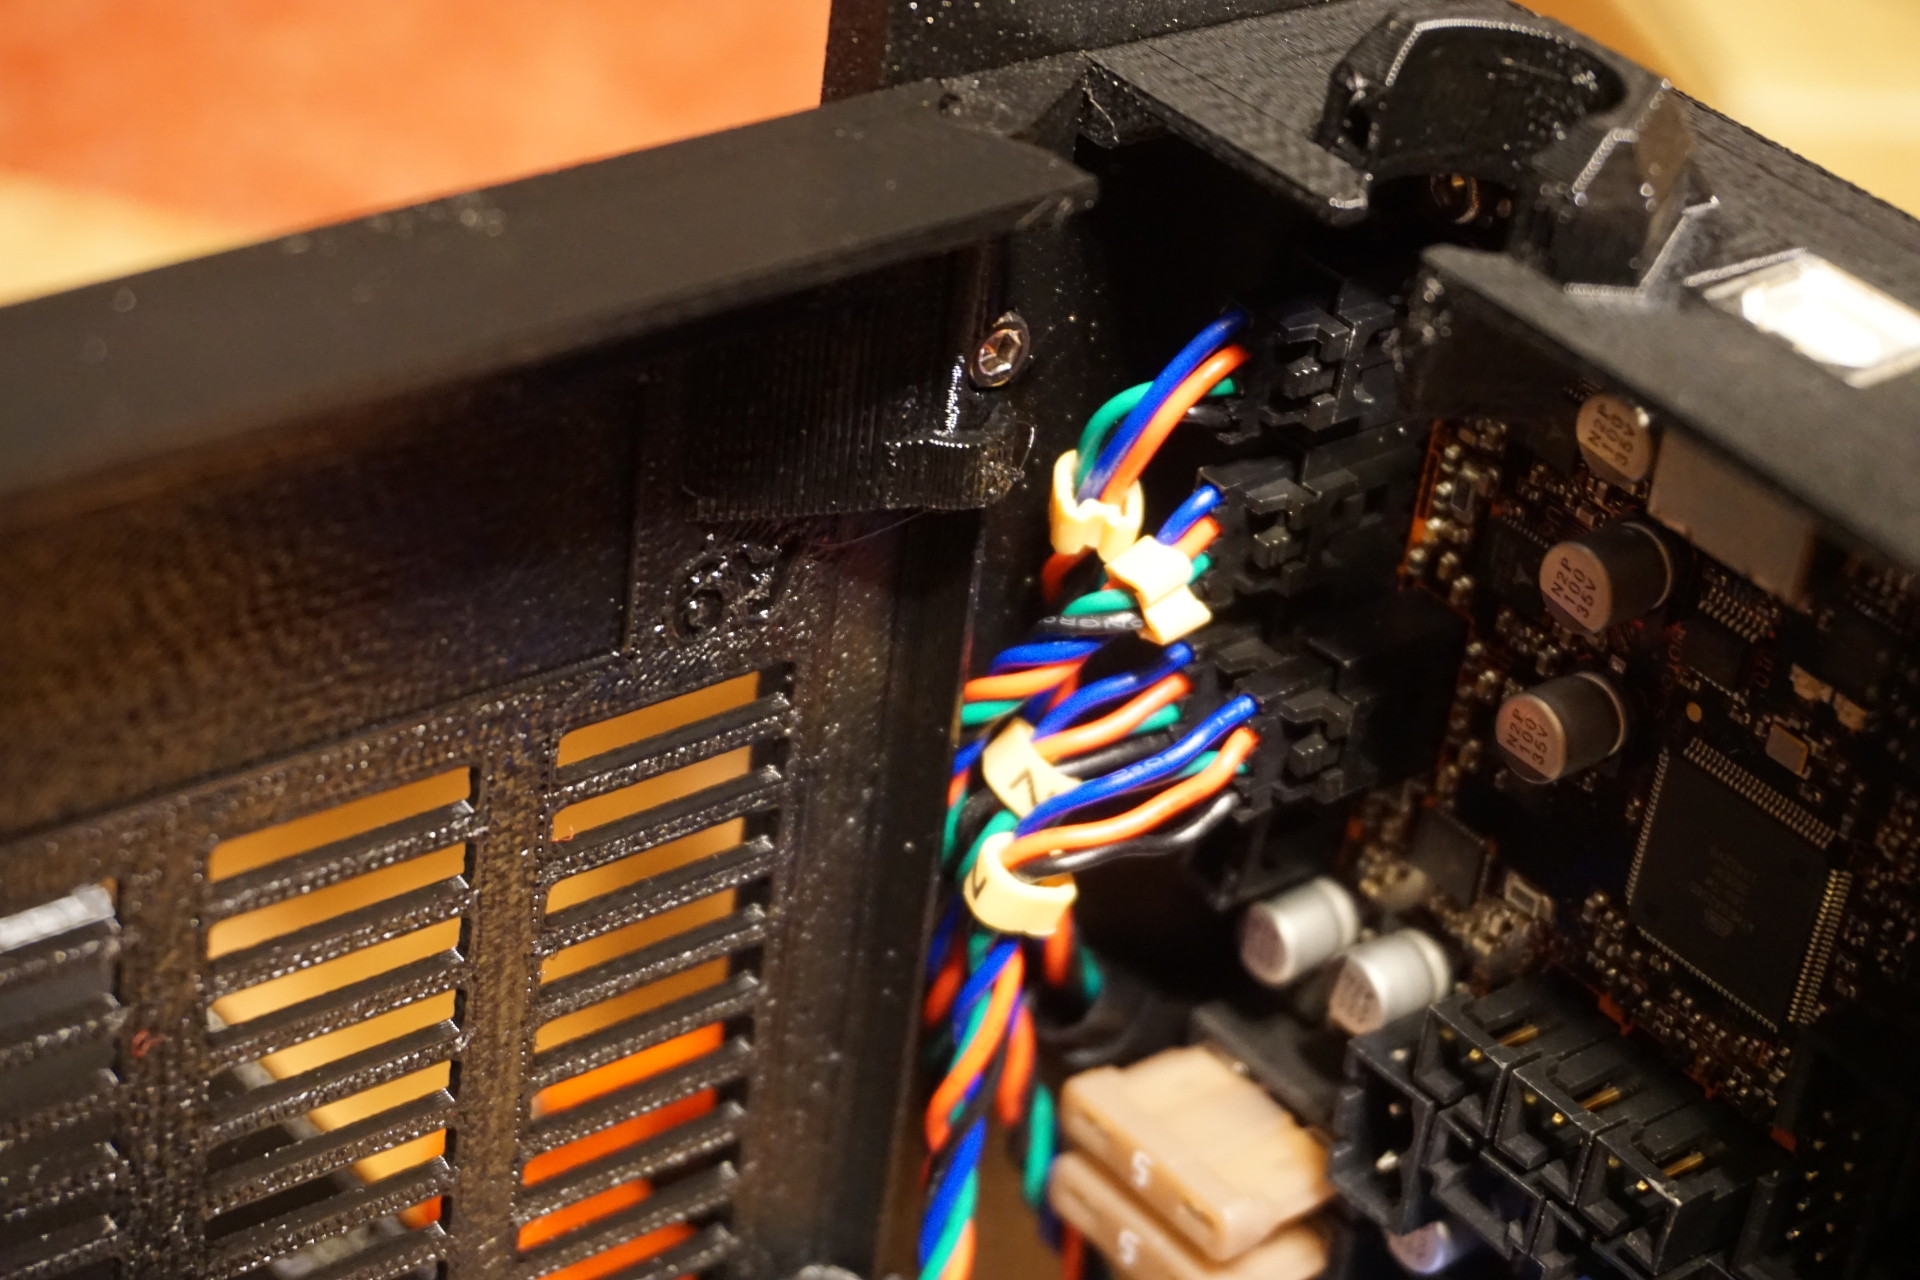
Cable routing:

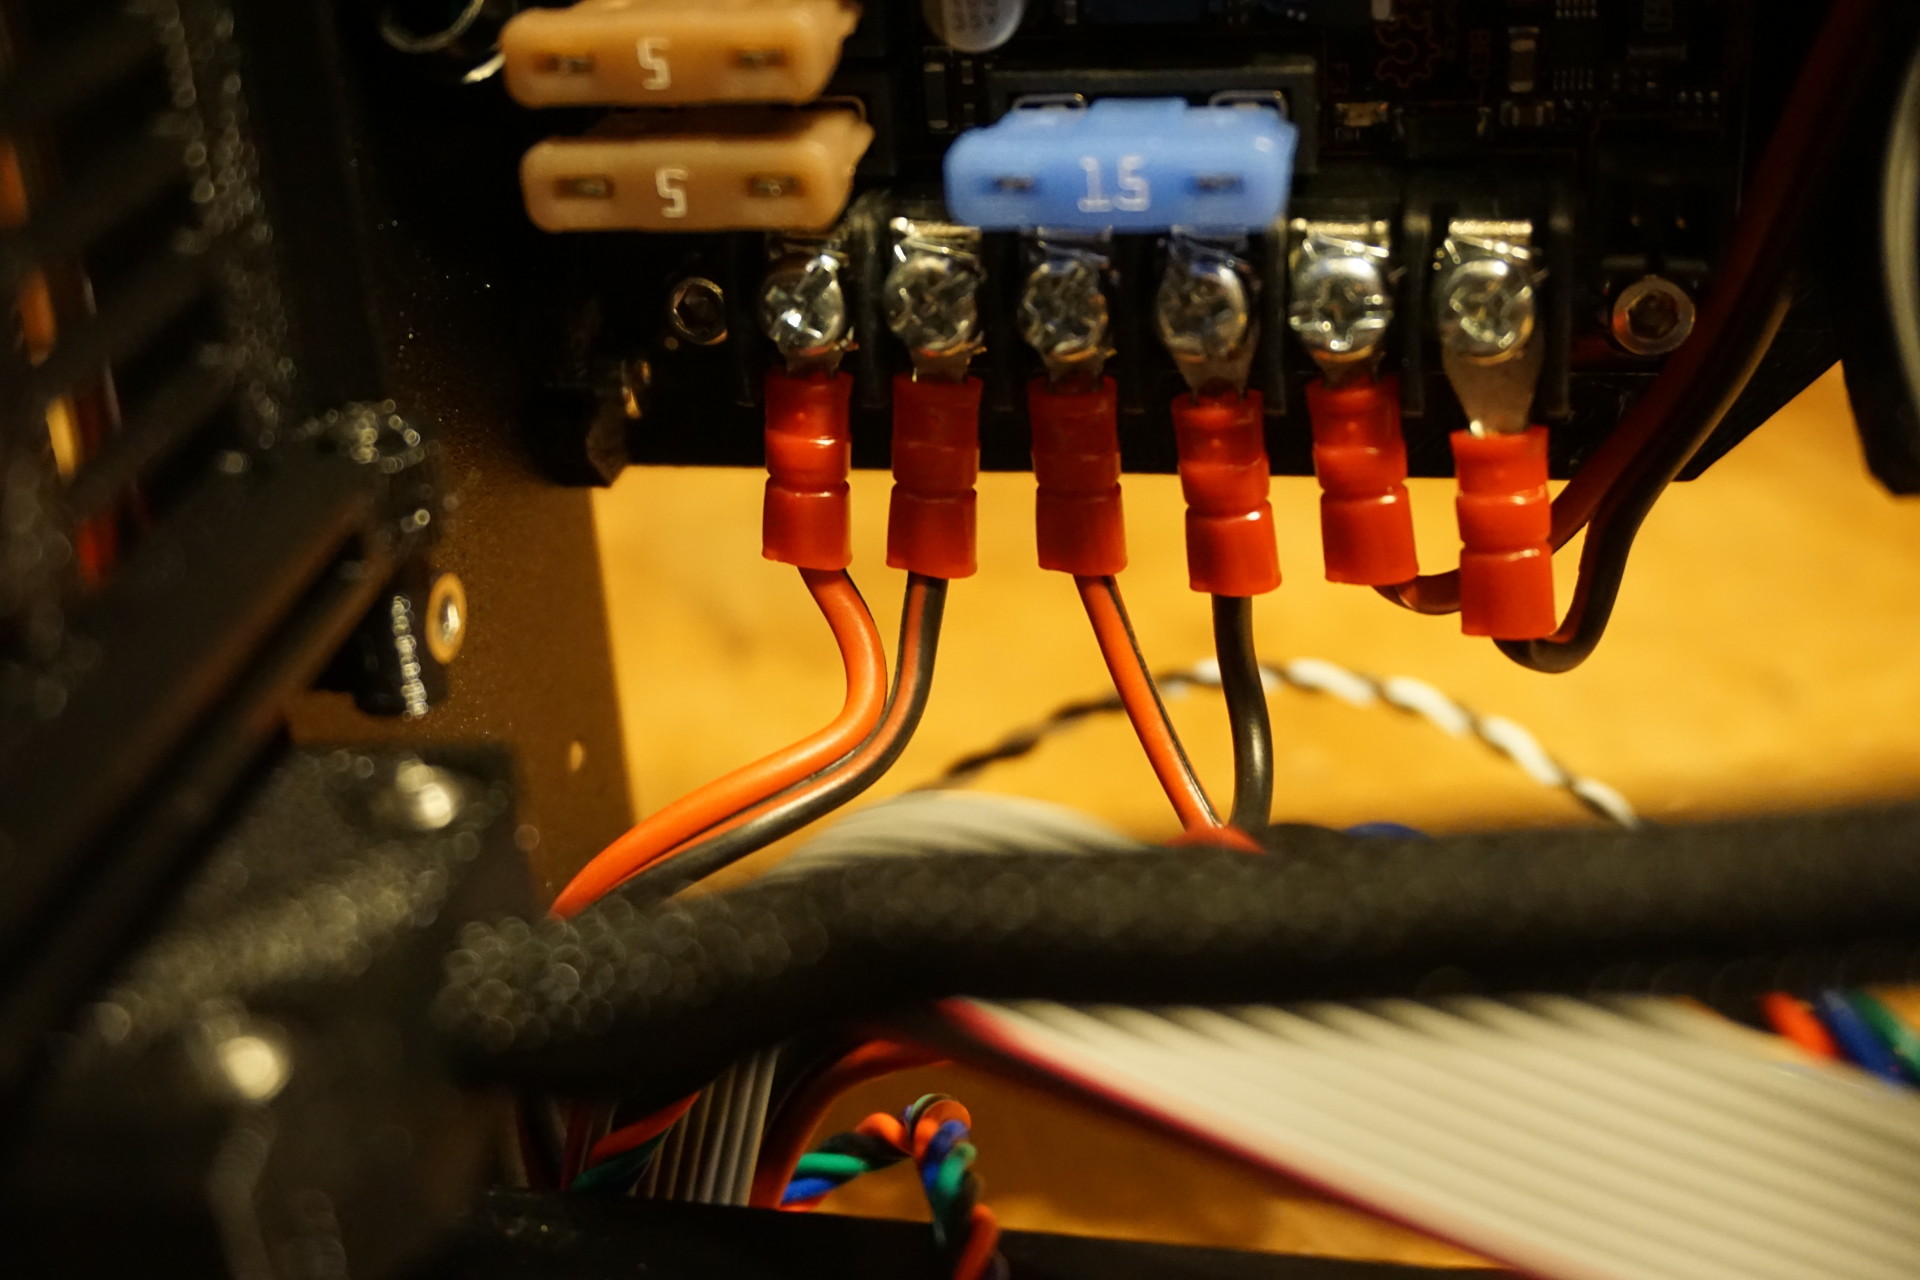
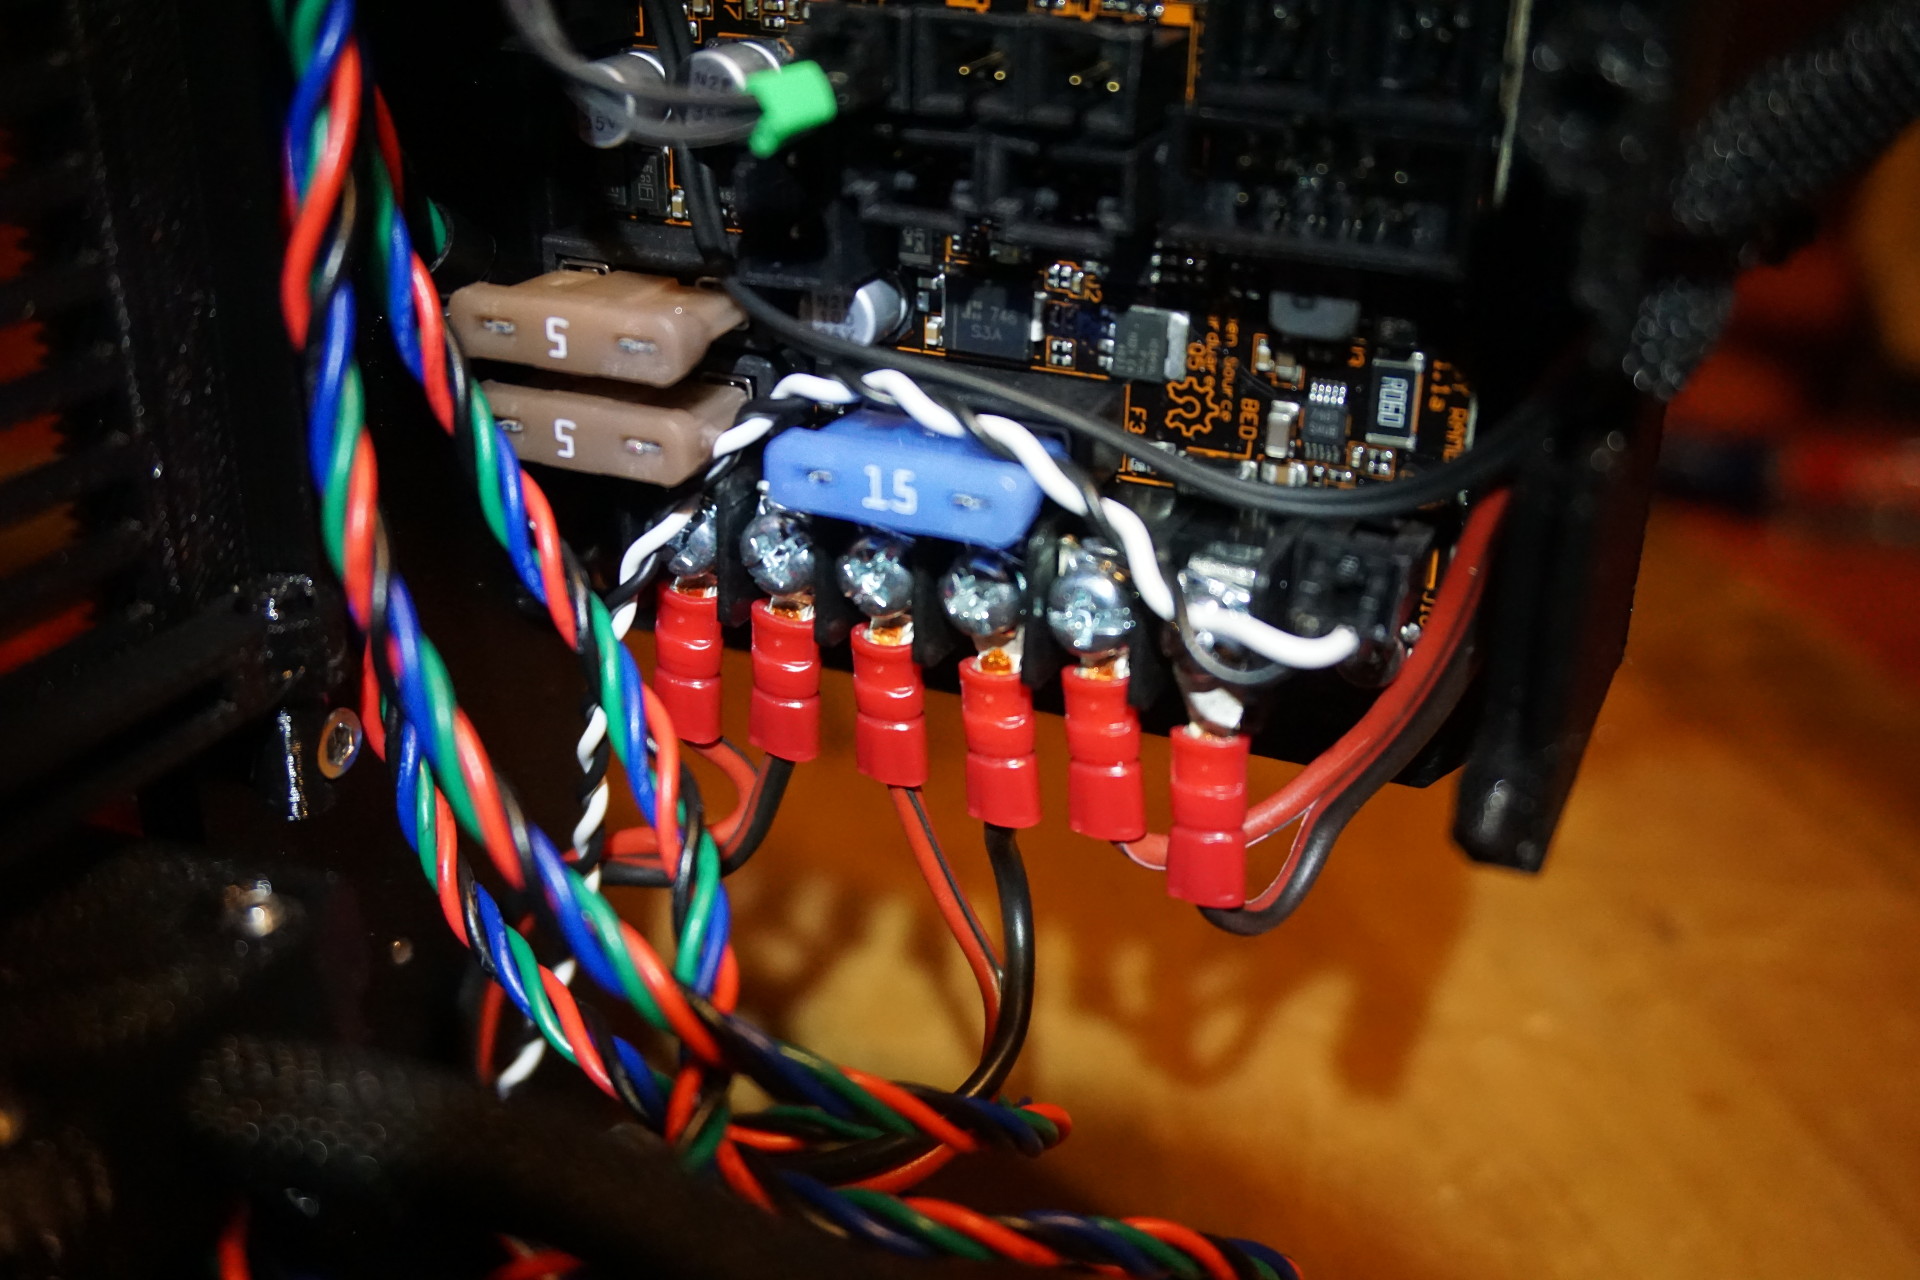
RAMBo hookup:

Adjusting bed level (PINDA) sensor:
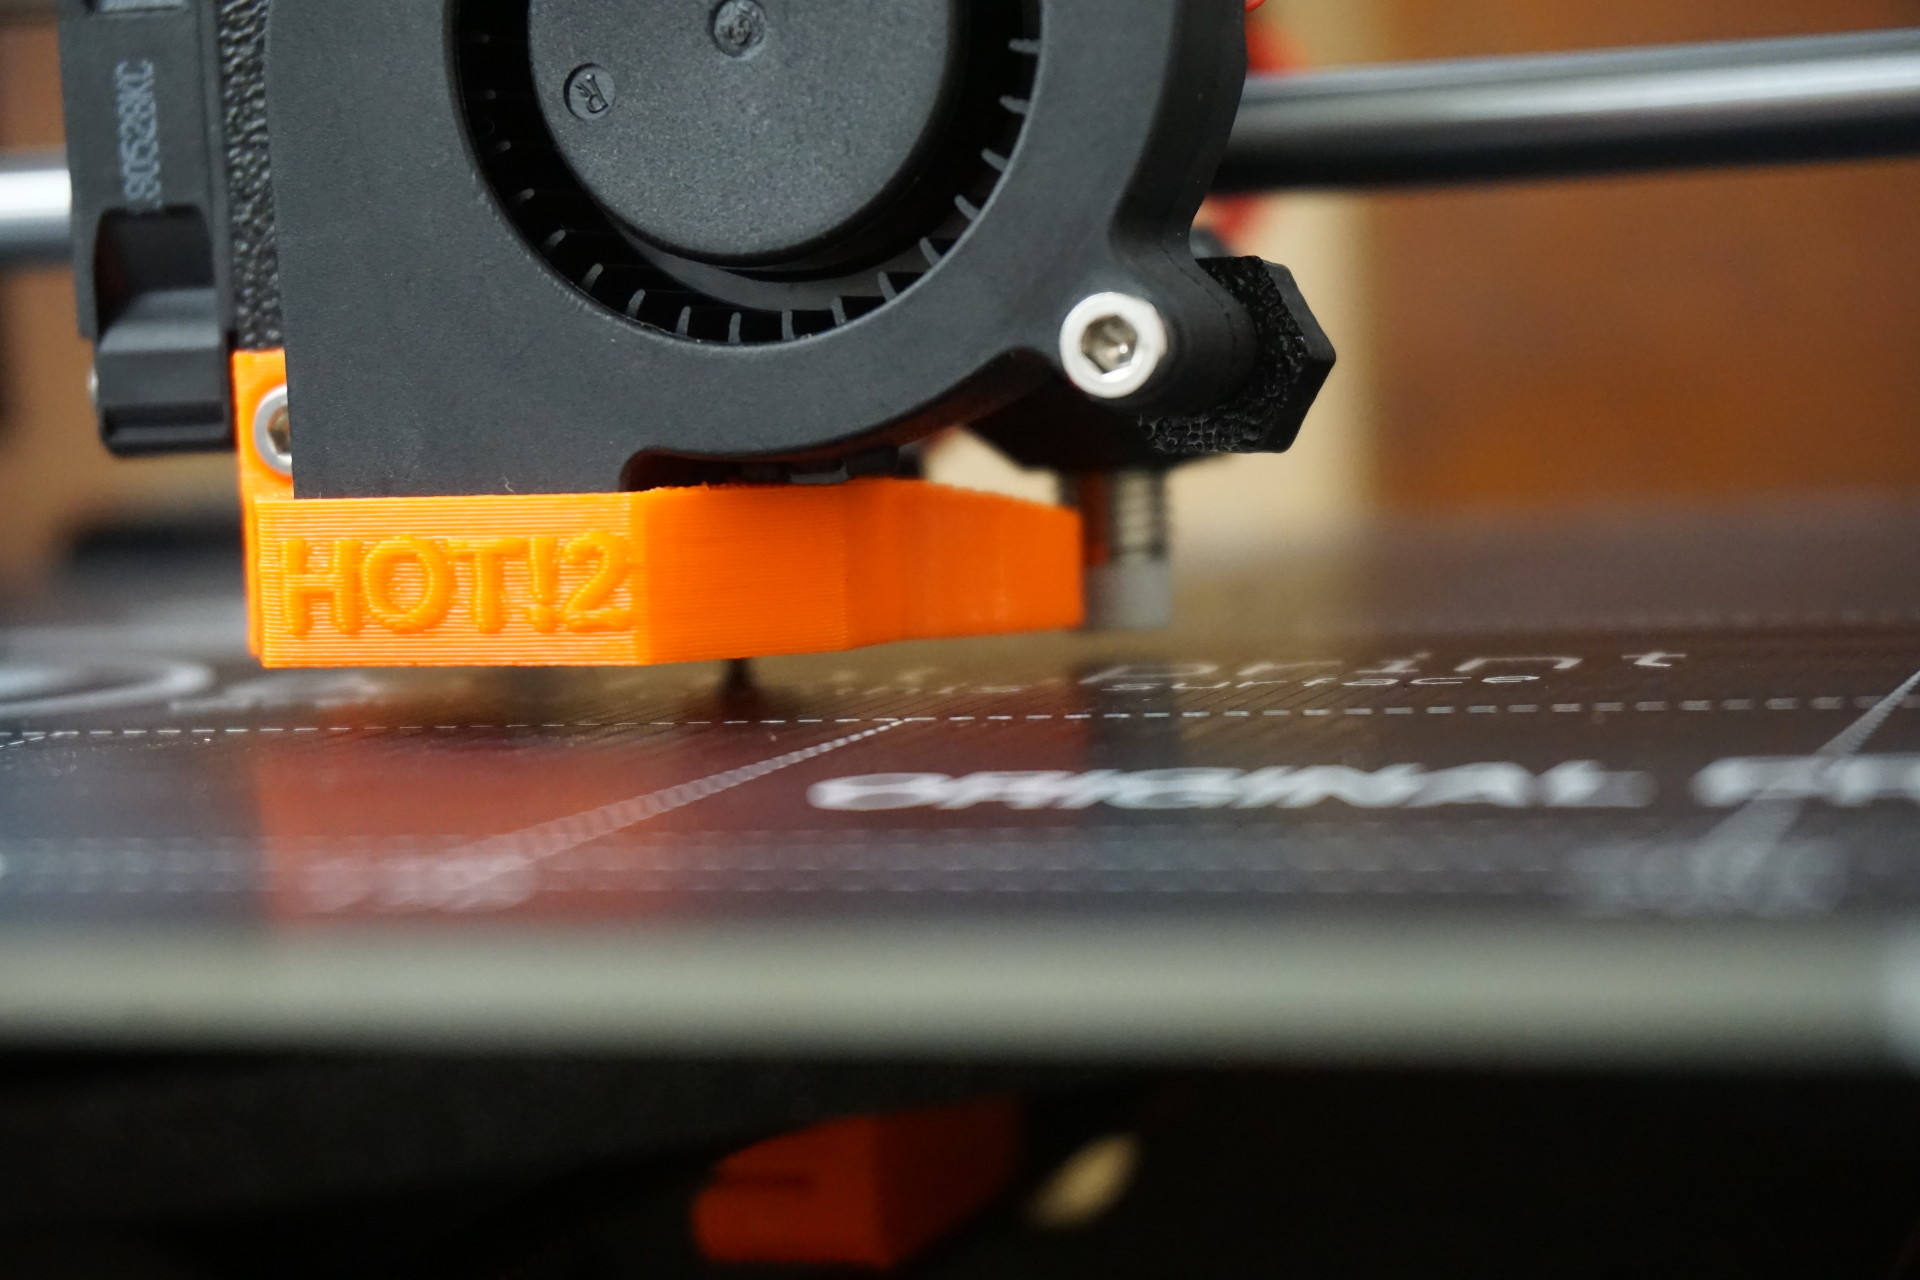
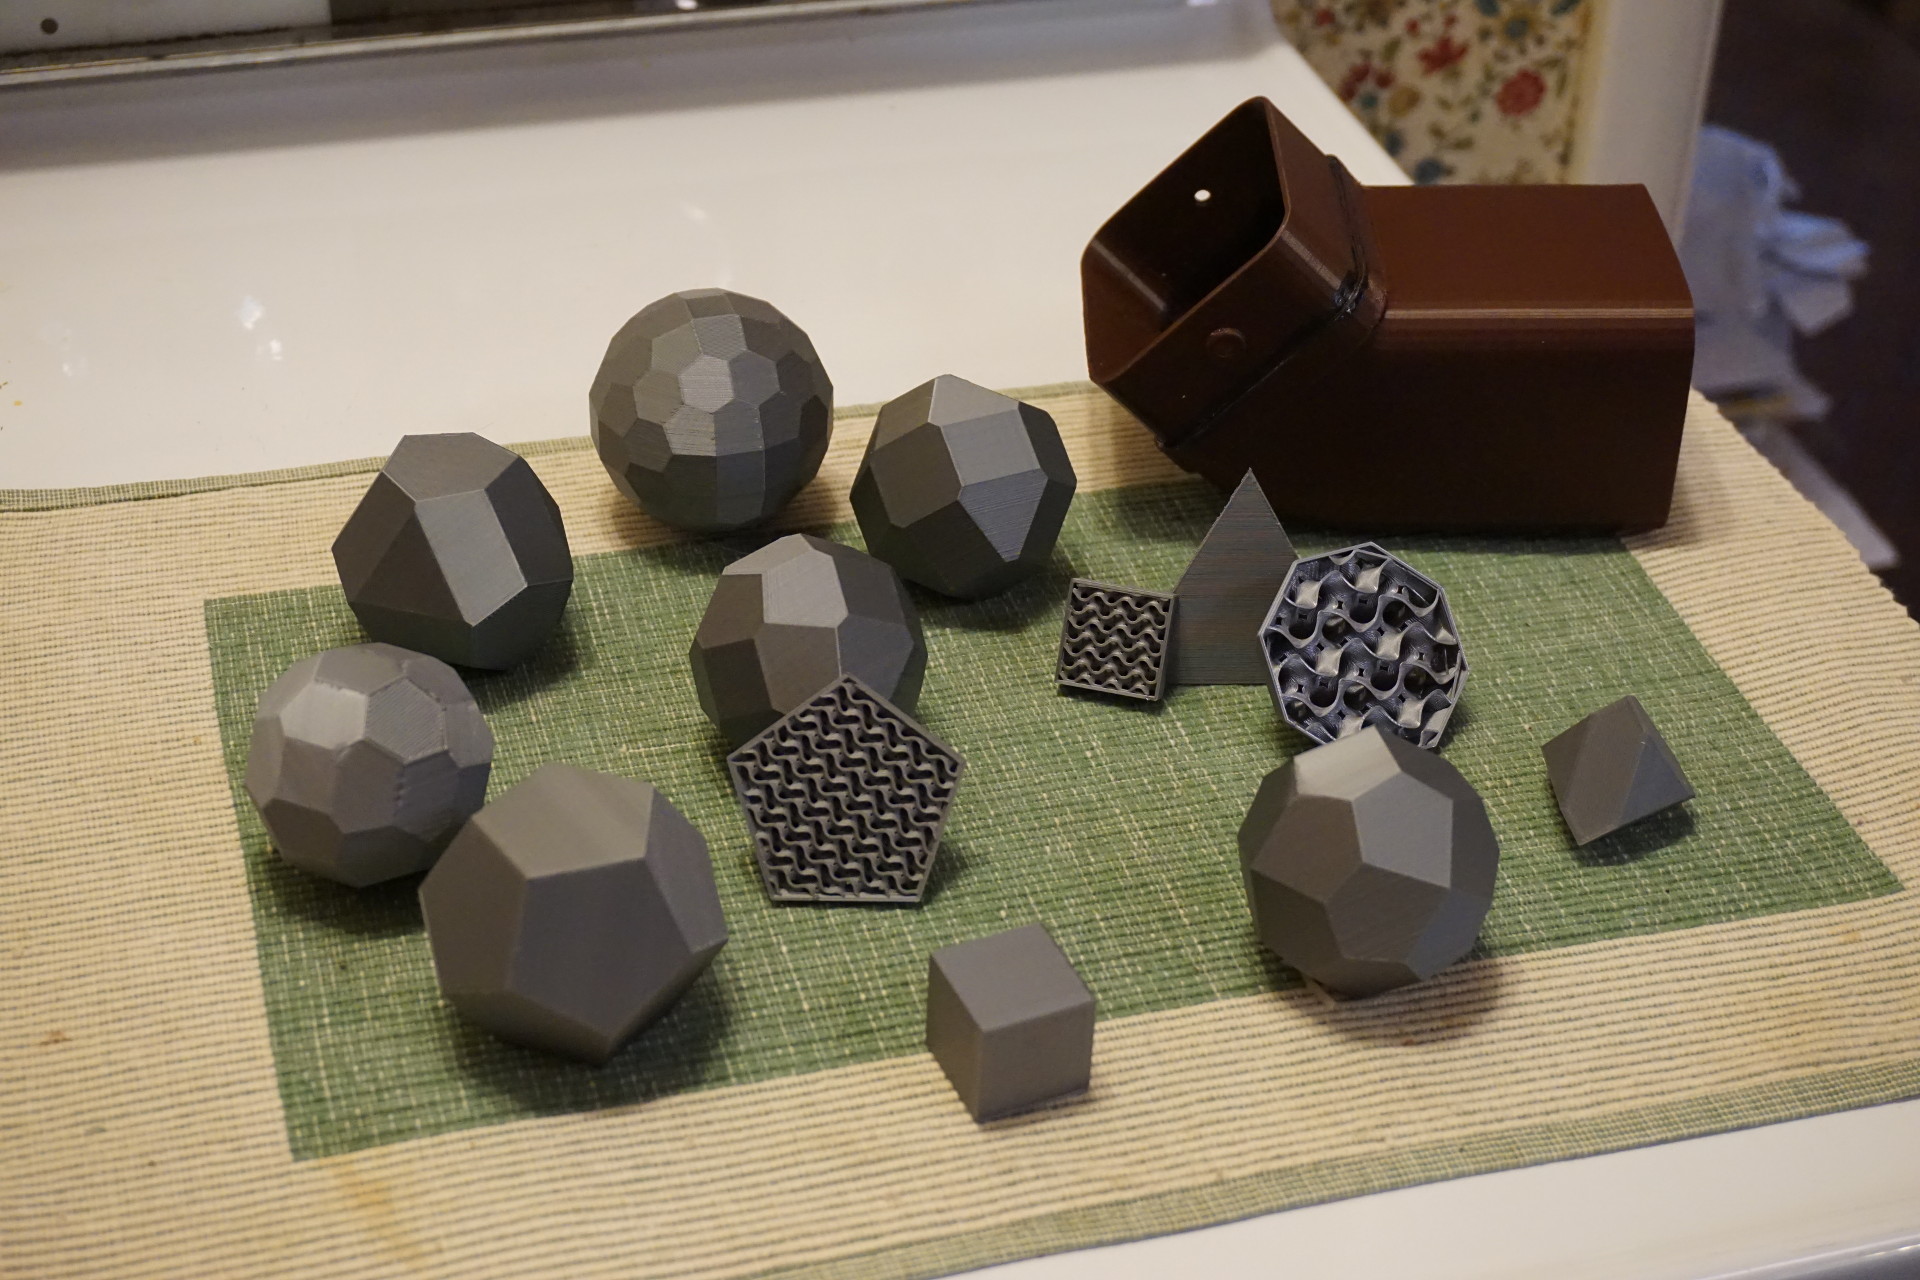
Early print: best known, roundest n=86, multisymmetric polyhedron.

More early prints, several partial ones showing new gyroid infill.
Wayne Deeter - wrd@deetour.net
Last modified: September 13, 2018